We finally have a winner!!!
I have finally found a highly successful method to the printmaking process. I have posted about my troubles with the printmaking process before:
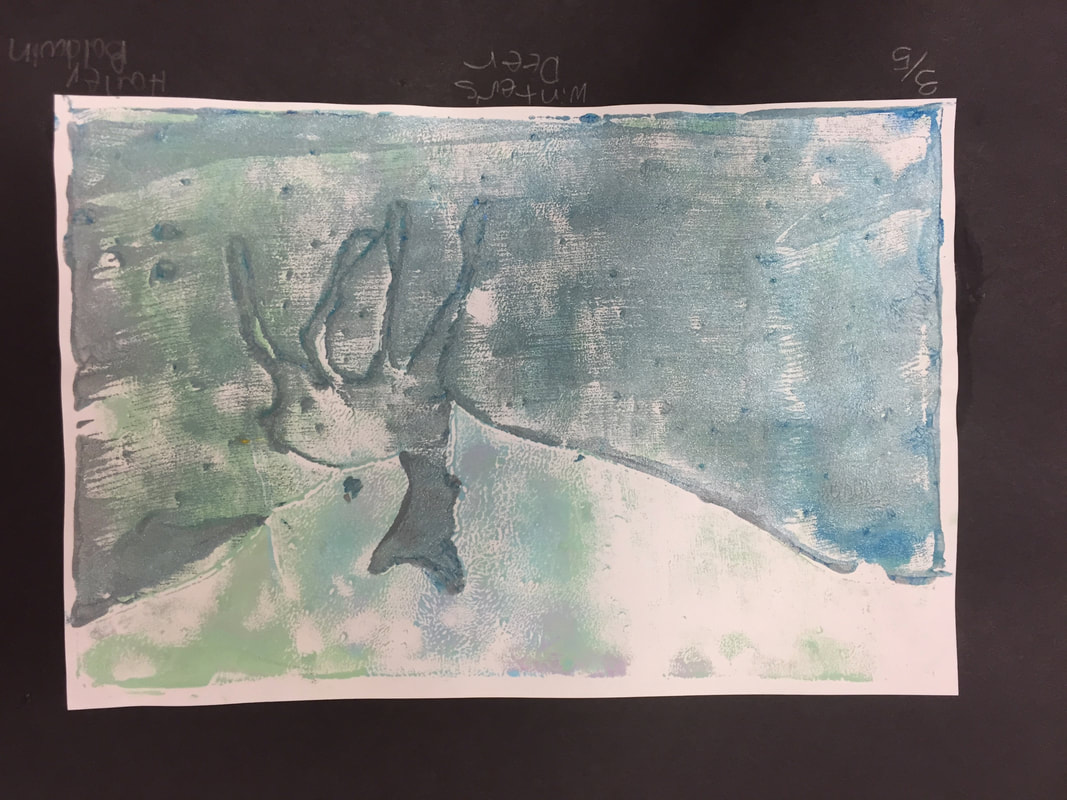
Winter Animals Reduction Printmaking
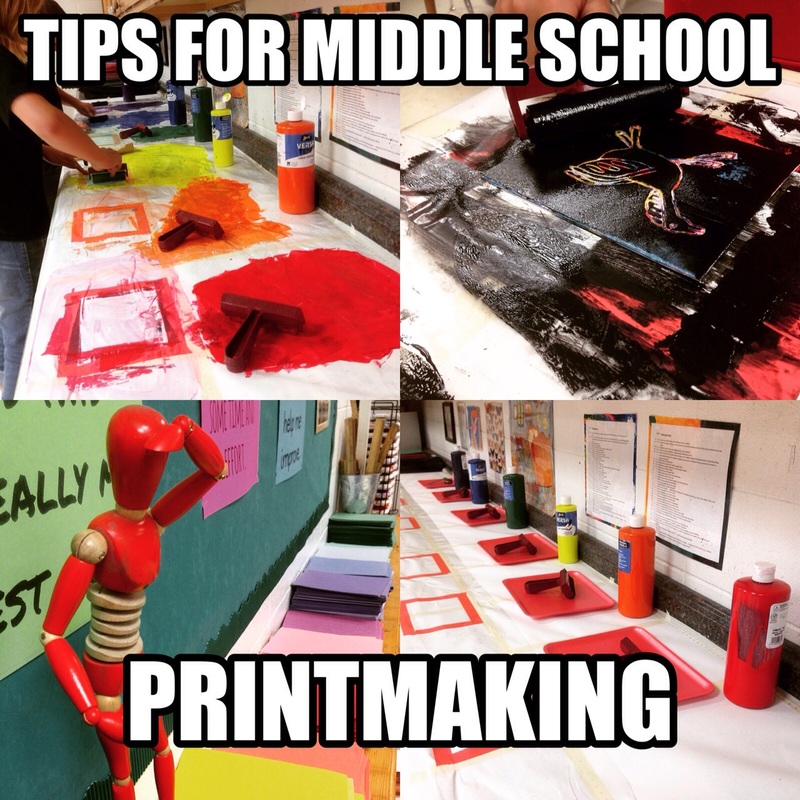
Tips for Middle School PrintMaking
But now I finally feel like I have learned how to make the process for run smoothly for my classroom, my students and my sanity. With fabulous results to boot.
I have been gathering famous structure pictures for eons and I have been plotting the best way to do a 'famous places' project.
What materials? What is the theme? How to implement?
I decided to finally just go for it with printmaking and I am so glad that I did.
I have finally found a highly successful method to the printmaking process. I have posted about my troubles with the printmaking process before:
Winter Animals Reduction Printmaking
Tips for Middle School PrintMaking
But now I finally feel like I have learned how to make the process for run smoothly for my classroom, my students and my sanity. With fabulous results to boot.
I have been gathering famous structure pictures for eons and I have been plotting the best way to do a 'famous places' project.
What materials? What is the theme? How to implement?
I decided to finally just go for it with printmaking and I am so glad that I did.
Day 1
I introduced the printmaking unit with a story about how this was the absolute favorite thing we did all year to a 6th grade boy who had spent much of the year grumbling and complaining about every thing we had done so far. He was happy as a clam when I put that brayer in his hand, even though he did not pay attention at all to my instructions the first day and his design was pretty much terrible. All well!!
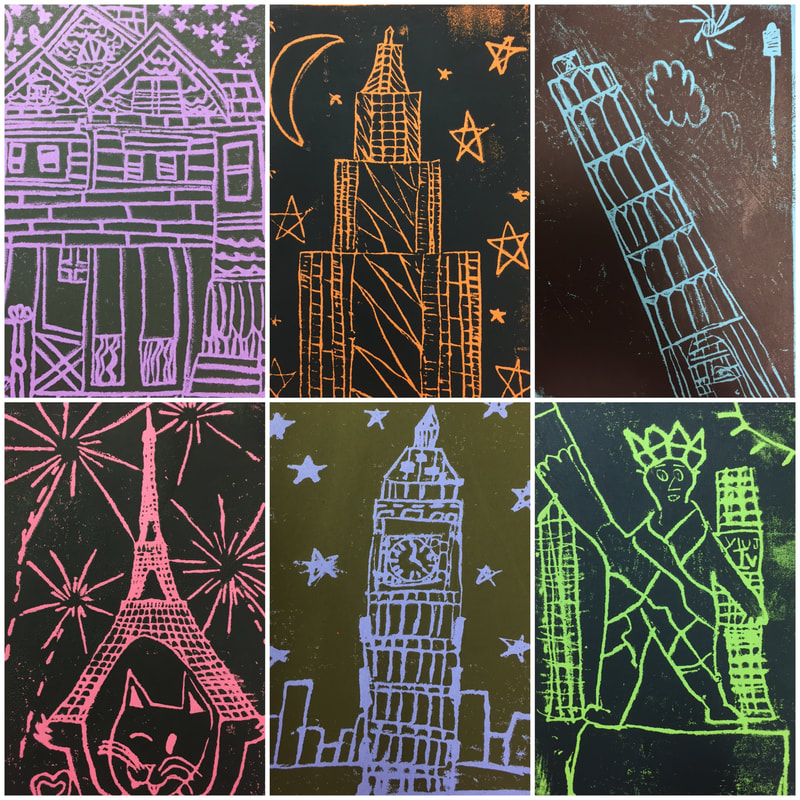
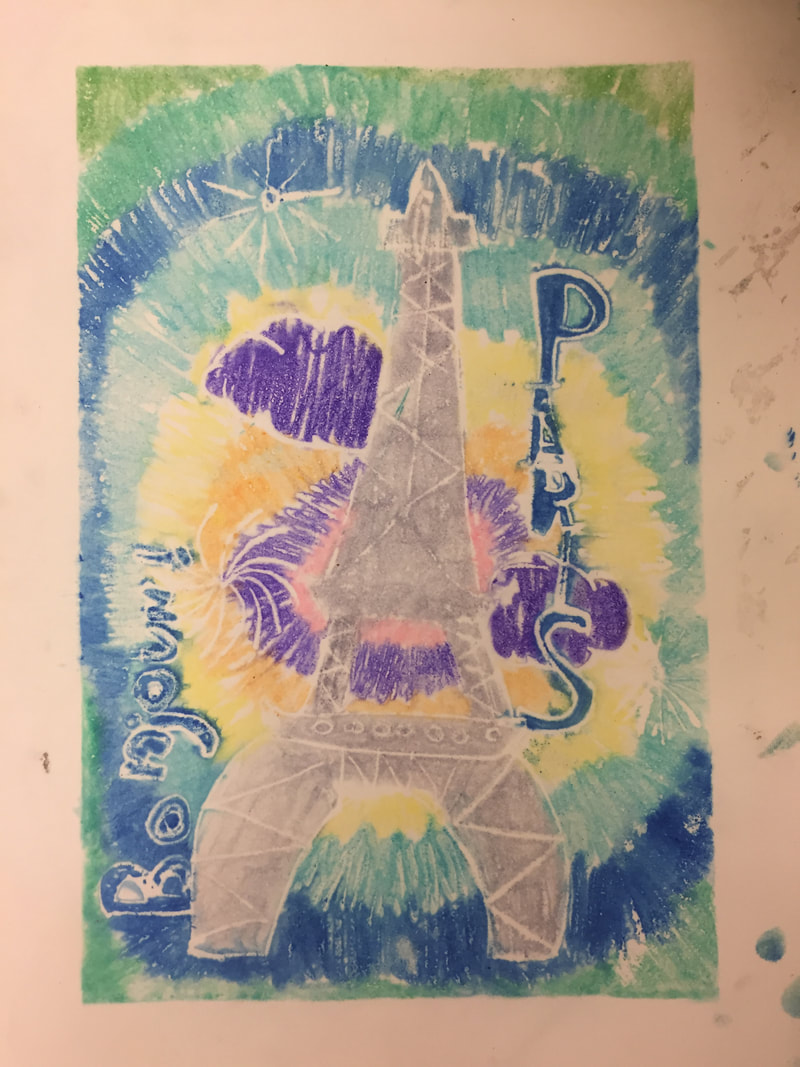
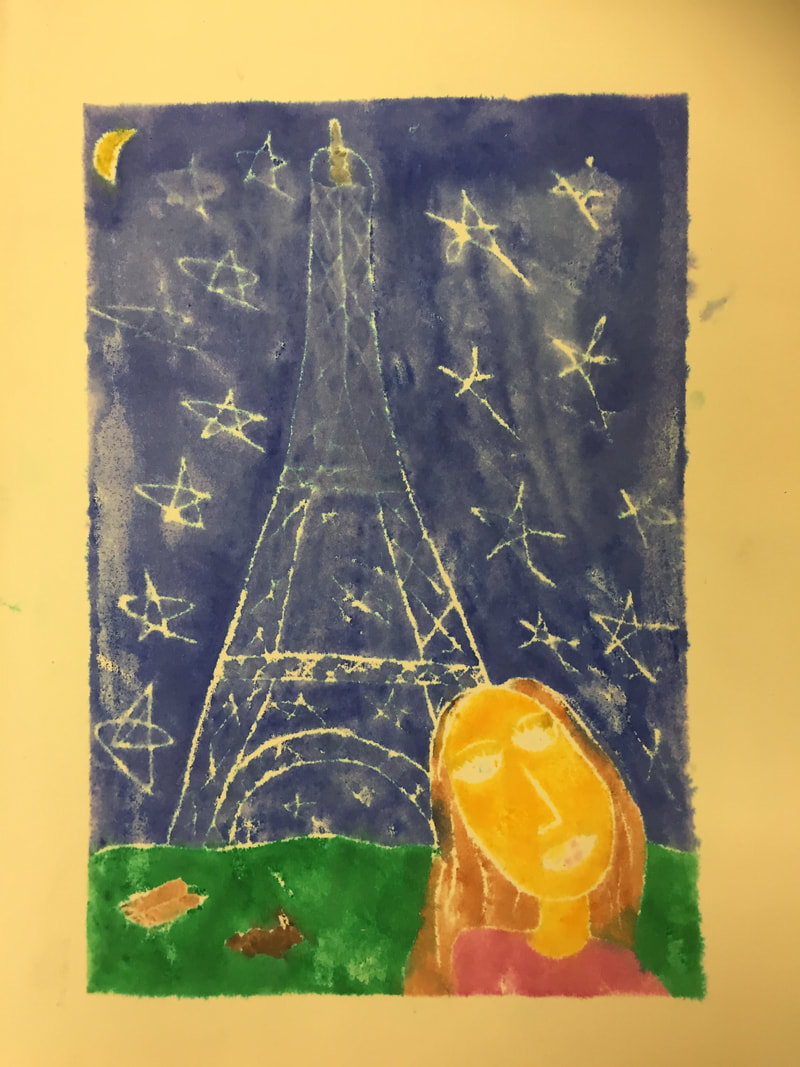
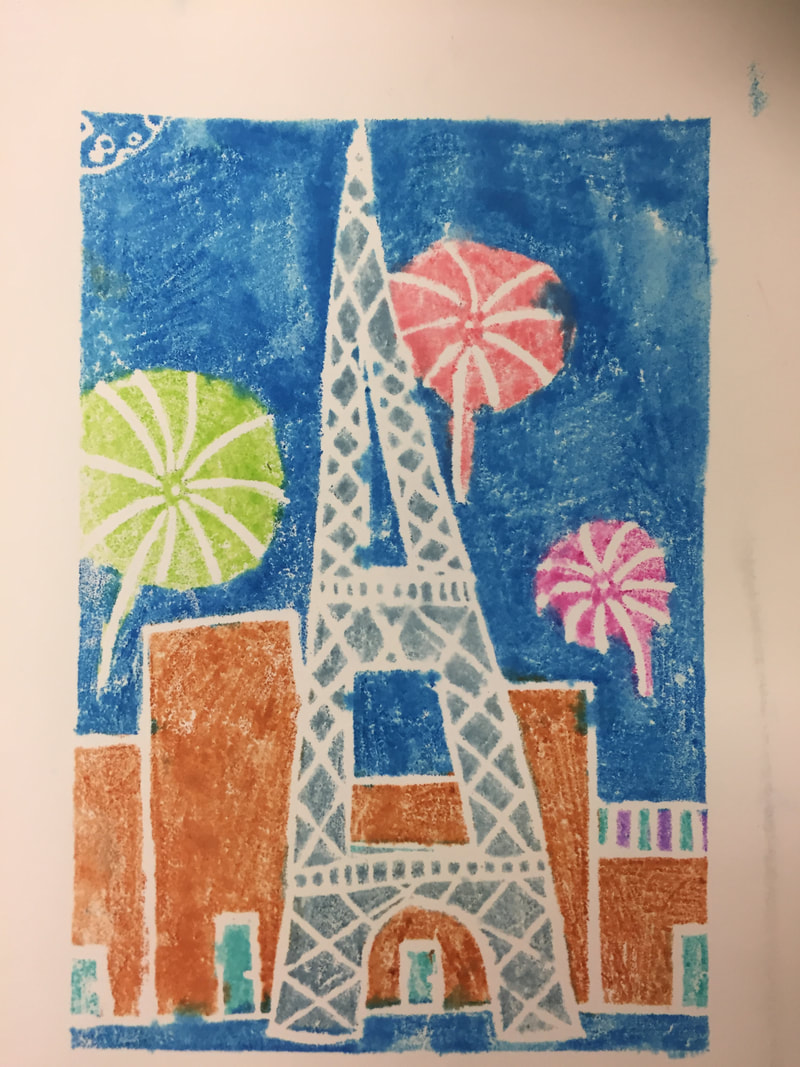
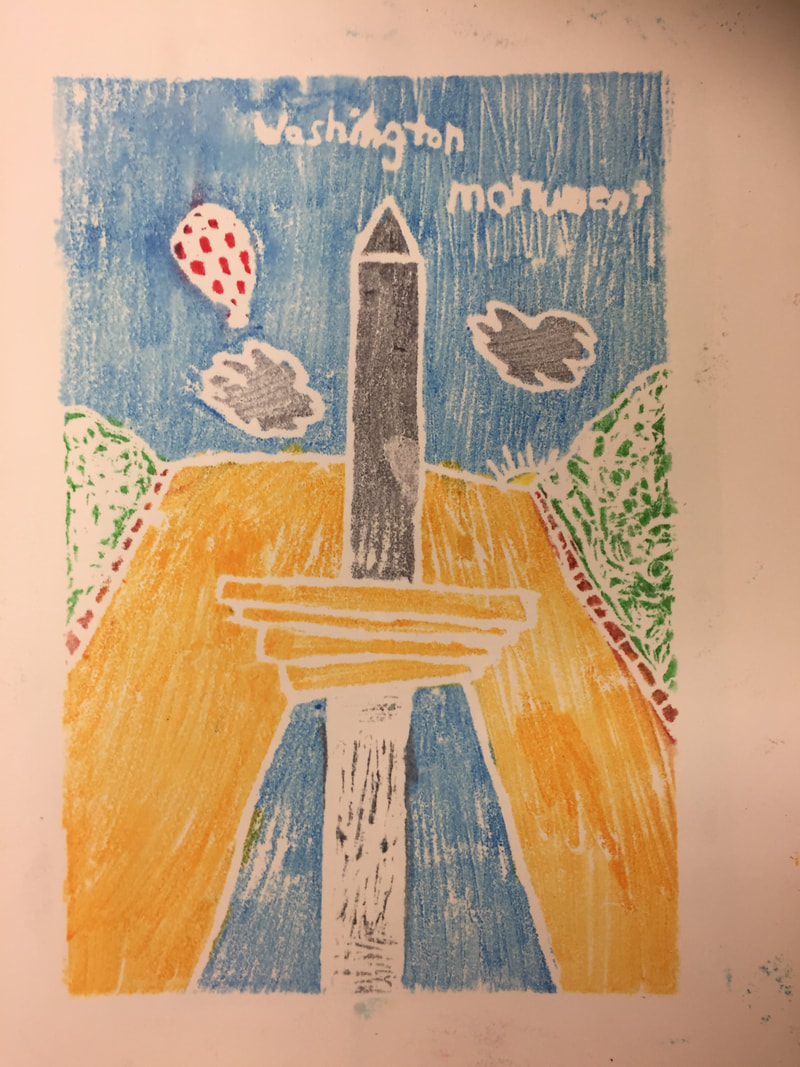
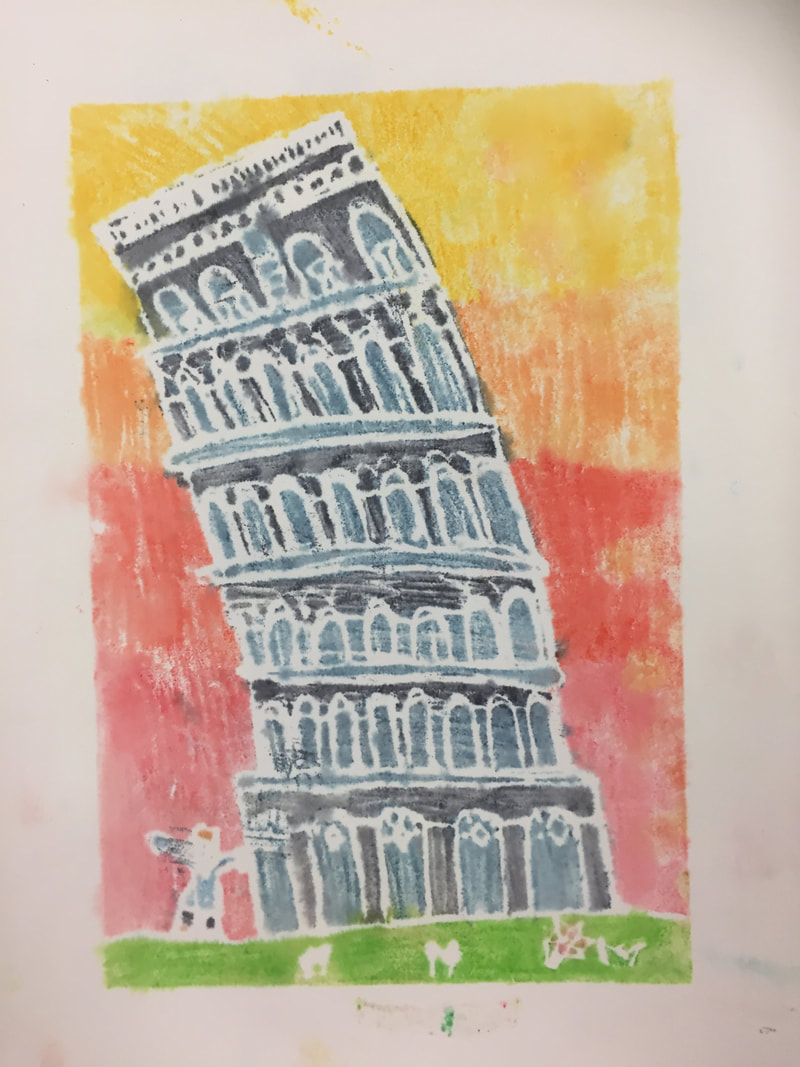
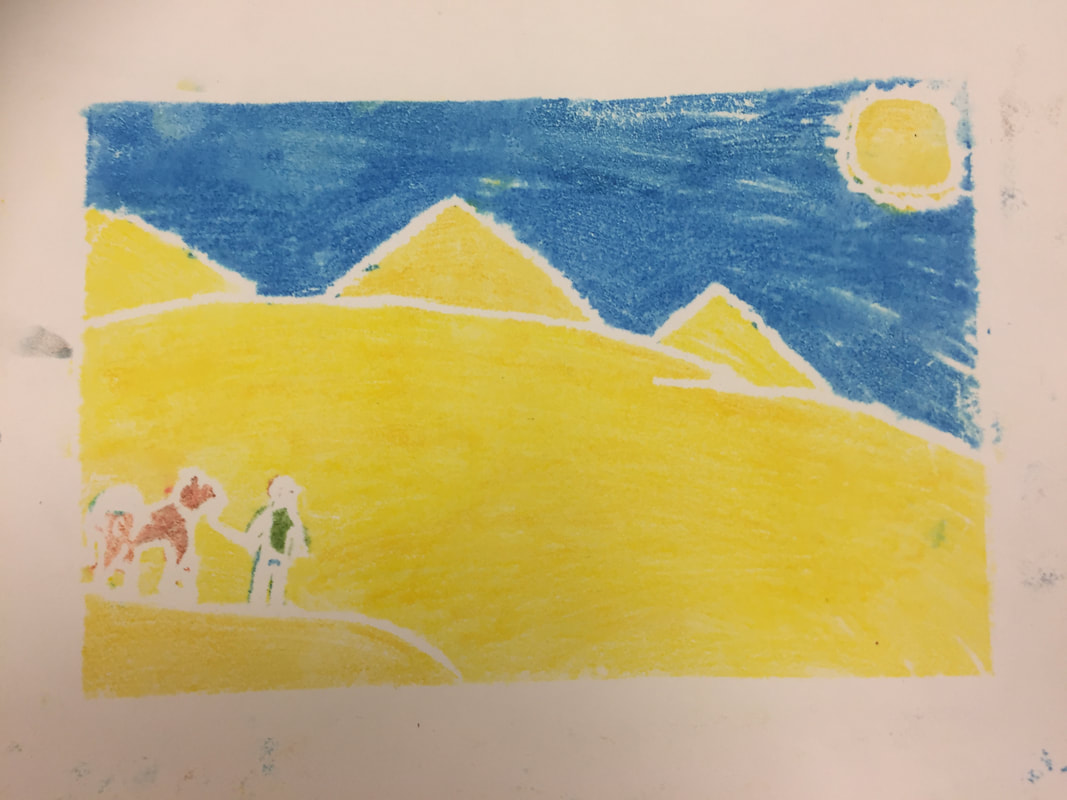
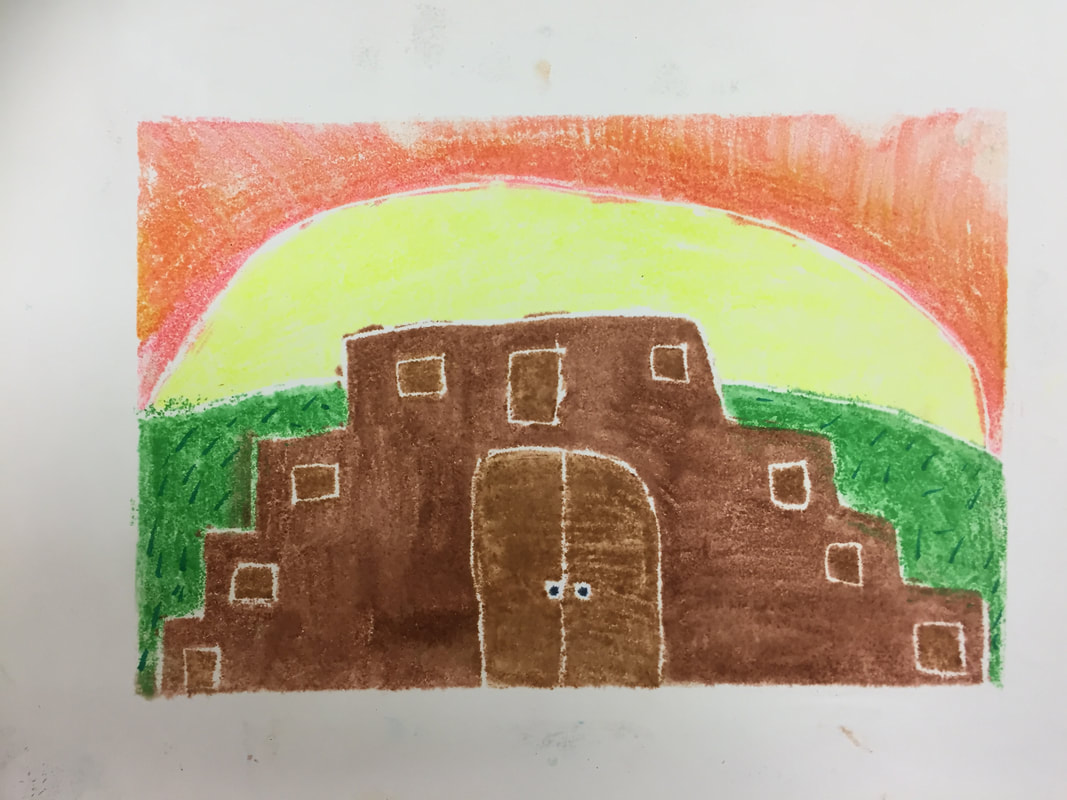
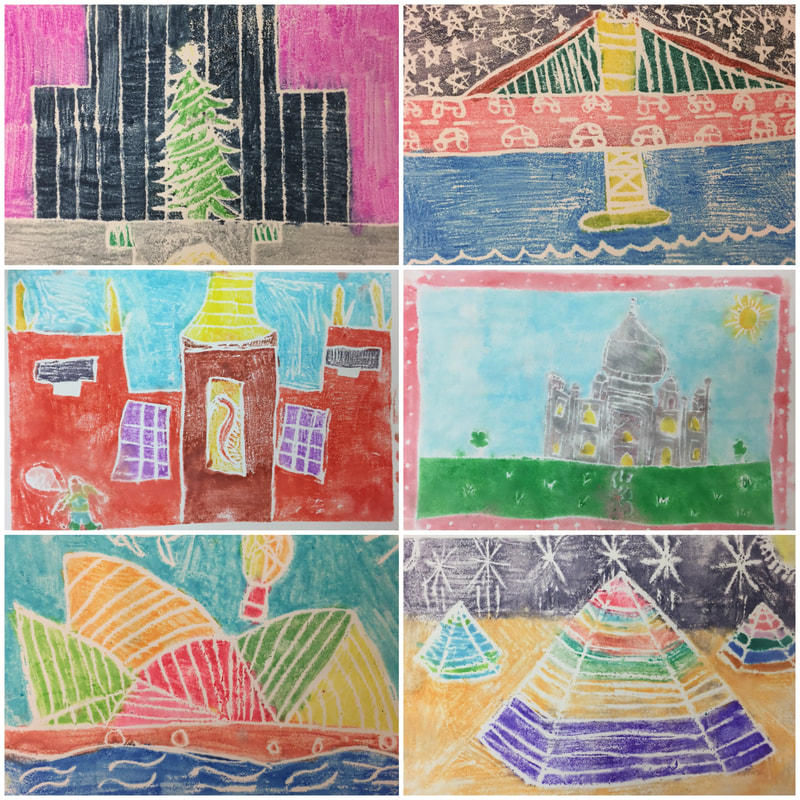
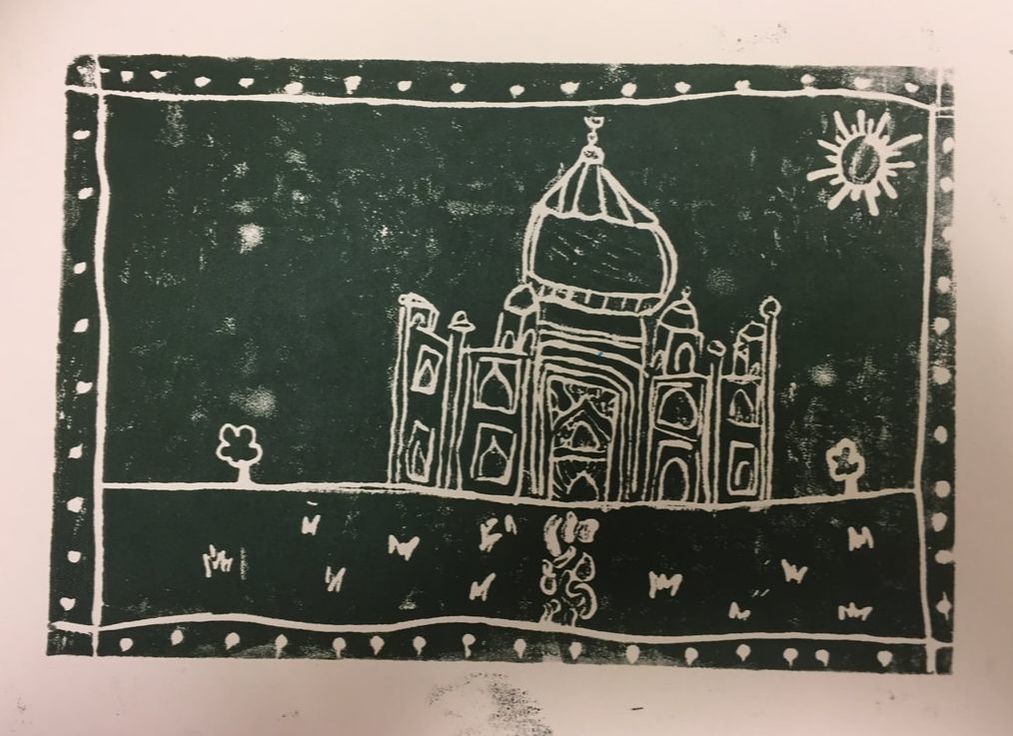
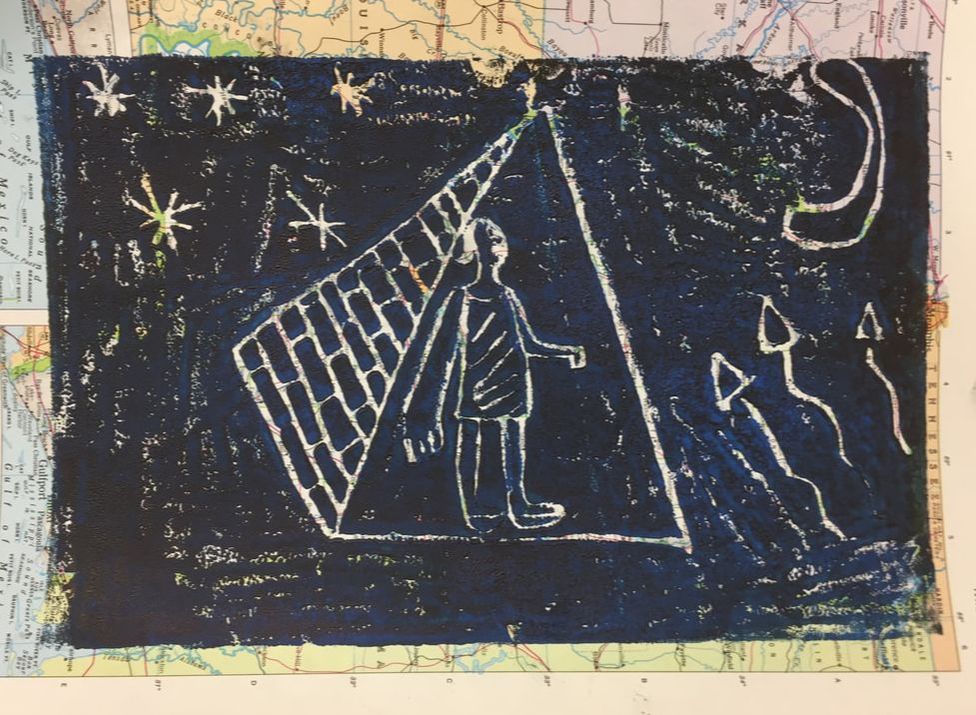
After explaining that printmaking is a process in which we will be making several copies of the same image, I explained that students needed to pick a famous structure that they were interested in researching so that they would be excited to work on it for several art sessions. The structure needed to be man-made and if it was a popular one like the Eiffel tower, they needed to think of a way to customize it that did not involve the everyday common place 'v' birds and sun in the corner because 100 kids had already done that. And not just a moon and stars, they had to really think of something creative, perhaps a plane or hot air balloon in the sky or themself in front of the structure taking a selfie.
Students had access to TONS of books from the library. I ended up going back for more after my first 3 classes requested the Taj Mahal, the Burj Khalifa, and the Saint Basil's Cathedral in Russia. I have some very curious kids! Step one was to create a practice sketch in their sketchbook and start planning their stamp.
Supplies
pencils
erasers
rulers
dry erase boards and markers (option for kids to warm up)
books and visuals about famous places
I introduced the printmaking unit with a story about how this was the absolute favorite thing we did all year to a 6th grade boy who had spent much of the year grumbling and complaining about every thing we had done so far. He was happy as a clam when I put that brayer in his hand, even though he did not pay attention at all to my instructions the first day and his design was pretty much terrible. All well!!
After explaining that printmaking is a process in which we will be making several copies of the same image, I explained that students needed to pick a famous structure that they were interested in researching so that they would be excited to work on it for several art sessions. The structure needed to be man-made and if it was a popular one like the Eiffel tower, they needed to think of a way to customize it that did not involve the everyday common place 'v' birds and sun in the corner because 100 kids had already done that. And not just a moon and stars, they had to really think of something creative, perhaps a plane or hot air balloon in the sky or themself in front of the structure taking a selfie.
Students had access to TONS of books from the library. I ended up going back for more after my first 3 classes requested the Taj Mahal, the Burj Khalifa, and the Saint Basil's Cathedral in Russia. I have some very curious kids! Step one was to create a practice sketch in their sketchbook and start planning their stamp.
Supplies
pencils
erasers
rulers
dry erase boards and markers (option for kids to warm up)
books and visuals about famous places
Day 2
Carving the stamp.
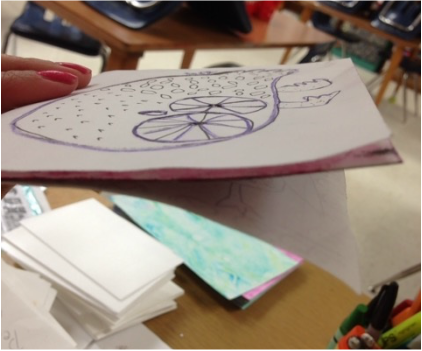
Once students had their design planned, I gave them a piece of 6X9 paper so they could design their stamp. We used a pencil to draw the design and plan the background. When they had it all sketched out, they brought it to me for approval and I gave them a piece of 6X9 scratch foam and taped their sketch to the foam. They used a colored pencil to transfer the design to the foam.
The colored pencil only lightly transfers the design. To really make it show up, students had to lift the drawing off the foam and trace over their lines with an ink pen. I had to borrow a bunch of ink pens, but this is a brilliant idea thank you Cassie Stephens!!! The ink pen forces them to make the lines deeper and they can tell what they have and have not retraced very easily.
Supplies
6X9 paper
tape
colored pencils
ink pens
6X9 Scratch Foam
Carving the stamp.
Once students had their design planned, I gave them a piece of 6X9 paper so they could design their stamp. We used a pencil to draw the design and plan the background. When they had it all sketched out, they brought it to me for approval and I gave them a piece of 6X9 scratch foam and taped their sketch to the foam. They used a colored pencil to transfer the design to the foam.
The colored pencil only lightly transfers the design. To really make it show up, students had to lift the drawing off the foam and trace over their lines with an ink pen. I had to borrow a bunch of ink pens, but this is a brilliant idea thank you Cassie Stephens!!! The ink pen forces them to make the lines deeper and they can tell what they have and have not retraced very easily.
Supplies
6X9 paper
tape
colored pencils
ink pens
6X9 Scratch Foam
Day 3
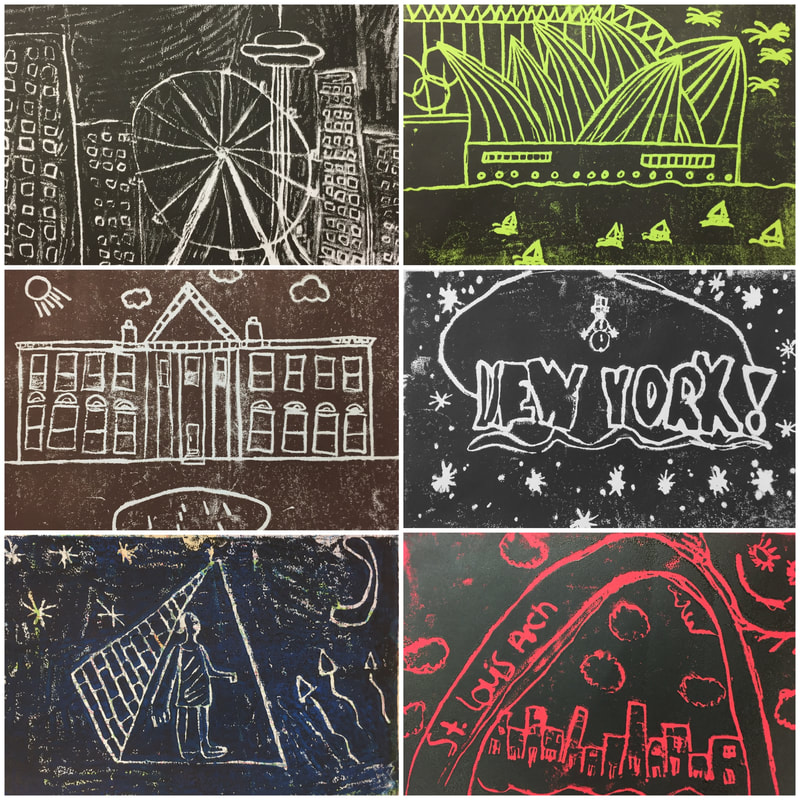
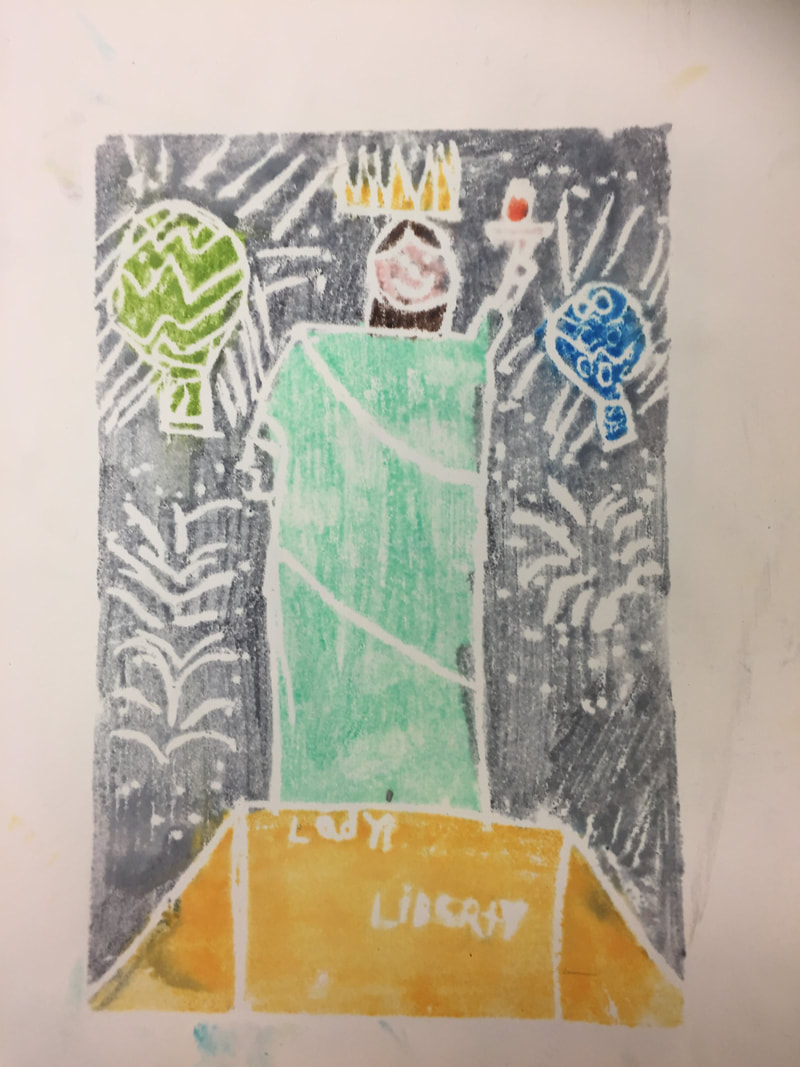
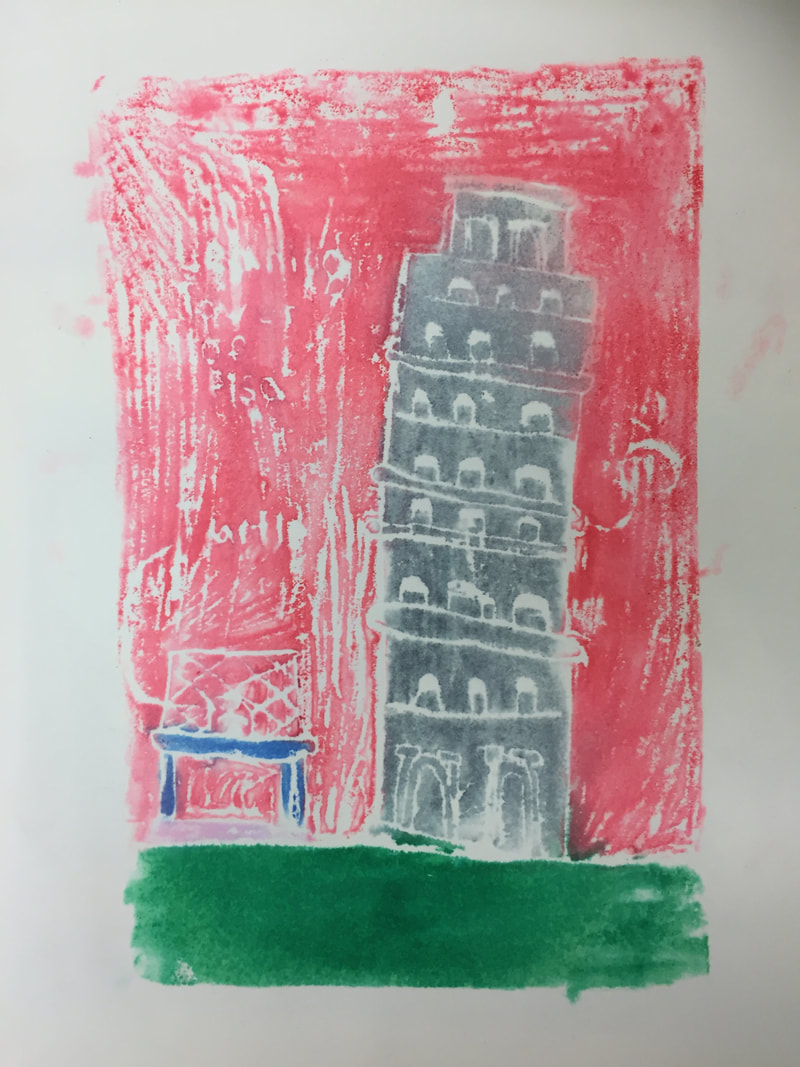
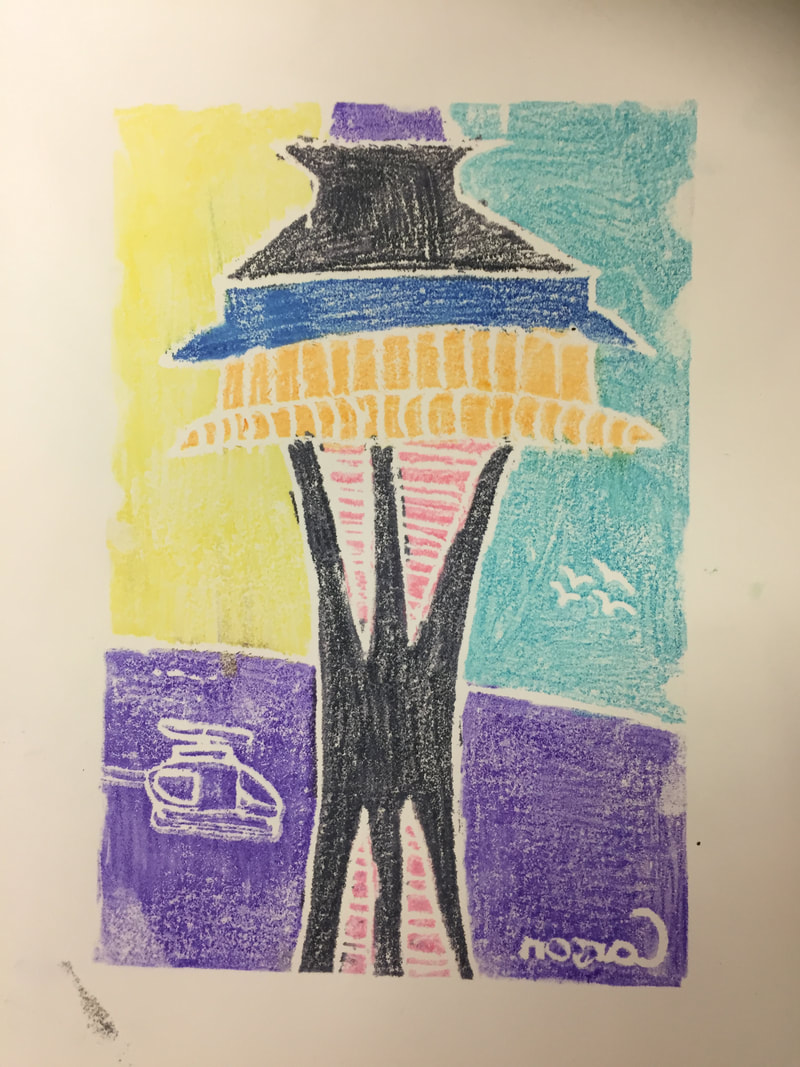
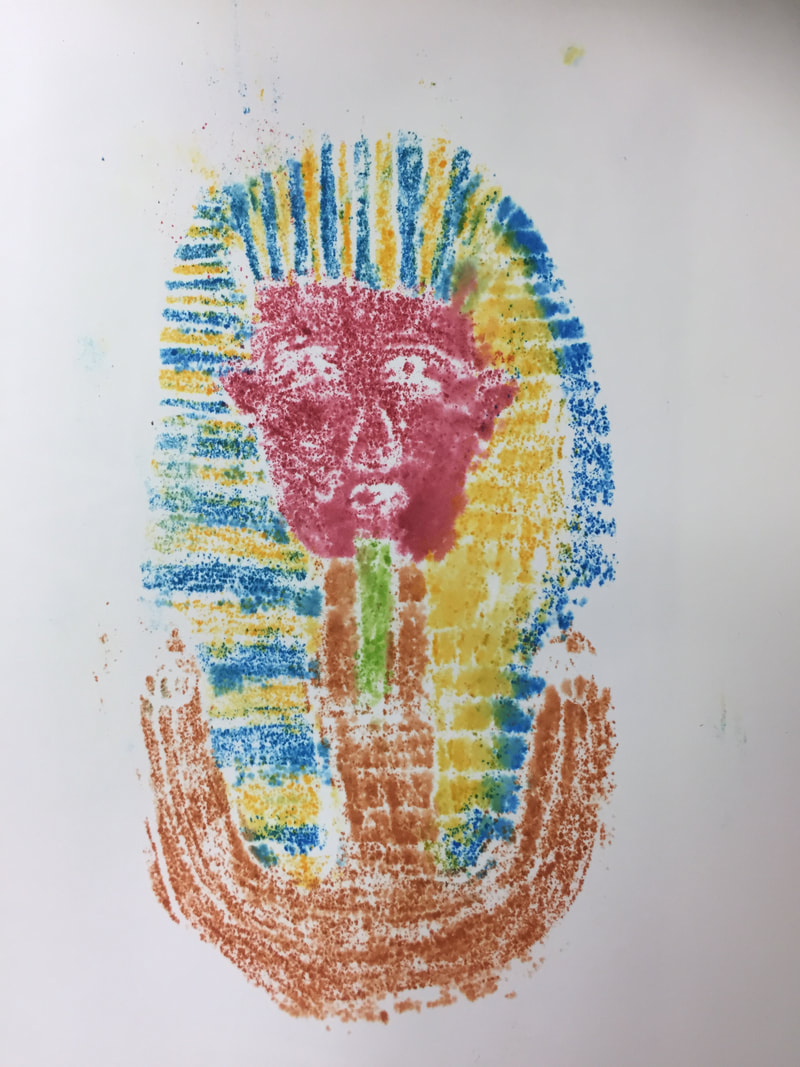
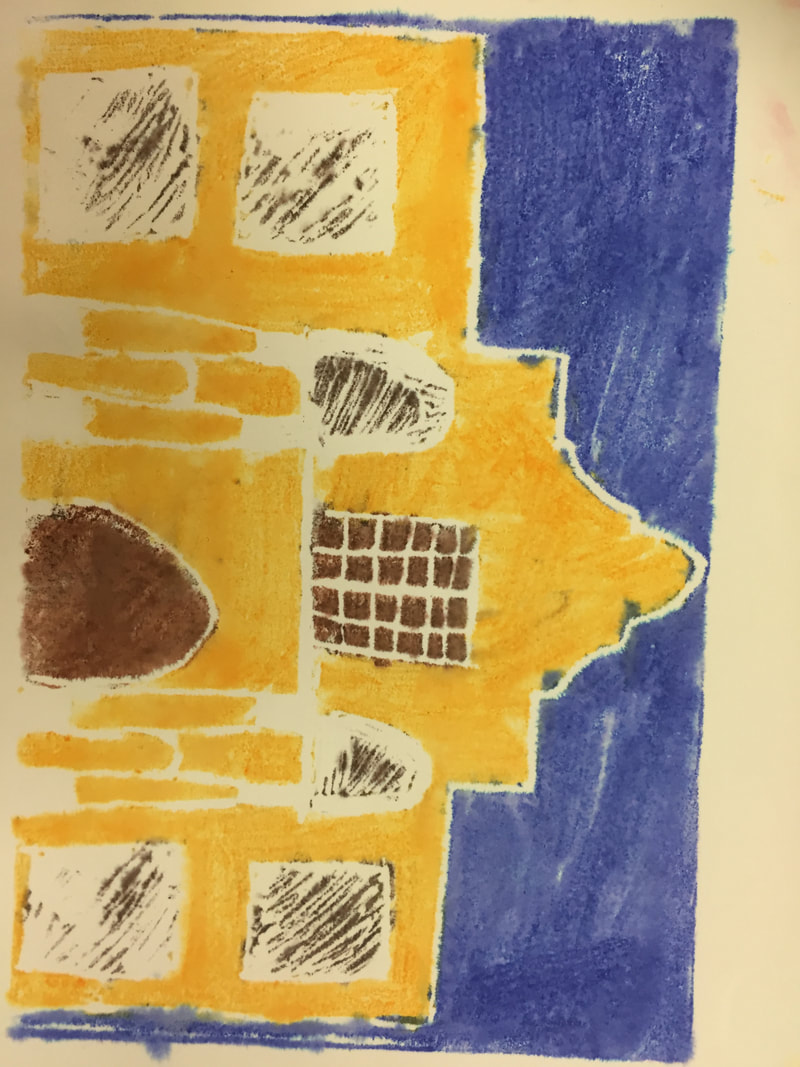
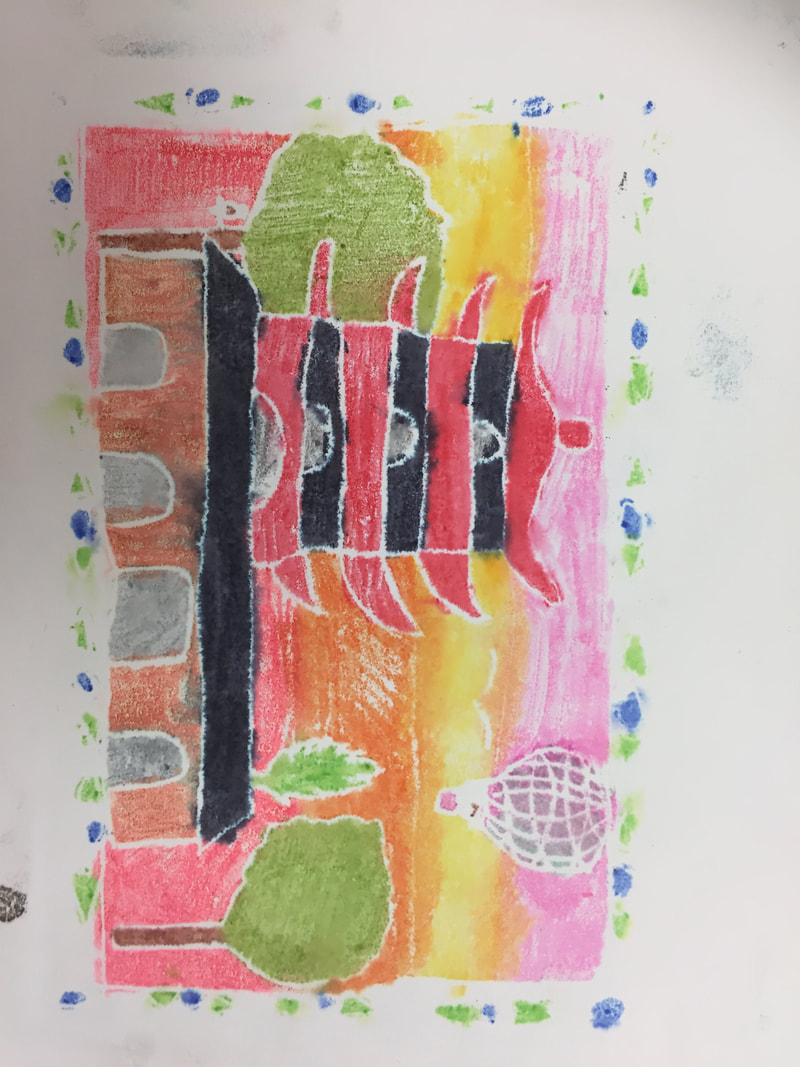
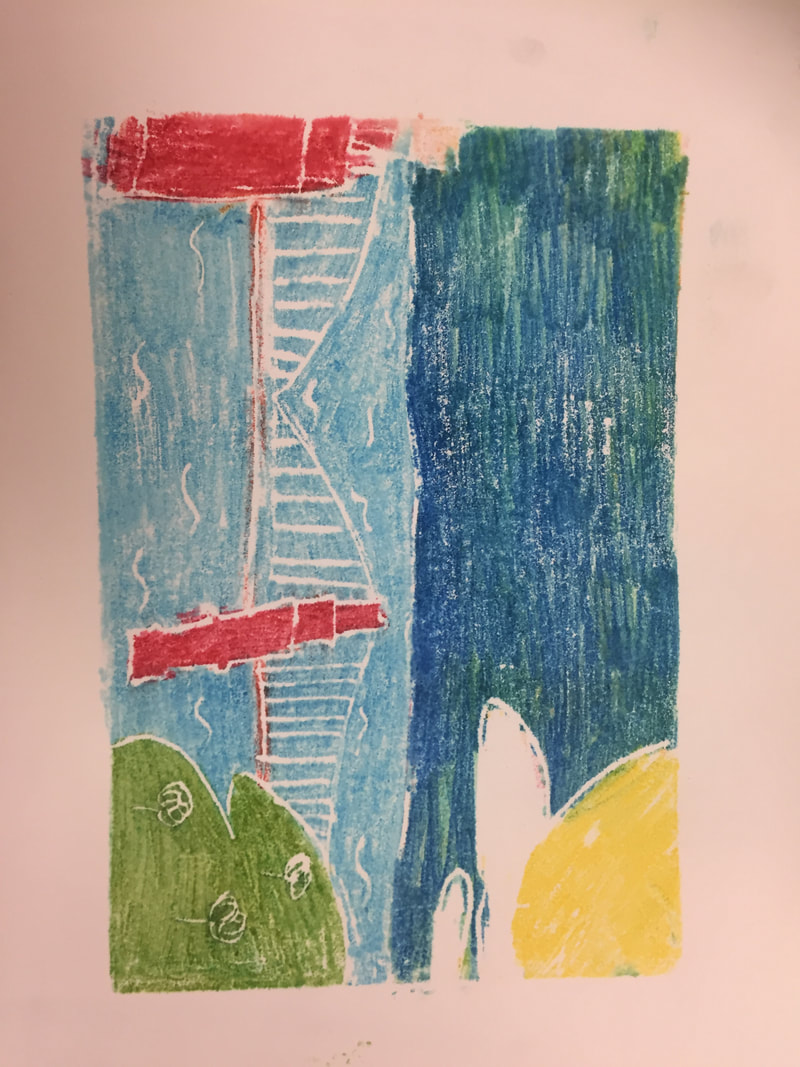
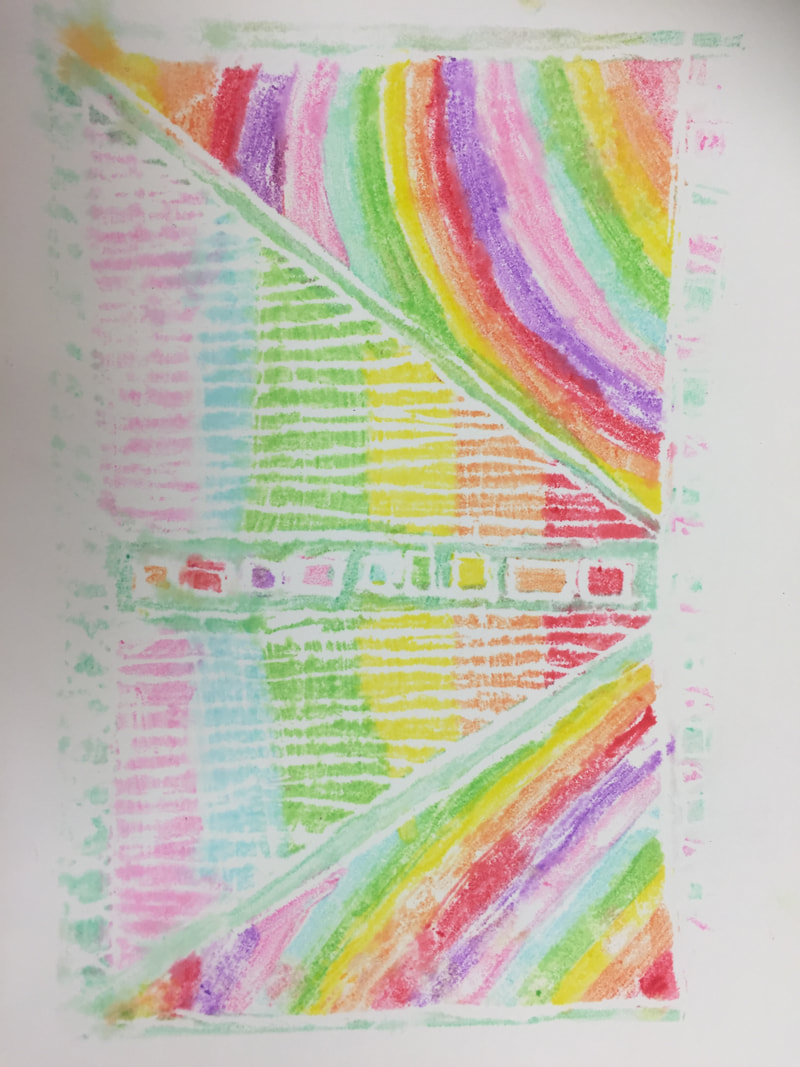
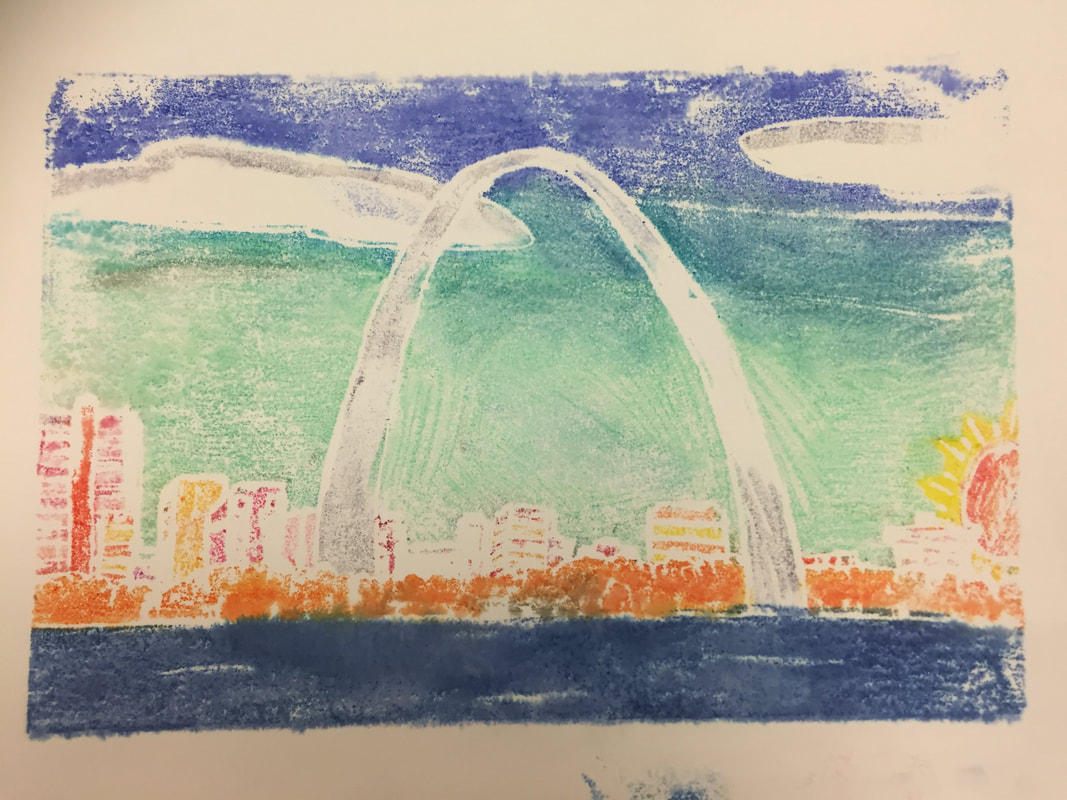
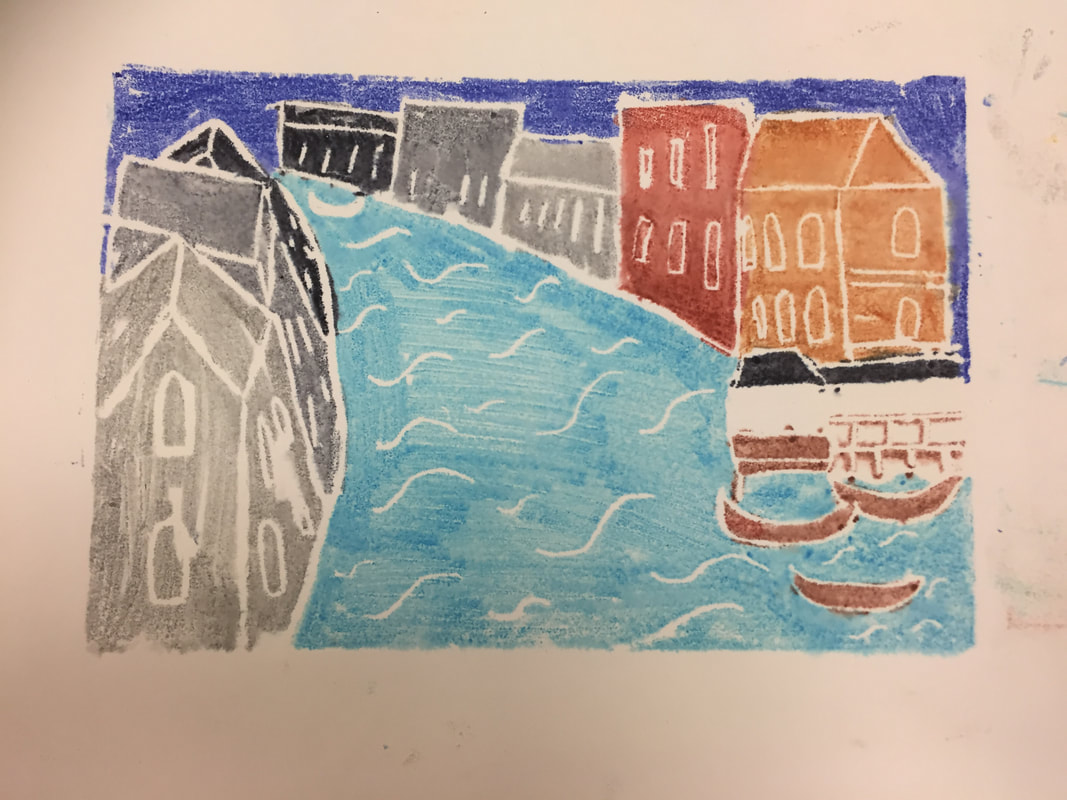
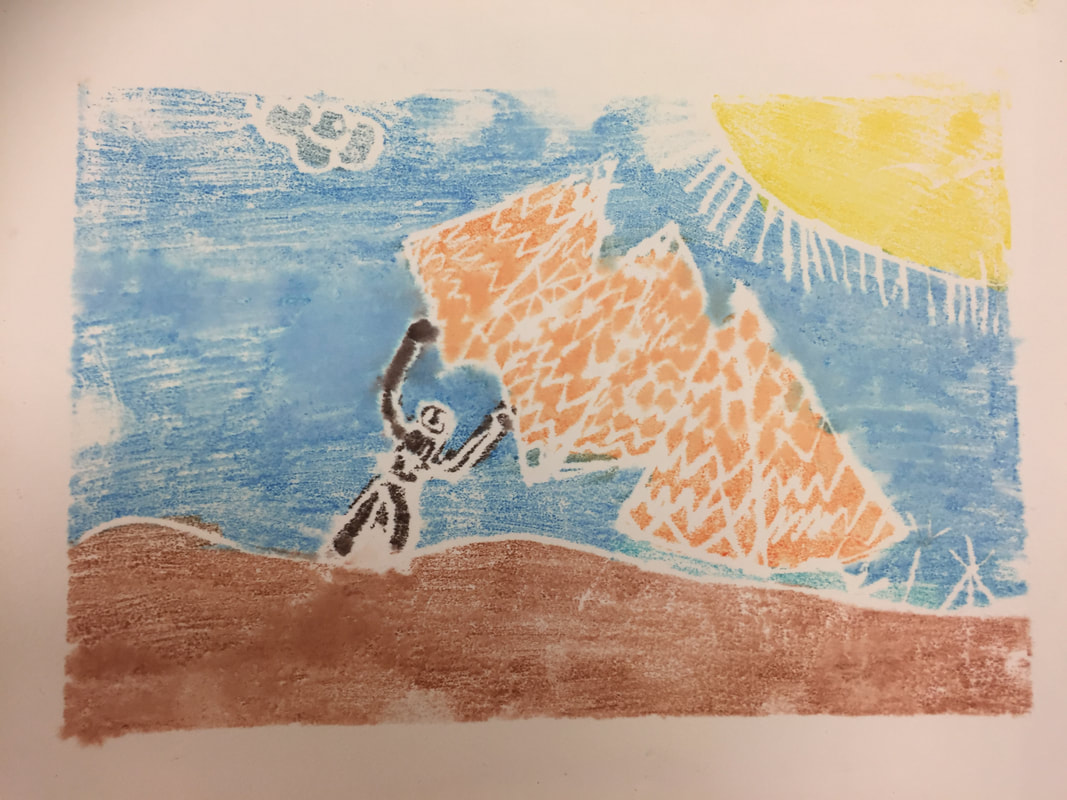
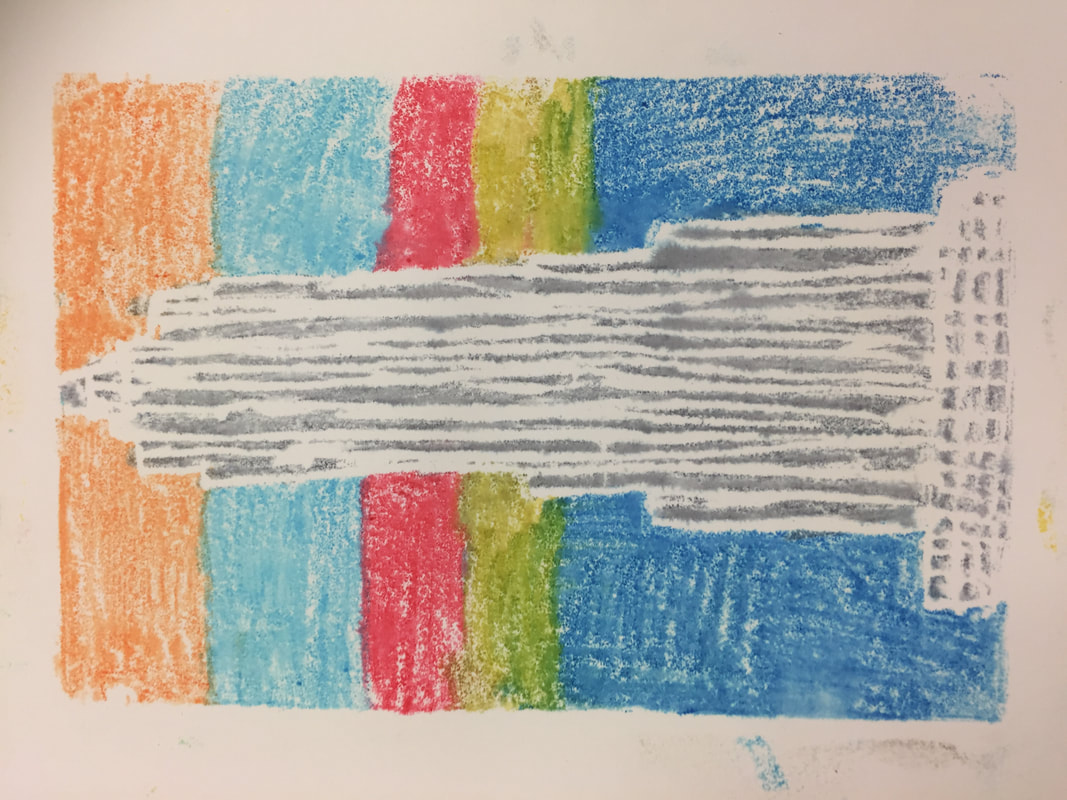
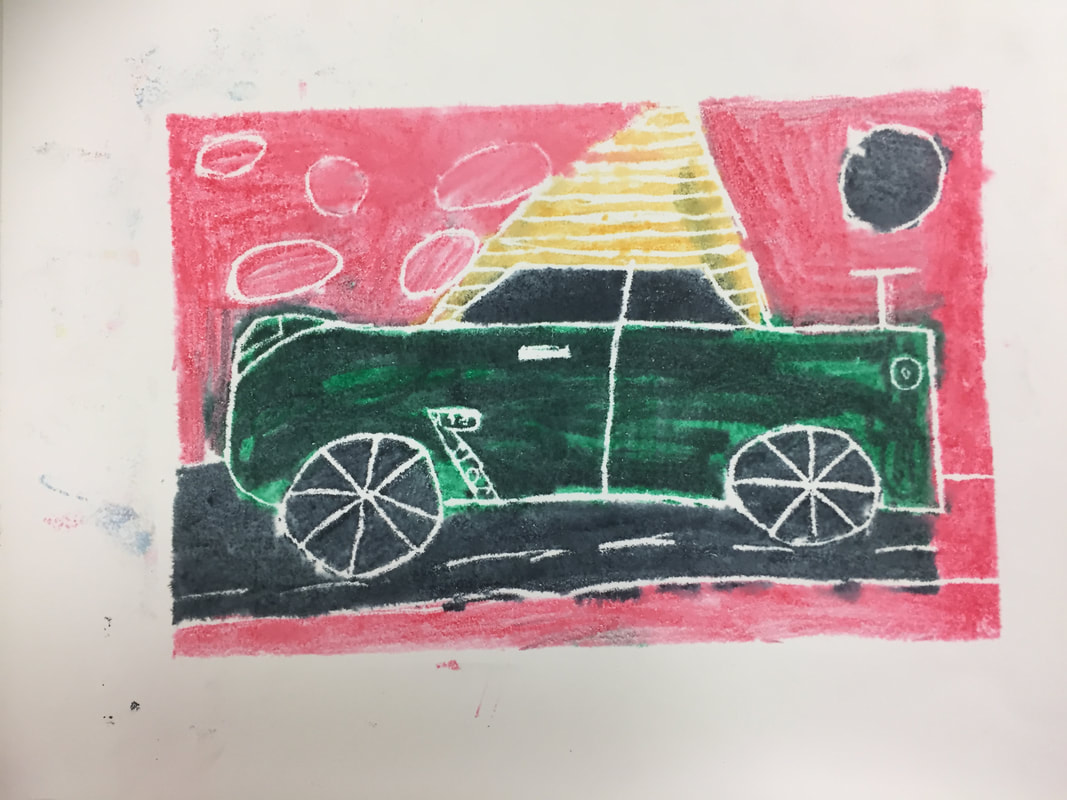
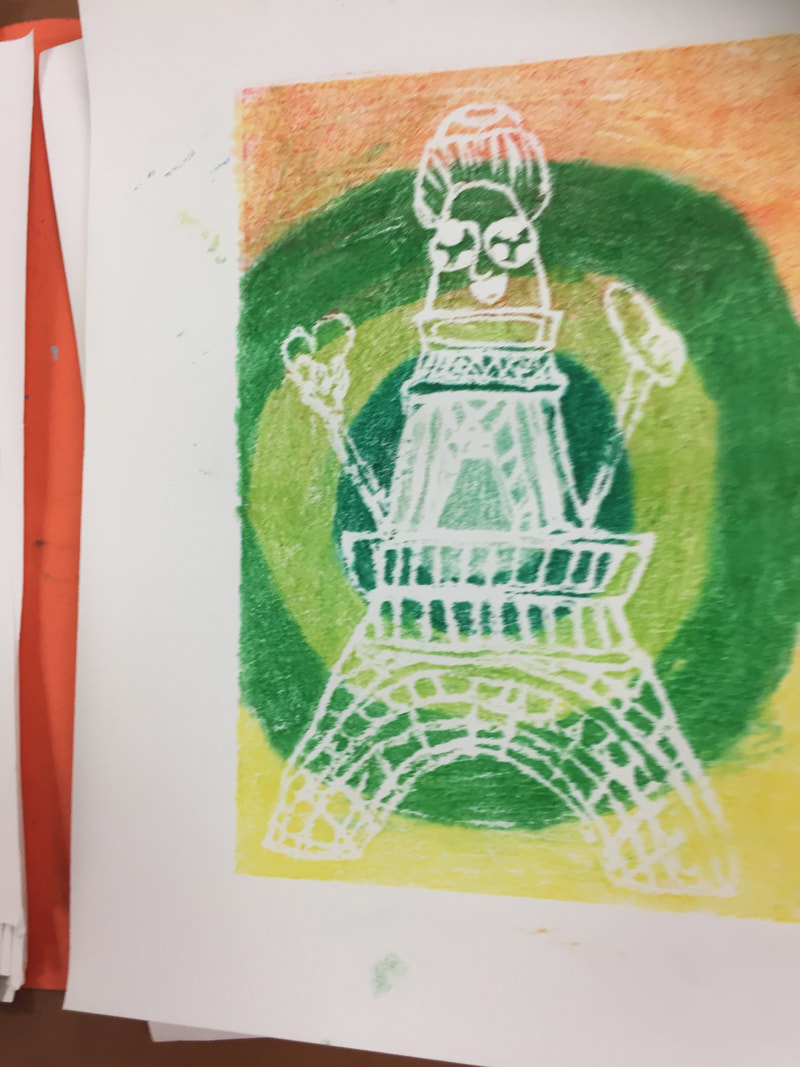
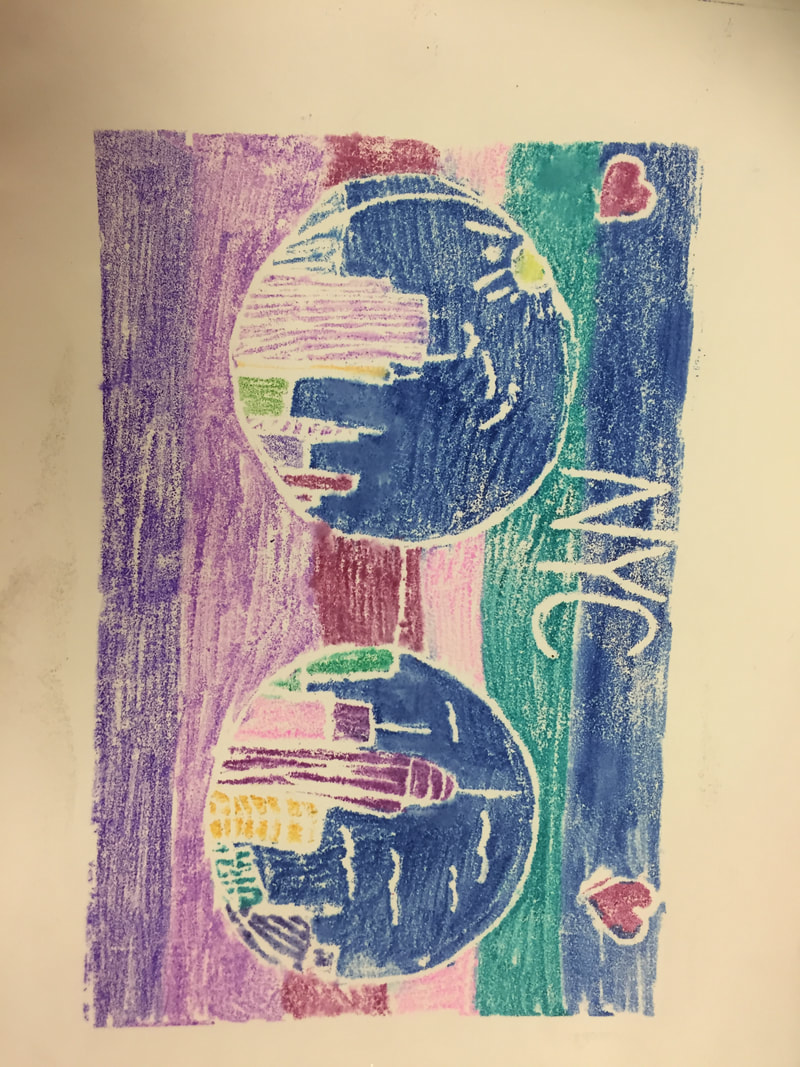
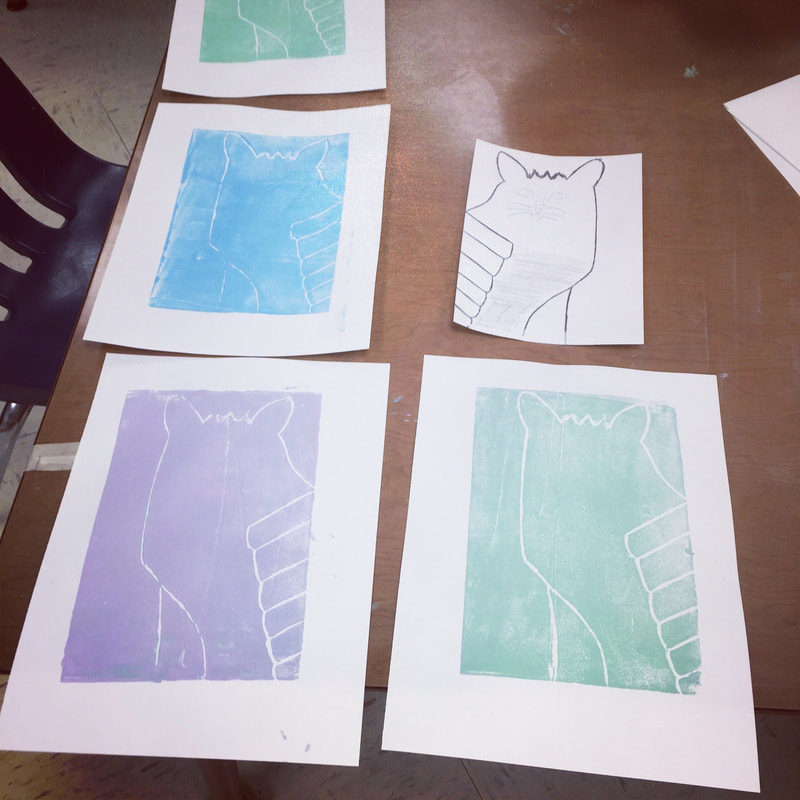
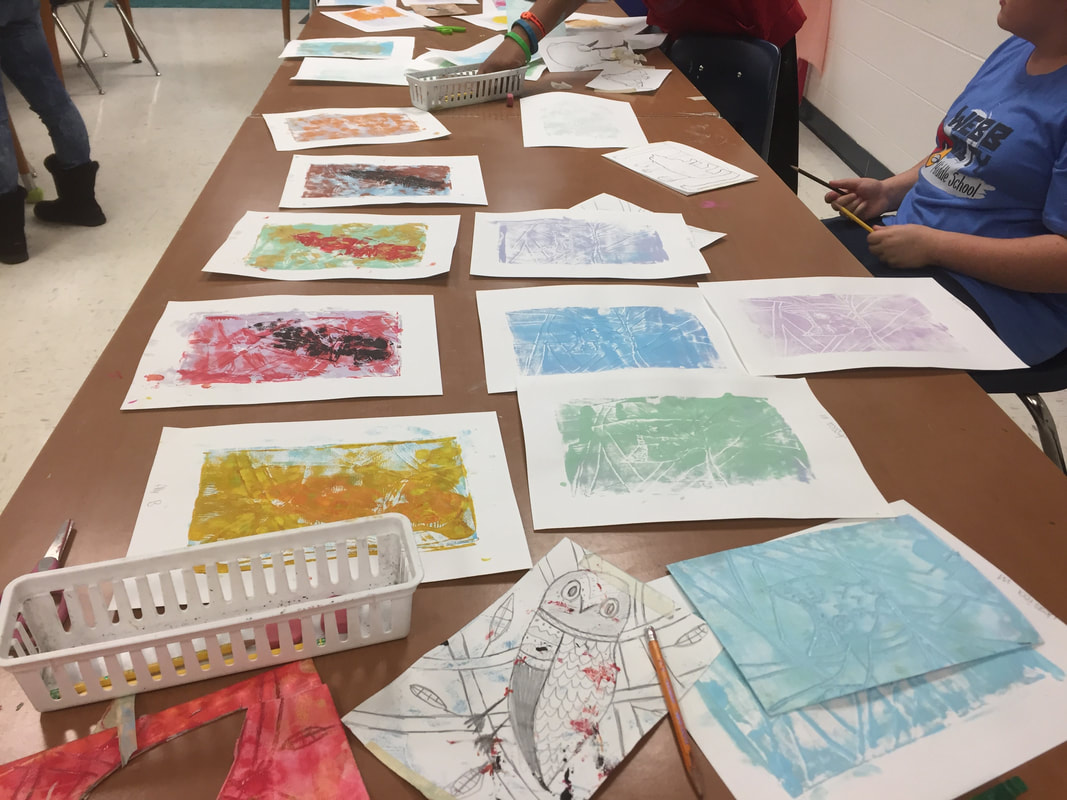
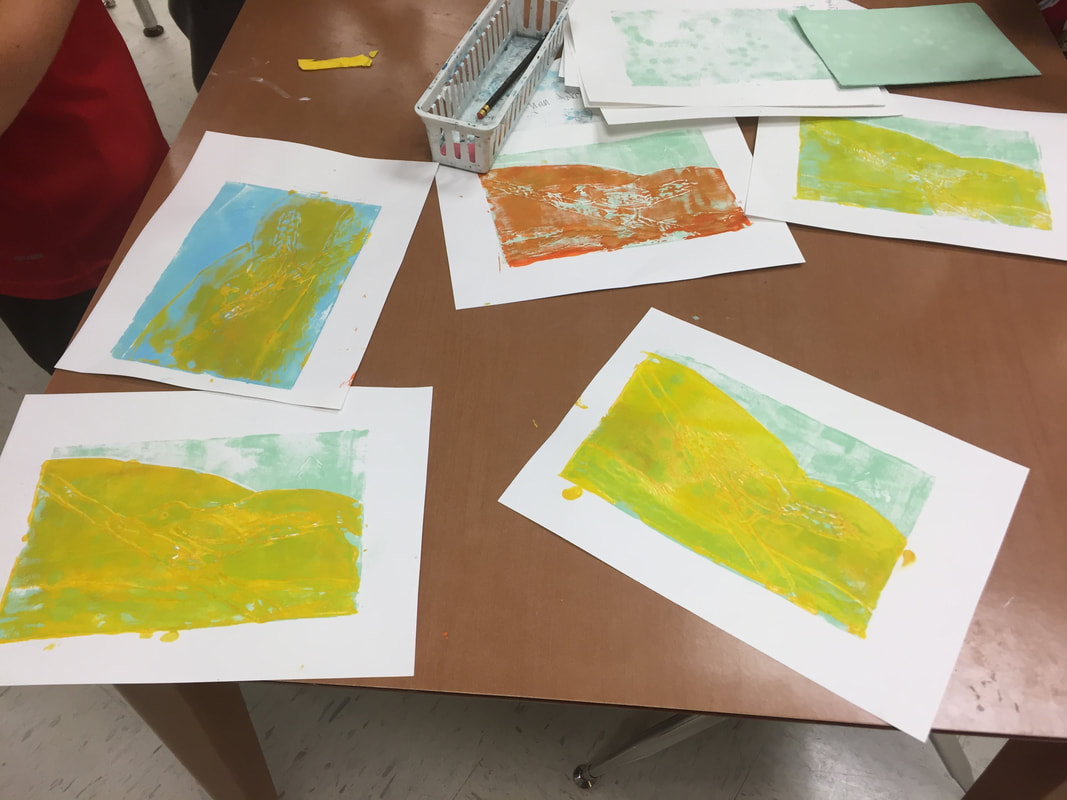
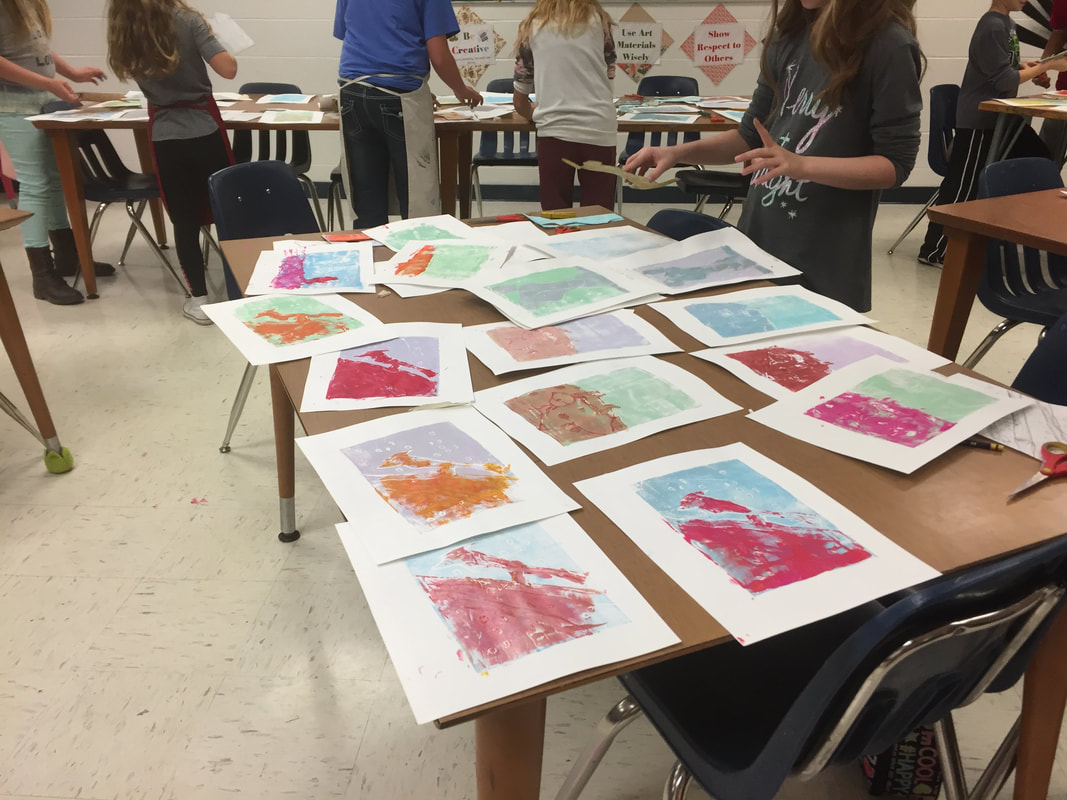
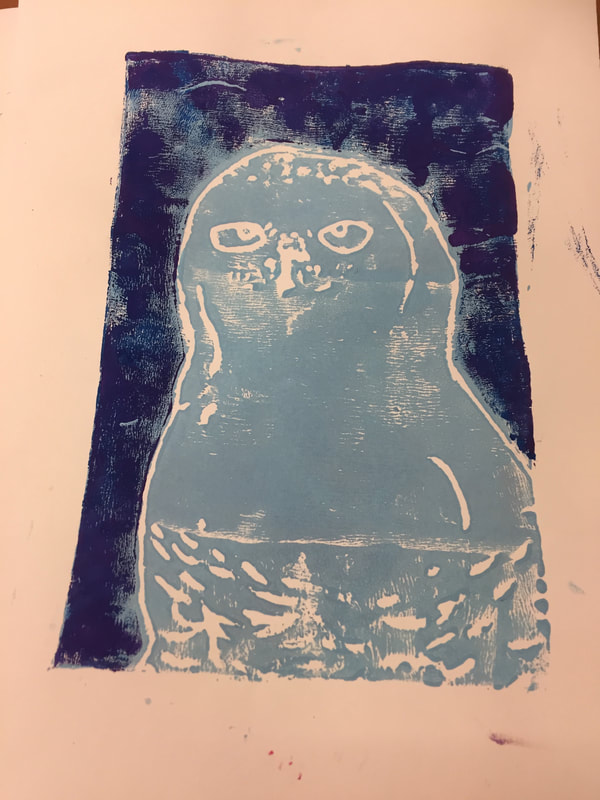
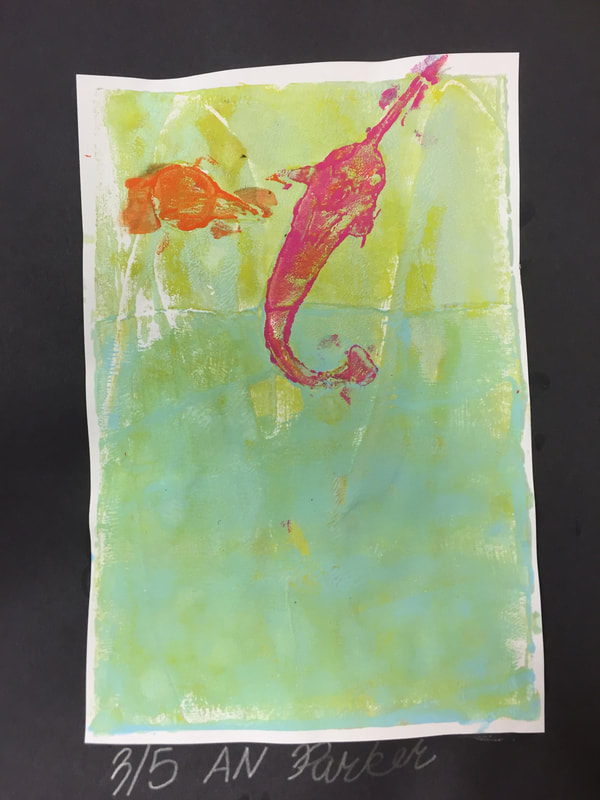
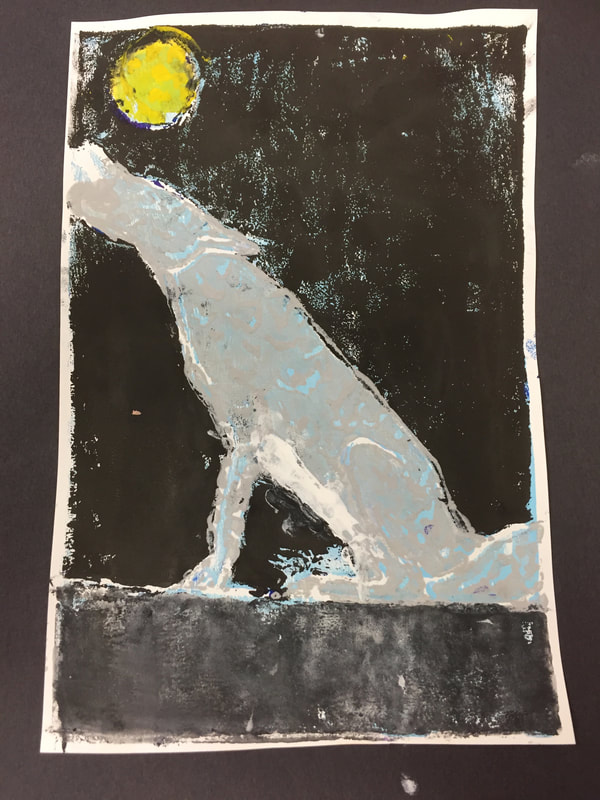
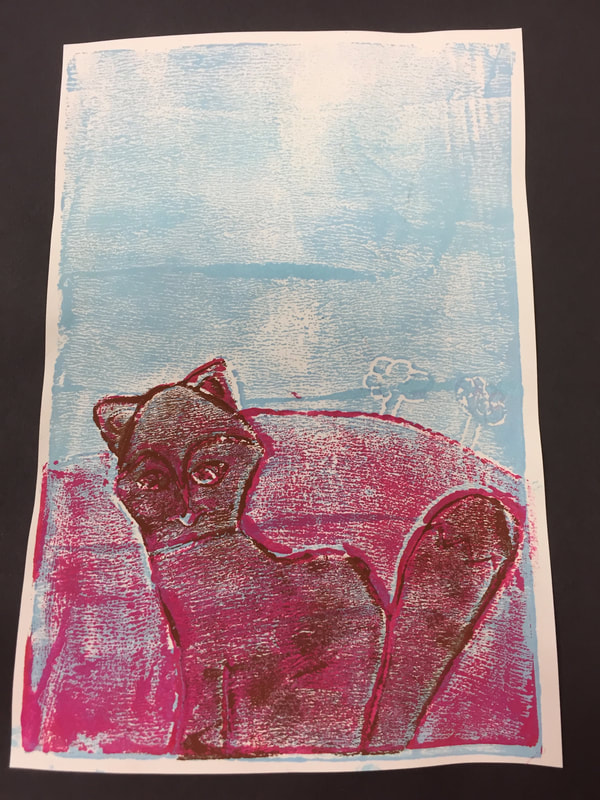
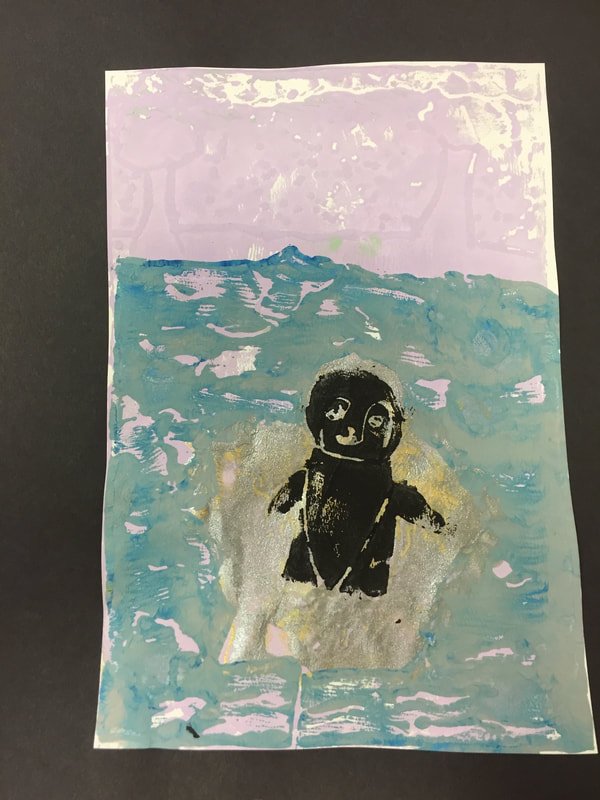
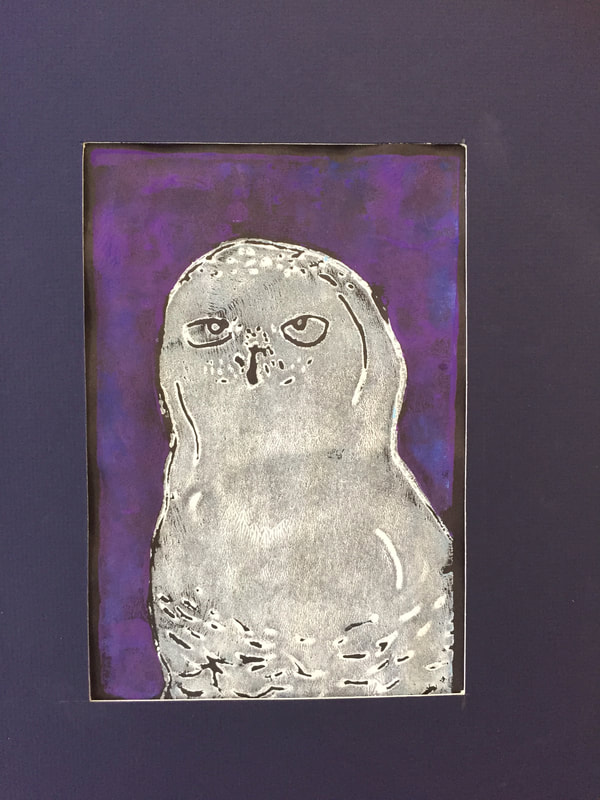
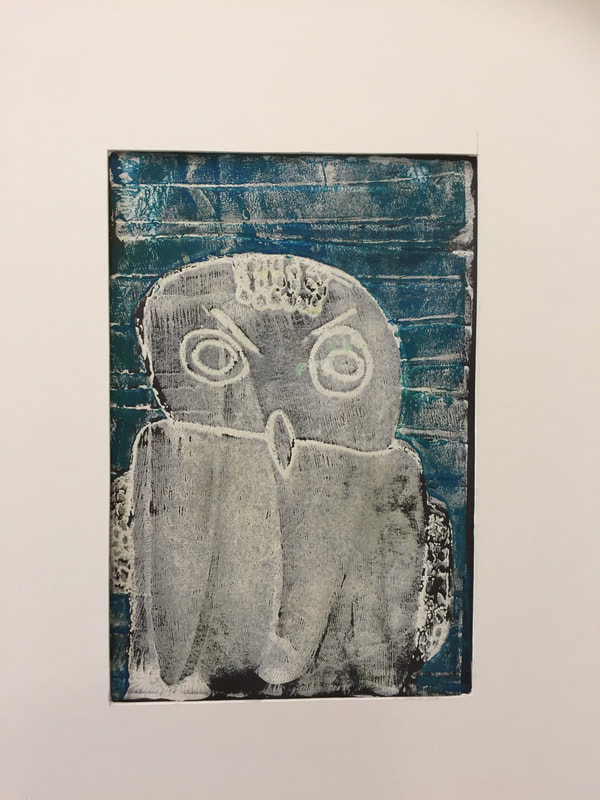
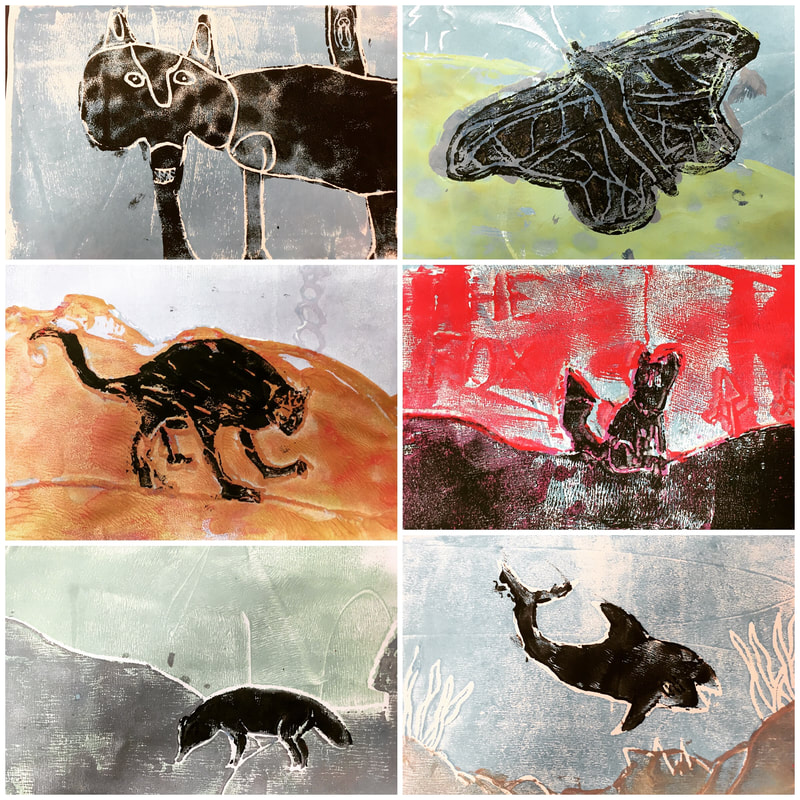
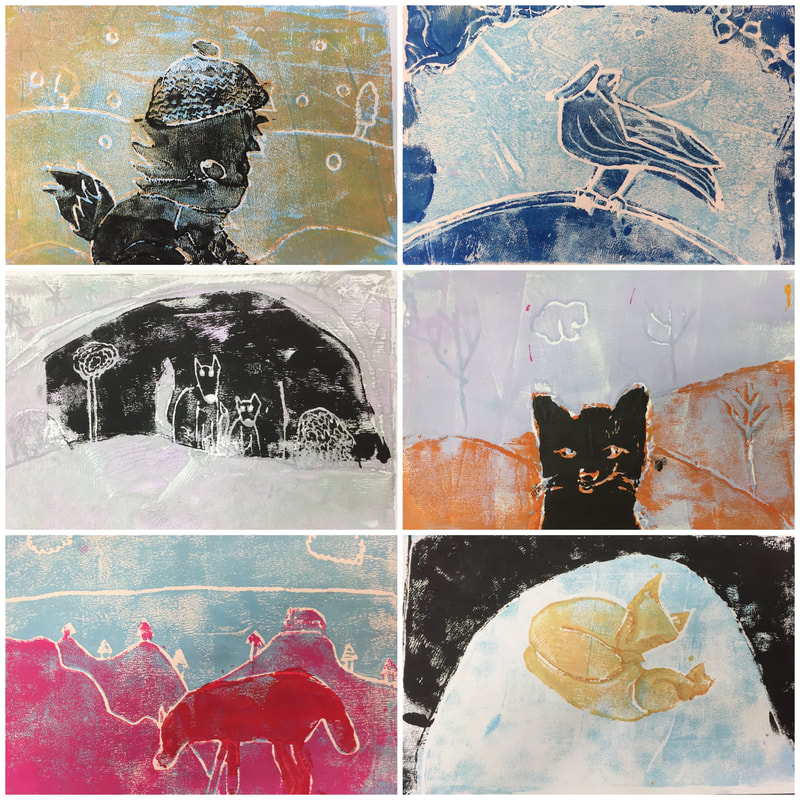
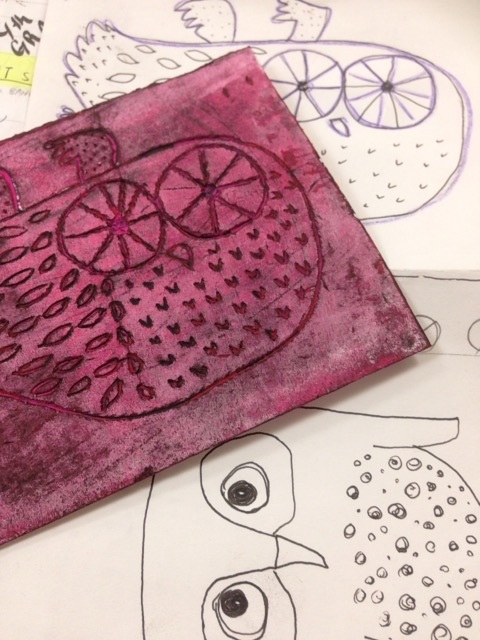
This was our catch up day for kids that needed to finish their drawing, finish carving the stamp and move on to something fun before the real action of printmaking with real printmaking ink. I decided to let them make a marker print with whatever colors they wanted, since we would be printing in solid colors for our finale. Not everyone had the opportunity to do the marker print, if they were absent or something but everyone who did was pretty happy with the results and so was I!
After I watched Cassie Stephen's marker print video, I knew I could do a quick demo for my students. So I drew a little 3X4 mini example under my document camera for each class to demonstrate the transfer process. I set myself up at the front with white paper and squirt bottle and let kids come to me for the sponge/spray sesh. I will say that a couple of kids messed up their foam plates because they pressed WAY too hard with the markers and it carved a texture into the foam. Next time, I will stress that they do not need to press hard with the markers, just gently cover the surface.
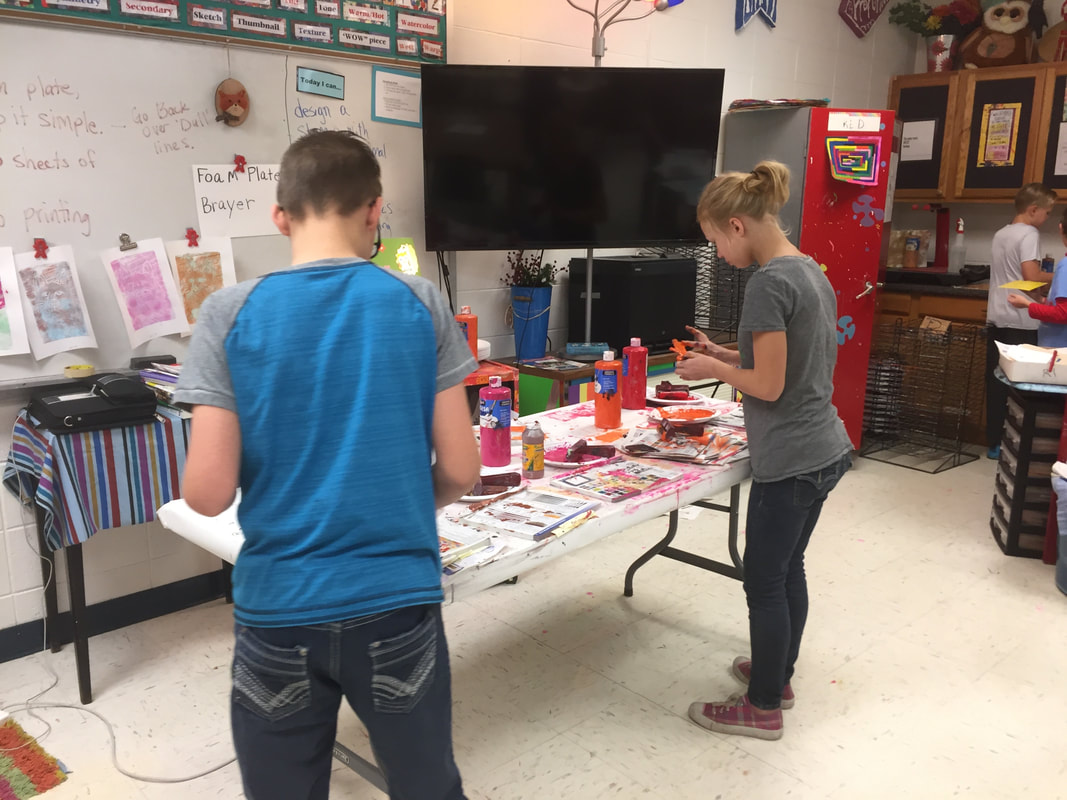
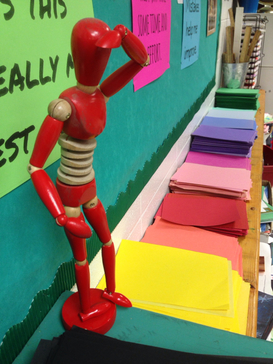
The other thing students needed to do on day 3, was to shop for paper for printing. I had each student select 4 papers to print on and write their name in pencil in the corner. This way, everyone would have their name on their papers for printing day. I had a big table set up with all types of paper, old maps, colored copy paper, patterned scrapbook paper, construction paper, sheet music, whatever I could find that was easy to chop into 9X12 pieces.
Supplies
foam plates
washable markers
spray bottle
sponge
9X12 white paper
This was our catch up day for kids that needed to finish their drawing, finish carving the stamp and move on to something fun before the real action of printmaking with real printmaking ink. I decided to let them make a marker print with whatever colors they wanted, since we would be printing in solid colors for our finale. Not everyone had the opportunity to do the marker print, if they were absent or something but everyone who did was pretty happy with the results and so was I!
After I watched Cassie Stephen's marker print video, I knew I could do a quick demo for my students. So I drew a little 3X4 mini example under my document camera for each class to demonstrate the transfer process. I set myself up at the front with white paper and squirt bottle and let kids come to me for the sponge/spray sesh. I will say that a couple of kids messed up their foam plates because they pressed WAY too hard with the markers and it carved a texture into the foam. Next time, I will stress that they do not need to press hard with the markers, just gently cover the surface.
The other thing students needed to do on day 3, was to shop for paper for printing. I had each student select 4 papers to print on and write their name in pencil in the corner. This way, everyone would have their name on their papers for printing day. I had a big table set up with all types of paper, old maps, colored copy paper, patterned scrapbook paper, construction paper, sheet music, whatever I could find that was easy to chop into 9X12 pieces.
Supplies
foam plates
washable markers
spray bottle
sponge
9X12 white paper
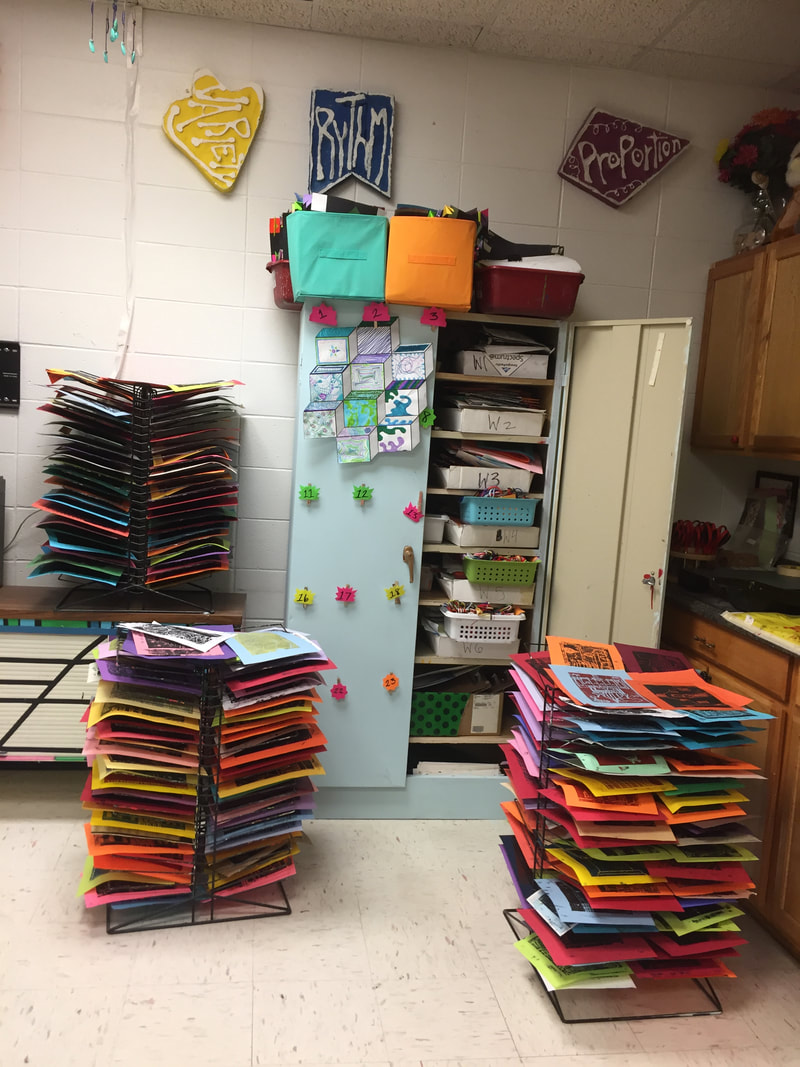
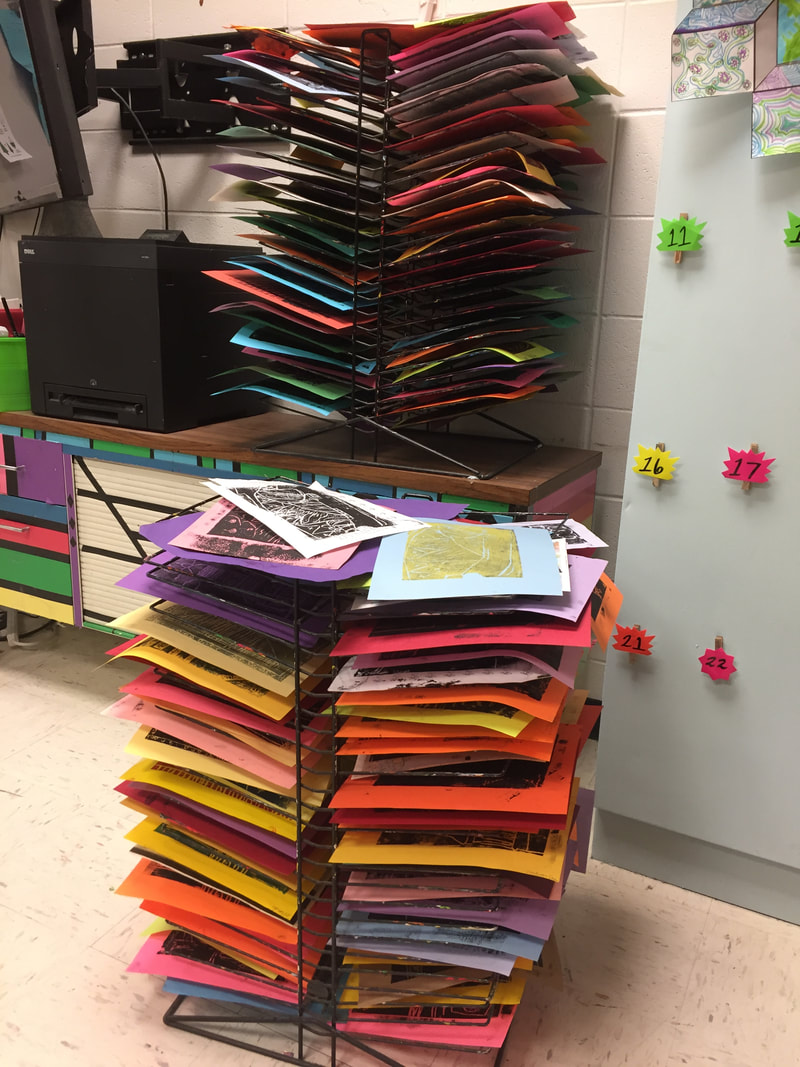
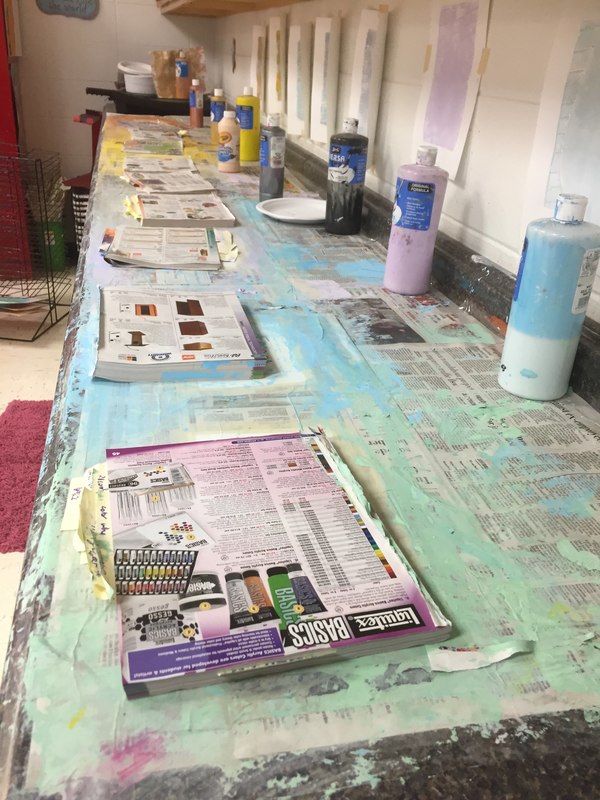
VERY Full drying racks at the end of the day

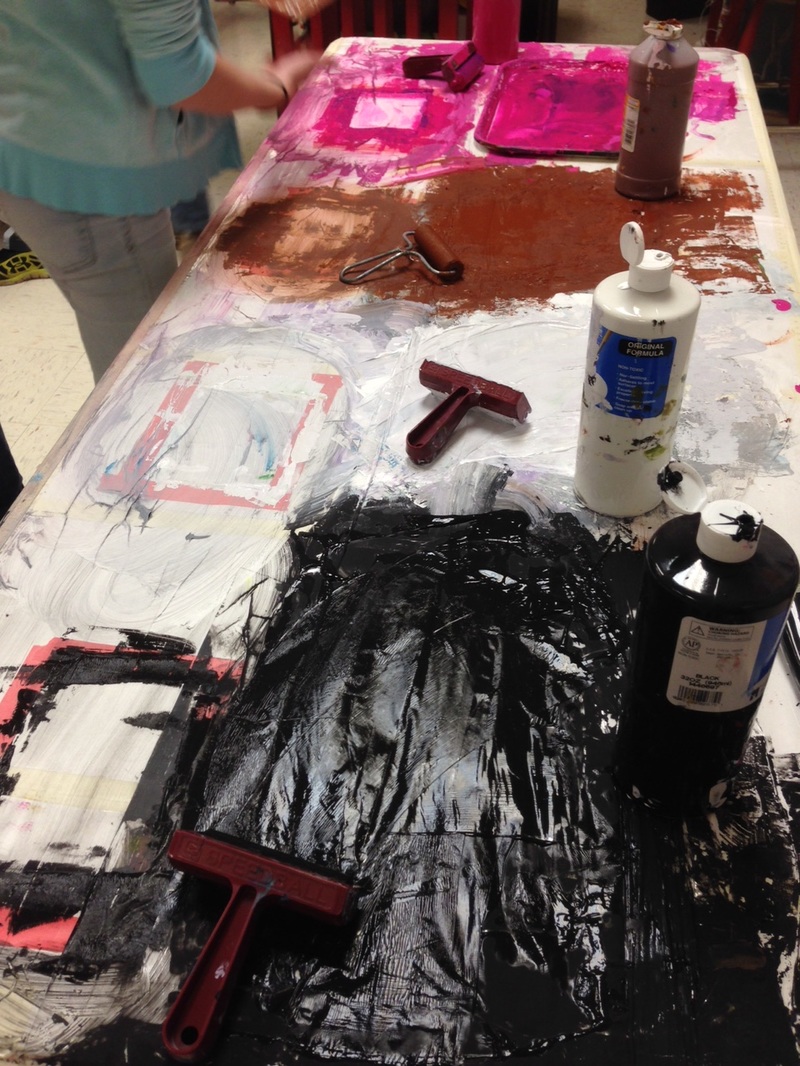
Black ink at the table
Day 4
PRINTING
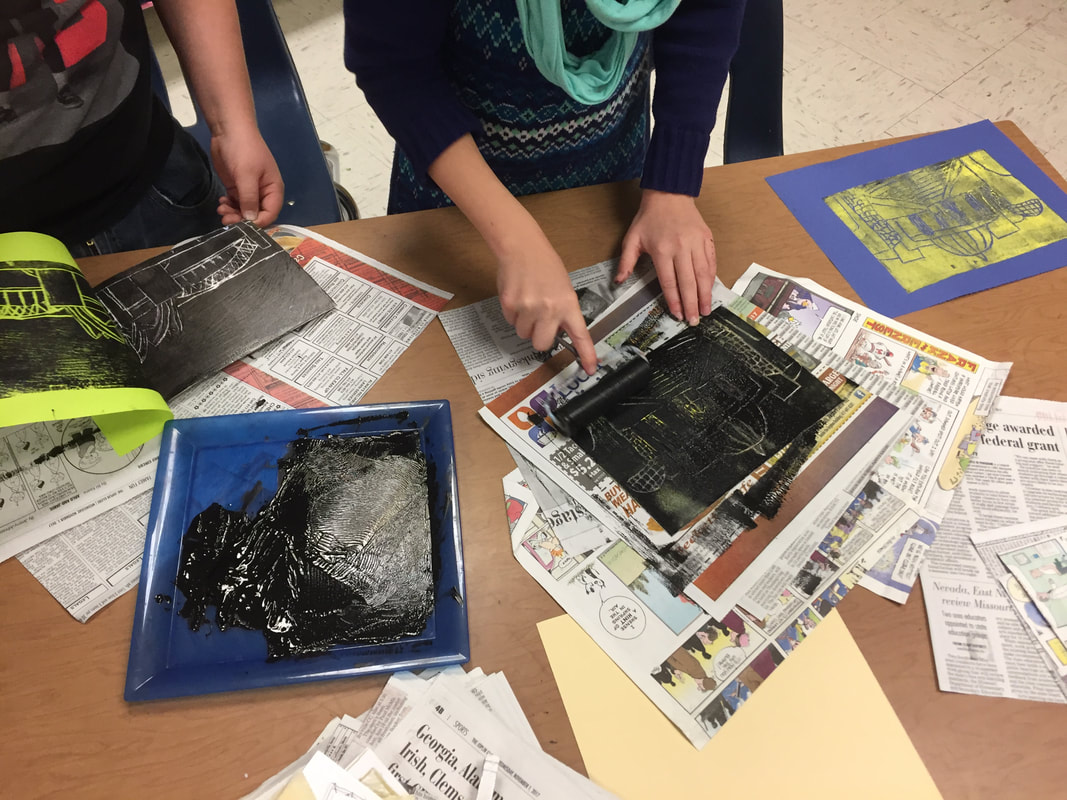
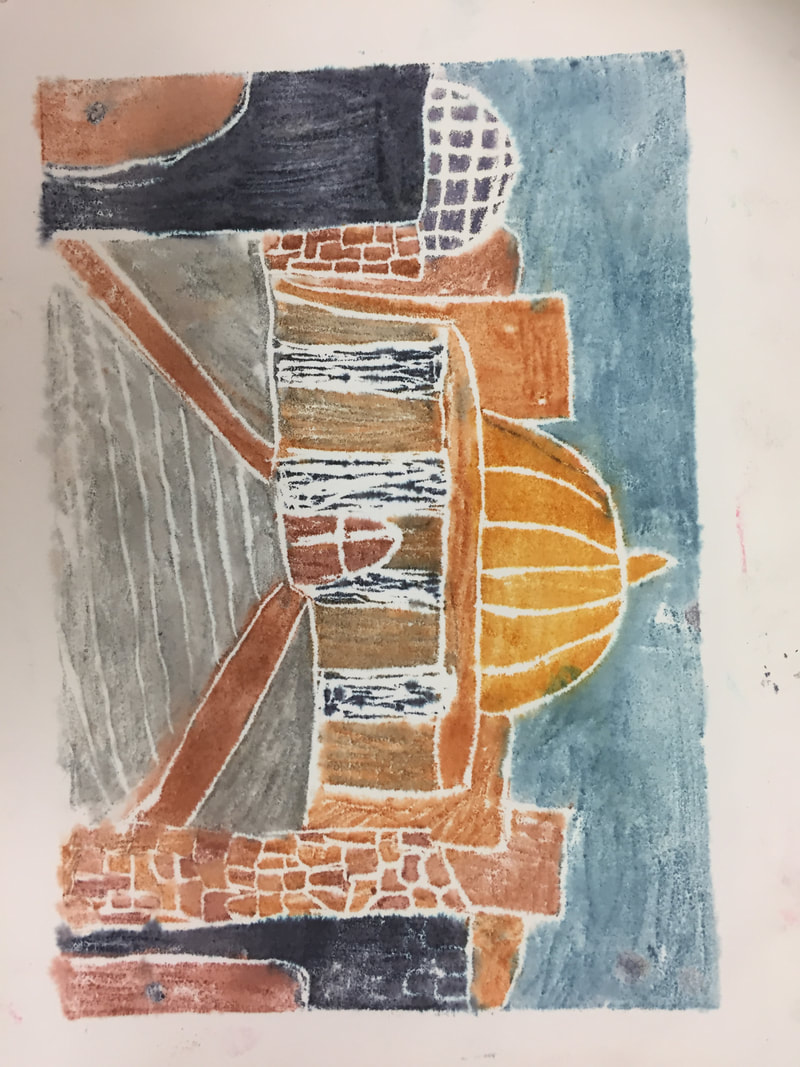
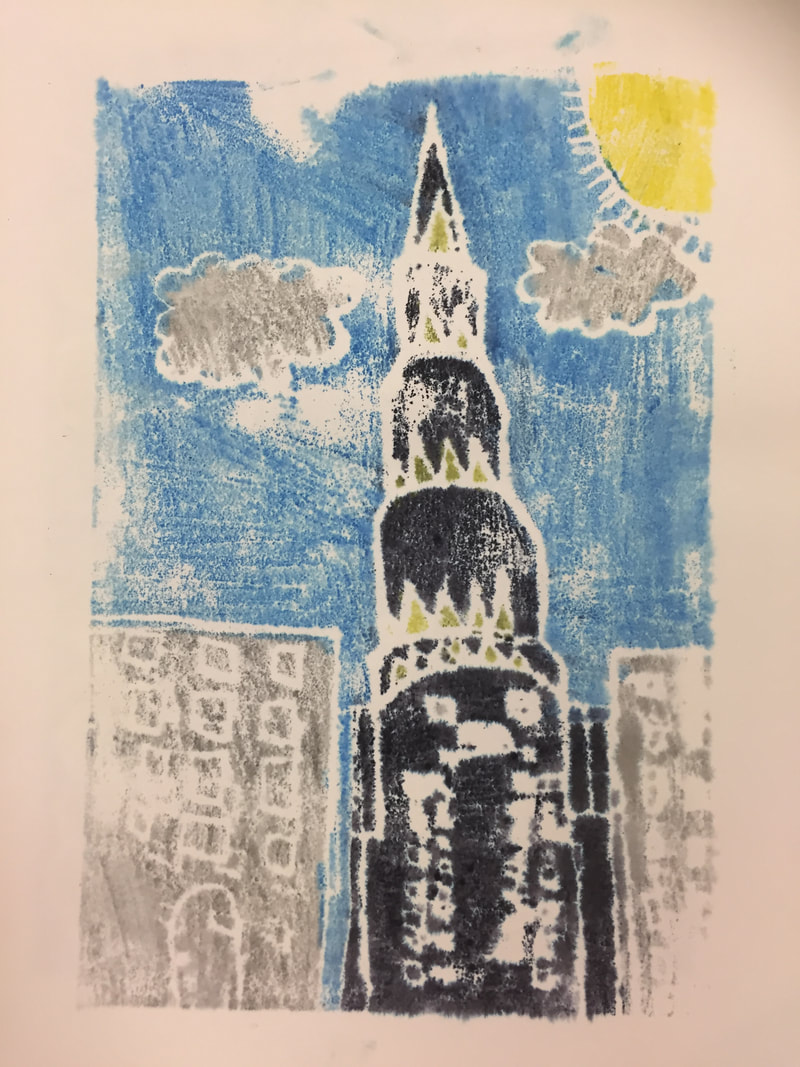
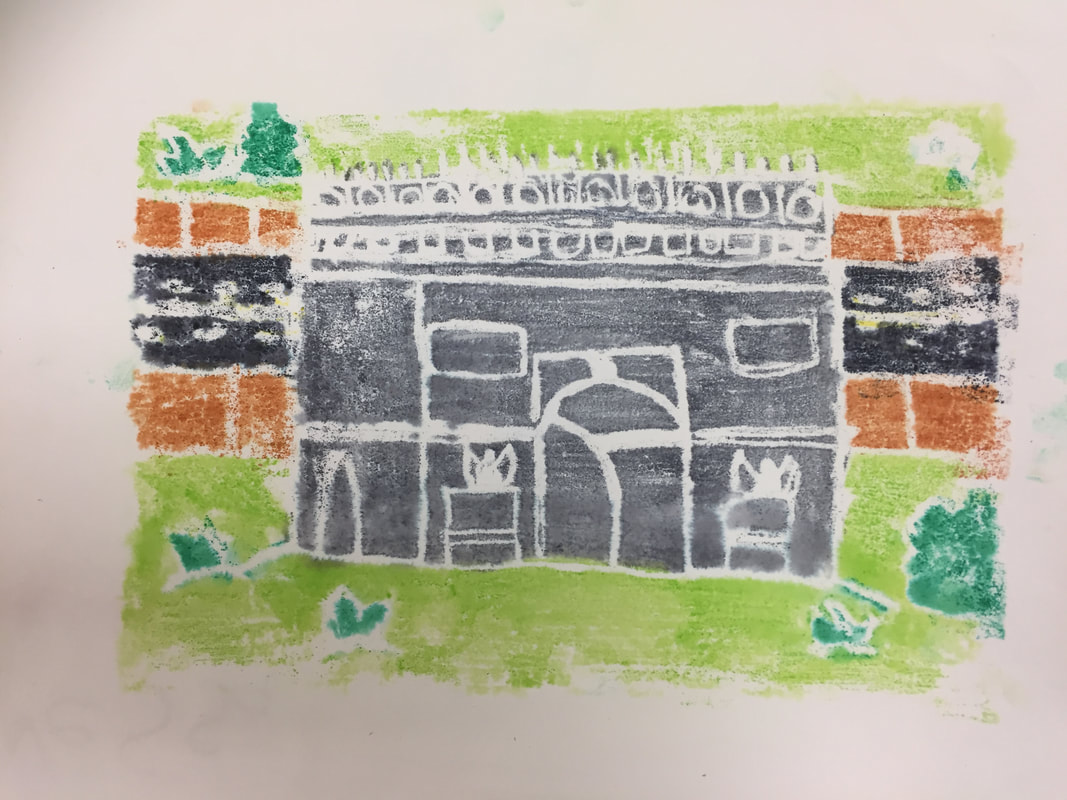
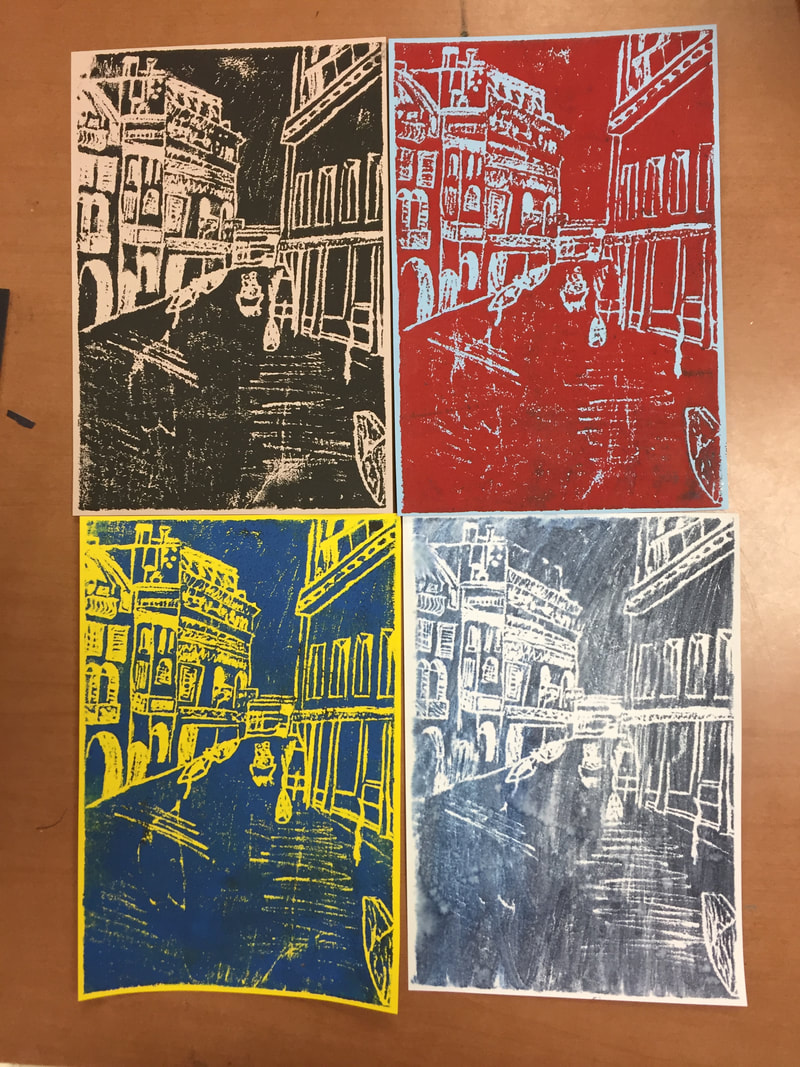
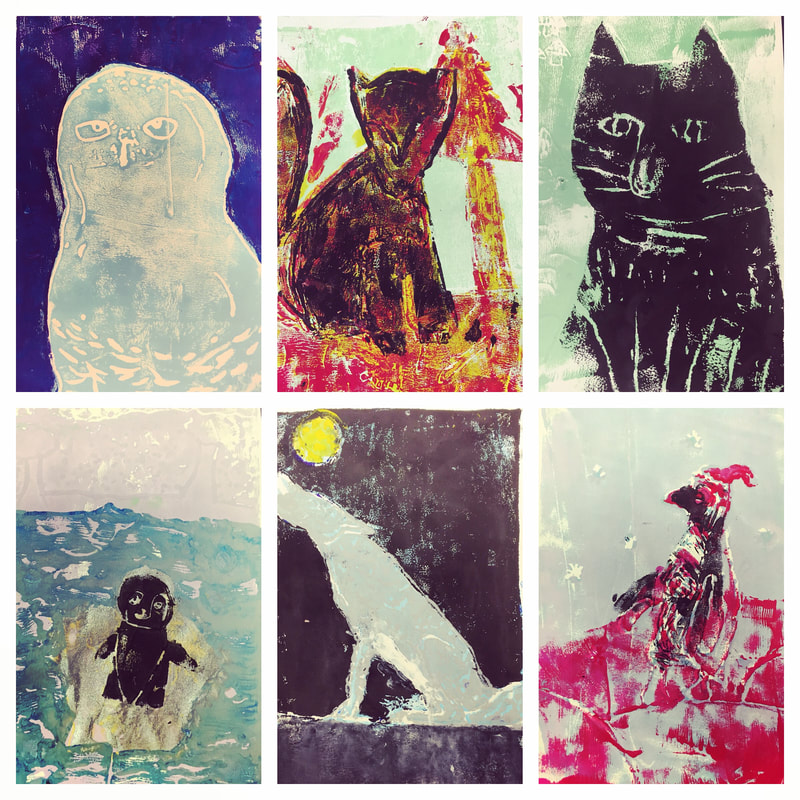
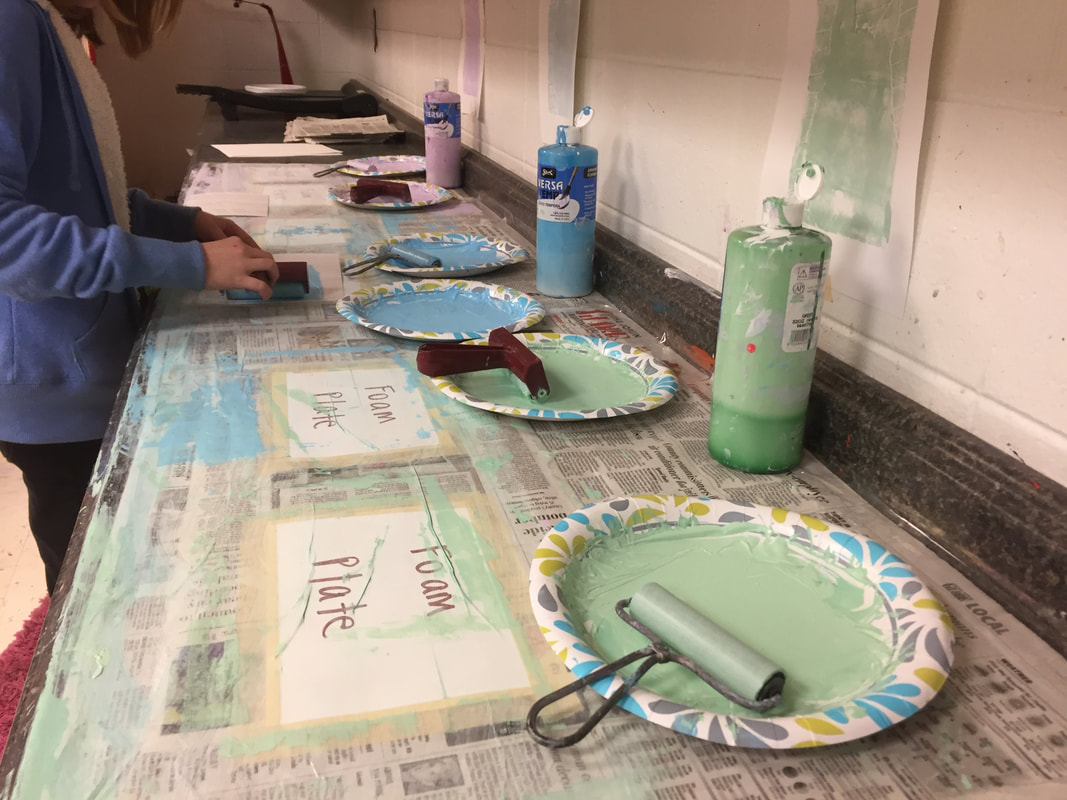
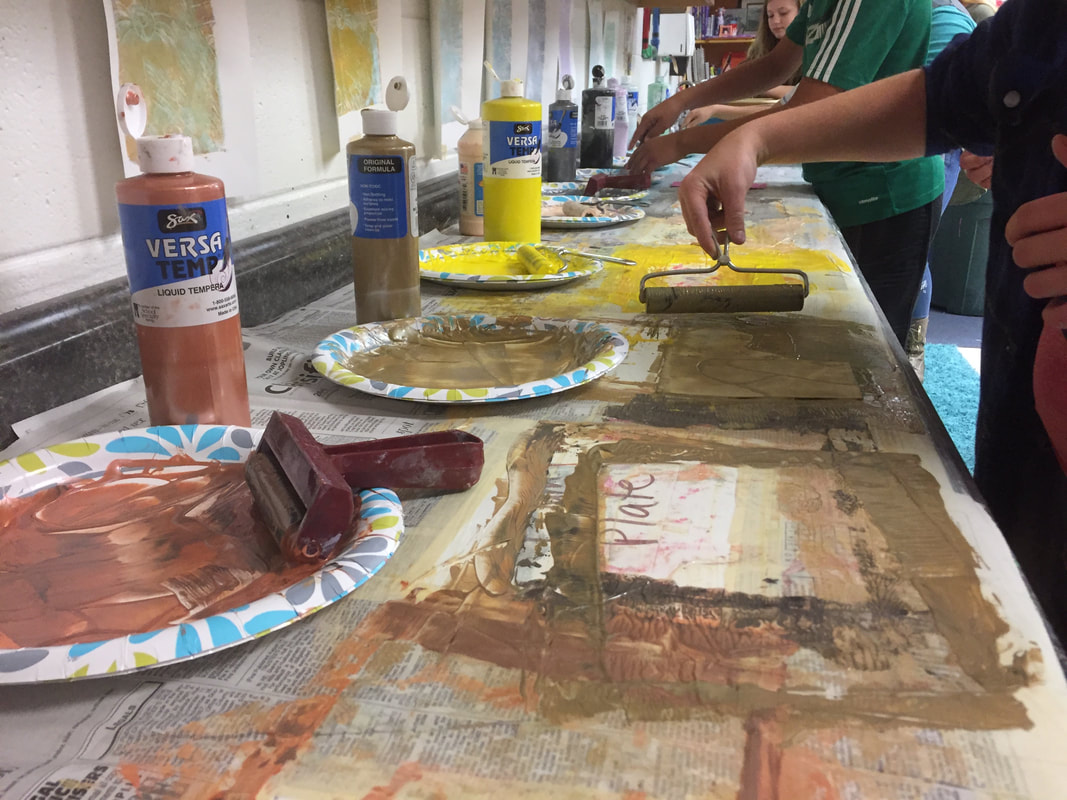
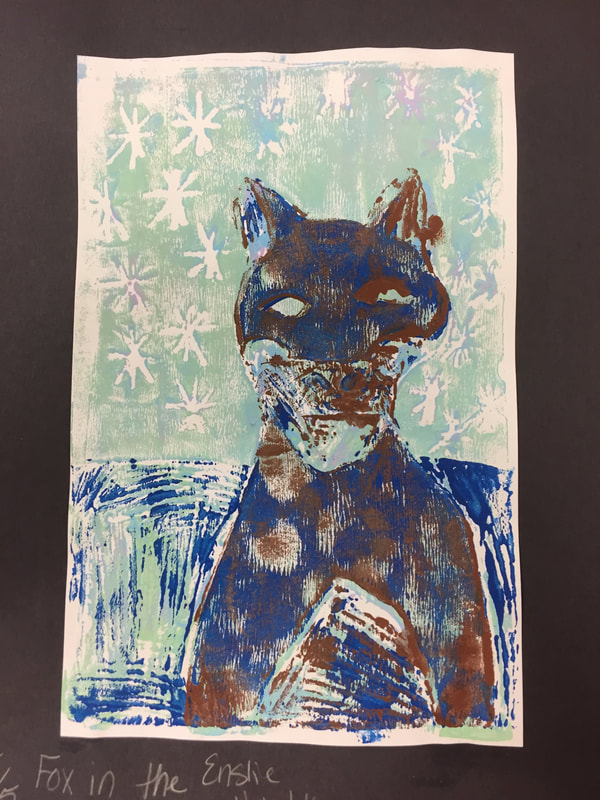
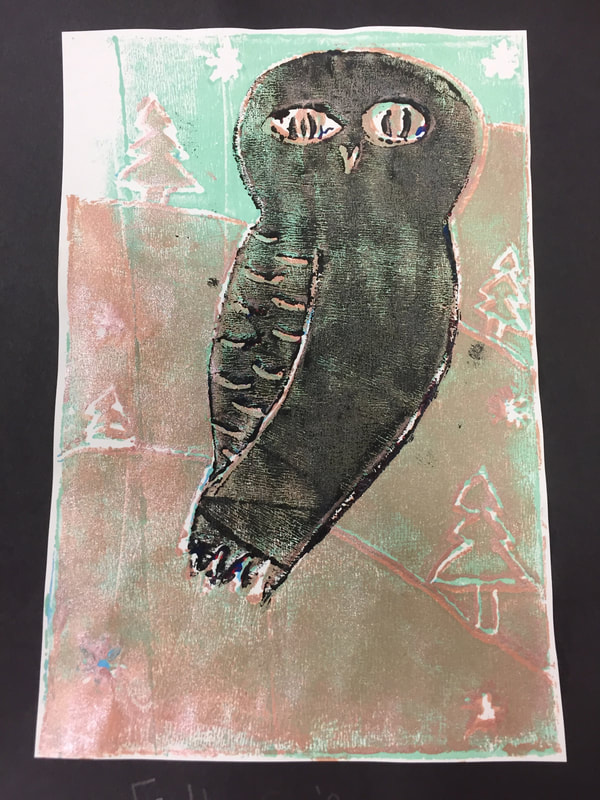
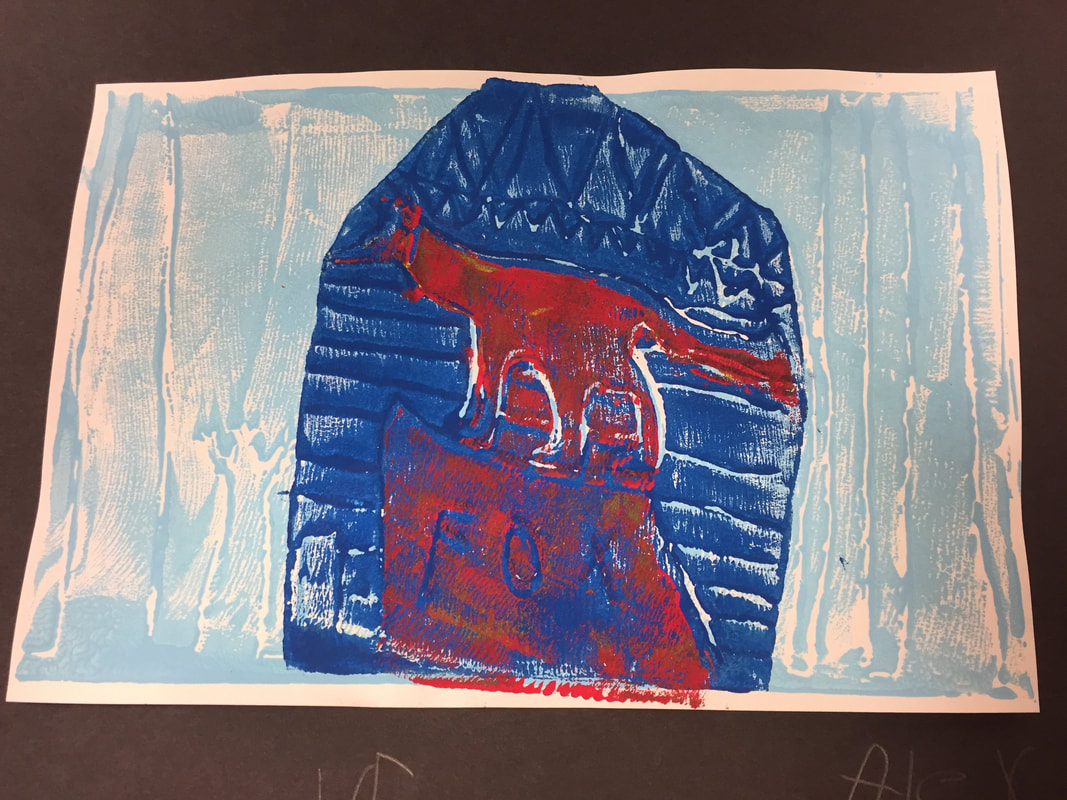
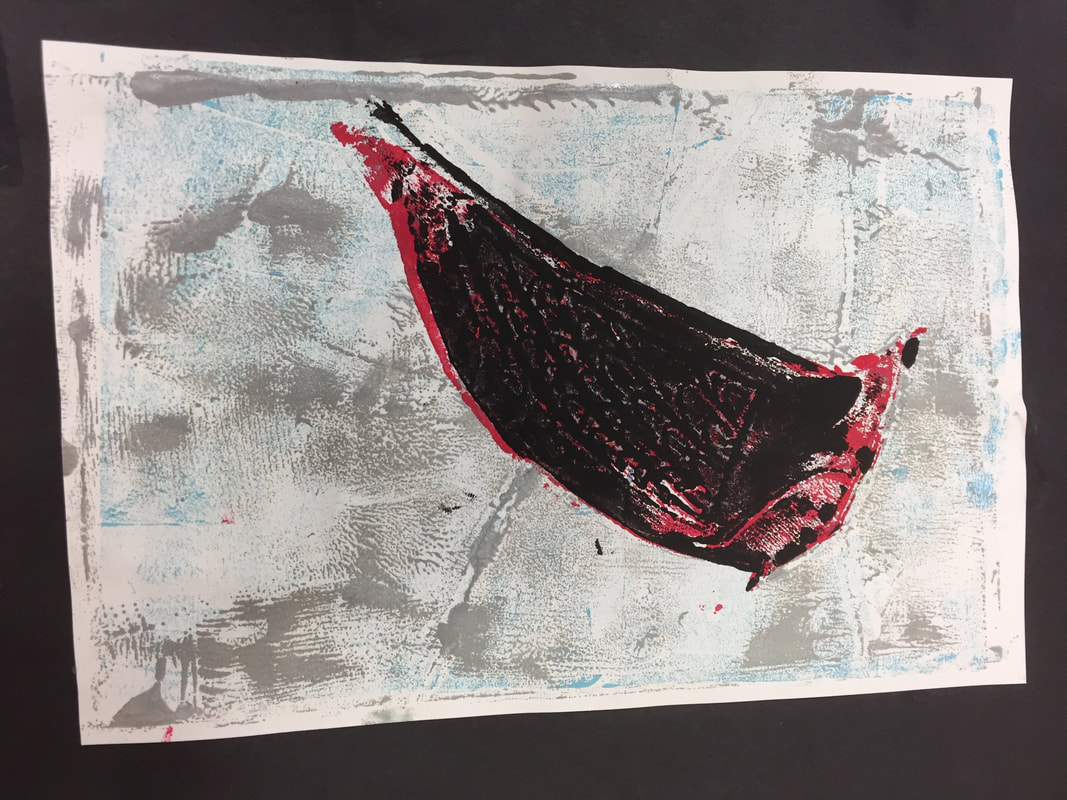
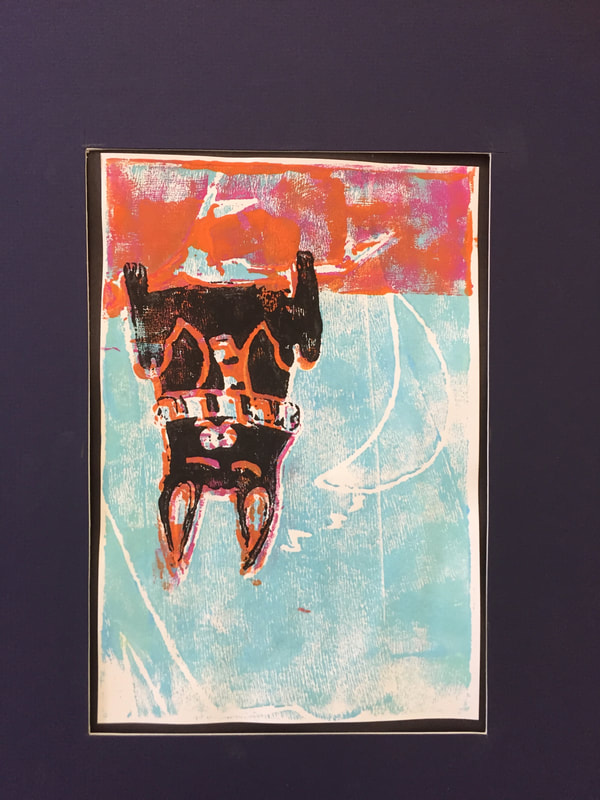
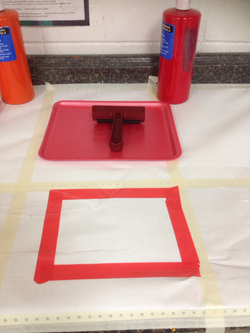
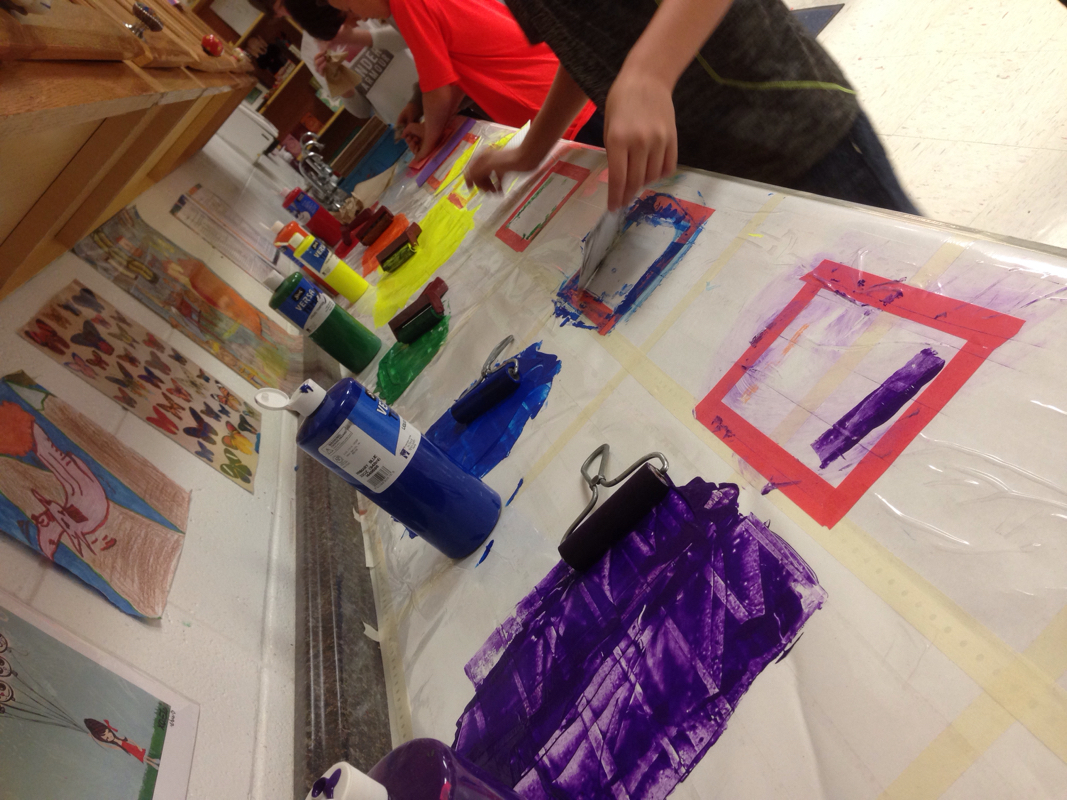
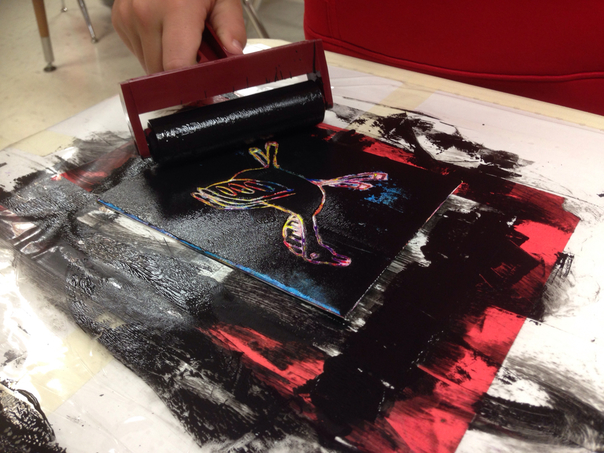
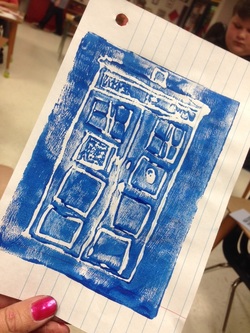
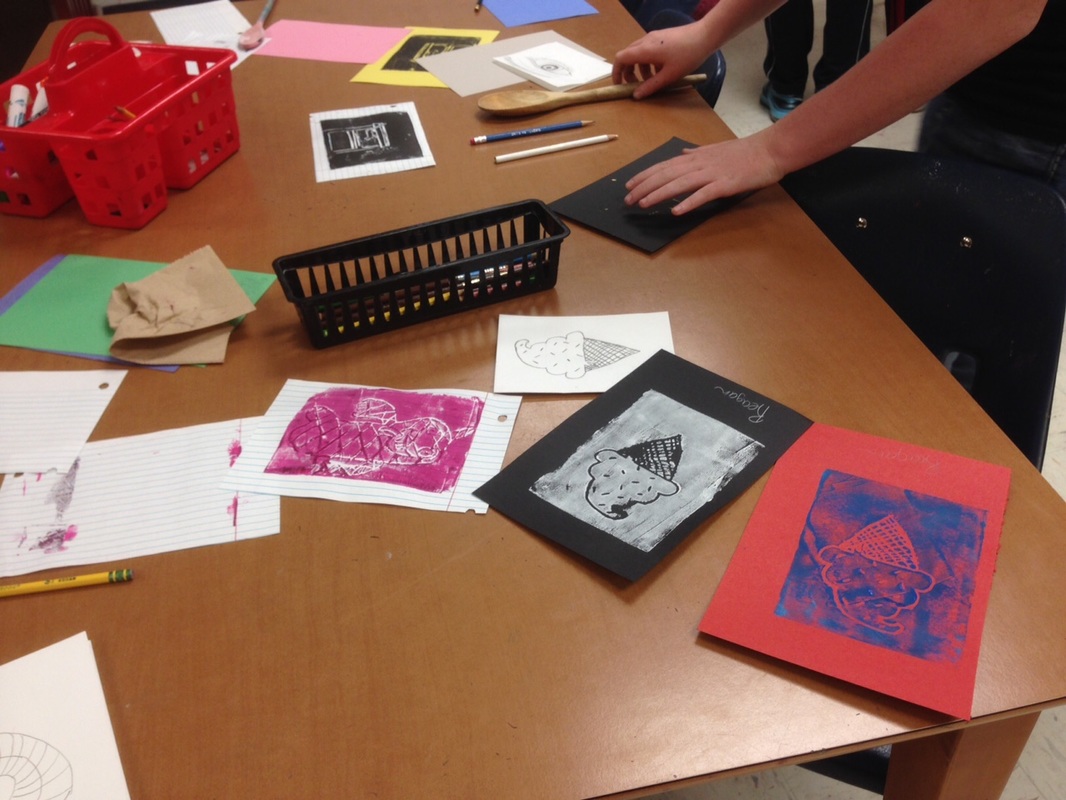
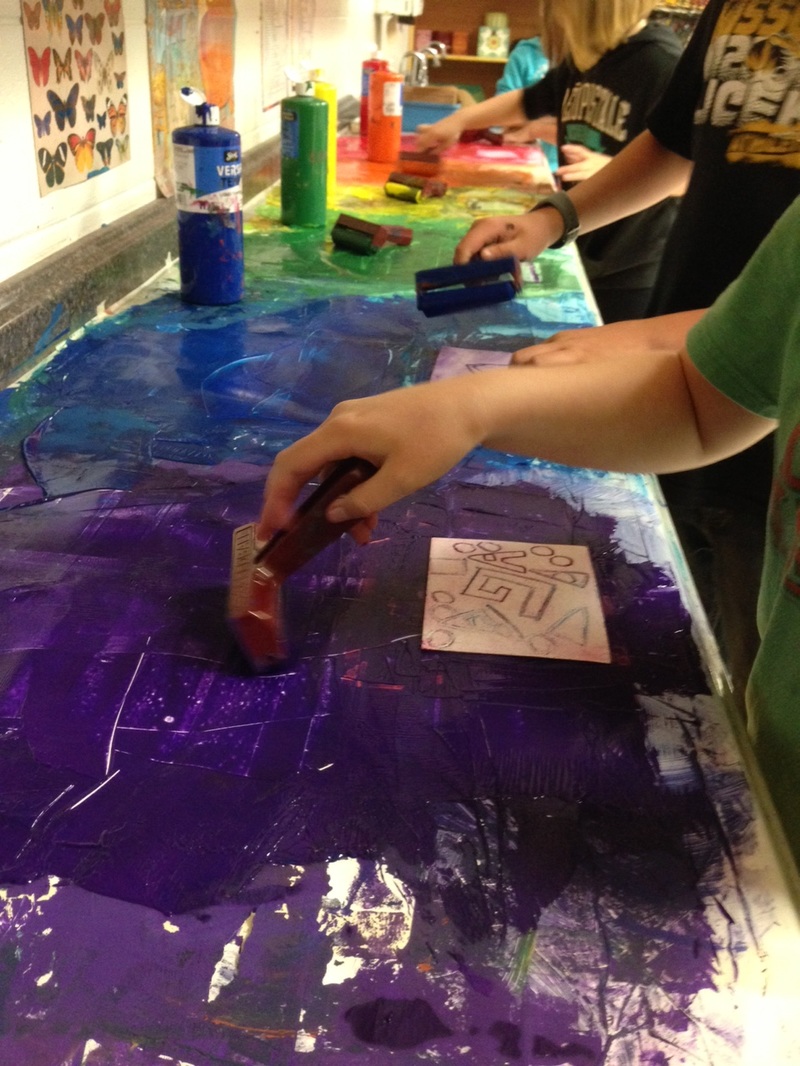
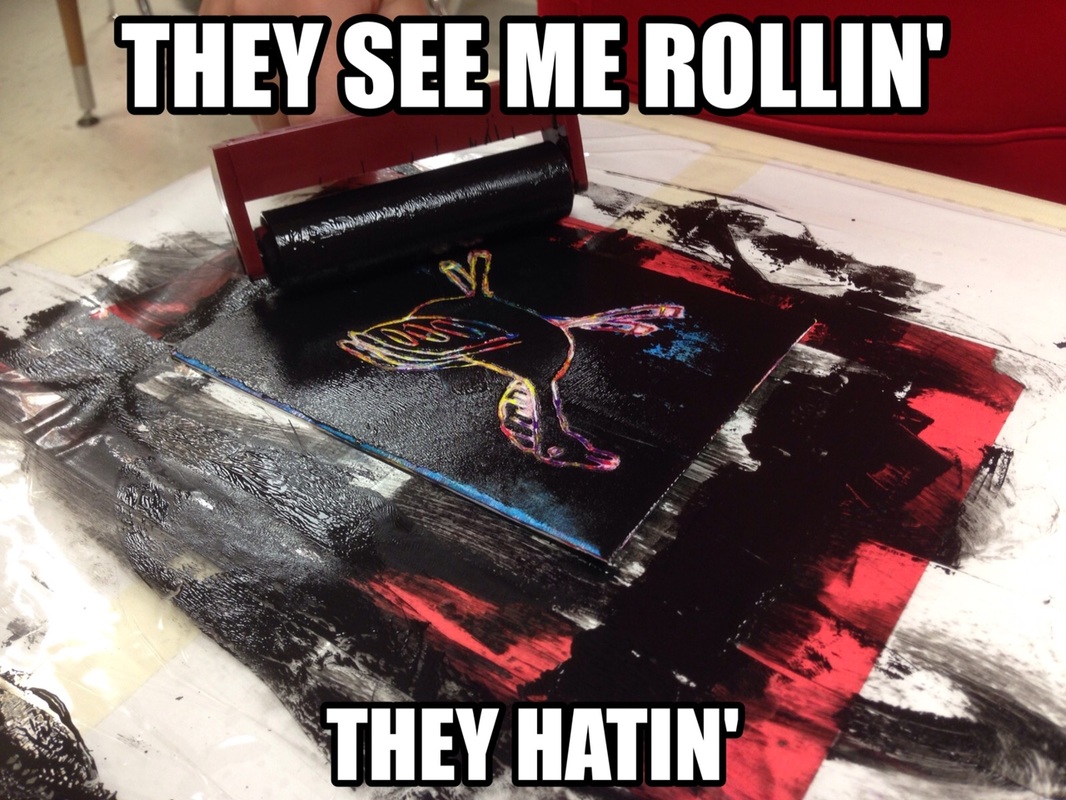
I showed my students Cassie Stephen's printmaking video in order to demonstrate how to actually print. It was SO helpful and perfect for this project. I set up the black ink on each table (I passed it out after we watched the video) and I set up colored ink at stations around the room. I wanted some students to be able to move around and some working at the table so there wouldn't be a huge line waiting to print at any given time.
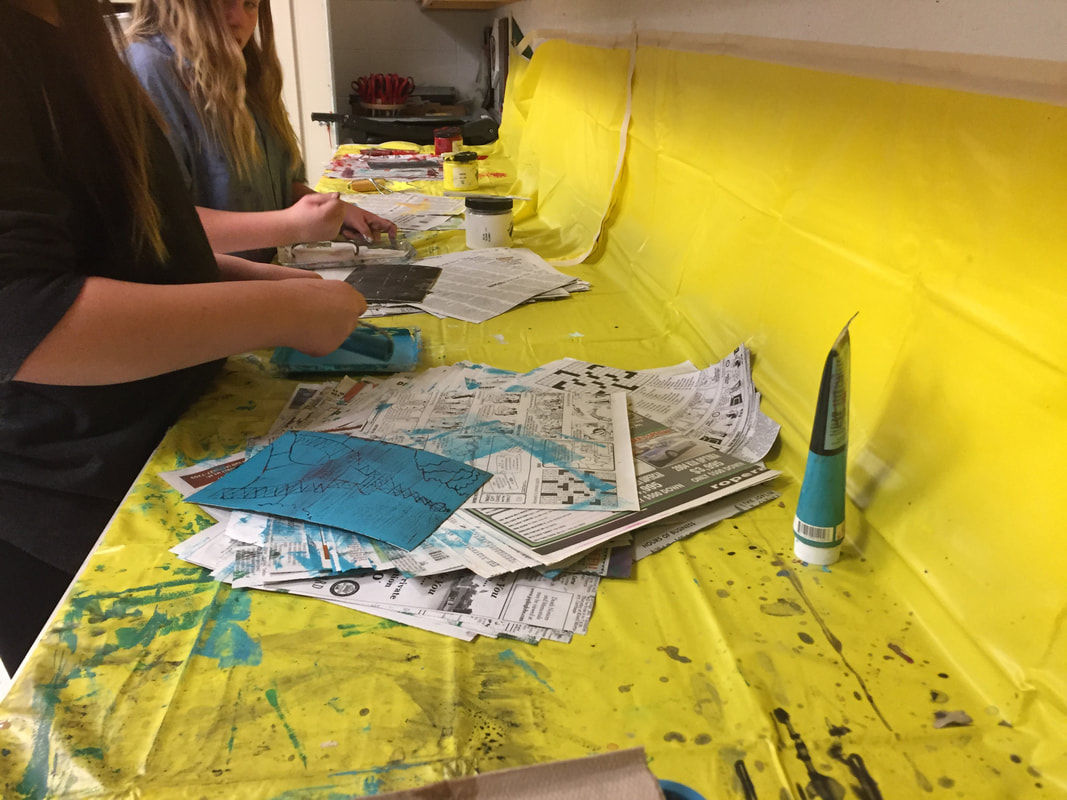
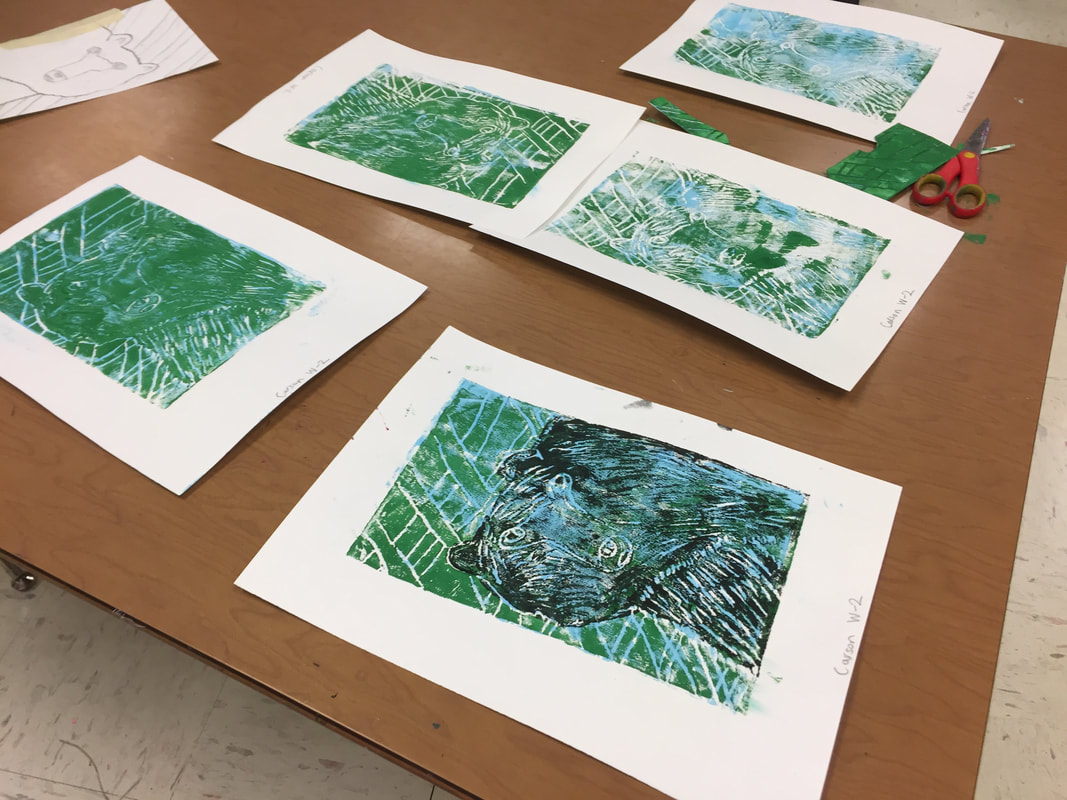
This year, I went to goodwill and found a set of plastic trays to use as ink stations and they worked perfectly. We used up so much of my ink, that I am almost completely out and I even ordered an emergency 7 bottles from blick to make it through the last day. So if you are printing with nearly 400 students make sure you have plenty of ink, especially black. I told my students that the first print would probably not turn out the best so they should use the paper they are least attached to for their first edition.
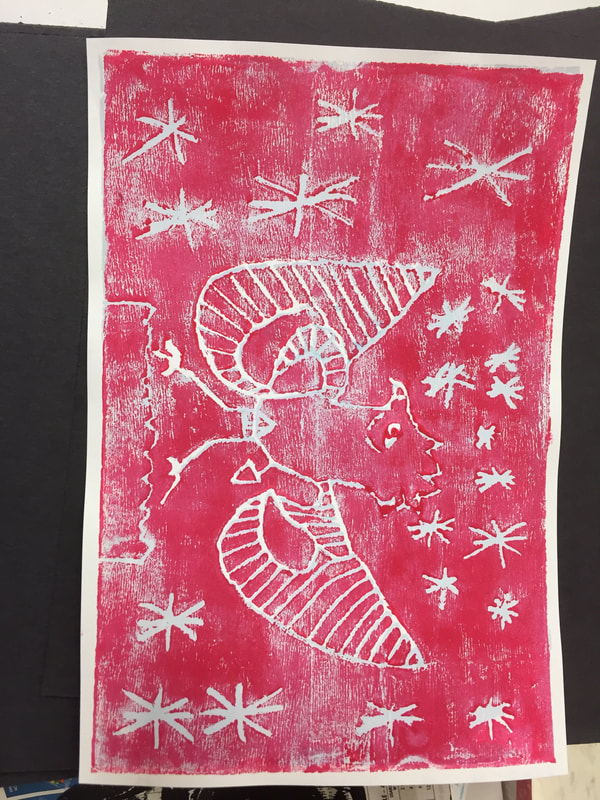
NOTE: I had several color options for students to choose from. I did not have them wash their foam plates between colors, I kind of like how it looks when the colors mix.
Supplies
printing ink
brayers
paper
foam stamps
PRINTING
I showed my students Cassie Stephen's printmaking video in order to demonstrate how to actually print. It was SO helpful and perfect for this project. I set up the black ink on each table (I passed it out after we watched the video) and I set up colored ink at stations around the room. I wanted some students to be able to move around and some working at the table so there wouldn't be a huge line waiting to print at any given time.
This year, I went to goodwill and found a set of plastic trays to use as ink stations and they worked perfectly. We used up so much of my ink, that I am almost completely out and I even ordered an emergency 7 bottles from blick to make it through the last day. So if you are printing with nearly 400 students make sure you have plenty of ink, especially black. I told my students that the first print would probably not turn out the best so they should use the paper they are least attached to for their first edition.
NOTE: I had several color options for students to choose from. I did not have them wash their foam plates between colors, I kind of like how it looks when the colors mix.
Supplies
printing ink
brayers
paper
foam stamps
A variety of colors at the counter

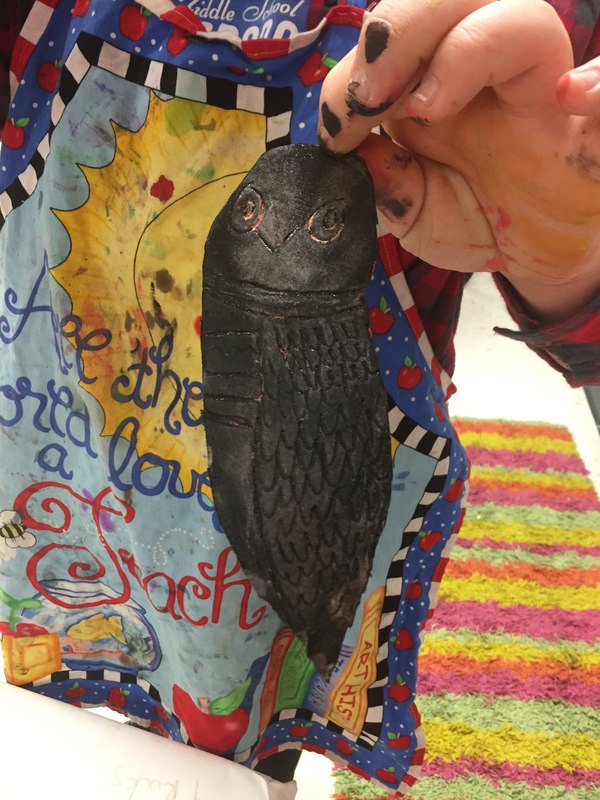
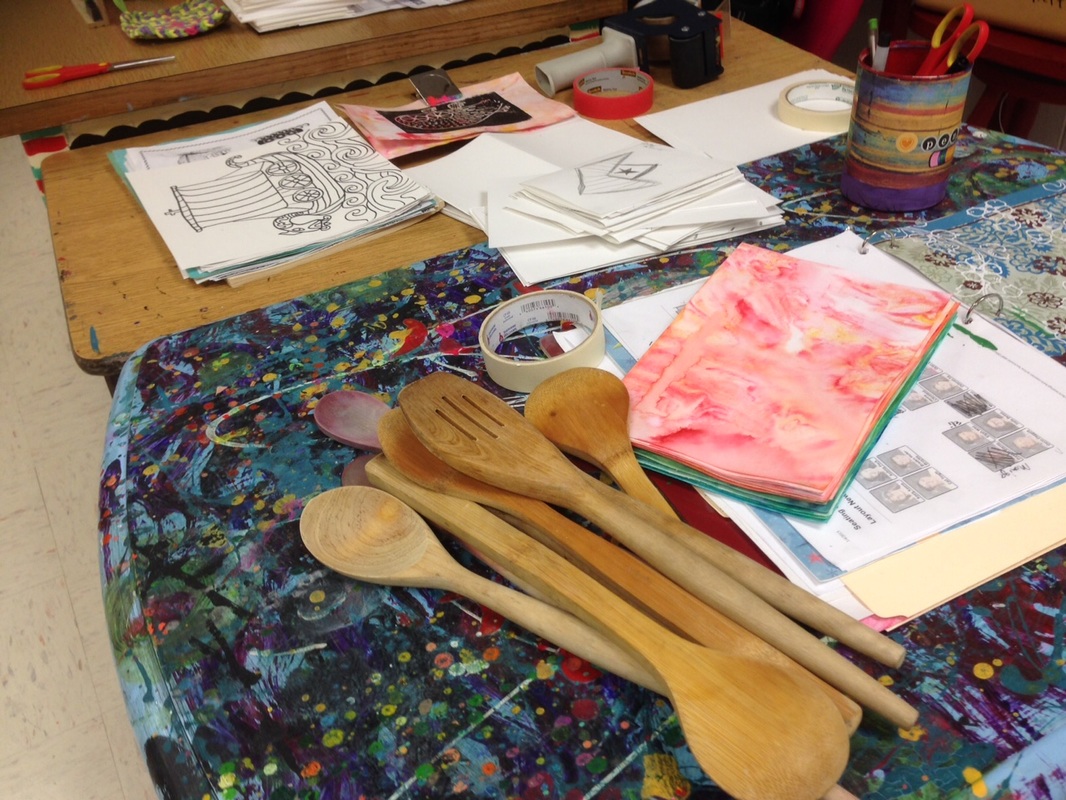
This little genius made his own barren with our pencil cup.


 RSS Feed
