THIS LITTLE CLASS OF MINE
  • Home
  • Contact Me
  • Lesson Plans

FEATURED ON CREATUBBLES BLOG

5/17/2015

0 Comments

 
In March, the Creatubbles Community Manager contacted me about an interview for their blog. I was completely honored, as I don't get a ton of traffic on this blog, and I don't blog as frequently as I would like.

She sent the interview questions at almost exactly the same time that I was getting artwork ready for a big show at the Mall, a building-wide art and writing exhibit, and my entire requisition for next year was due by the end of the week. I put the interview on the back burner until I was caught up.

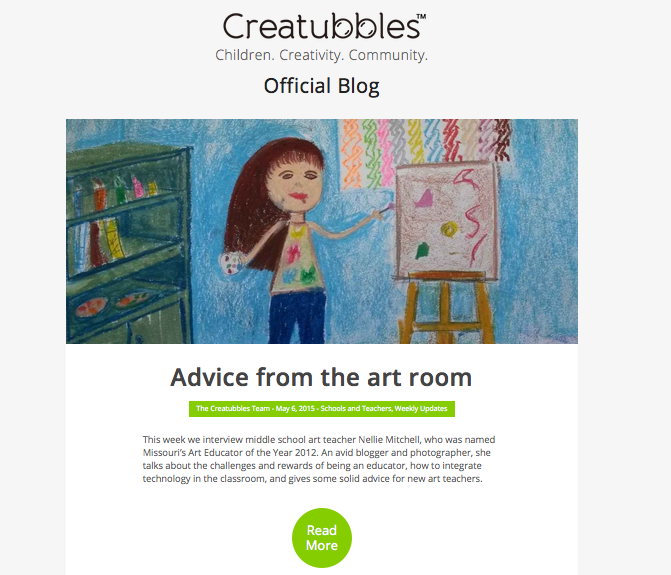
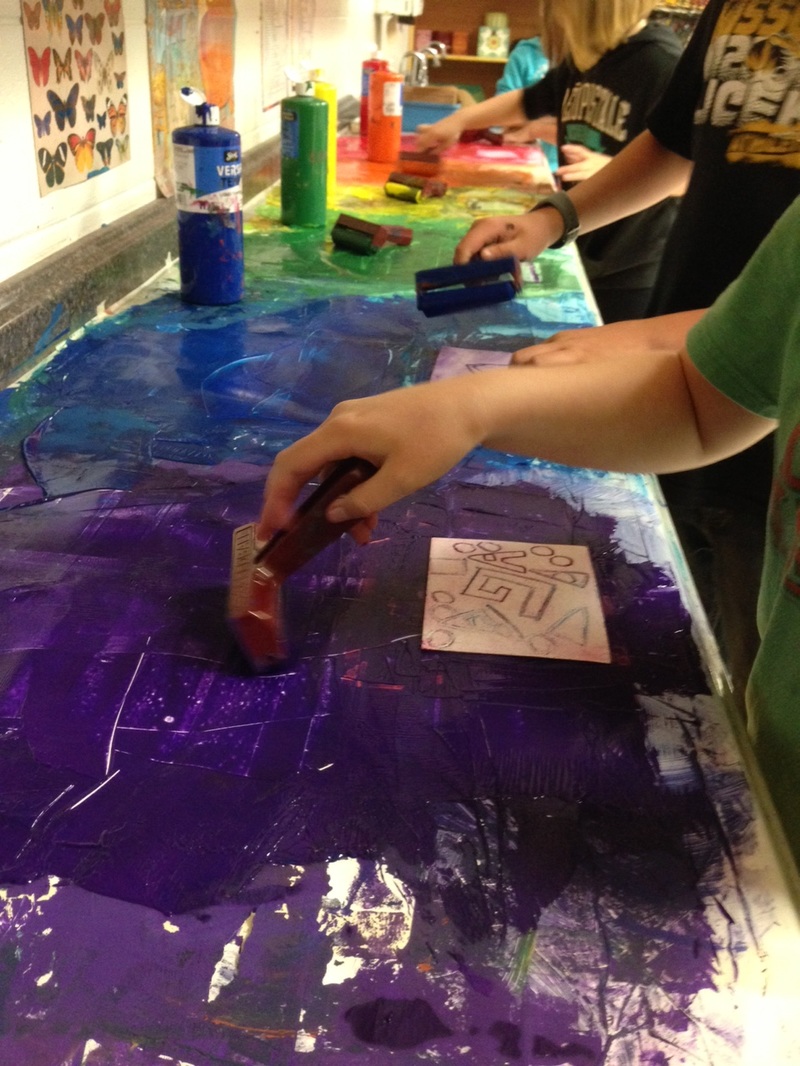
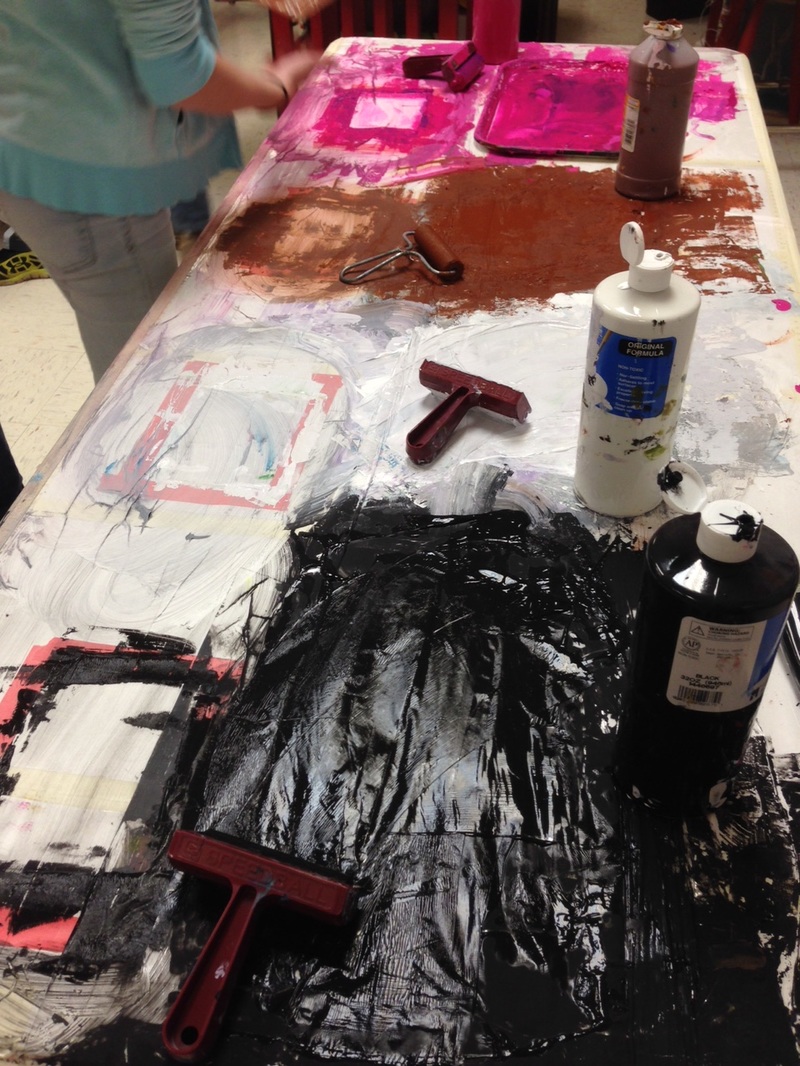
If you have not heard of this site it is okay, I hadn't either. I signed up and started exploring before I agreed to the interview. I found that it is a great resource for art teachers, students, and parents with a lot of cool features.  It is free and students could use it to share their work and others can browse their creations (like Pinterest) and 'bubble' their favorites. Great source of inspiration for any art teacher.


Check out my post and sign up for an account. Here is my interview.

Picture
0 Comments

Growth Mindset in the Art Room

5/17/2015

1 Comment

 
It is so hard to hear my students say: I can't do it! I am not good at this! I hate this! and other negative language along those lines. I really wanted a way to encourage my middle schoolers to try, even though art maybe isn't their strongest or their favorite subject, it can still be fun and rewarding. I found this blog, which has a set of free printable PDFs to make your own of Growth Mindset Posters. I left off the math one she had in the PDF and typed up my own art version instead. It is a great bulletin board for the end of the year or beginning of the year.
Picture
1 Comment

Tips for Middle School PrintMaking

5/17/2015

2 Comments

 
Picture
Picture
I searched high and low for for the perfect guide to help me set up a printmaking studio for the last week in my classroom. 6 classes a day with a 2 minute passing period does not allow me very much time to regroup or make changes once the train starts moving down the track----the preparations must be done in advance and the flow must make sense if students are moving around the room.

I considered showing a video, or making one to demonstrate the process, and by Friday, when my voice was almost completely gone, I wish I would have (spring colds are weird!)....but it took so long to set up the stations that I did not have time to do both, and some of my instructions changed a bit after working with some of my biggest classes. None of the videos I found online were quite right either.

Through this process I learned what NOT to say and what to really reinforce. Also, since I had wooden spoons on the tables----some classes needed more firm reminders not to spank each other or pound on the table than others.

I came up with a couple of things that really worked for me and a couple of things that I probably won't do again. Also, this post helped me initially.

Due to field trips, interruptions and scheduling conflicts, (since it is the end of the year) it worked out that I only printed with 3 classes each day----wow! That never happens. I was able to stagger the printing so that only the morning or only the afternoon classes were printing. This worked out super well.

In some cases, I stretched the initial carving lesson an extra day, and had students pre-select their paper for printing and write their names on the back the day before we actually printed---and then I clipped their papers together by table so that I could distribute them very quickly the next day. This worked great---gave the students an extra day to finish carving their designs. Some were a little rushed, especially since I did not have time to stretch every class---but since it is the end of the year, we had to push through.

Picture
Before the students came, I set up the printing stations. Also, most classes had already carved their stamps. I will talk about the stamp carving process at the end---yes, I am going in reverse order. Sorry. It is the end of the year.

I used tempera paint for this process--not as sticky as real printing ink and dried really quick---but pretty washable and cheap.

On my long counter by the sink, rolled out some old printer paper--it was the perfect size, easier than using bulletin board paper in this case. I put masking tape on each of the perforations and along the edges. Then I put a red rectangle at each 'stop'. This is where students would put their block before rolling it with ink.

Initially I thought I would use these pink meat trays--but the brayers did not roll in them, something I found out in my early morning trial run at the stations before school.

I ended up removing the meat trays---I don't have any acrylic or plexi---so I just used the table surface itself. I had enough clear packing tape to cover each of my printing stations. It worked WAY better than saran wrap--which I also tried. I literally wrapped the entire counter, an 8-foot table and my wooden work bench with clear packing tape. I probably did not need the white paper underneath, but it helped them to see what color they were using and it was easy to clean up---came right off Friday afternoon at the end of the week. 

Students basically kept their papers at their normal tables, and carried their block to the stations to print it. I had them wipe their block with a dry paper towel in between colors if they wanted to, but reminded them that if the colors mixed, that tended to look cool---and could make the design even more unique---but if their drawings were too 'gunked' up with the thicker paints (like silver and gold) they would definitely want to wipe the foam off and possibly even carve out some of the lines with a pencil. (Wet foam is hard to dry off)

Picture
I tried to wipe the red rectangles with a sponge between classes. This was the very first class. Going well.
Picture
Sixth graders did great---for the most part. I did have to send a couple of kids to time-out for being disruptive during my instructions. That seemed to remind the others to take the lesson seriously and realize that I wasn't putting up with any nonsense. It would be fun--but they still needed to follow directions and pay attention otherwise the process would not work for them.

Since I have some classes of 33, I decided to set up a total of 12 colors at 12 locations around the room. This way, if half the class were rolling inking, the other half, in theory, would be at their seats printing--and at least a few in every class would get a late start because they still needed to finish carving their stamps because of absences or intricate designs which would help with the flow.

I borrowed an 8 ft white table from the custodians for one of my stations. It was nice to have that extra work space to spread the students out---most major issues were during clean up when all 30 needed to wash their hands at the same time.
Picture
Picture
In most cases, I had a little time in between classes (because of lunch or field trips) to wipe off the red rectangle. The entire silver/gold station got quite 'inky' but I was okay with that. I did cover the station with a trash bag to protect it from wandering fingers if the morning classes printed but the afternoon classes did not---this silver and gold table is also right where students line up at the end of class so I had to keep an eye on it.
Picture
Picture
You know that moment, when you have 328 students and they all ask you the exact same question and you KNOW that you already told them the answer and you are so tired of saying it that you think your head is going to explode?

Well, I came up with a solution to: where do I put my stamp/block/thingy when I'm done printing?

I explained that in the printmaking world, usually artists use linoleum, carving rubber or even wood for the printmaking process, those are called blocks. I held up a couple to show how thick real blocks are. But since we are using a thin piece of foam---we are going to call it our cheese----almost so thin its like it was shaved off a big block, it is so thin like a Kraft Single! Everybody say: 'mmmmm, mmmmmm, good!" So we called the 'block' which was so thin and wimpy it didn't even resemble anything looking like a block----the CHEESE. Which helped them remember what to do with it.

Initially, I had every student create 2 designs for their stamp. I folded a 6X9 sheet of paper in half when I handed it out, explaining that they would draw a design on each half-- one of which would fit perfectly on the stamp.

I encouraged them to use lots of textures, pattern, feathers, scales, draw big, etc. I discouraged them from flags, logos, cartoon characters, numbers, letters or words----because they print as a mirror image for this project---those things are really hard to incorporate---so just try to stay away from them.

Many kids wanted to argue that the 'Underarmour' logo would be the same backwards and forwards and that they really could draw the nike symbol in reverse---but alas---I prevailed to enforce the all or nothing policy, infuriating some and inspiring others...many just drew a softball because it was 'easy' and I gently forced them to put a pattern or something in the background in order to make it a better design. Some drew things that were too small, others could not think of anything so I pulled out some visuals----handouts of owls, celtic designs, mola pattern book, and Maori tribal art to help them develop something...anything...that would work. Some were really creative, their mythical creatures or optical illusions were amazing. Others....not so much........

After I approved one of their two designs, I handed them their foam. Otherwise known as their 'cheese'. They could either re-draw the design into the foam with a pencil. OR use the transfer method---lay the drawing on top of the foam and re-draw it by tracing over their old lines with a colored pencil. Using a colored pencil helped them keep track of what they had already done. In most cases, nearly everyone needed to go back over the foam in order to press the lines in a little deeper.

Some of them understood this---some did not. So before we printed, I checked each and everyone of the stamps before I handed them over to the student, and told them one-on-one, man-o-e-mano, face-to-face, CARVE THE LINES A LITTLE DEEPER. Some thought that meant re-tracing with the paper on top again--which ripped the drawing to shreds----so I had to be really clear---just press your pencil into the foam a little harder--but don't tear it up. If the lines are not deep enough, the block won't make a good print.

Note to self:
*Don't call the carved lines 'cracks'....I overheard one boy say, "I'm getting the paint in my buttcracks!"

I only had enough foam for each kid to get one piece so I had to be frugal---no 2nd chances. Some of my students try to sneak extra supplies if I am not paying attention, so I kept the foam on my desk to discourage wasting/stealing it.

After they carved their 'cheese' they had to make me a grilled-cheese sandwich. Huh?

Take the paper with the two sketches, folded like a card----make that the bread....slide the cheese inside...and PUT IT IN THE FRYING PAN! Where is the frying pan? The class box!

I said all of this with great enthusiasm and gusto---even with my sore throat. I had students repeat it and even though it was silly, it helped them remember.

Later, when kids asked me where to put their stamps: I just said, "Make me a grilled cheese!" and that helped jog their memory. My head did not explode when I commanded them to serve me something yummy....at least I wasn't as impatient as I would have been repeating: "THE CLASS BOX!" over and over and over and over and over.

After printing, we followed the same procedure. Printed papers went on the drying wrack, stamps and drawings went into the 'frying pan'. The stamps could've went in the drying wrack but were so small that they would've fallen through the shelves so I decided not to mess with that chaos.

Picture
I rescued a whole bundle of this wide rule notebook paper from the dumpster so I cut it in half and put a big stack on each classroom table. I encouraged students to use it as a 'cover sheet' to keep the table clean, and also as a practice print. Some of their practice prints were the best print they got from the series. I don't really mind the notebook paper---it worked well for this process. Easier than cutting up newspaper, for me anyway.

Note to self:
Don't say: 'Awesome Tardis!' to a student in front of a bunch of non-Dr. Who-loving-students. The kids who are out of the loop thought I was saying something inappropriate about the girl who carved the Tardis.

 But seriously, isn't an awesome Tardis?


Picture
Picture
Above: After 10 classes. The stations were holding up pretty well. I used a scouring pad to remove paint from the red rectangle if it got too dry to wipe off.

Below: Don't put white and black side-by-side unless you want more of a gray. Also, the brown looked like poop. And yes, the kids noticed.
Picture
Picture
Yes, those are my Pampered Chef spoons from home. Yes, they are covered in paint, some of them are stained forever. Yes, I am okay with it. Here they are, before the week of printing. Also, the paper is shaving cream marbled paper that we made in April.

Favorite moment: During the last class, I overheard one shy boy at one of the stations, using his brayer like a steam-roller softly singing, "They see me rollin'....they hatin'....." I decided to make it a meme. Also, do not look up rollin' on Urban Dictionary.
Picture
Tips:

1. Give students a little direction when carving their stamps. My suggestions were too open, and they had trouble thinking of an idea and we ended up with a lot of sports balls....Which is hard to explain to 5th and 6th graders with a straight face---Who's paper is this with all the balls? You forgot your name!?. (Ex. cultures, geometric, optical illusions would be better)
2. Set up the stations in advance, borrow a table if necessary to set up as many stations as you can fit in the room so that everyone can rotate to whichever colors they want without waiting too long.
3. Have students put names on papers before printing---best if it is the class period before---have those sorted and ready to distribute easily.
4. Remember that even though you do a demonstration with the entire class, some individual students will STILL need one-on-one help.
5. Keeping the paint jugs near the station worked well for the best classes, not so well for the worst classes who dumped out WAY too much paint just to make messes. I might've forgotten to say 'Just use a LITTLE bit of paint if it gets too dry'....or they might've just been acting like hooligans.
6. After they ink up the block (or in our case the 'cheese') I told them to put it MAYO SIDE UP on their table---and lay the paper ON top of it----the opposite of rubber stamping where you mash the stamp onto the paper....Dozens of students messed this up and put it face down, and it worked out fine, so maybe I was being a little too picky...it bothered me when they slapped it down onto the paper, but the end result was usually fine.
7. Students need to work quickly otherwise the paint dries before they press the paper to the block.
8. Students might want paint shirts, and need leave jackets, hoodies and sweaters off. I realized this AFTER I dropped a paint-covered block smack on the back of a boy's hoodie, leaving a big, black rectangular imprint. Oopsie.

Overall, this was a great project, that will probably be even better if I do it again with my 6th graders next year, since they did it in 5th grade, it would be easier to implement.  Also, if I can give instructions with the full strength of my voice, that always helps.

​Other posts about printing making: here and here. 

2 Comments
    PictureWelcome!

    Mrs. Mitchell

    Art teacher from Missouri. 

    Instagram
    Add to Flipboard Magazine.

    Archives

    March 2021
    April 2020
    November 2019
    July 2019
    April 2019
    January 2019
    October 2018
    July 2018
    June 2018
    May 2018
    April 2018
    March 2018
    January 2018
    September 2017
    May 2017
    April 2017
    March 2017
    January 2017
    December 2016
    November 2016
    October 2016
    September 2016
    March 2016
    December 2015
    October 2015
    August 2015
    May 2015
    April 2015
    March 2015
    February 2015
    November 2014
    October 2014
    September 2014
    August 2014
    June 2014
    May 2014
    April 2014
    March 2014
    February 2014
    January 2014
    December 2013
    November 2013
    October 2013
    September 2013
    August 2013
    July 2013
    June 2013
    May 2013

    Categories

    All
    1st Day Of School
    1st Grade
    3d
    Abstract Art
    Alcohol Ink Tiles
    Alpacas
    Animal Art
    Animation
    Architecture
    Art Centers
    Art For Kids Hub
    Art History
    Art Hub For Kids
    Art Room
    Art Show
    Art Teacher Conference
    Bell Ringer
    Birds
    Blending
    Bunnies
    Cardboard
    Chalk Pastels
    Chalk Stencil
    Charcoal
    Choice Based
    Christmas
    Chuck Close
    Classroom
    Clay
    Club Day
    Collage
    Color Diffusing Paper
    Colored Pencil
    Colored Pencils
    Construction Paper Crayons
    Contest Art
    Creatures
    Crystal Bridges
    Design
    Dice Games
    Document Camera
    Dot Day
    Drawing
    Early Finishers
    Easter
    Emojis
    Fall
    Field Trip
    Food Art
    Foxes
    Green Screen
    Grid Drawing
    Group Challenge
    Halloween
    Haunted Houses
    Hearts
    Hermit Crab
    High School
    Human Form
    Ice Breaker
    Inspirational Posters
    Ipads
    Jim Dine
    Justand
    Killer Whales
    Kindergarten
    Landscape
    Lesson Plans
    Lettering
    Llamas
    Magazines
    Mandala
    Maori
    Markers
    Masks
    Matisse
    Metal
    Model Magic
    Mona Lisa
    Monster Trucks
    Mother's Day
    Mother's Day Card
    Mummies
    Mural
    Newspaper
    New Zealand
    Notan
    Observational Drawing
    Ocean Art
    Oil Pastel
    Oil Pastels
    Optical Illusions
    Origami
    Owls
    Painting
    Paper Weaving
    Pd
    Pencil Topper
    Perspective
    Pete The Cat
    Picasso
    Polar Bears
    Pop Art
    Portraits
    Printmaking
    Product Review
    Professional Development
    Quiver
    Reflection
    Reflective Teaching
    Room Tour
    Rooster
    Sea Horse
    Seals
    Sea Turtle
    Self Portrait
    Shading
    Shaving Cream Prints
    Shoes
    Sketchbooks
    Sloth
    Solar Eclipse
    Spinners
    Spring Conference
    Star Wars
    Statue Of Liberty
    Step-by-step
    Step By Step Drawing
    Step-by-step Drawing
    Still Life
    Stop Motion
    Story Board
    Sub Plans
    Summer School
    Symmetry
    Tab
    Teacher Appreciation Cards
    Technology
    Tempera Paint
    Tiny Food
    Tissue Paper
    Trees
    Tumbling Blocks
    Valentine's Day
    Warm Ups
    Watercolor
    Wax Resist
    Word Art
    Yellow Submarine
    Zentangle

    RSS Feed

Powered by Create your own unique website with customizable templates.