THIS LITTLE CLASS OF MINE
  • Home
  • Contact Me
  • Lesson Plans

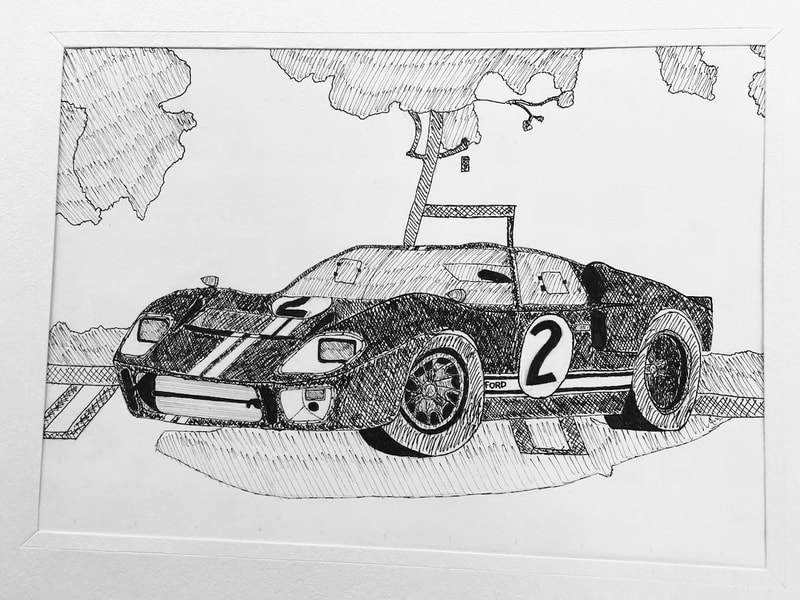
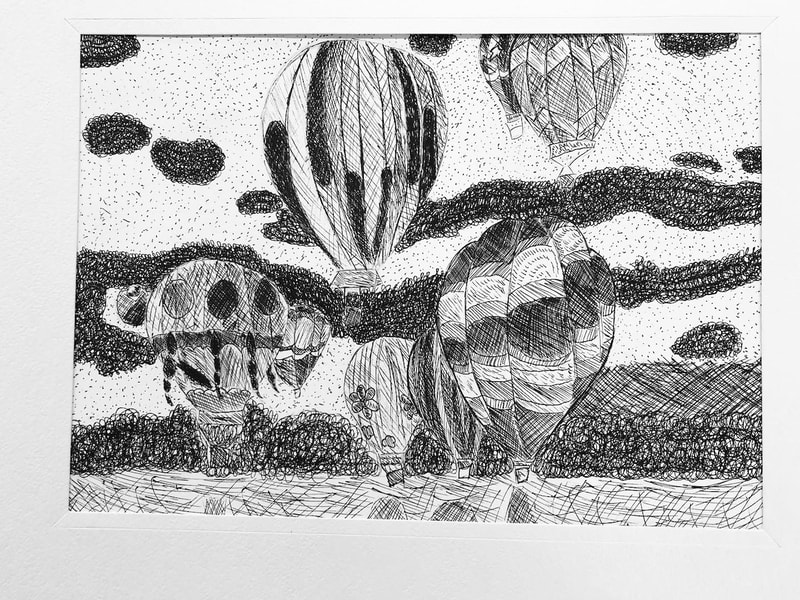
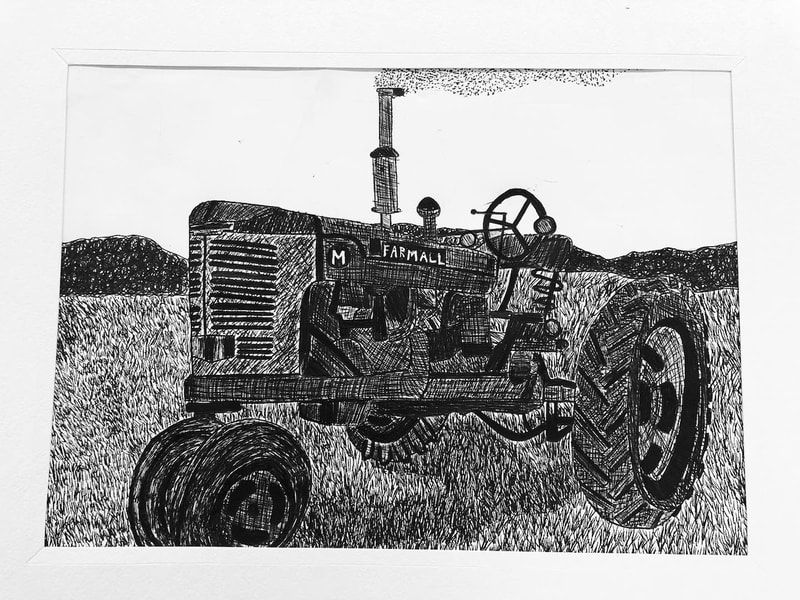
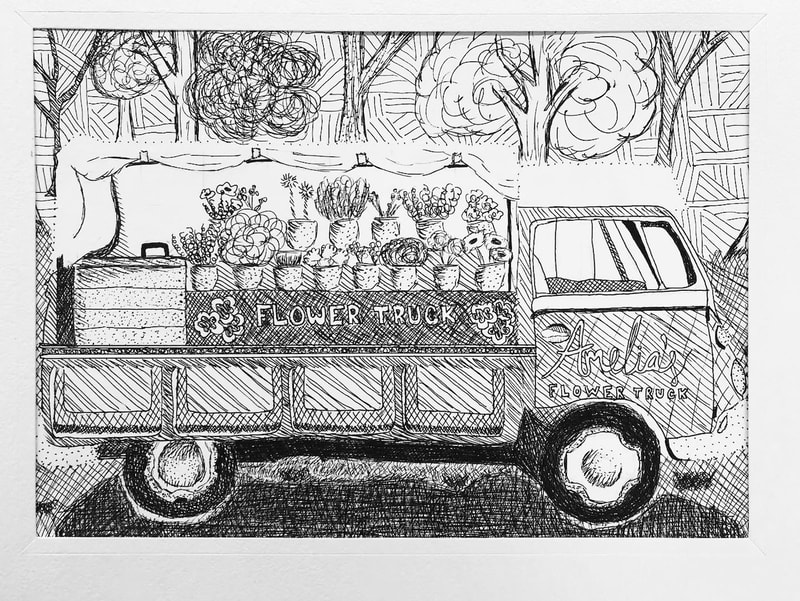
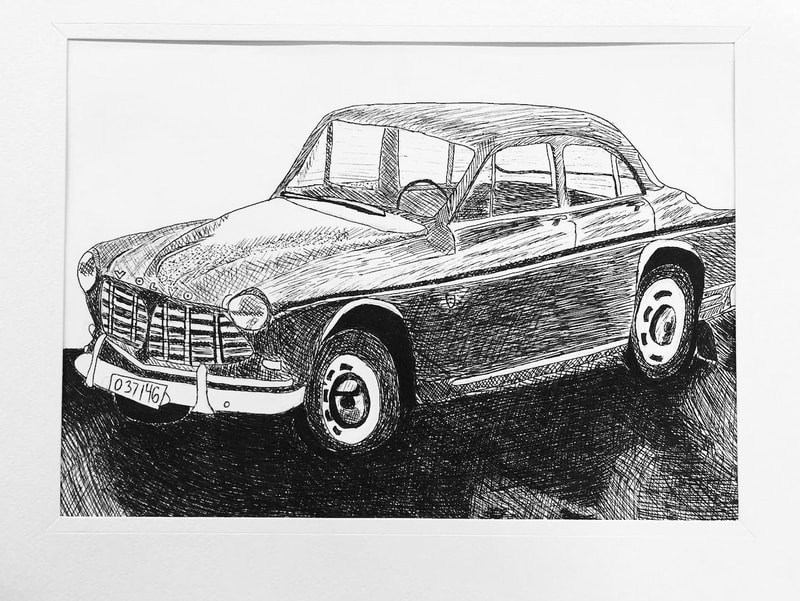
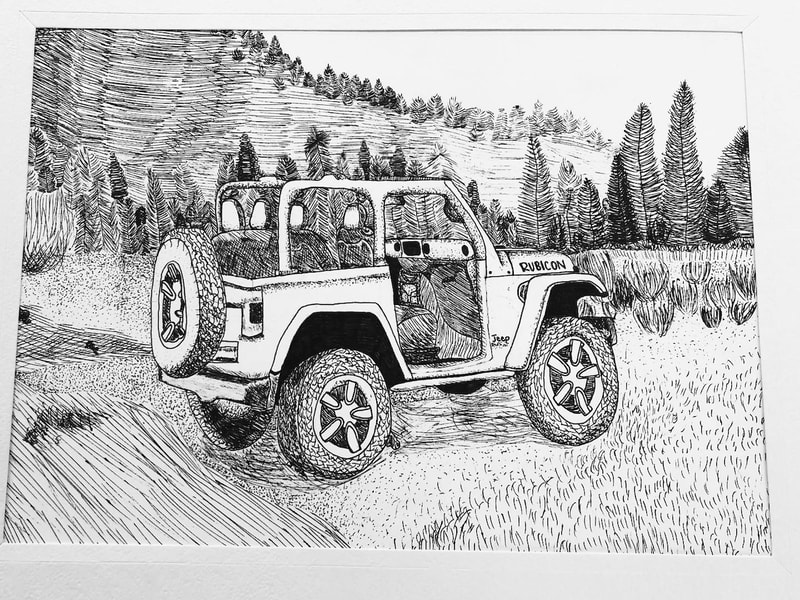
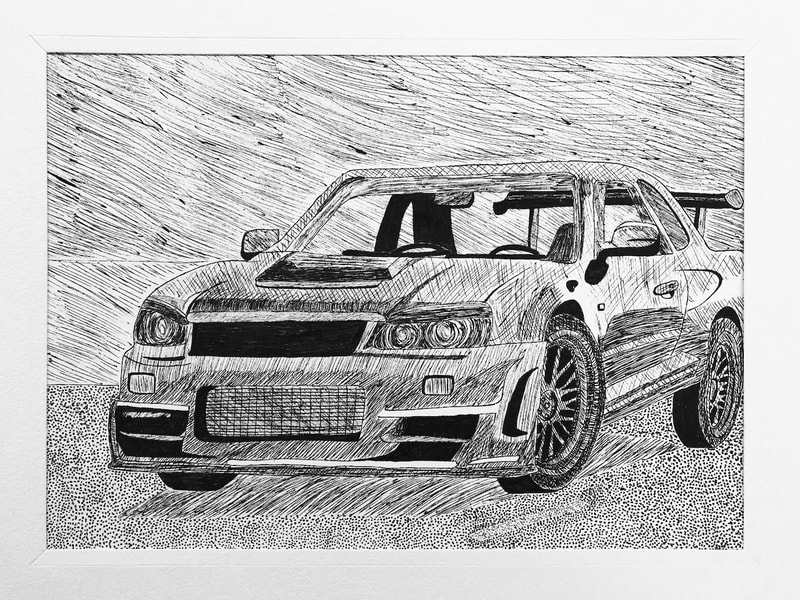
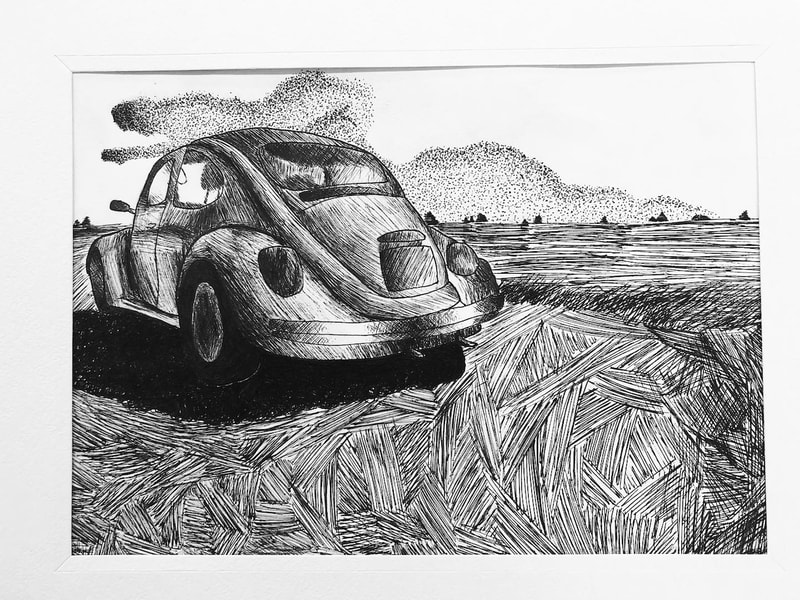
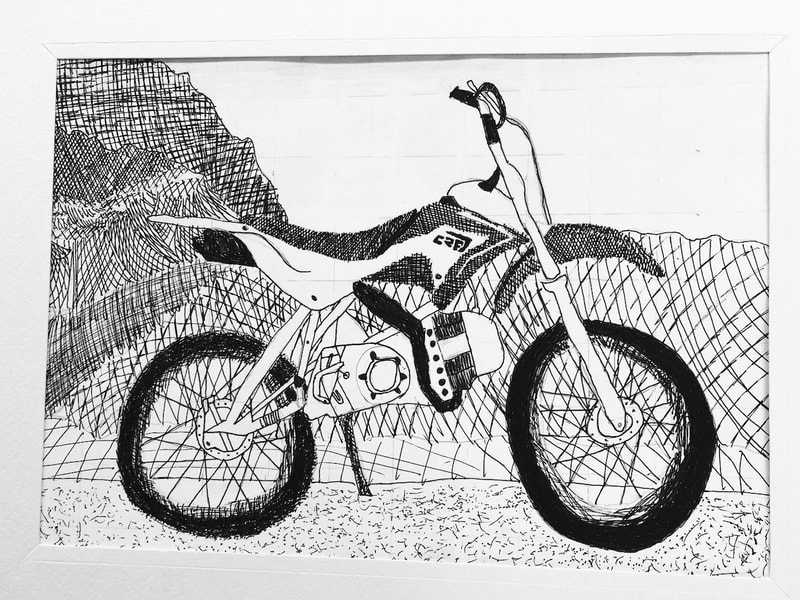
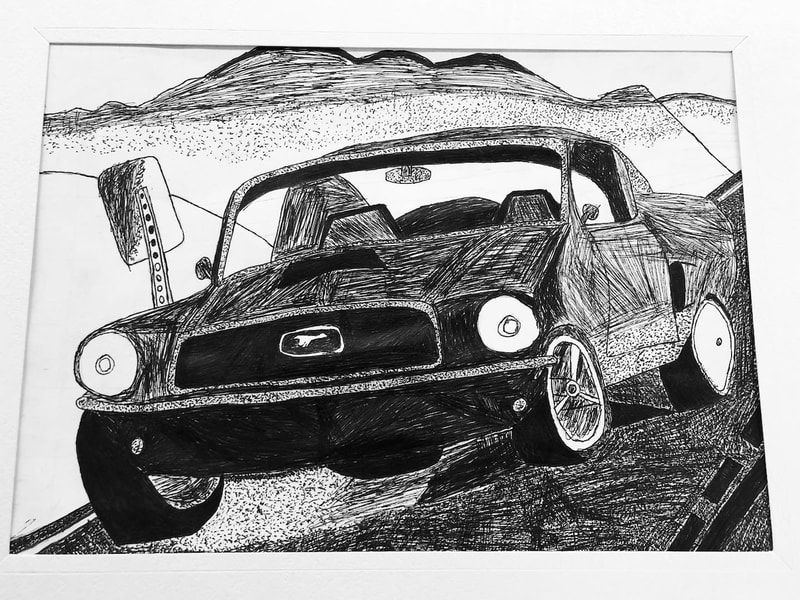
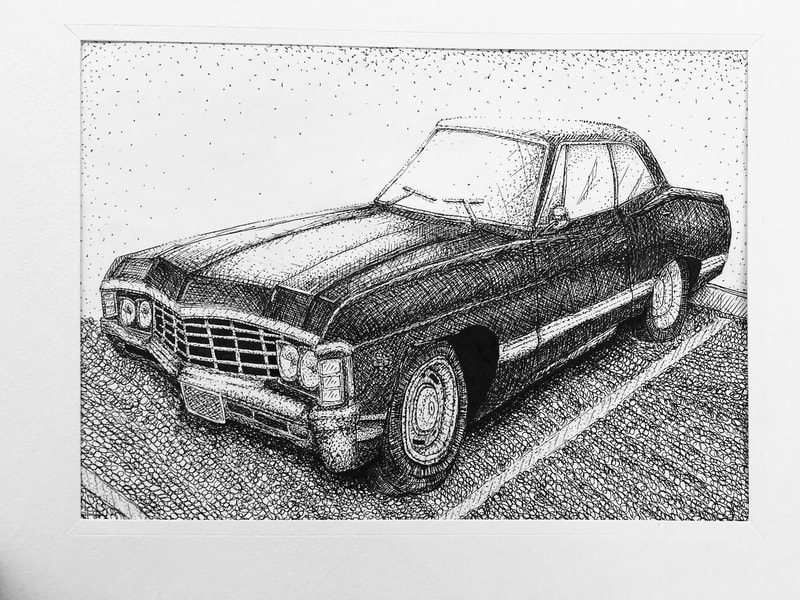
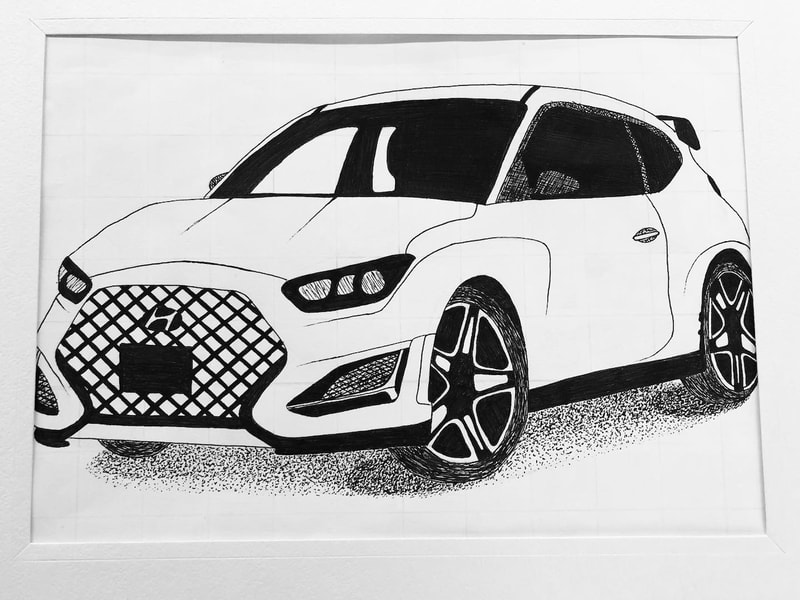
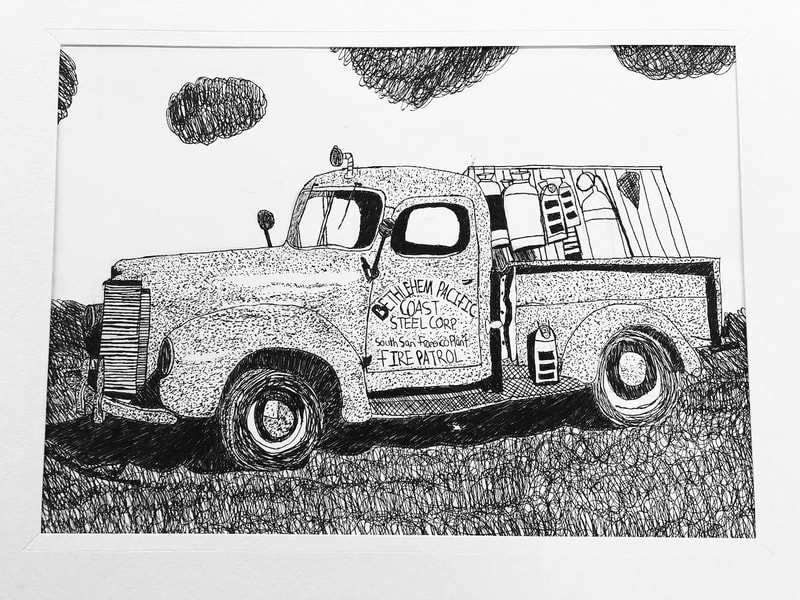
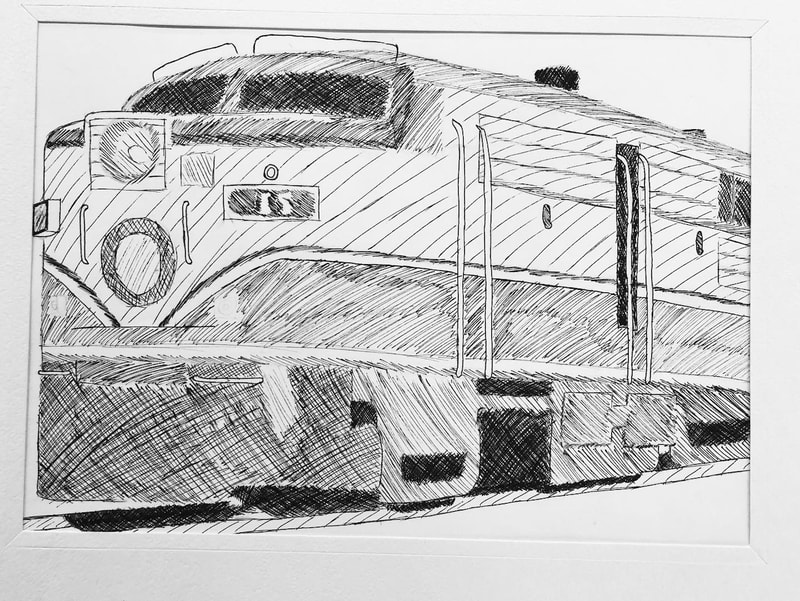
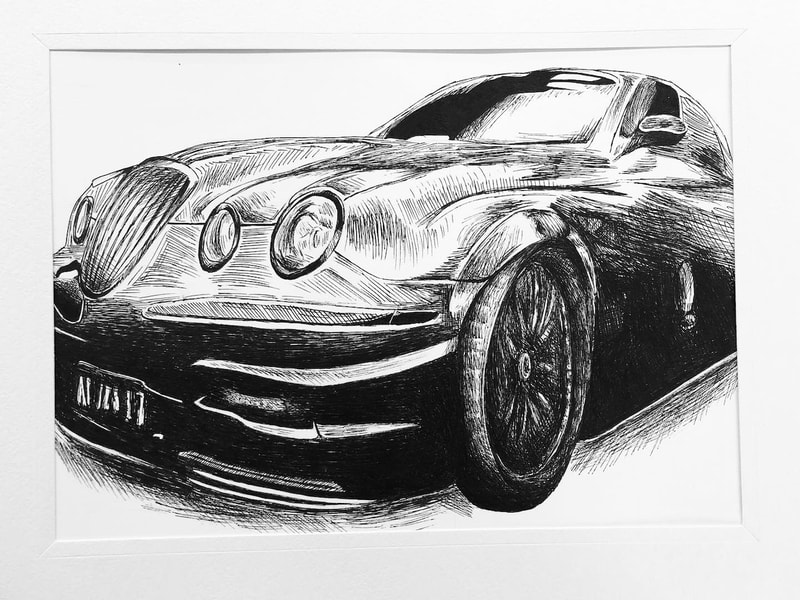
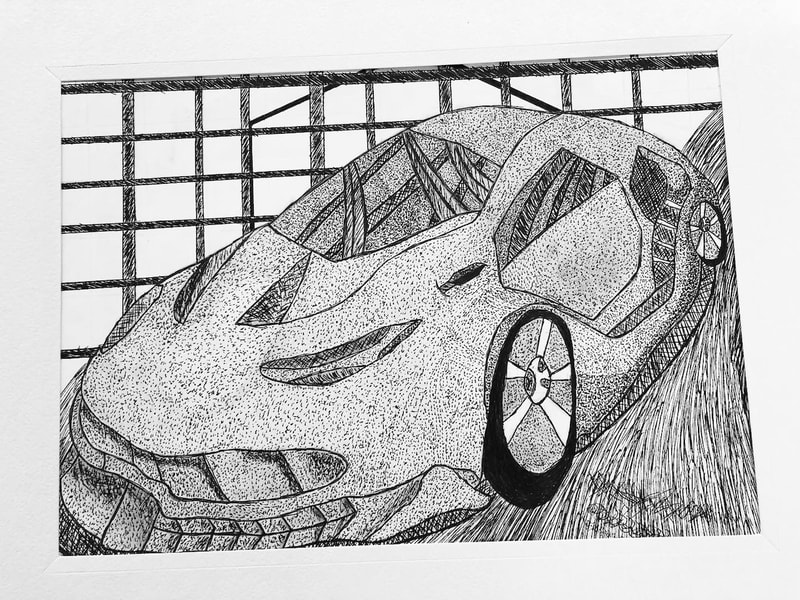
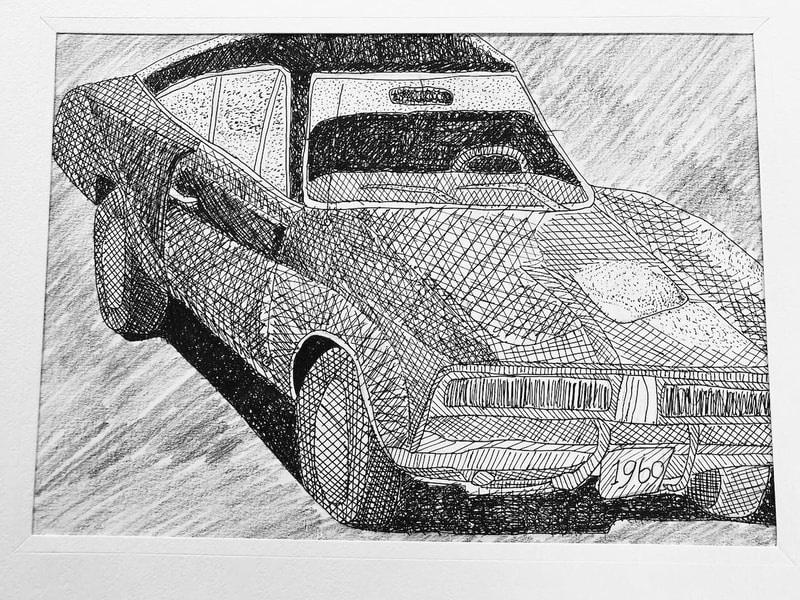
Pen and Ink Vehicles

3/23/2021

12 Comments

 
Picture
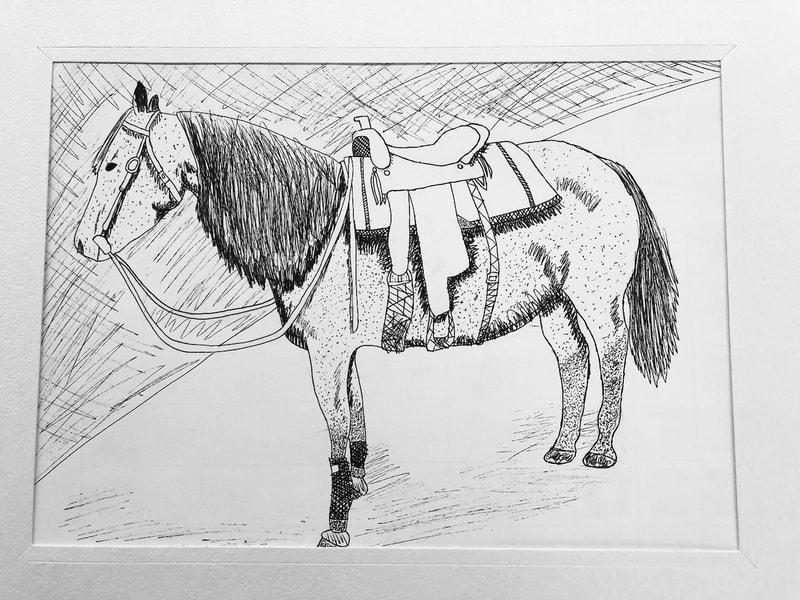
Before I start this project, I introduce the idea of creating different values in using a pen. I model stippling, scumbling, hatching, and cross hatching and students follow along taking 'notes' in their sketchbooks. 

Since I do this project with Art 1, I also go through the steps of how to find an image on google that is not copyrighted (change the image search settings to 'creative commons licenses' and change the color to black and white usually helps them narrow it down). See example above. 

Then, I explain how to put the image into google drawings, adjust the size and I even take the time to teach them how to email the image to me so that I can print it off for them. (Students cannot print from my room, they have to go to the library). I also show them how to convert the image to black and white in google drawing. 
Since I am also using this project to introduce the idea of grid drawing, it is helpful for them to have a black and white printed copy of their vehicle. We draw our 'vehicles' on 9X12 paper, and I have them resize the image in google drawings to 4.5X6 and draw a half inch grid on it with a ruler once it is printed. On their actual drawing paper, they draw a 1" grid and the ratios match up pretty well. I take a few minutes to teach them how to read a ruler before they start the measuring process. 

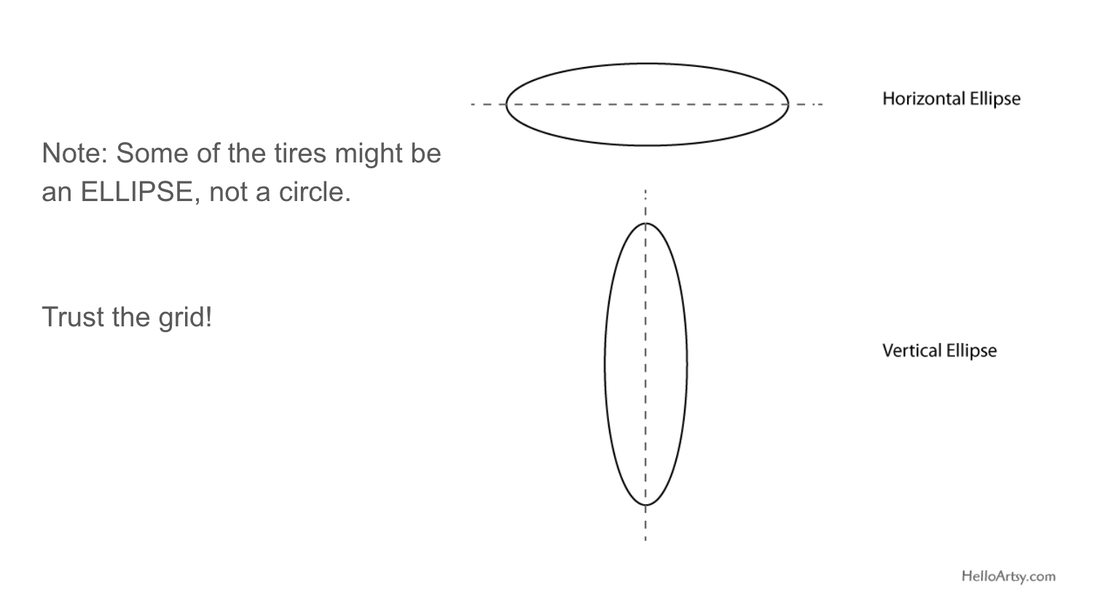
This lesson covers a LOT of things in art 1 that we establish at the beginning of the year. One more thing I added this year was the discussion of 'ellipse' which is the way the tire gets stretched out in an image, and doesn't look like a perfect circle, I encourage them to trust the grid!!!

Pen and Ink Vehicle Drawing                

Materials: ballpoint pen, calligraphy pen, ultra fine sharpie OR other ink pen (microns work great), ruler, pencil

 
Step one: Find a black and white picture of a vehicle of your choice. You can photocopy it from a book or print it from the internet. It can be any vehicle as long as
  • The picture has dark areas, midtones, and highlights
  • The photo takes up a full 8.5X11 paper (or use 9X12 drawing paper)
  • It is a photo and not a drawing. 
  • I suggest using a photo from the creative commons. If you choose to use a photo you have taken, convert it to black and white and boost the contrast! 
Step Two: Email the photo to Mrs. Mitchell. Put the photo on a new google drawing or a google doc and then share it so she can print it out for you. 
Step Three: Draw a grid on your photo. Draw a proportional grid on your drawing paper. 
  • Optional: You can use the app Grid# but you will want to make sure to put square grid boxes on the photo, 9 boxes on the longest edge and 6 on the short edge.
  • If you are using a chromebook, use the website: Art Tutor Grid to add a grid to the photo
Step Four:  Lightly transfer the image using the grid method in pencil. Once you have transferred the image, you can begin erasing the grid lines. 

​Step Five: Use hatching, cross-hatching, contour lines, stippling, scumbling to create the VALUES and TEXTURES in the image. Erase all old pencil lines. 

Picture
12 Comments

Micography

3/23/2021

1 Comment

 
Micrography (from Greek, literally small-writing – "Μικρογραφία"), also called microcalligraphy, is a Jewish form of calligrams developed in the 9th century, with parallels in Christianity and Islam, utilizing minute Hebrew letters to form representational, geometric and abstract designs. 

Colored micrography is especially distinctive because these rare artworks are customarily rendered in black and white.The artwork is created from text that forms an image when viewed at a distance, creating an interplay between the text and image. 

The photomosaic, whose tiny individual images form a mosaic when viewed from a distance, is a modern analogue.

To do the project:
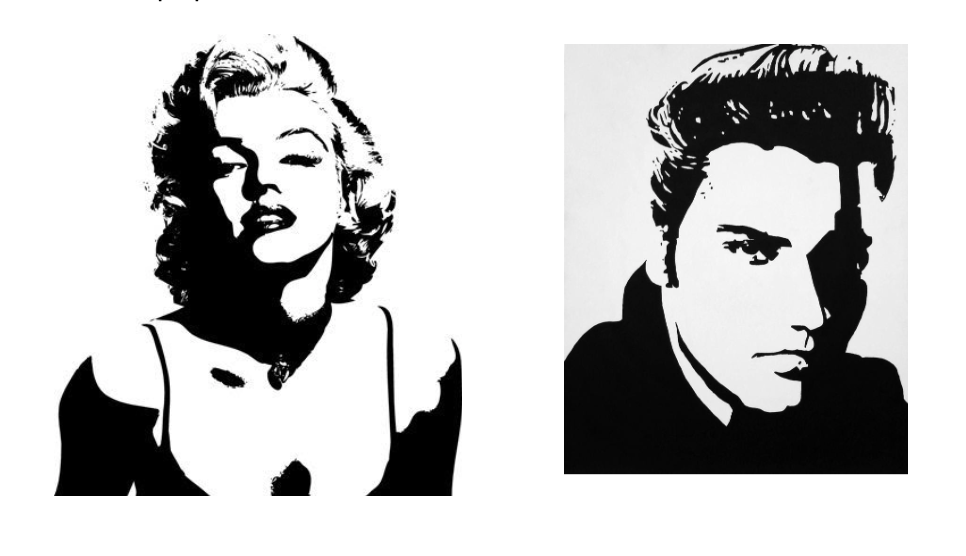
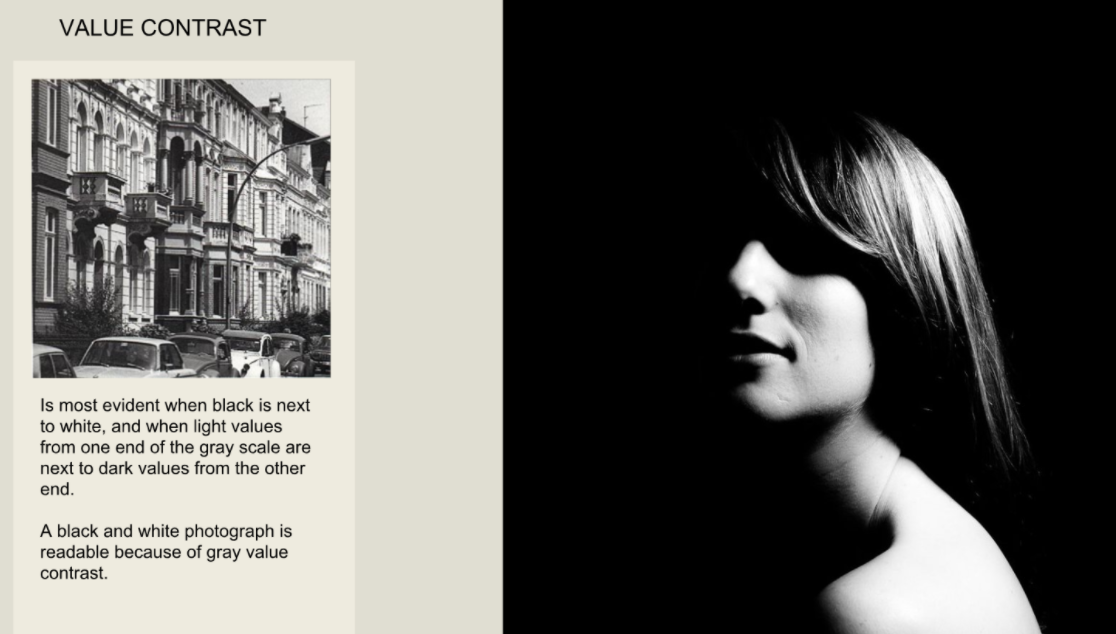
  1. Select an author or musician for this project. Find a reference photo with good contrast. (see info below about contrast)
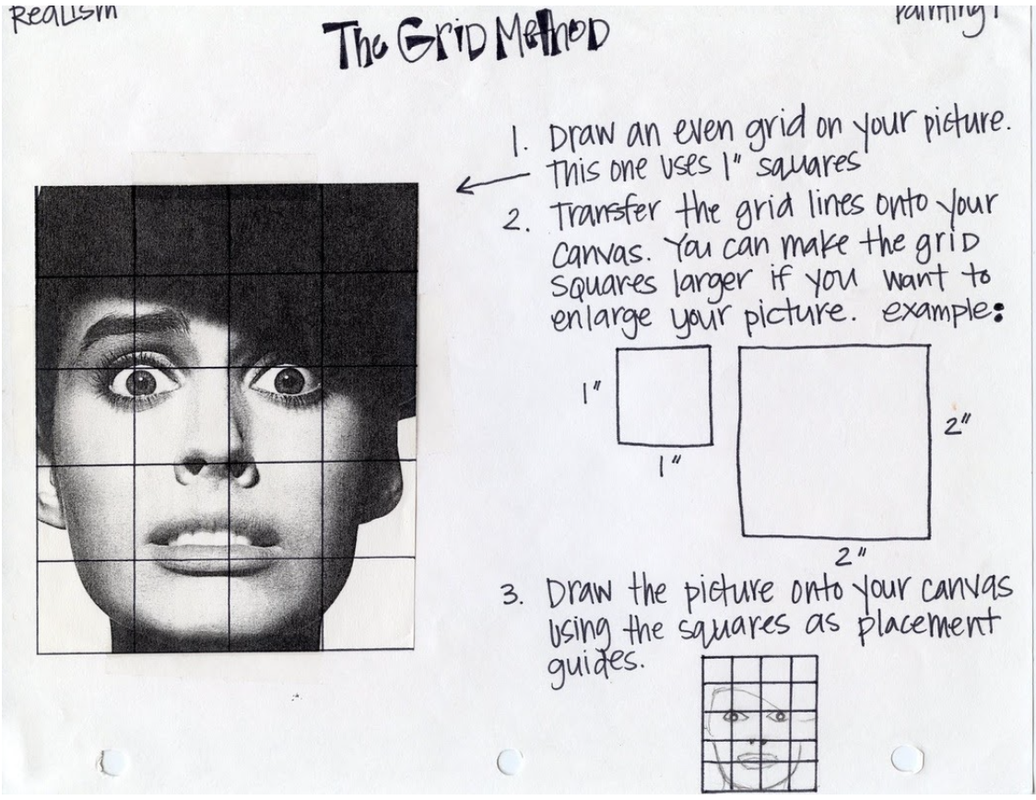
  2. Sketch the contour line of the portrait LIGHTLY in pencil on 12X18 paper. The GRID METHOD works well to help you draw the portrait in proportion. 
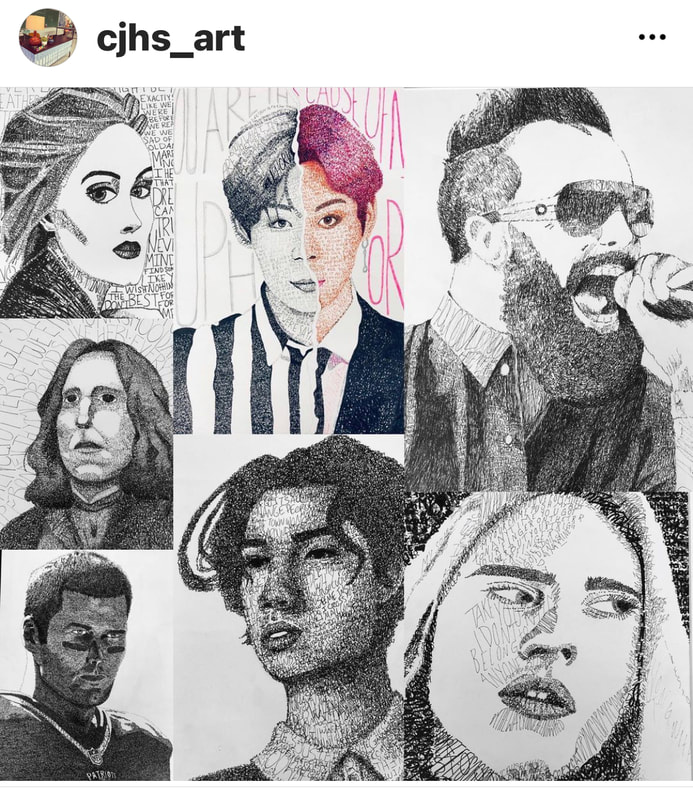
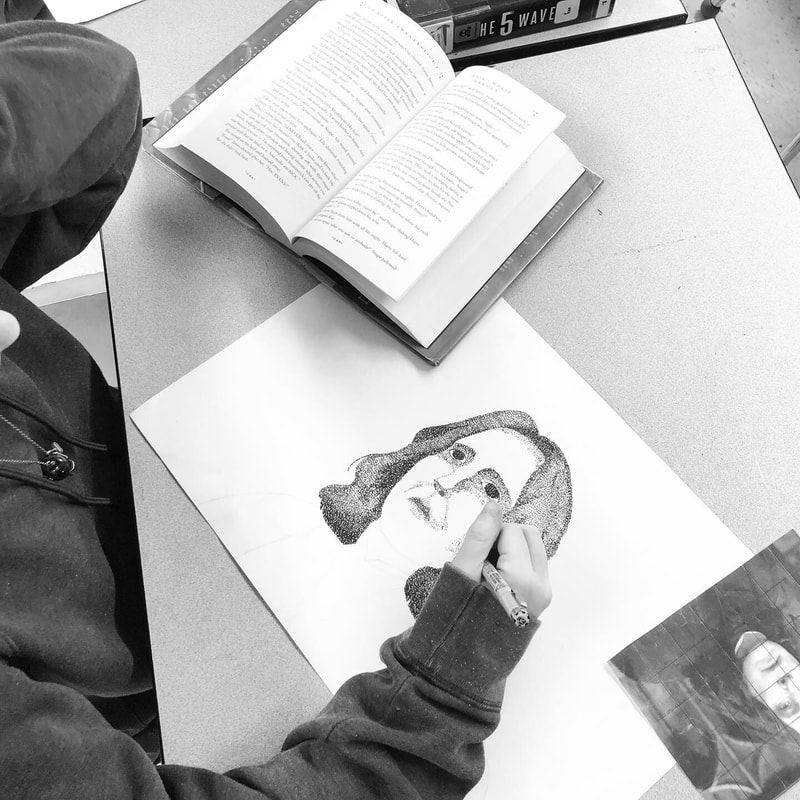
  3. Fill the portrait in with text from the author/musician’s mouth. This could be poetry, song lyrics, quotes or written text in books from the author. Fill in with words! 
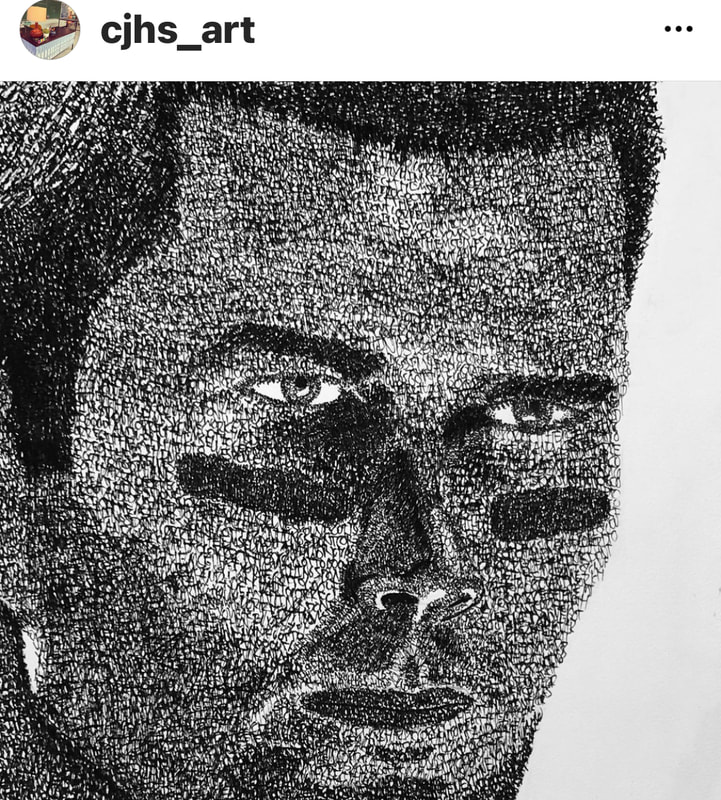
  4. The actual lines (ex. neck, chin) are just written on with words. You will start to notice the smaller the letters and the less space between, the more "filled in" the image appears (just like pointilism, eh?). This part is all done with ink.
  5. View more examples here: https://mymodernmet.com/portraits-of-authors-in-their 
  6. The words in the portrait will create the various values. You may use an ultra fine sharpie or a calligraphy pen for this project. 
​Here are a few examples from my students over the years: 
Picture
Picture
Picture
Examples of good HIGH Contrast images. You can also edit a photo in Pixlr: turn it to black and white and bump up the contrast. ​
Picture
Picture
If you have trouble drawing the portrait in proportion, you can use the grid method. 

​
Picture
1 Comment

Coffee Painting

3/18/2021

1 Comment

 
Picture
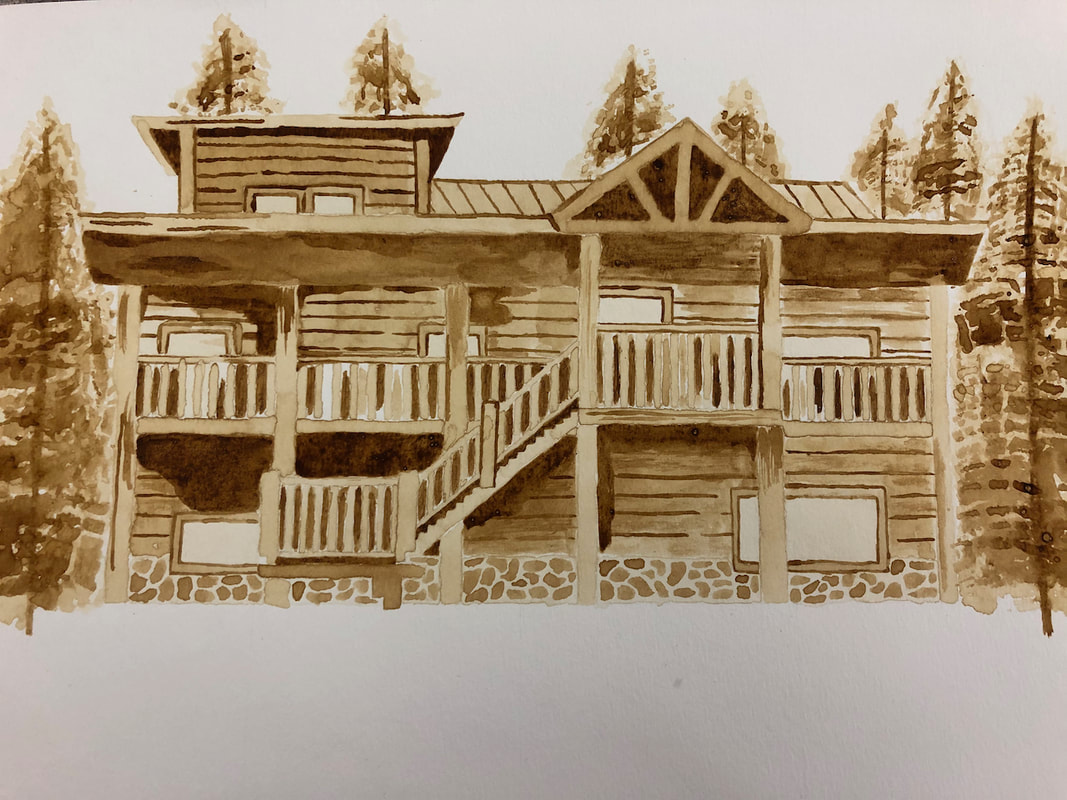
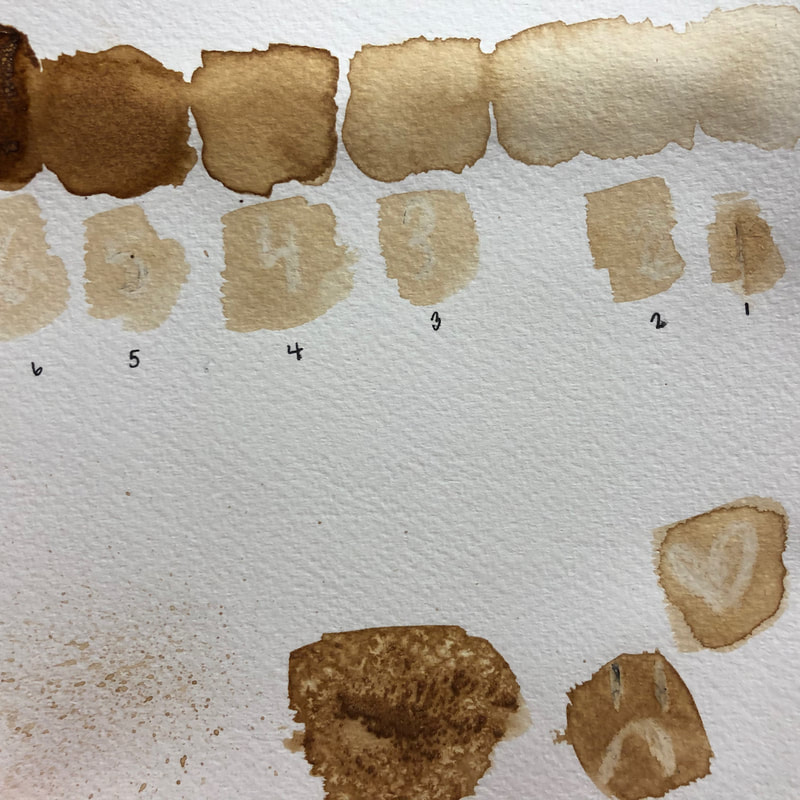
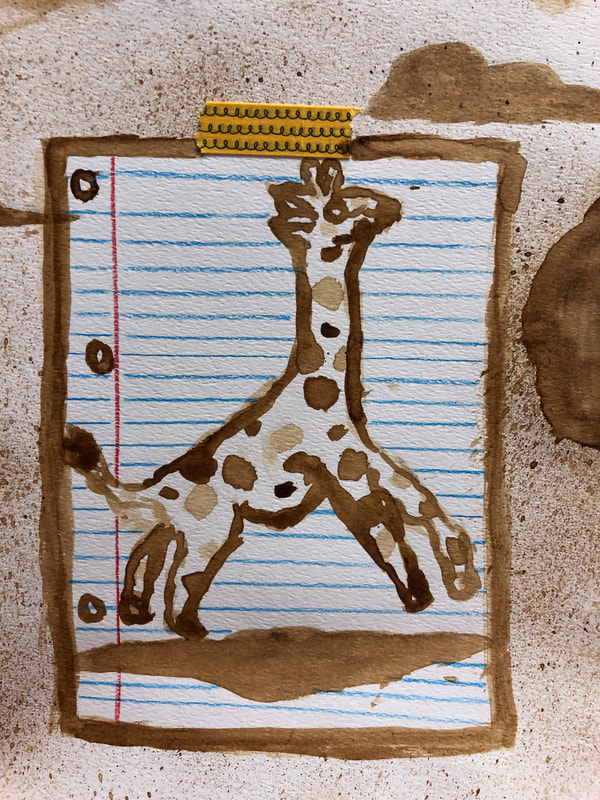
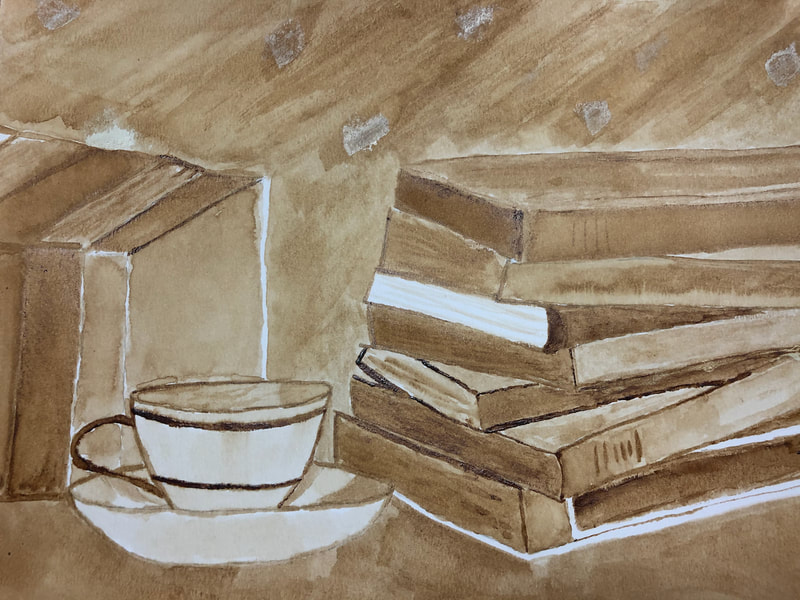
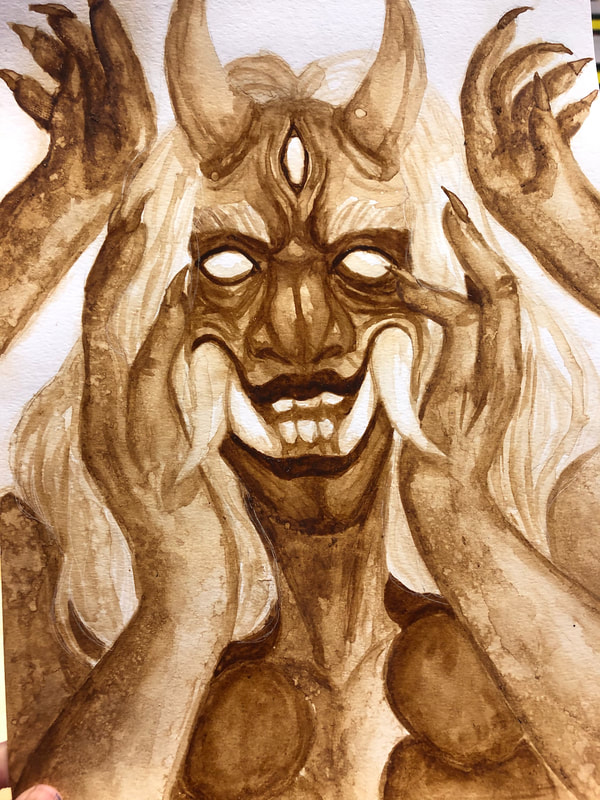
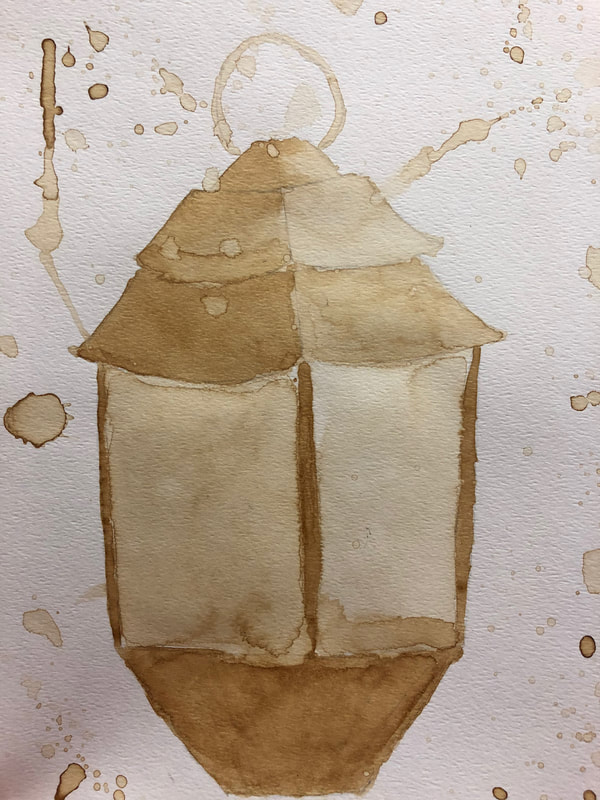
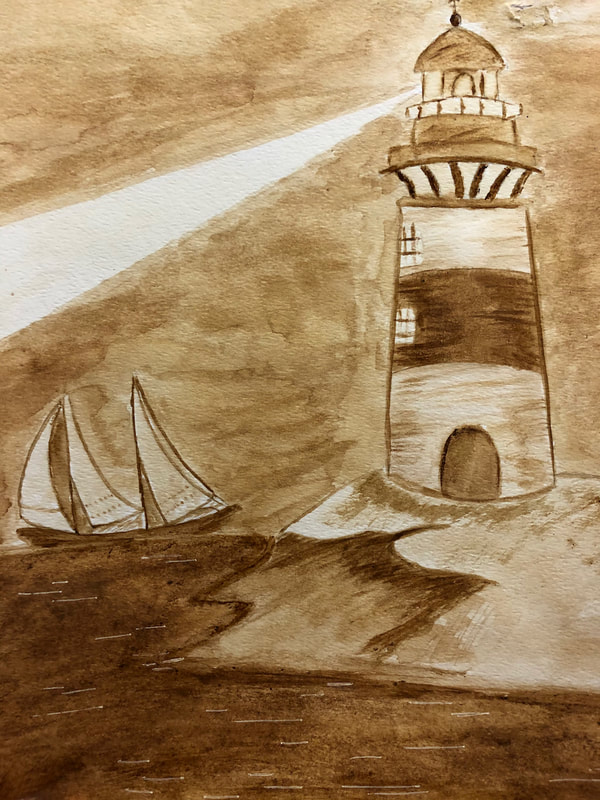
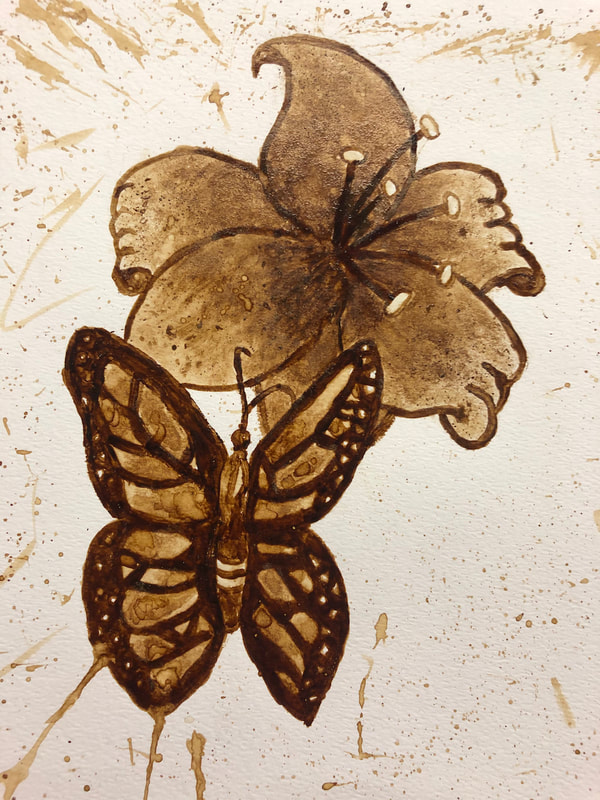
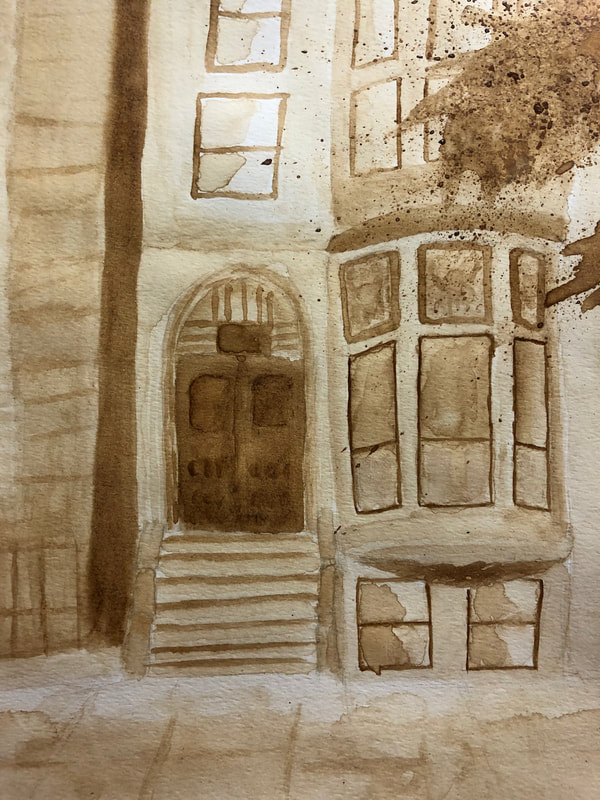
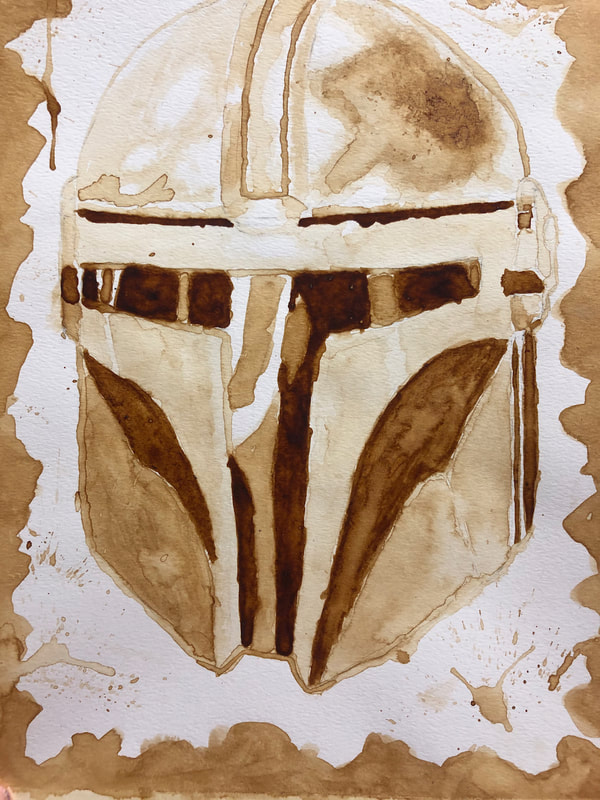
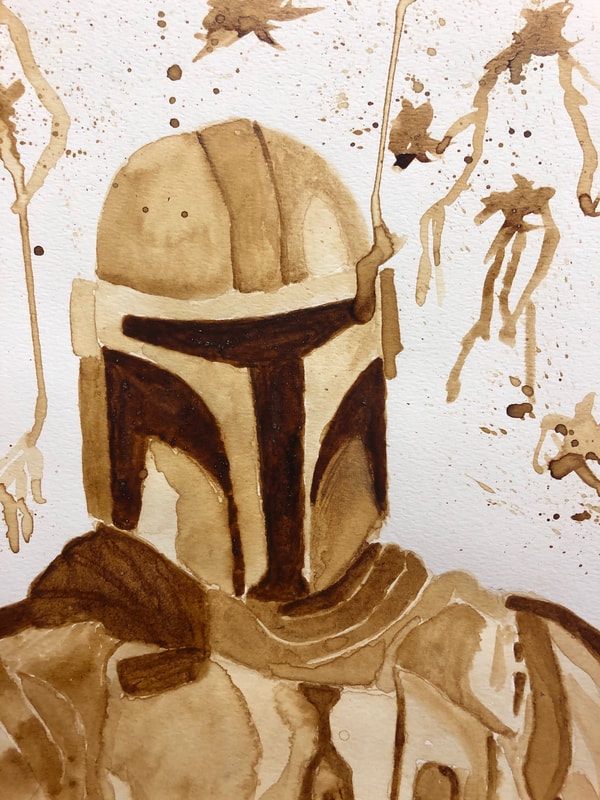
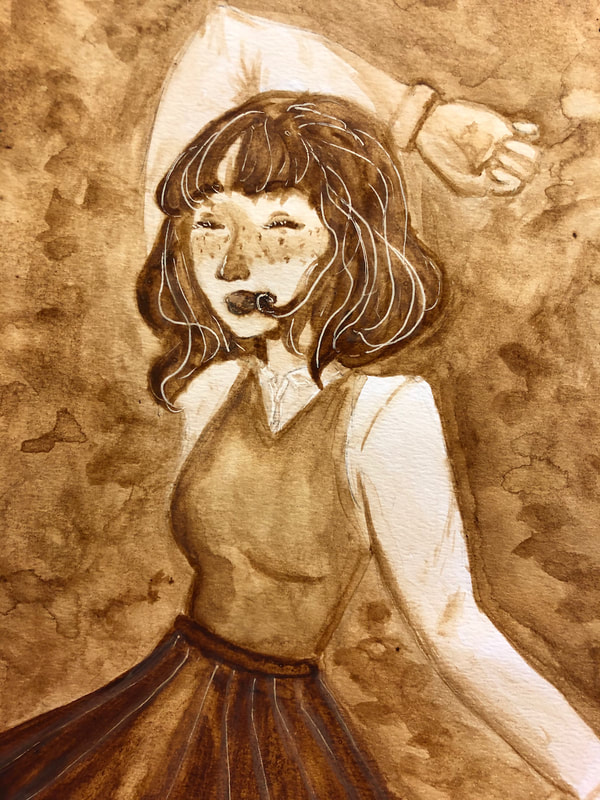
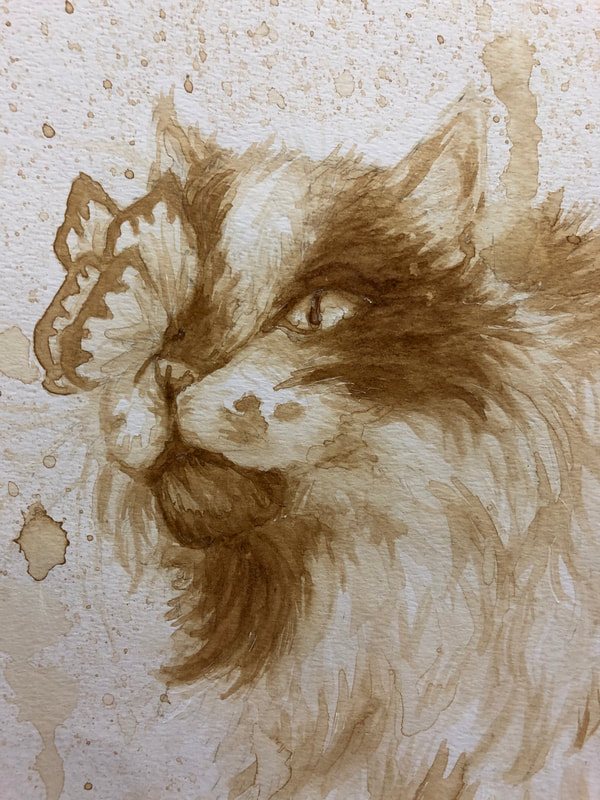
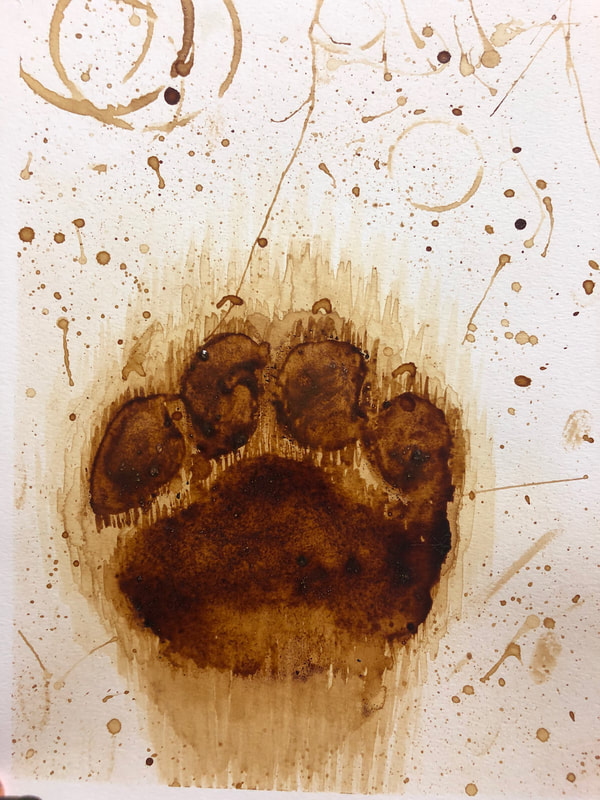
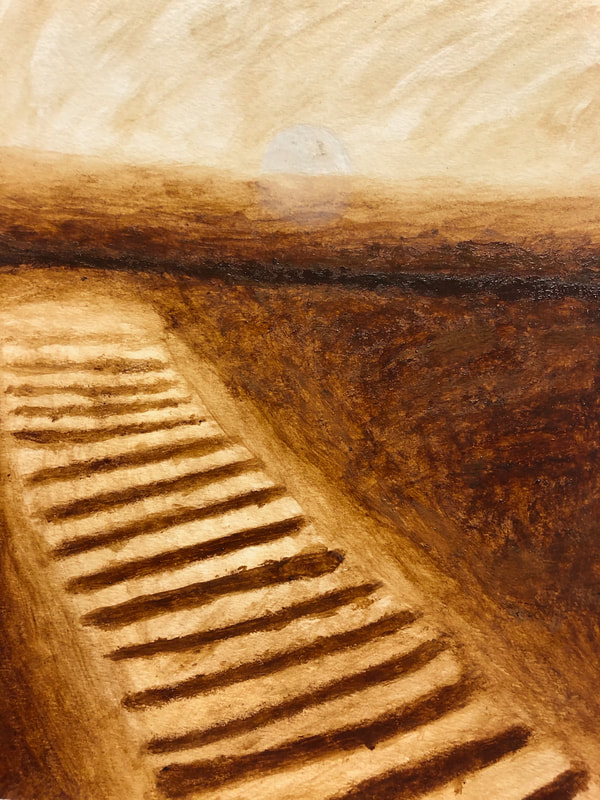
This is a fun project that my students enjoy because it is 'different'. The smell of the coffee, the novelty of painting with something that isn't paint, and the abundance of examples available online make it intriguing to my high schoolers. I use it as a warm up to watercolor. We create a monochromatic version of nearly everything we do as an introduction to the material. The info below is what I provide as a handout and you can see my example of the test sheet below too. I usually have them do the 'test' on a 6X9 piece and put their name on it for a grade. We use watercolor paper for the test sheet and the real painting. Students are encouraged to draw really lightly and look up more examples before beginning. I encourage them not to copy someone else's painting, because there are so many examples, they have to make it their own. We use instant coffee, they can put it on paint palettes and leave it to dry and reuse them over and over again. 

COFFEE PAINTING

MONOCHROMATIC refers to a color scheme that is made up of one color in a variety of values and even tones of that same color.  As an example – if you add white to red – you will get a variety of pinks.   If you add black to red – you will get a variety of darker versions of red. 

 In watercolor – we usually don’t use white or black when painting – but rather take one color and dilute it with water.  This creates a variety of values of that same color.   

YOU HAVE TO CHOOSE A GOOD OVERALL CONCEPT/COMPOSITION…
  • This means choosing an illustration that can have a wide range of lights to darks. 
  • Thus choosing a composition with a great light source is key.  This will lead to dramatic lighting – which will pop your illustration off of the paper.   
  • Choose a drawing that fills the entire page.  These types of compositions lead themselves well to monochromatic studies and almost seem to pop off the page at you.   Remember watercolor is built on glazing – or layering.  Some colors layer really well – whereas others not so much.   So best to test it before you try it. 
Practice the following techniques on your test sheet: 
  • Value Scale--try to get as dark/light as possible
  • GLAZING---let one layer dry completely (hair dry if necessary) before adding another layer to make it darker. 
  • Salt--while the paint is wet, sprinkle salt
  • Wax Resist --use a white crayon to block out white areas and then paint over it
Done with your test sheet? Tape your watercolor paper to a clipboard with blue tape and lightly draw your image in pencil. 


Picture
1 Comment

Water Color SnowGlobes

3/18/2021

1 Comment

 
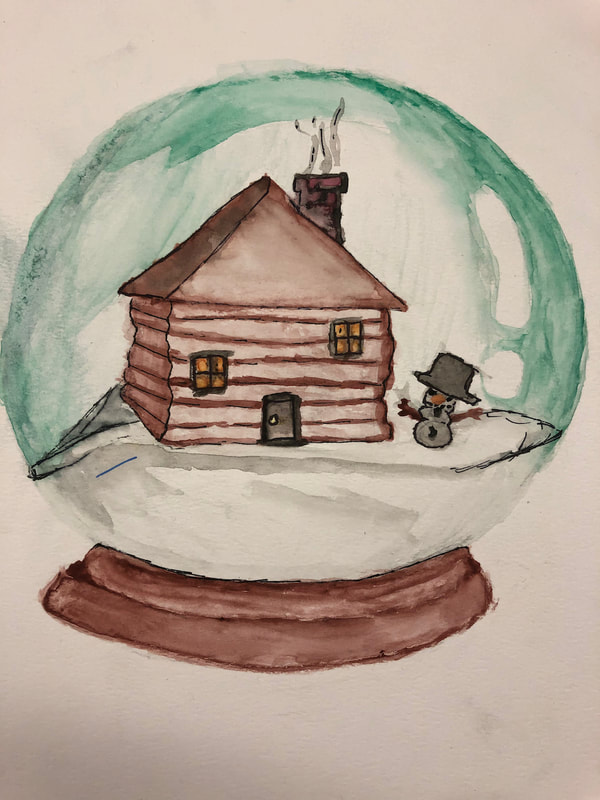
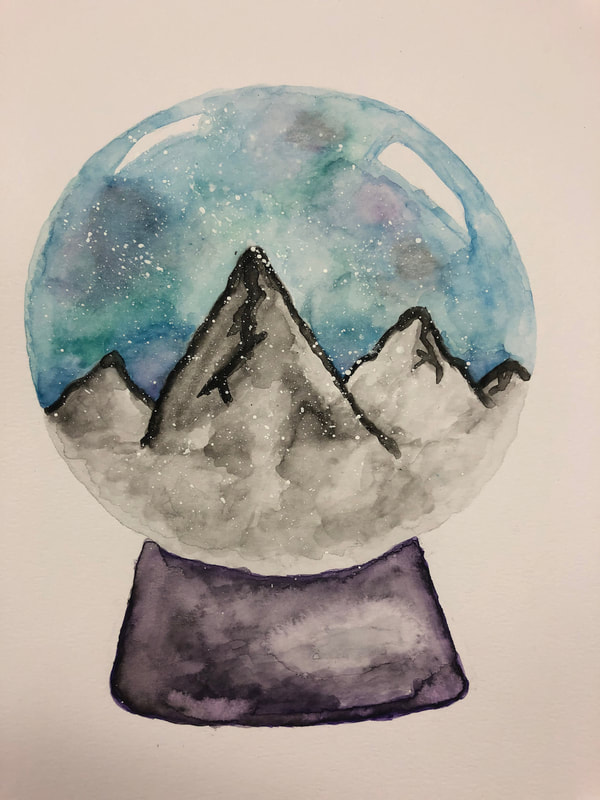
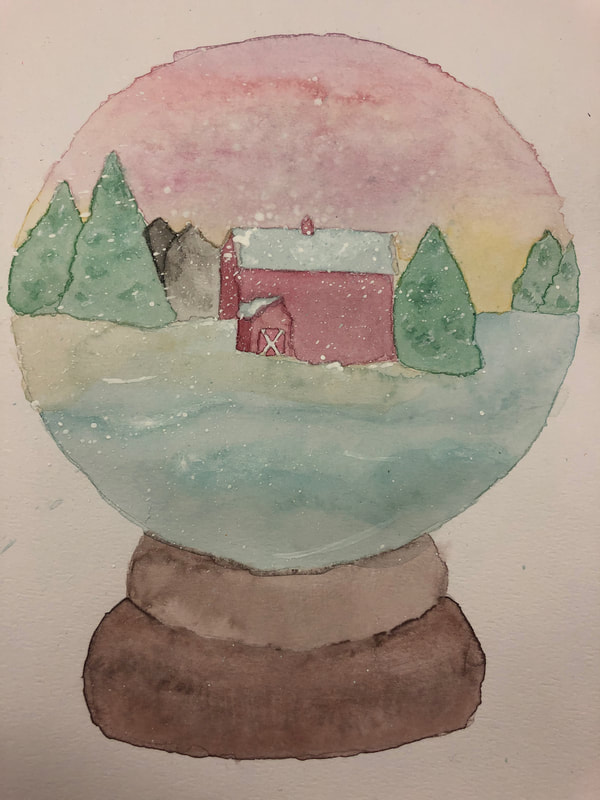
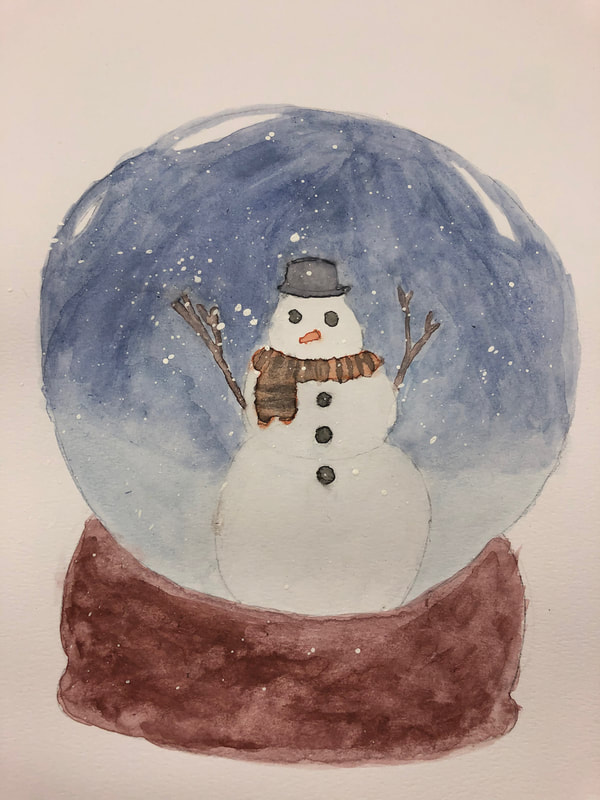
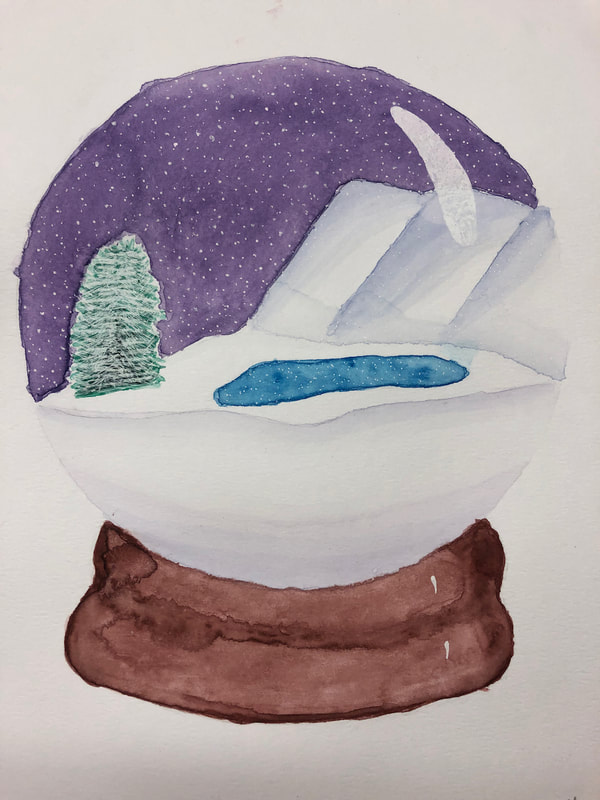
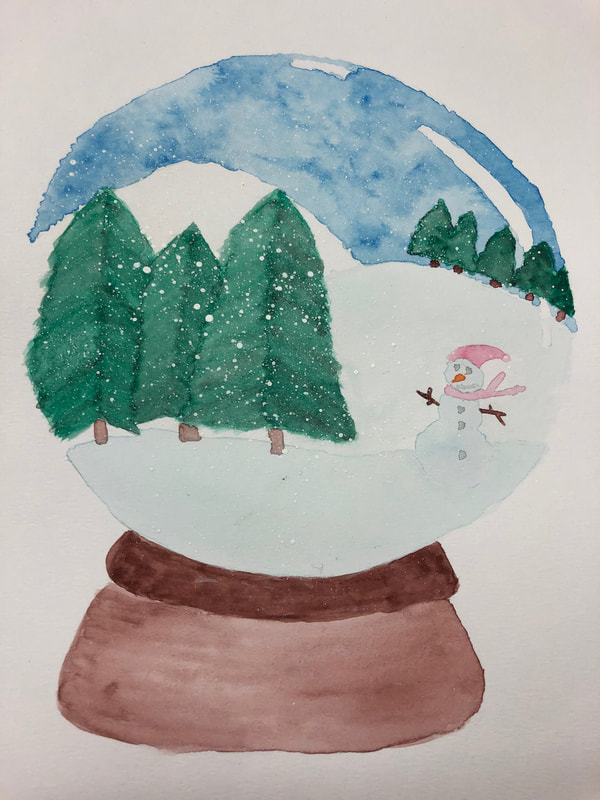
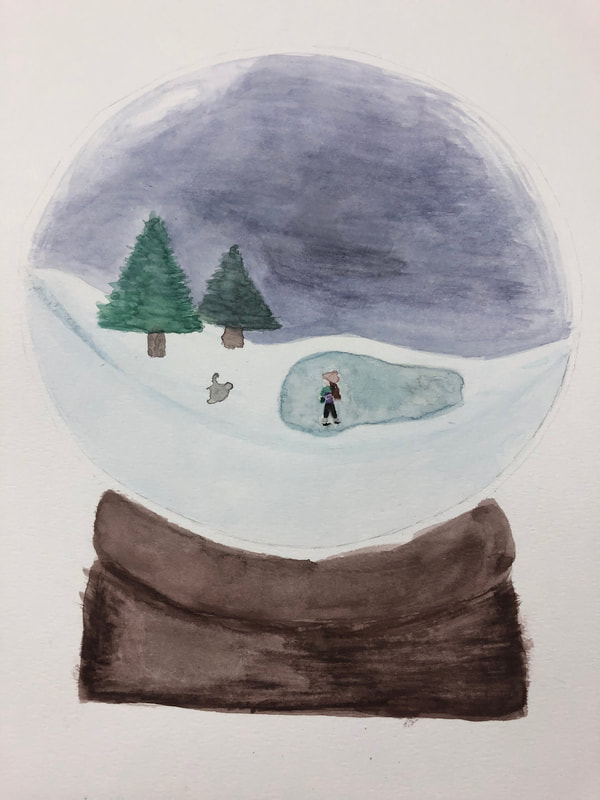
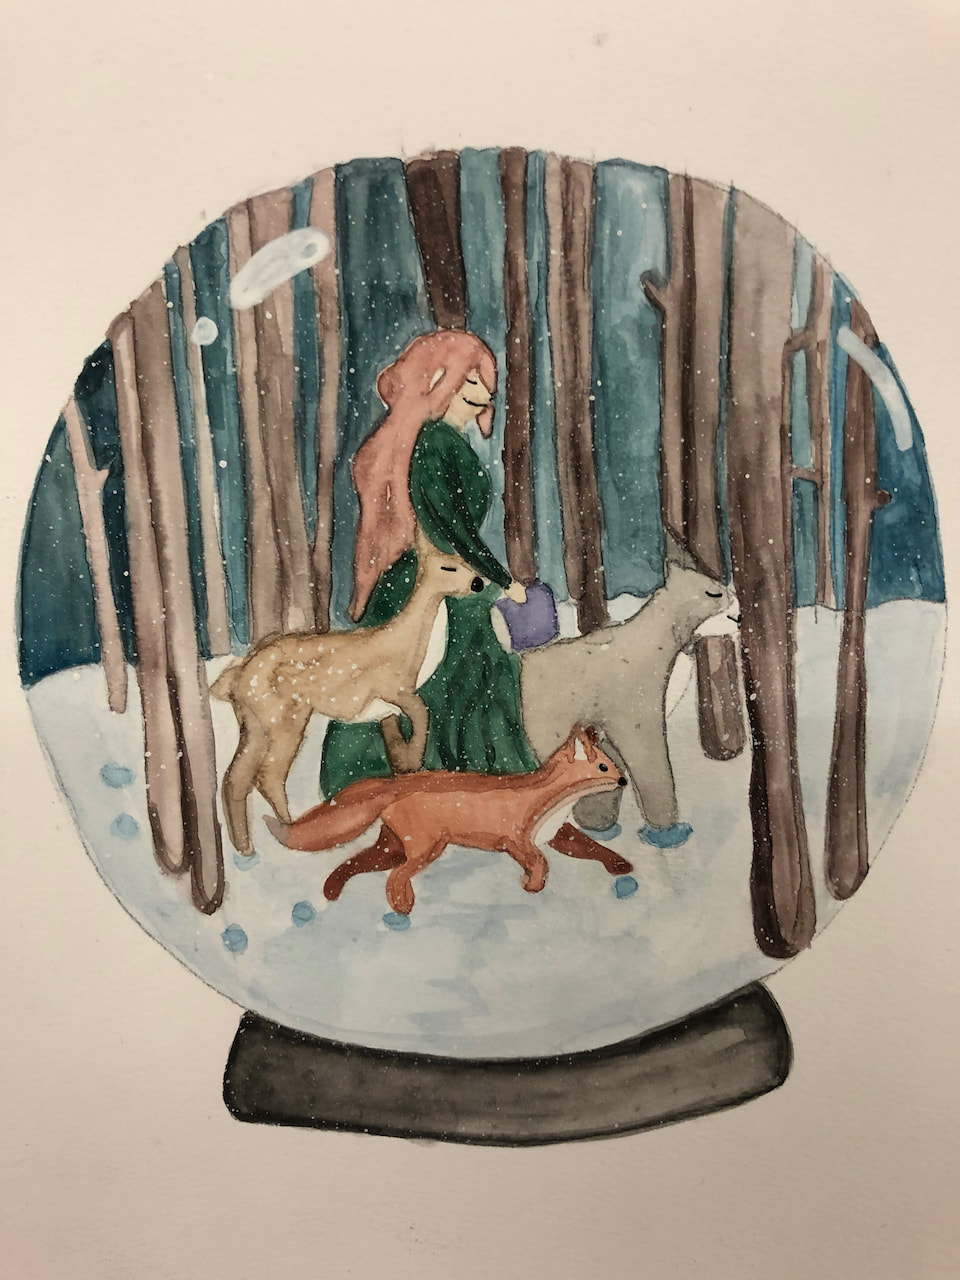
Picture
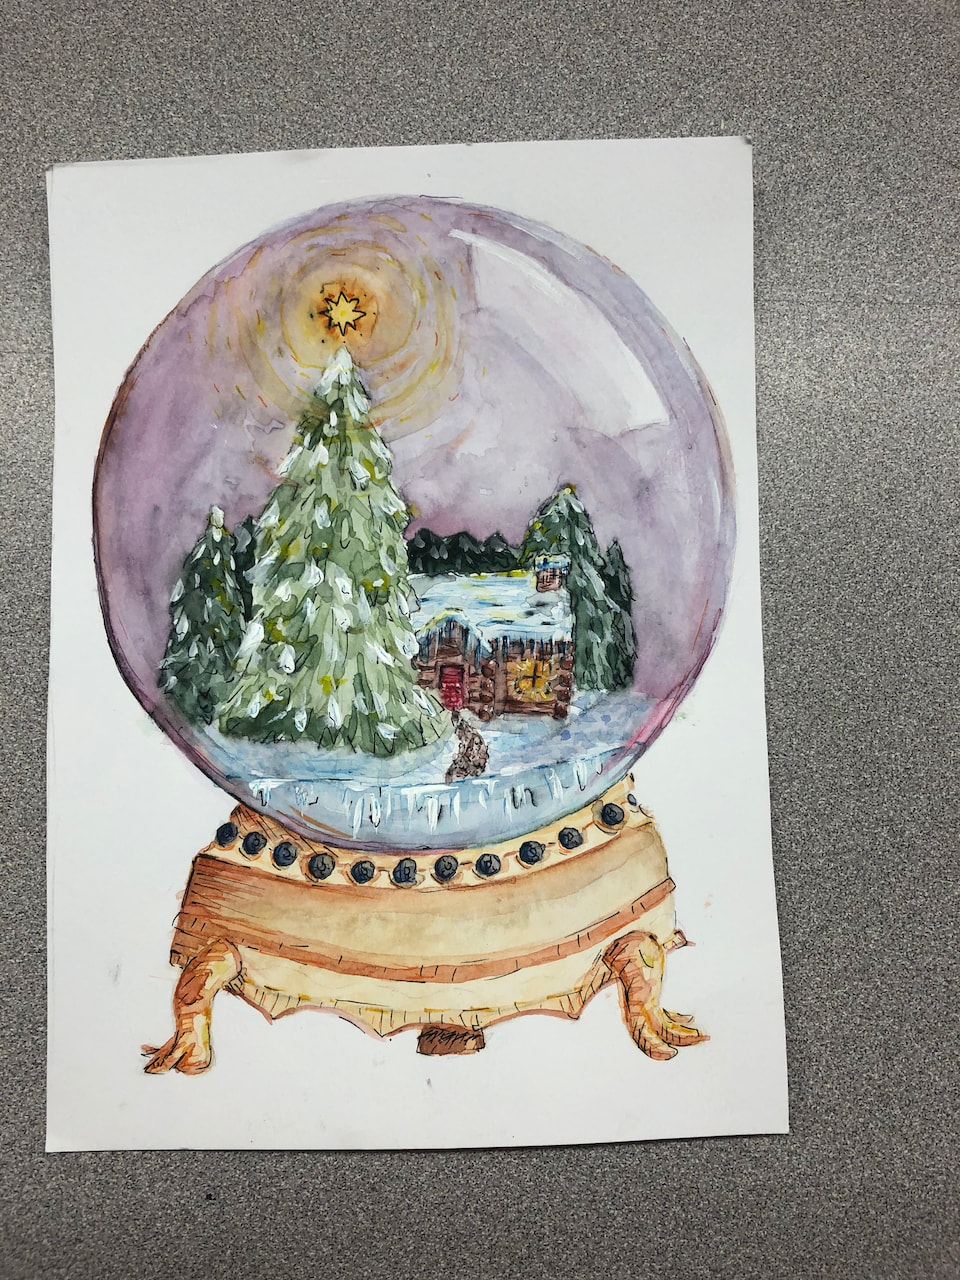
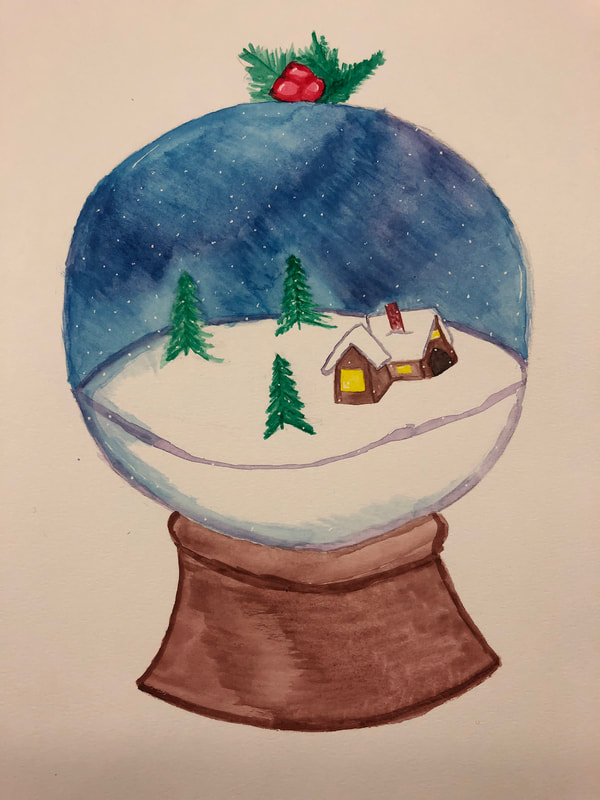
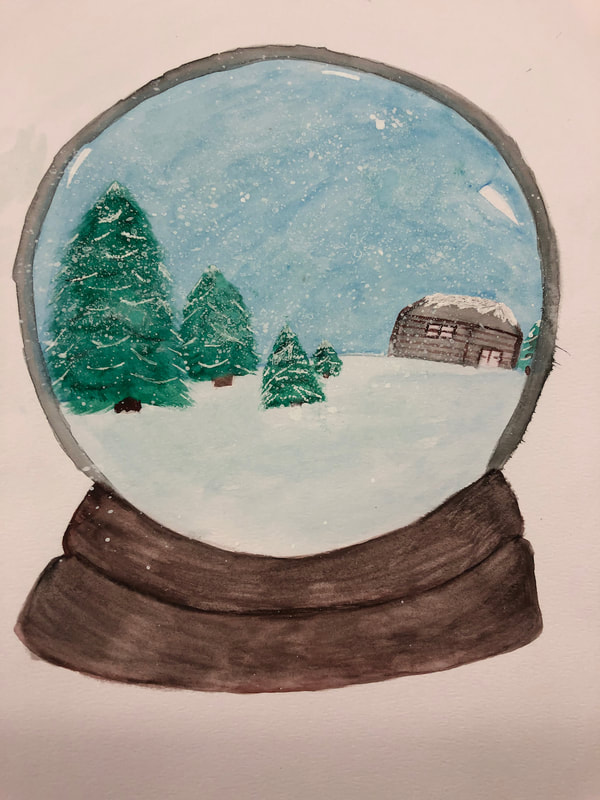
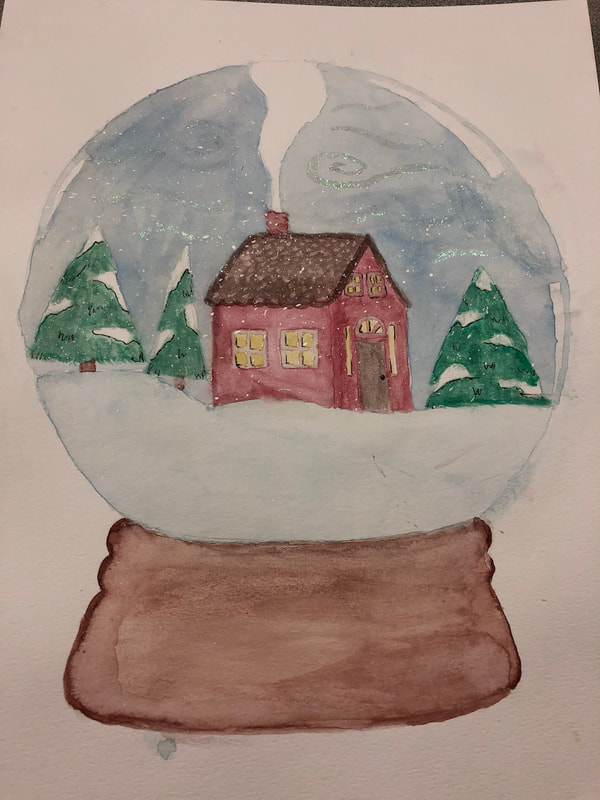
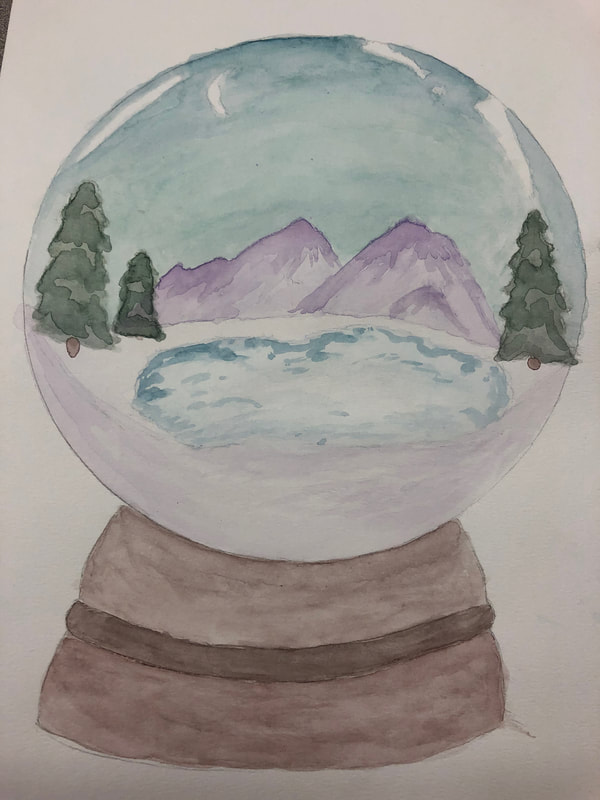
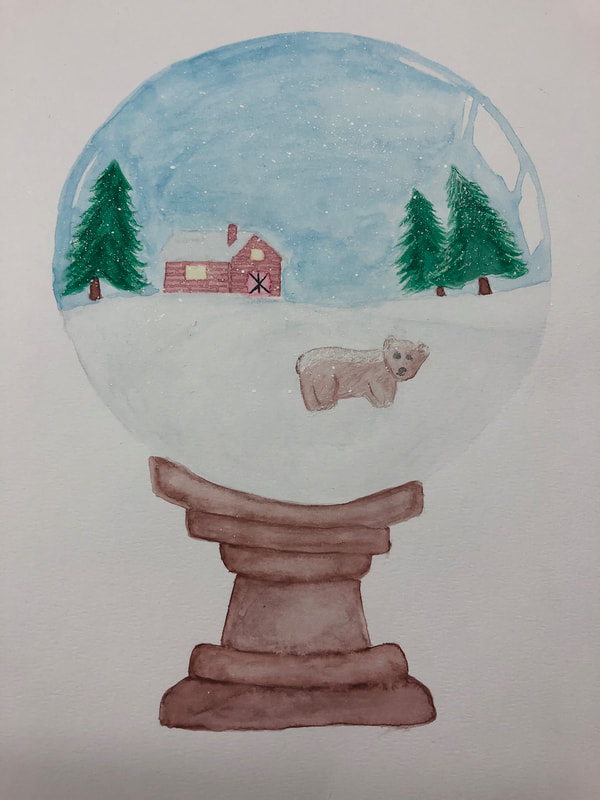
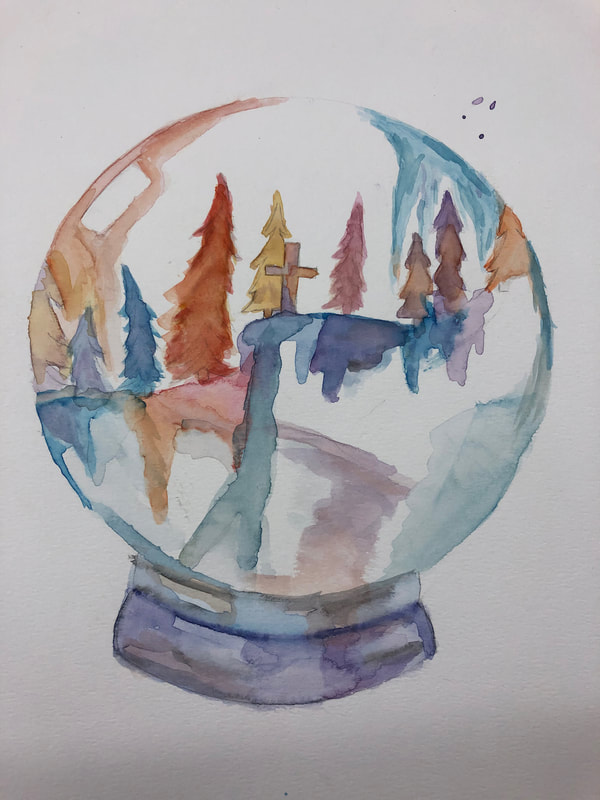
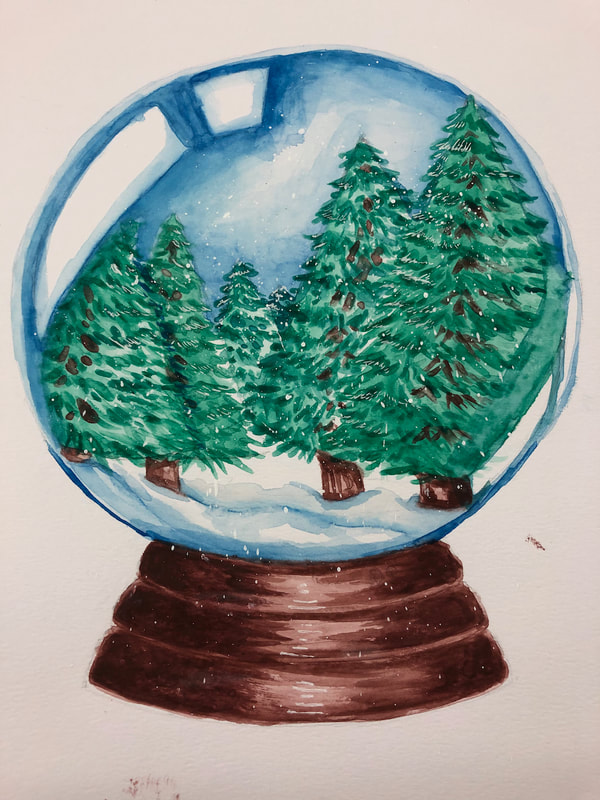
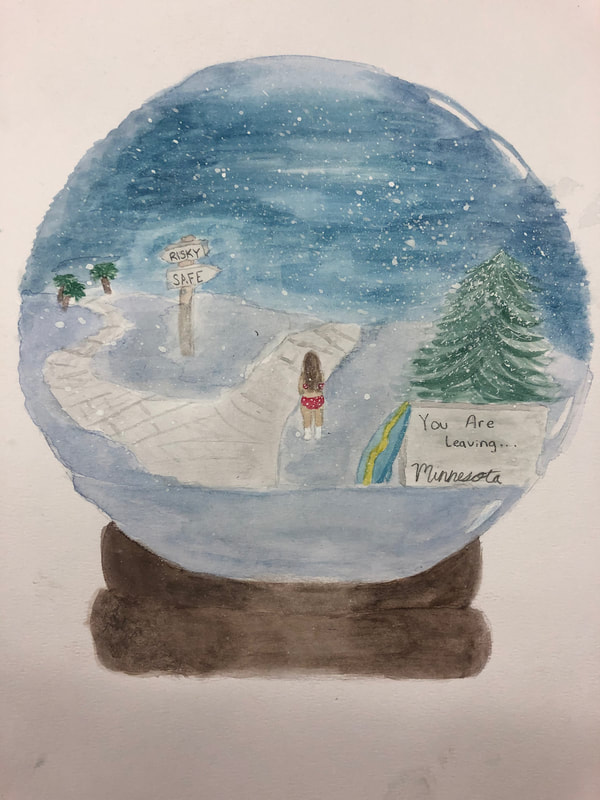
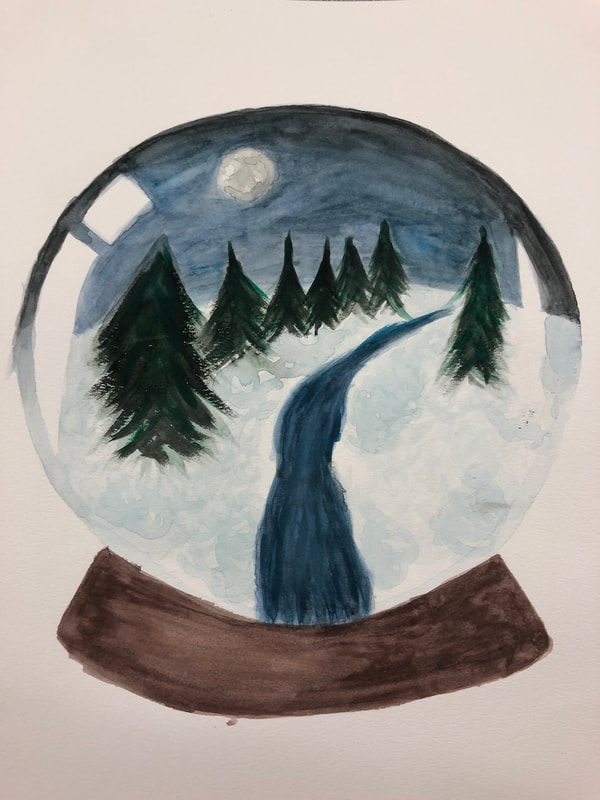
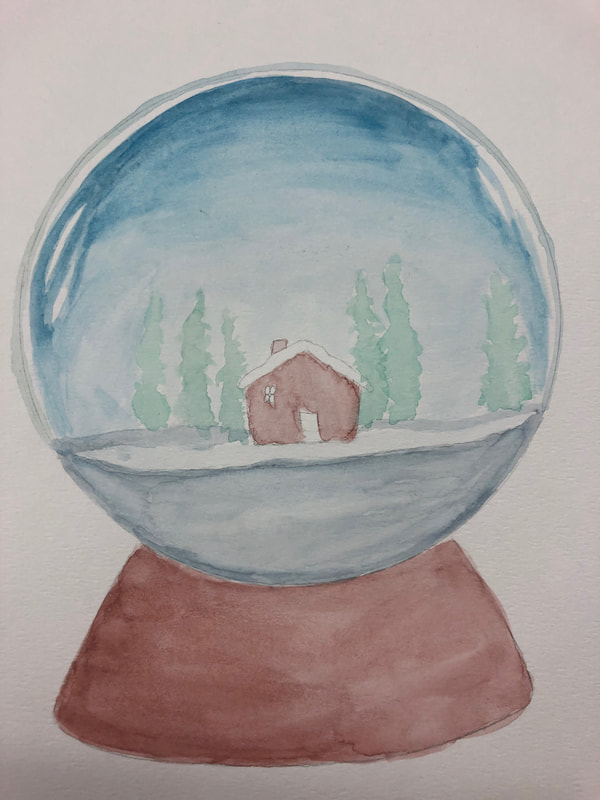
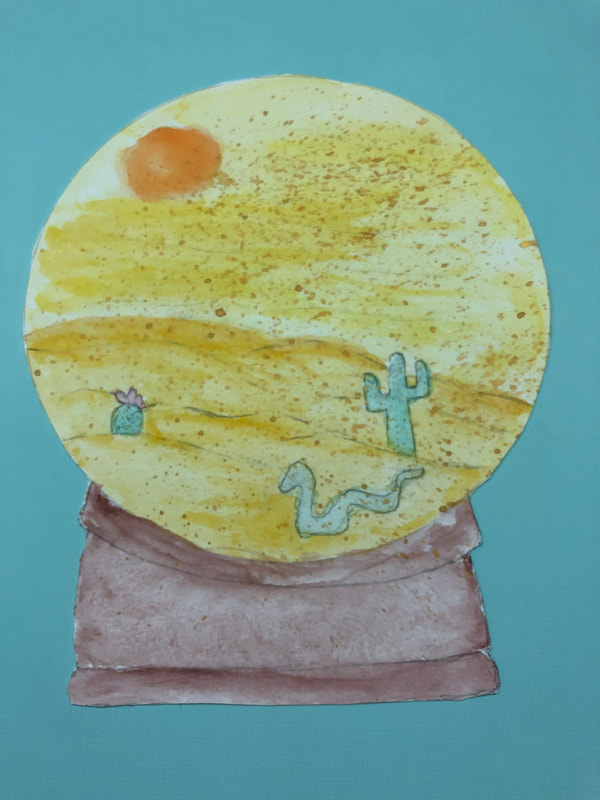
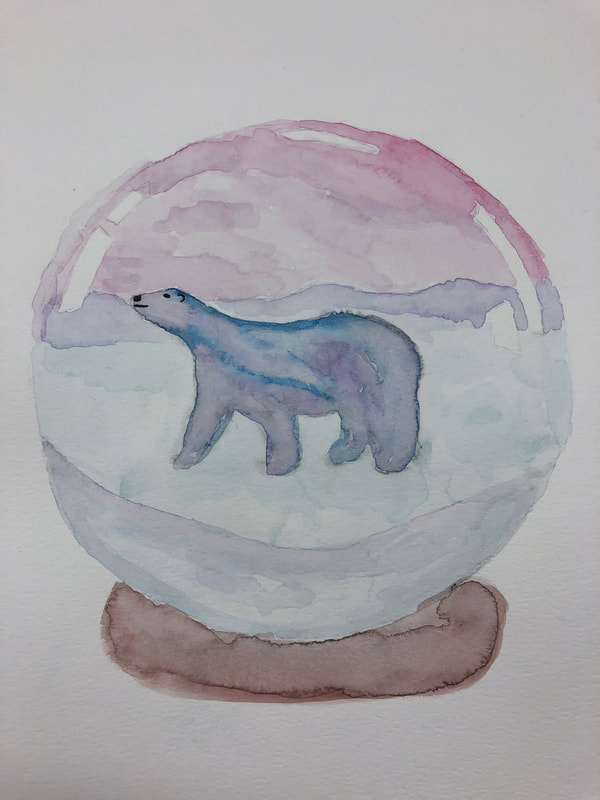
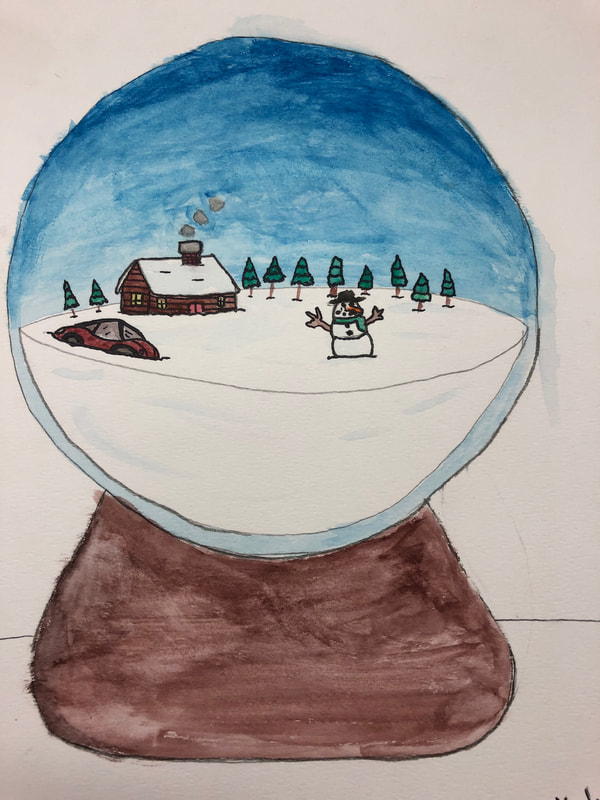
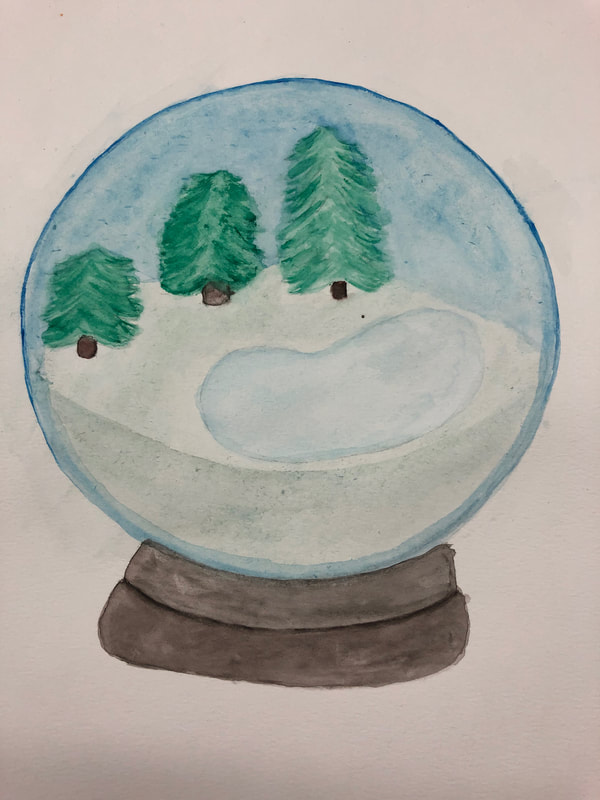
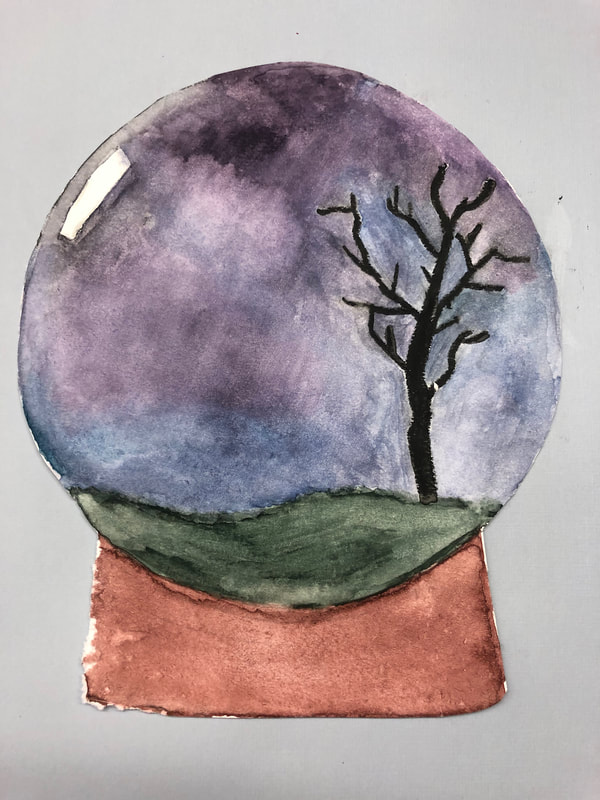
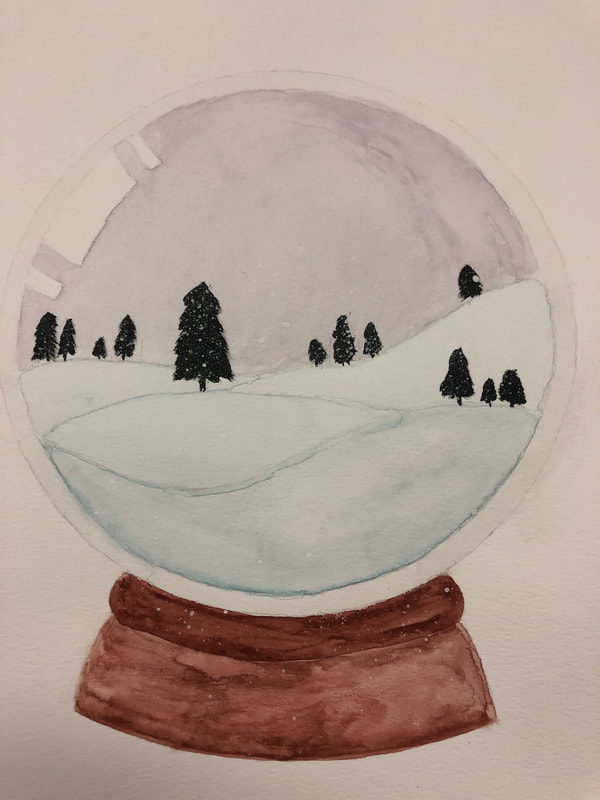
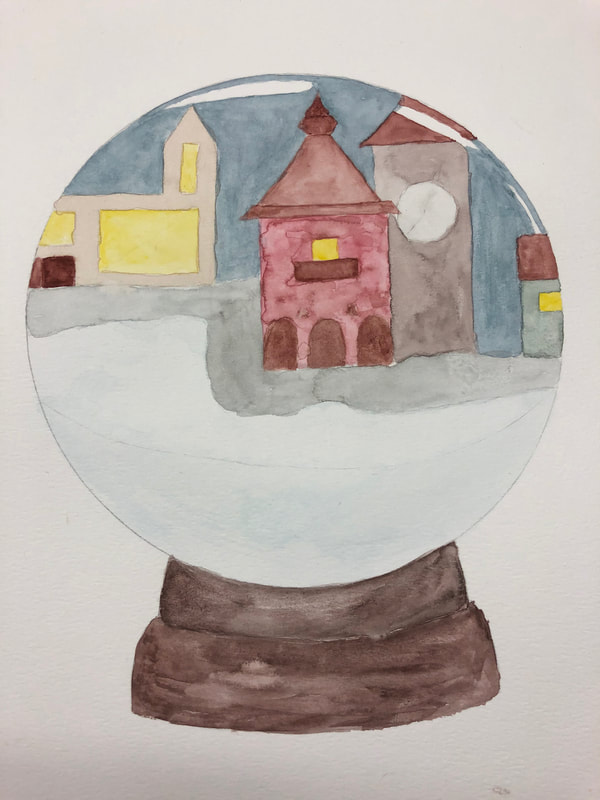
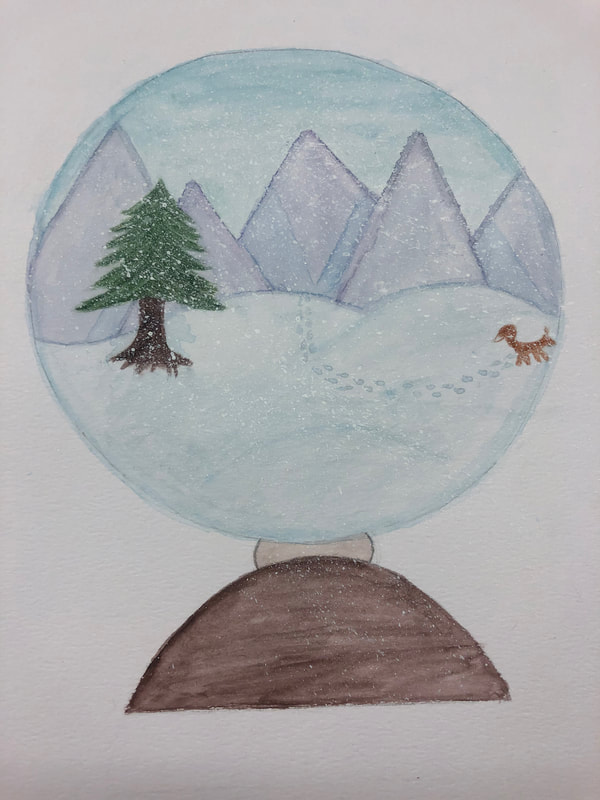
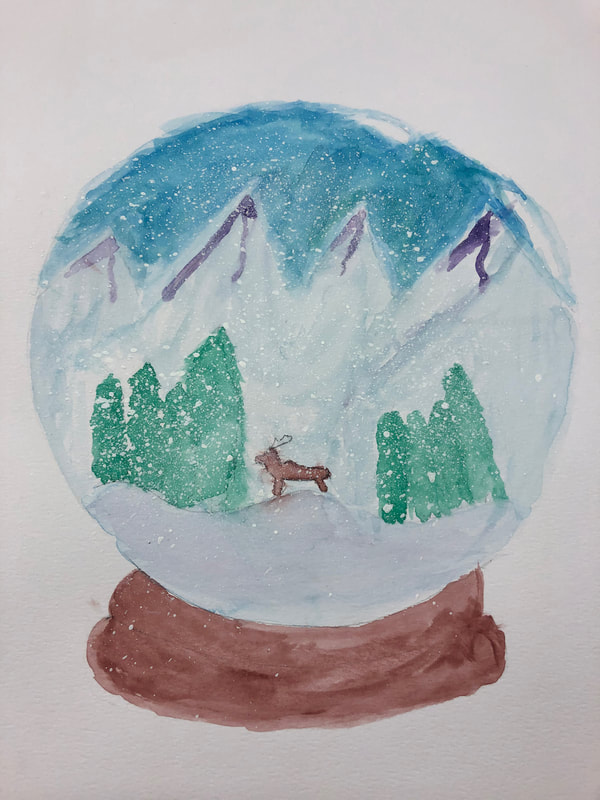
I developed a new project this year that could be done in many different grade levels. It worked well as an introduction to watercolor painting for my Art 1 students. I ended up letting my student teacher wrap up the project, but it was pretty successful for most students. I was also a nice 'seasonal' activity that we started just before Christmas break and wrapped up in January. It provided that winter bridge between semesters. 

If I teach this again, I will have students focus more on the snow globe stand and mask the background to keep it clean....or have a plan for how to finish the white part of the paper, which got a little dirty and rough edges messed up some of the otherwise nice paintings. I will also bring in more actual snow globes to show as examples, I don't own any and had to borrow one for the explanation of how the glass has white reflections on the surface. 

Also, they need to block out the 'white' reflection really well in order to make a convincing glass globe. 

I encouraged them to use some watered down white paint on a toothbrush to create the 'snow' on top as a finishing touch. Because of a million snow days, we didn't actually get to display them during winter, and it felt too late to do it by the time we got back to school. I wanted to share them here, because I am proud of this work!!

Picture
1 Comment
    PictureWelcome!

    Mrs. Mitchell

    Art teacher from Missouri. 

    Instagram
    Add to Flipboard Magazine.

    Archives

    March 2021
    April 2020
    November 2019
    July 2019
    April 2019
    January 2019
    October 2018
    July 2018
    June 2018
    May 2018
    April 2018
    March 2018
    January 2018
    September 2017
    May 2017
    April 2017
    March 2017
    January 2017
    December 2016
    November 2016
    October 2016
    September 2016
    March 2016
    December 2015
    October 2015
    August 2015
    May 2015
    April 2015
    March 2015
    February 2015
    November 2014
    October 2014
    September 2014
    August 2014
    June 2014
    May 2014
    April 2014
    March 2014
    February 2014
    January 2014
    December 2013
    November 2013
    October 2013
    September 2013
    August 2013
    July 2013
    June 2013
    May 2013

    Categories

    All
    1st Day Of School
    1st Grade
    3d
    Abstract Art
    Alcohol Ink Tiles
    Alpacas
    Animal Art
    Animation
    Architecture
    Art Centers
    Art For Kids Hub
    Art History
    Art Hub For Kids
    Art Room
    Art Show
    Art Teacher Conference
    Bell Ringer
    Birds
    Blending
    Bunnies
    Cardboard
    Chalk Pastels
    Chalk Stencil
    Charcoal
    Choice Based
    Christmas
    Chuck Close
    Classroom
    Clay
    Club Day
    Collage
    Color Diffusing Paper
    Colored Pencil
    Colored Pencils
    Construction Paper Crayons
    Contest Art
    Creatures
    Crystal Bridges
    Design
    Dice Games
    Document Camera
    Dot Day
    Drawing
    Early Finishers
    Easter
    Emojis
    Fall
    Field Trip
    Food Art
    Foxes
    Green Screen
    Grid Drawing
    Group Challenge
    Halloween
    Haunted Houses
    Hearts
    Hermit Crab
    High School
    Human Form
    Ice Breaker
    Inspirational Posters
    Ipads
    Jim Dine
    Justand
    Killer Whales
    Kindergarten
    Landscape
    Lesson Plans
    Lettering
    Llamas
    Magazines
    Mandala
    Maori
    Markers
    Masks
    Matisse
    Metal
    Model Magic
    Mona Lisa
    Monster Trucks
    Mother's Day
    Mother's Day Card
    Mummies
    Mural
    Newspaper
    New Zealand
    Notan
    Observational Drawing
    Ocean Art
    Oil Pastel
    Oil Pastels
    Optical Illusions
    Origami
    Owls
    Painting
    Paper Weaving
    Pd
    Pencil Topper
    Perspective
    Pete The Cat
    Picasso
    Polar Bears
    Pop Art
    Portraits
    Printmaking
    Product Review
    Professional Development
    Quiver
    Reflection
    Reflective Teaching
    Room Tour
    Rooster
    Sea Horse
    Seals
    Sea Turtle
    Self Portrait
    Shading
    Shaving Cream Prints
    Shoes
    Sketchbooks
    Sloth
    Solar Eclipse
    Spinners
    Spring Conference
    Star Wars
    Statue Of Liberty
    Step-by-step
    Step By Step Drawing
    Step-by-step Drawing
    Still Life
    Stop Motion
    Story Board
    Sub Plans
    Summer School
    Symmetry
    Tab
    Teacher Appreciation Cards
    Technology
    Tempera Paint
    Tiny Food
    Tissue Paper
    Trees
    Tumbling Blocks
    Valentine's Day
    Warm Ups
    Watercolor
    Wax Resist
    Word Art
    Yellow Submarine
    Zentangle

    RSS Feed

Powered by Create your own unique website with customizable templates.