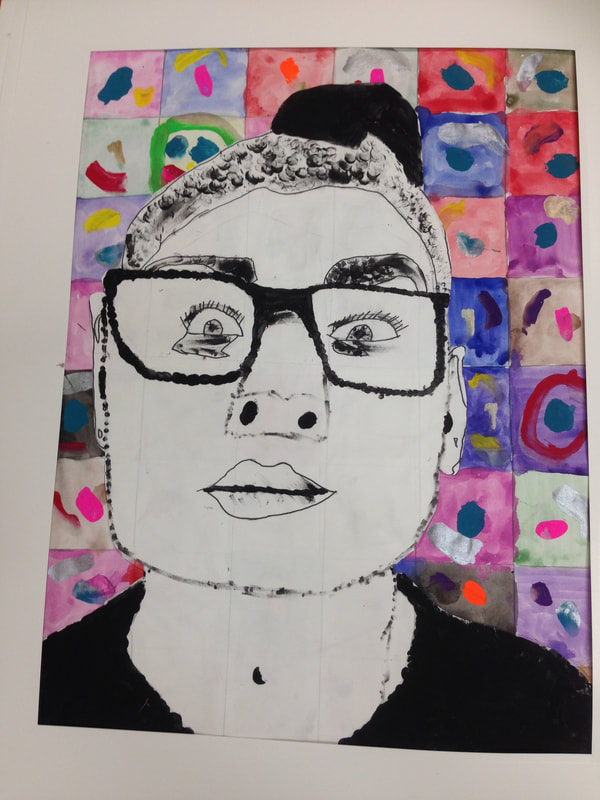
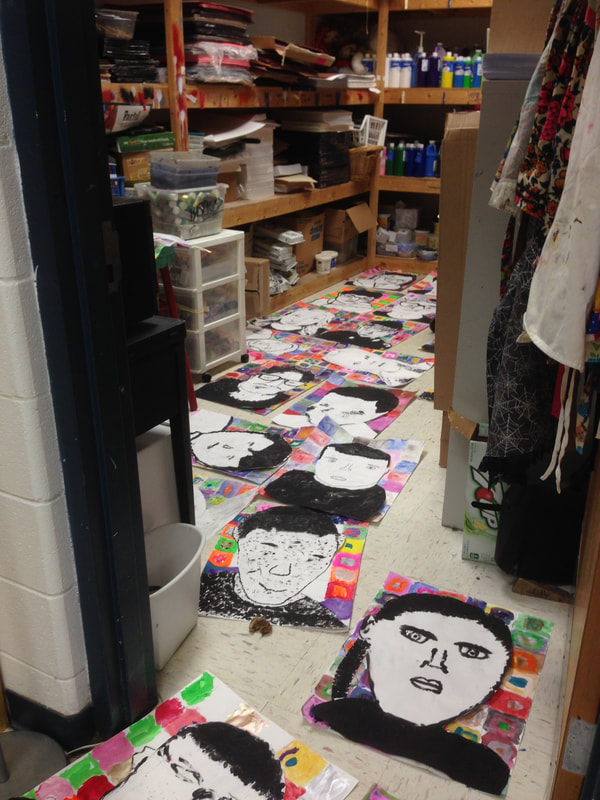
This is one of those stunning projects that was a huge 'WOW' in the cafeteria but I never shared it here. The portraits were 18X24, which meant they were a huge storage issue at the time, but since we did them at the end of the semester, it wasn't as huge of an issue.
The lesson was almost completely taken from the blog Frecklephoto. She inspired almost every element, which is good, because there are many details I can't remember. More here. More here. And here. My students did this lesson in December 2014, and I haven't tackled it since.
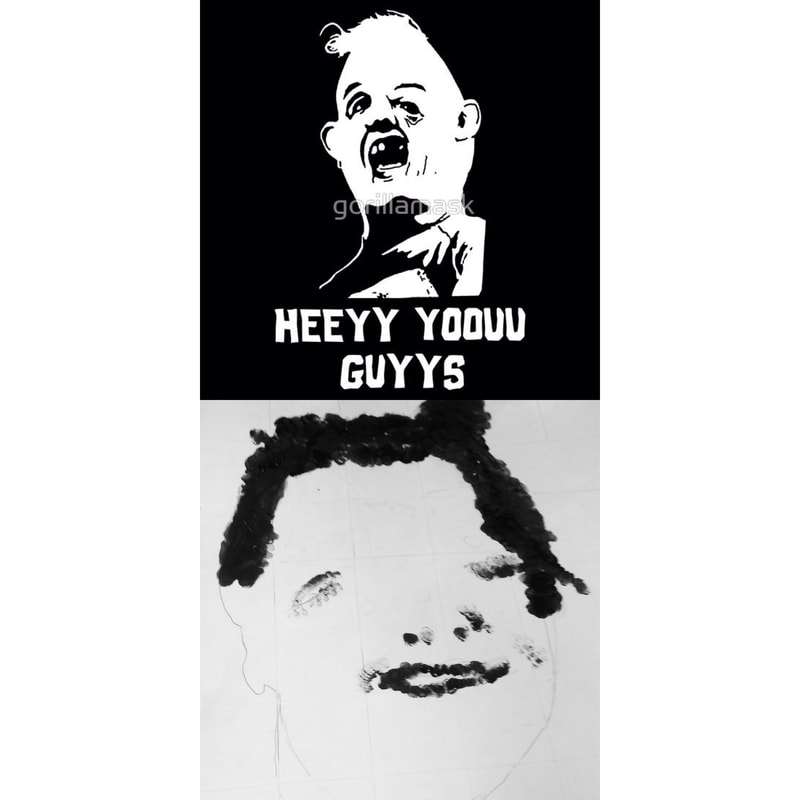
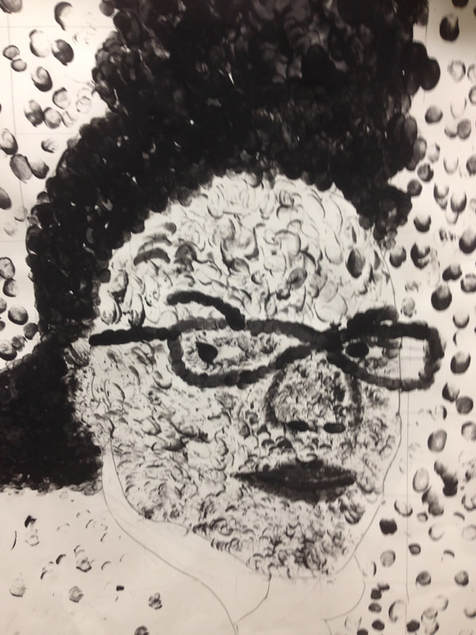
It was labor intensive before we actually started to get them all prepped. Meanwhile, students practiced grid drawing on a couple of worksheets. They also used the practice handout of the portrait to practice stamping different values with one finger. I made up my own based on the example on Frecklephoto, you will see it below. I will try to scan it and add to this post when I get back to school.
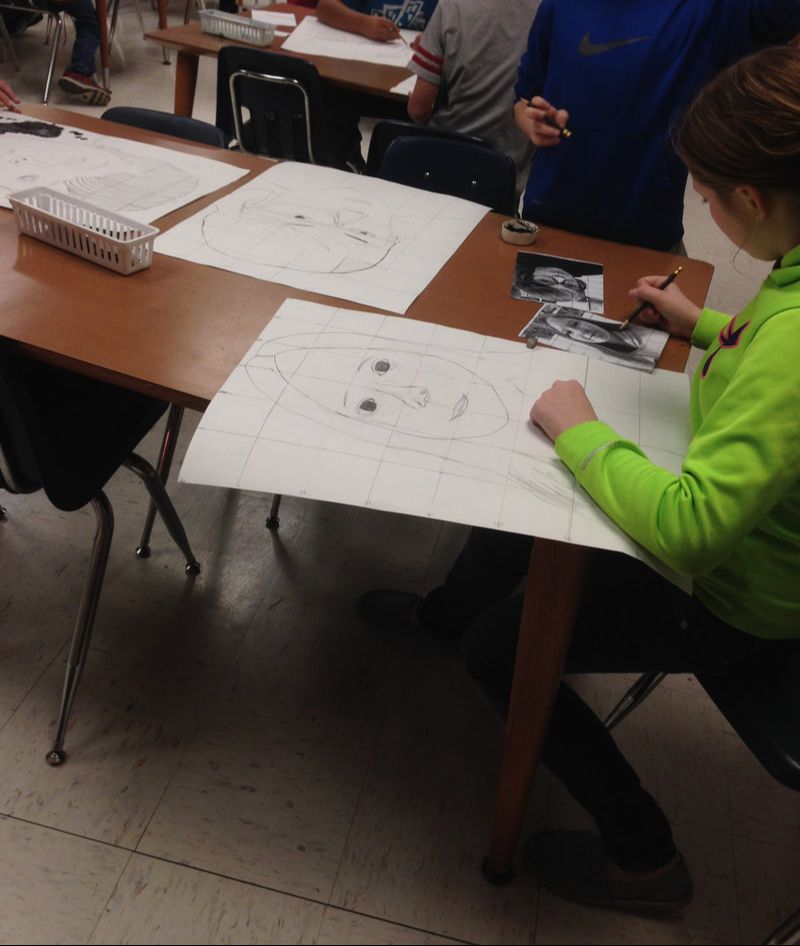
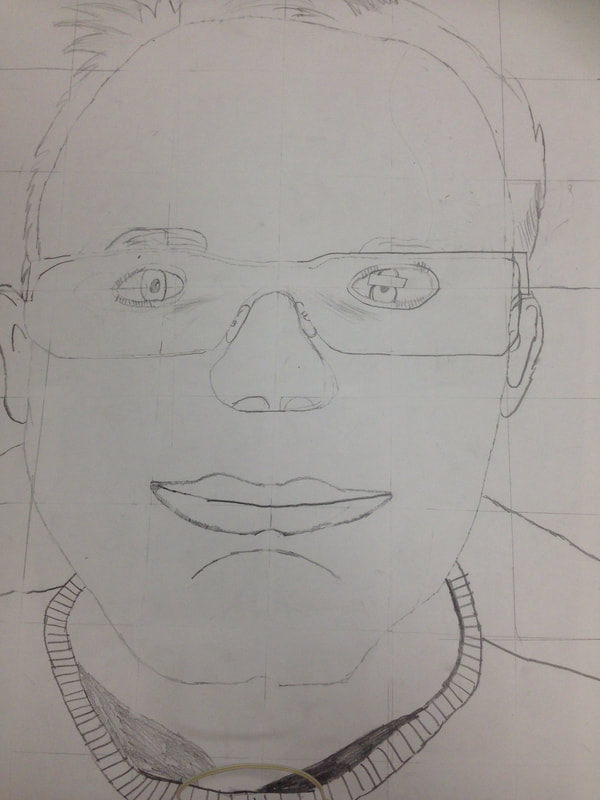
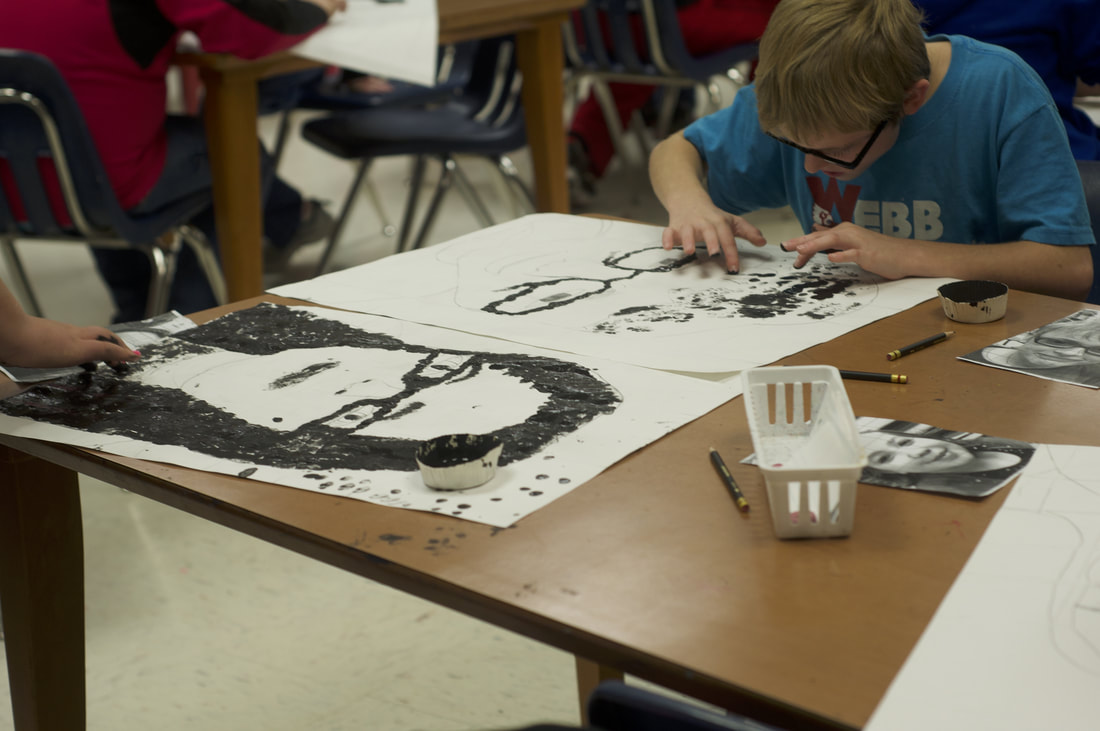
Perhaps the hardest part of the project was drawing their portraits using the grid drawing method. No. I take that back. Using a ruler was the hardest part. We had to use yard sticks because the paper was so big and lots of kids needed help holding it down to measure their 18X24 paper and then LIGHTLY trace the pencil lines with a ruler. This took two art days. Students also had to draw a small grid with a regular ruler on their printed photo so that it would correspond with the big paper. We had a really hard time erasing the pencil lines, as you can see from some of the examples....but all well.
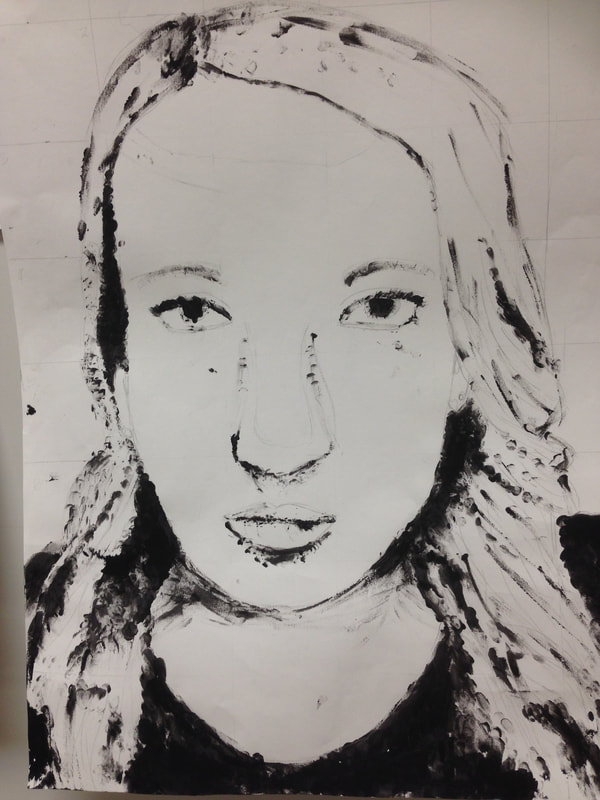
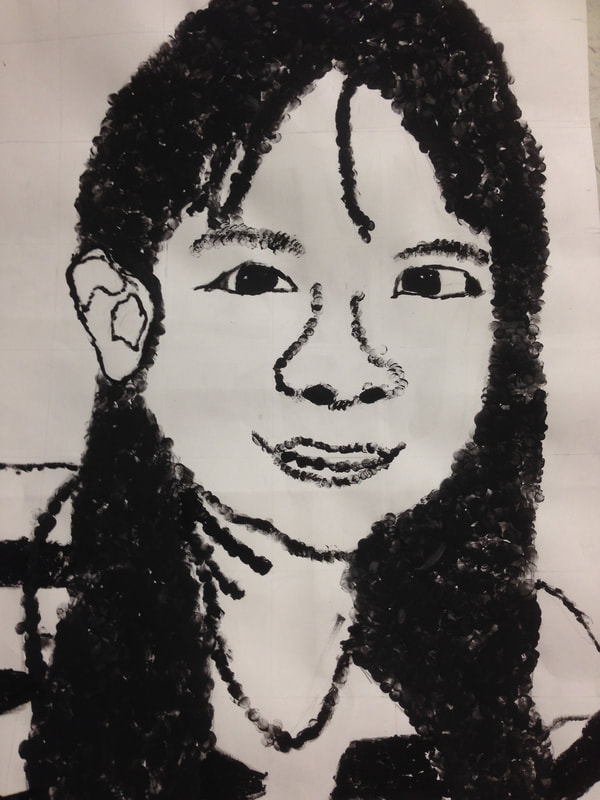
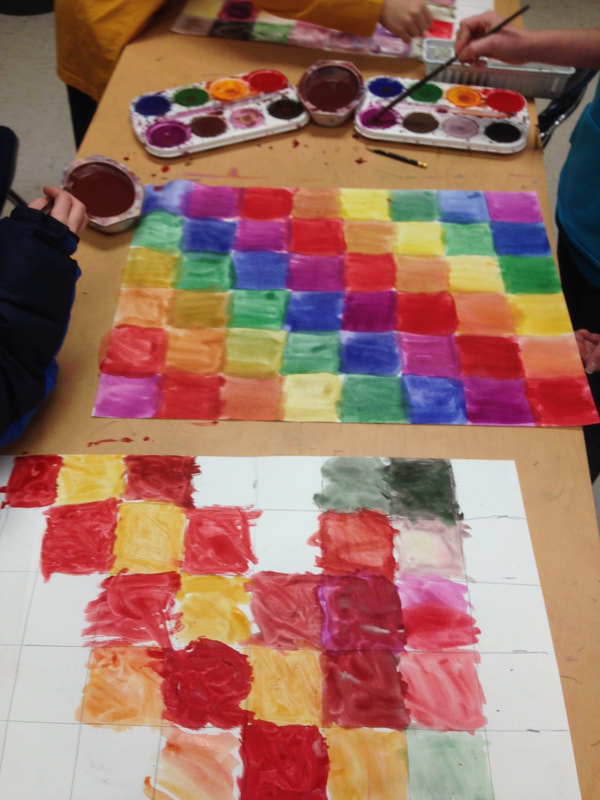
The finger printing on the face didn't take too long.....and for the background, we made a 2nd 18X24 grid and painted it with tempera cakes. We were rushed to finish right before Christmas break, so the last step was cutting out the portrait and gluing it down to the dry painting, or as some classes had to do, onto the still-wet tempera-cake paint.
Before Project: Photograph each student, convert and print
Day 1
Learn about chuck close. Practice grid drawing. (elephant grid drawing)
Day 2
Draw grid on photo. Draw grid on 18X24 paper. I made a video to explain the grid drawing method. I could tell they were bored when it got to the big paper because it is hard to see my lines.
Day 3
Finish drawing grids. Begin lightly sketching features on big grid using grid drawing method.
Day 4
Practice making values on handout with black paint. Make a value scale.
Day 5
Catch up Day. Finish all grids, everyone finish practicing values. Finish sketching all faces on papers. Begin drawing grid on 2nd 18X24 paper. Name on it.
Day 6
Fingerprint stamp 18X24 portrait.
Day 7
Paint 18X24 background paper (some need to finish fingerprint stamping their portrait)
Day 8
Cut out portrait and glue it to the background. (Finish painting!!)
Supplies
18X24 paper (2 per student)
printed photos of each student
pencils and erasers
yard sticks
rulers
black paint
copies of practice portrait
tempera cake paint
scissors
glue



 RSS Feed
