THIS LITTLE CLASS OF MINE
  • Home
  • Contact Me
  • Lesson Plans

The Art Sub (Sandwich)

4/30/2018

1 Comment

 
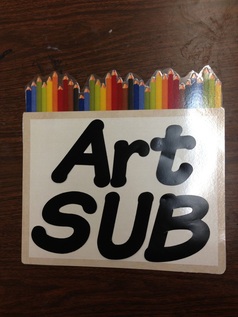
Maybe I'm a huge nerd, but I love puns. So for a recent sub plan, I left a an actual 'art sub' lesson. When I had to be gone again, I thought it would be funny to leave another play on words and leave an submarine sandwich sub plan. ;-)

Here's what I left:
Step 1: Introduce yourself to the class. Read the following poem and discuss YOUR expectations, by having students list how they should behave in art when Mrs. Mitchell IS here.

Take a ride with me,
On the art submarine sandwich.
We will pile it high, nearly to the sky.
I wonder what we will eat on the art submarine!?

You must be wondering about Mrs. Mitchell,
I can only tell you that she must be ill
But today is the day
that we will play
With the idea of an art submarine sandwich.

Just close your eyes, I'm sure you can imagine
A sandwich where anything can happen
The wonderous site that is
A hogie bun overflowing
In a rainbow of colors
Full of your favorite foods and others

"You are just a sub," they say,
"Only Mrs. Mitchell can show us the way!"
But class have no fear
the challenge is clear,
Today we must design
(by coloring and drawing with lines)

The most amazing art submarine
that Mrs. Mitchell has ever seen.

Step 2
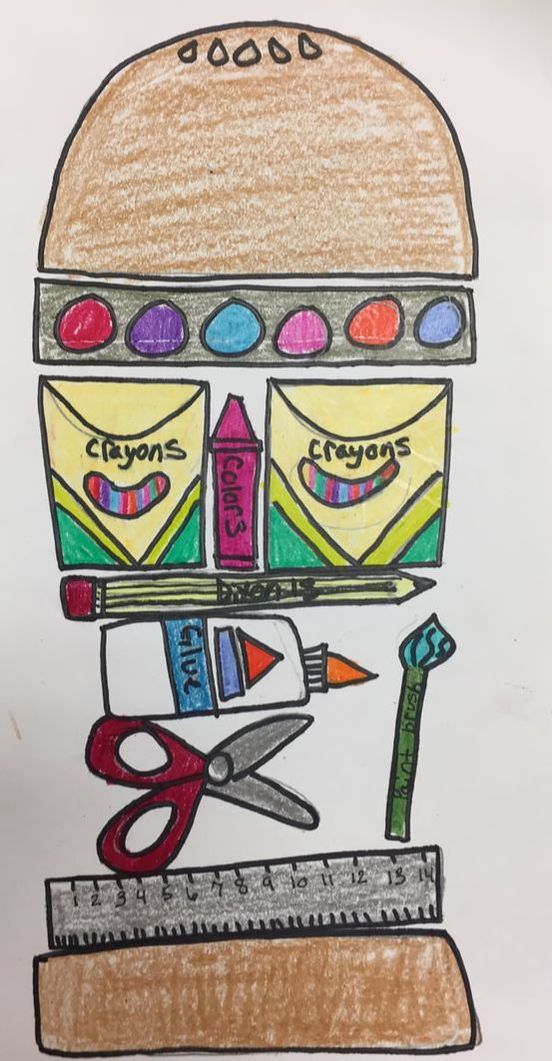
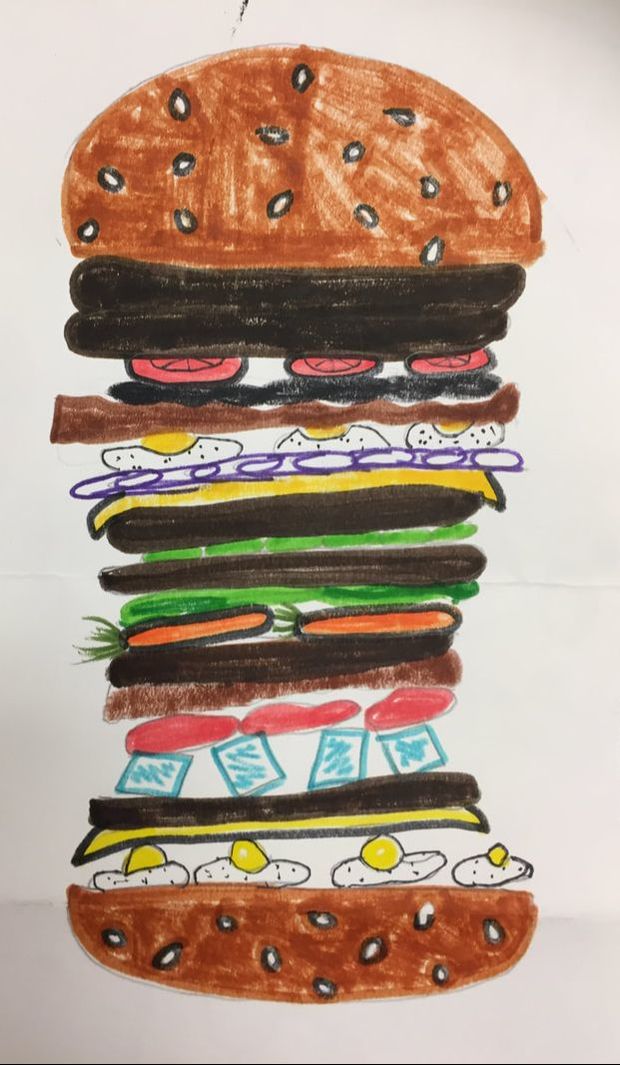
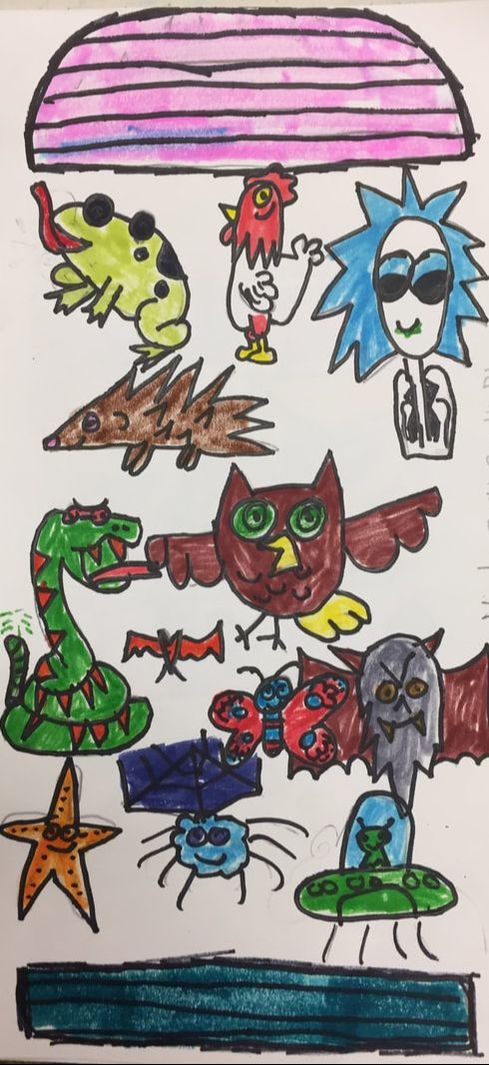
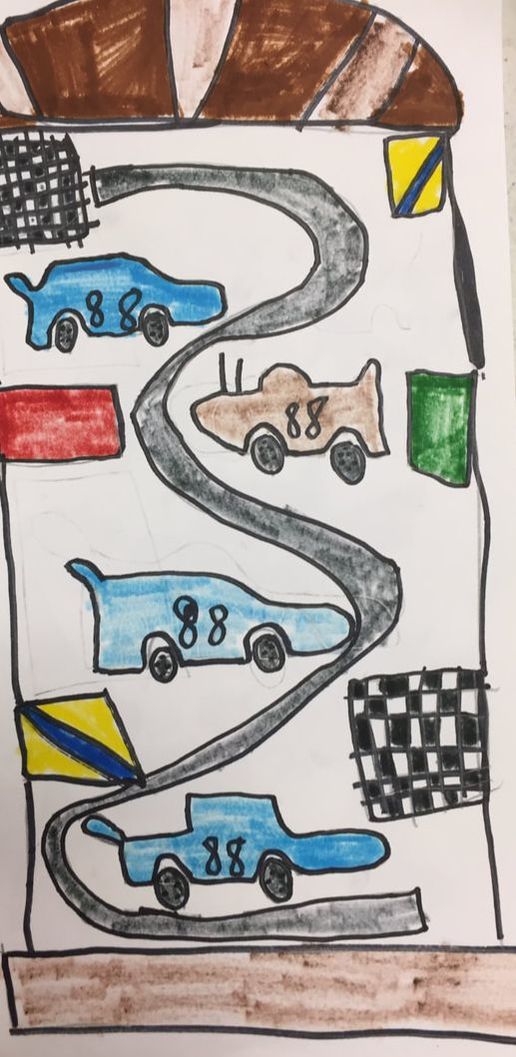
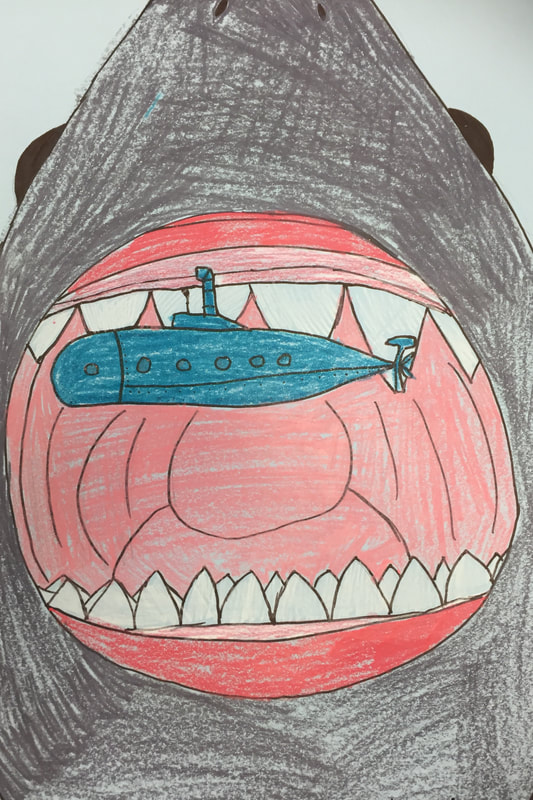
Ask students: If you were making an ART submarine sandwich, piled high with toppings, what might you put on it? (Ex: food, art supplies, tools, animals, candy) You can make it silly!
Step 3
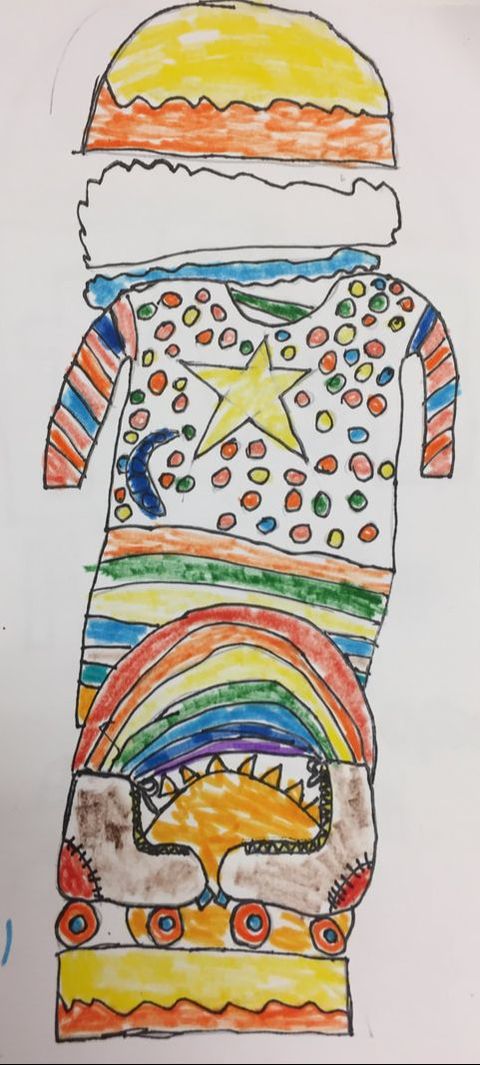
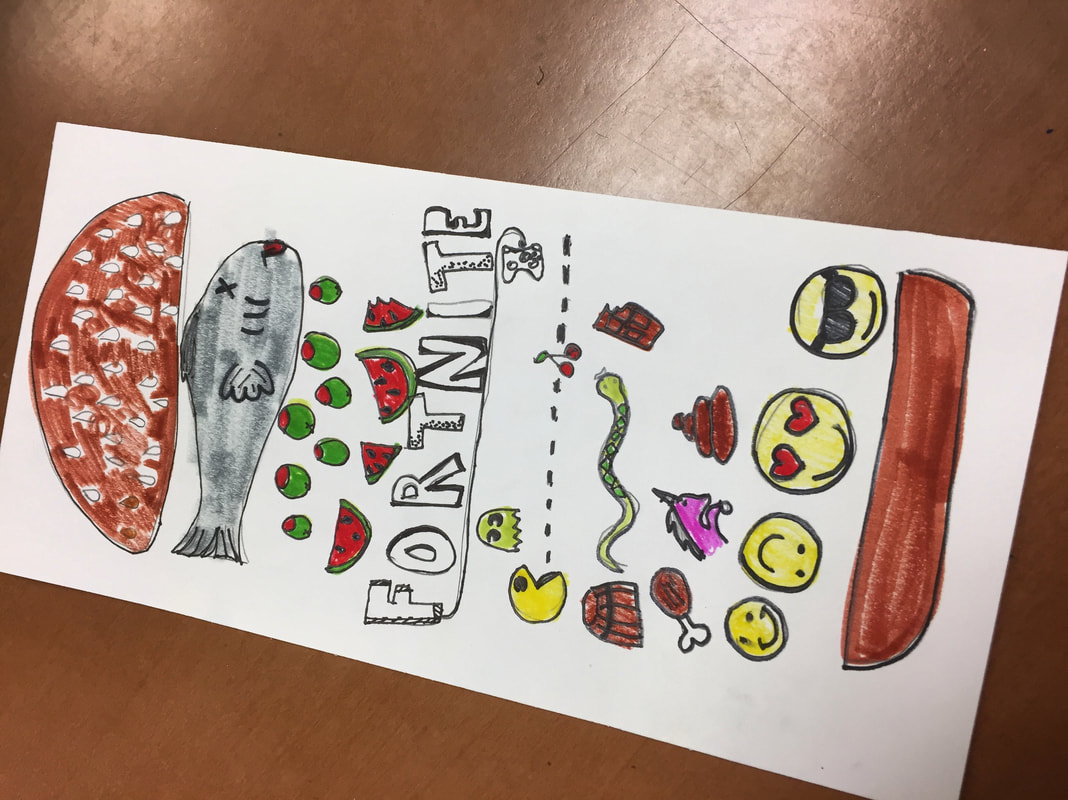
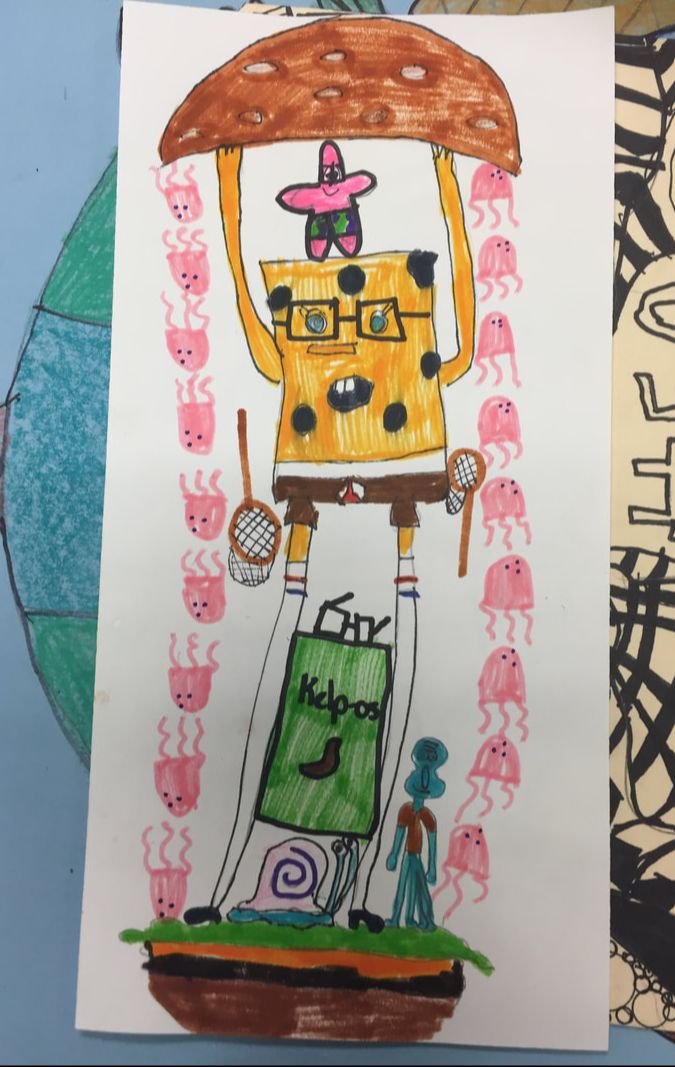
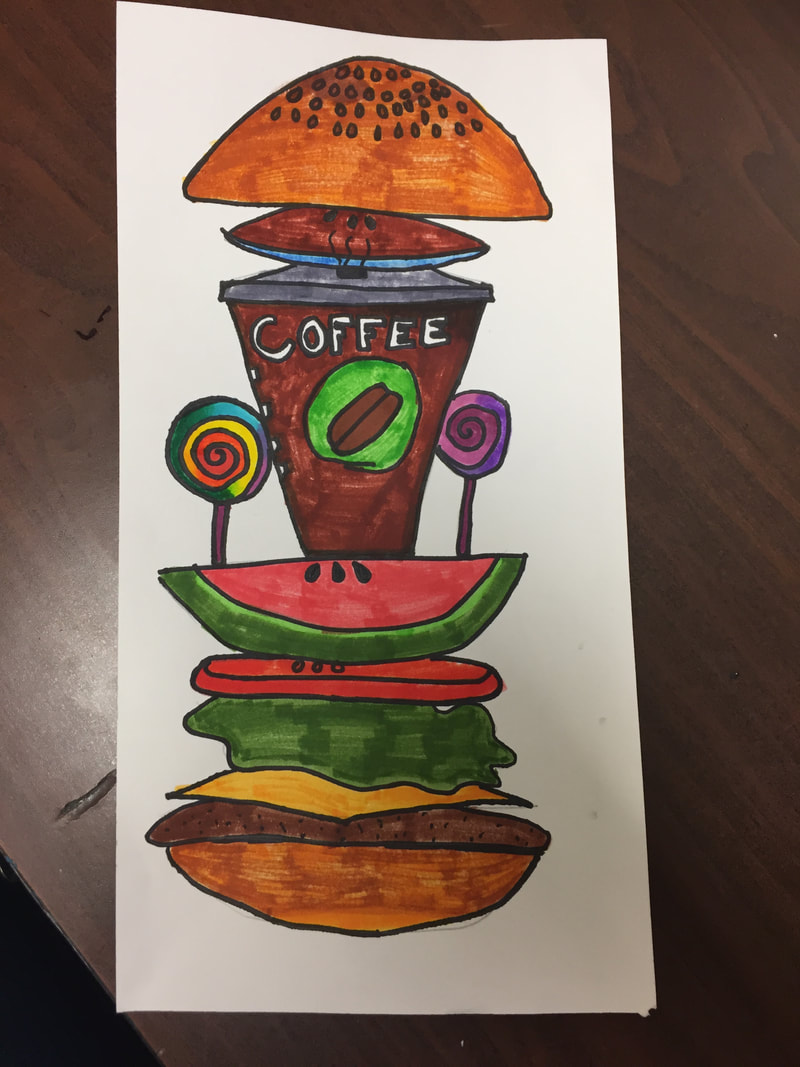
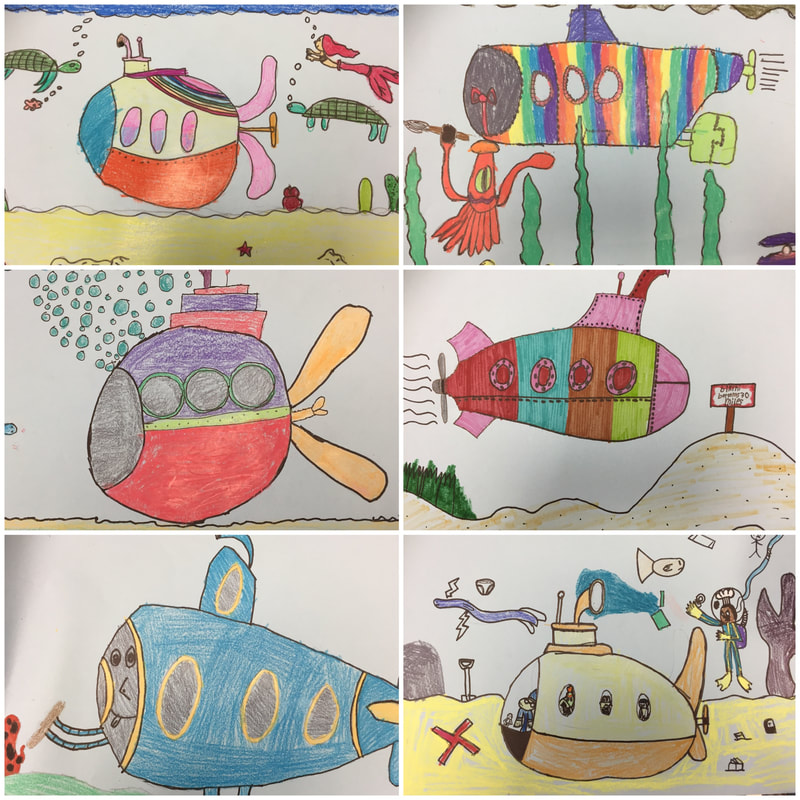
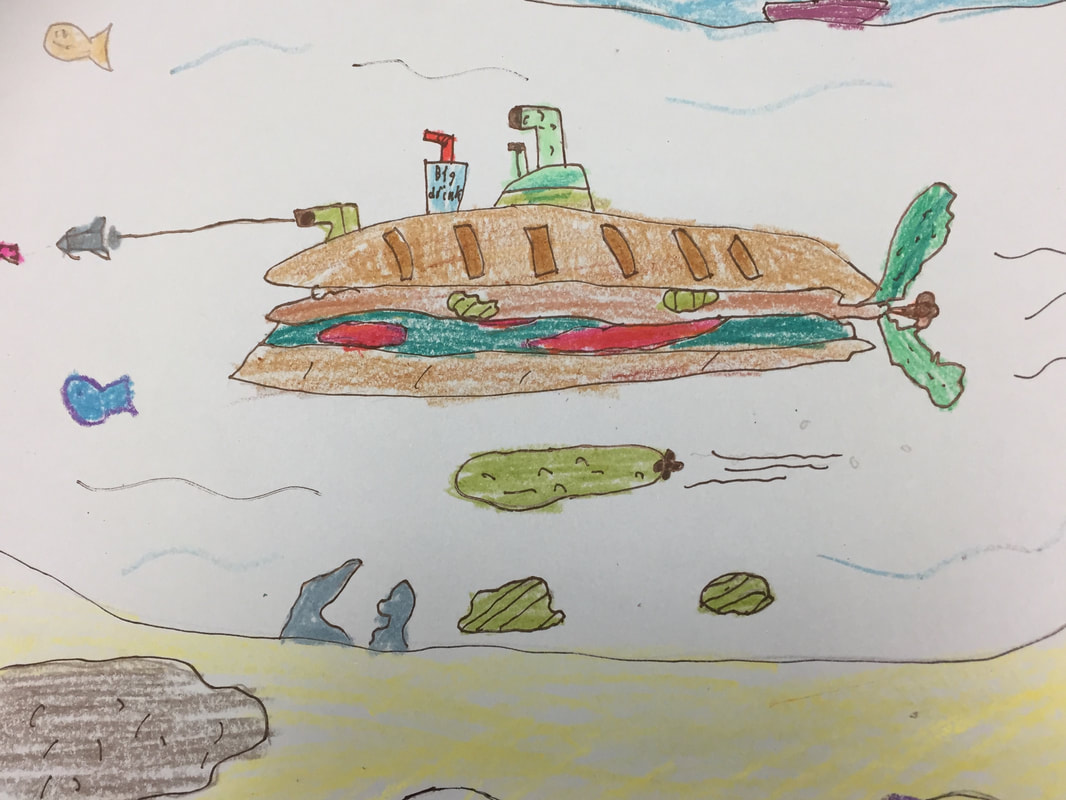
Use the a posted images of submarine sandwiches to have students draw an ‘art’ submarine on white paper. Students should also draw the top and bottom bun first, and then add ‘food’ in layers between the buns. Students should draw their submarine with pencils, trace over it with sharpies, and then color it with crayons, markers or colored pencils.

Step 4
Please collect the artwork and make sure students have their names on their papers. Stack each class on my desk with a label.
Supplies:
6X12 white paper
sharpies
pencils/erasers
​choice of crayons, markers or colored pencils

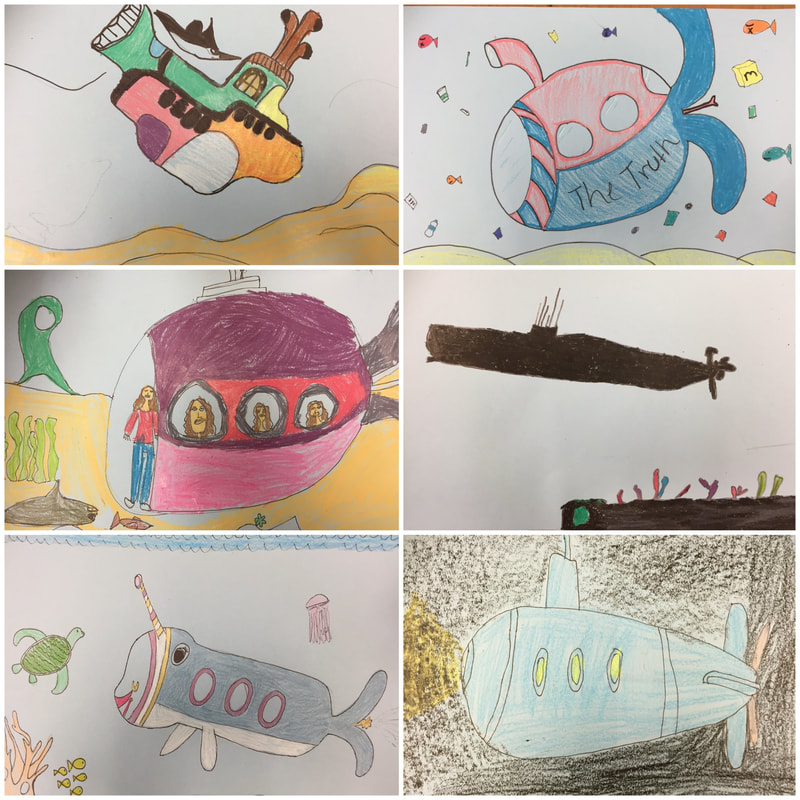
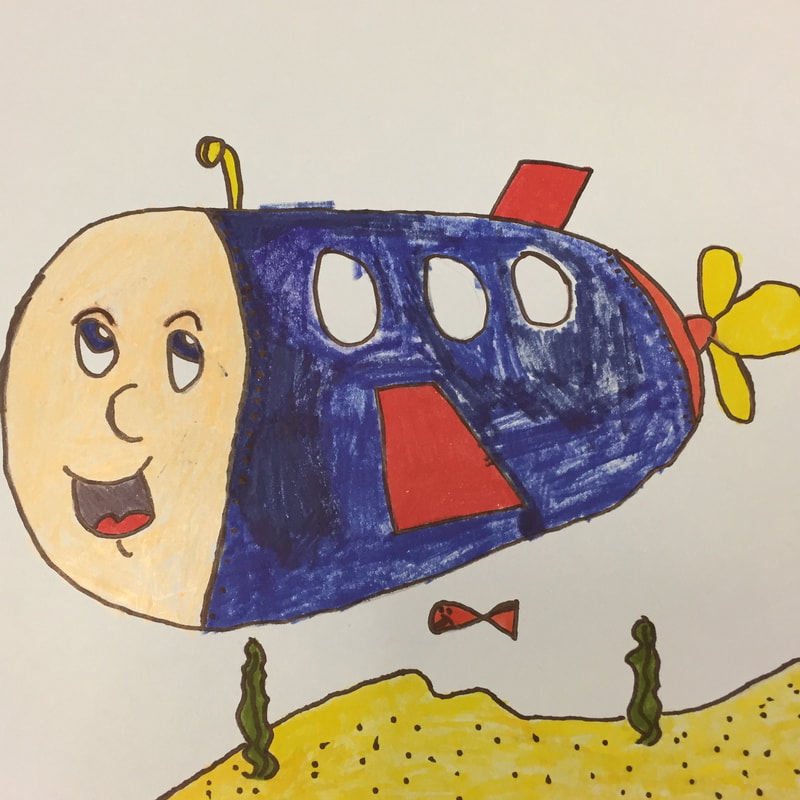
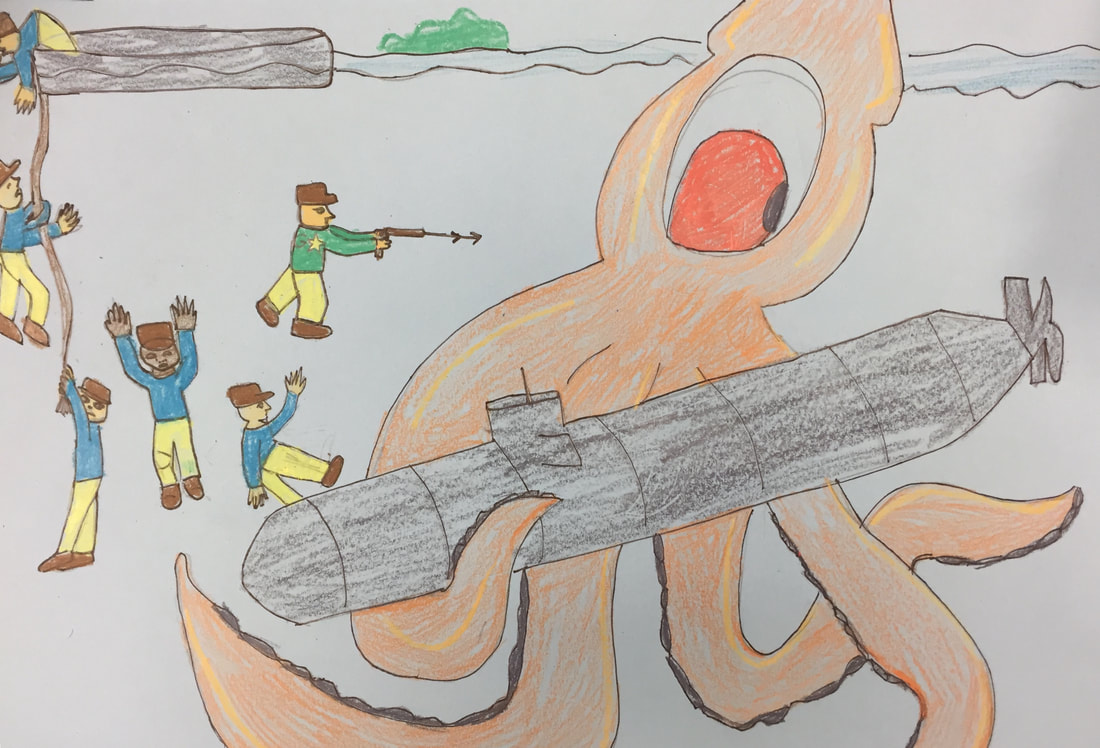
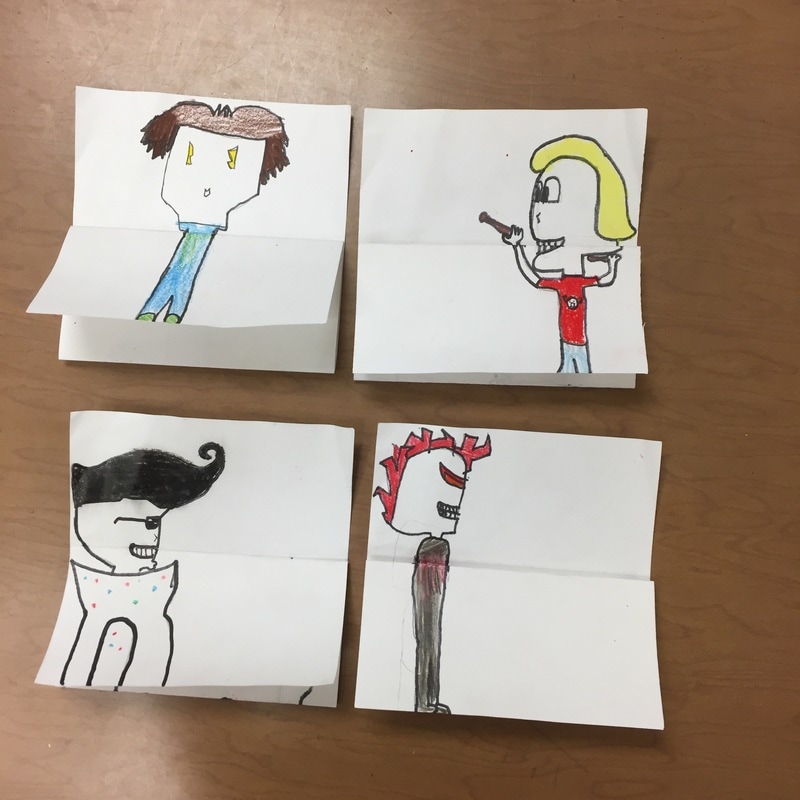
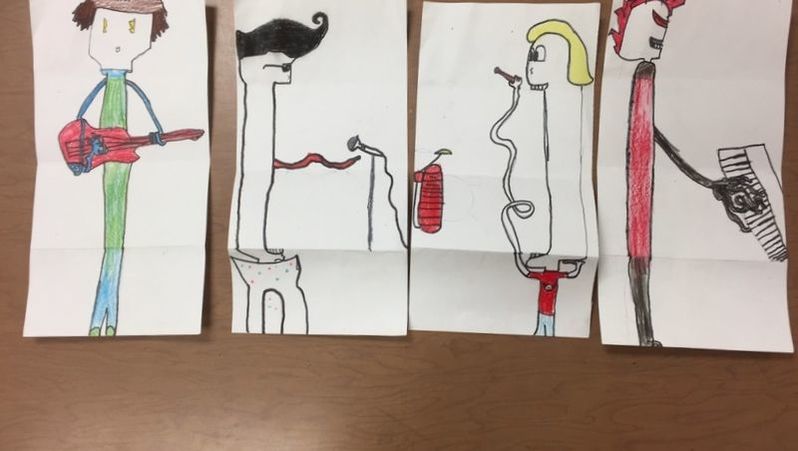
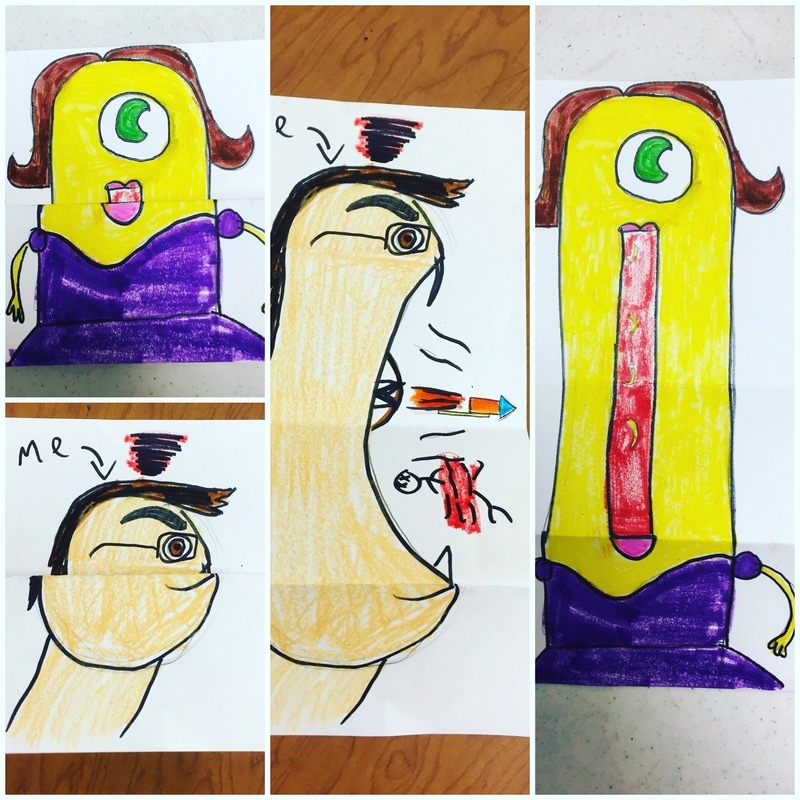
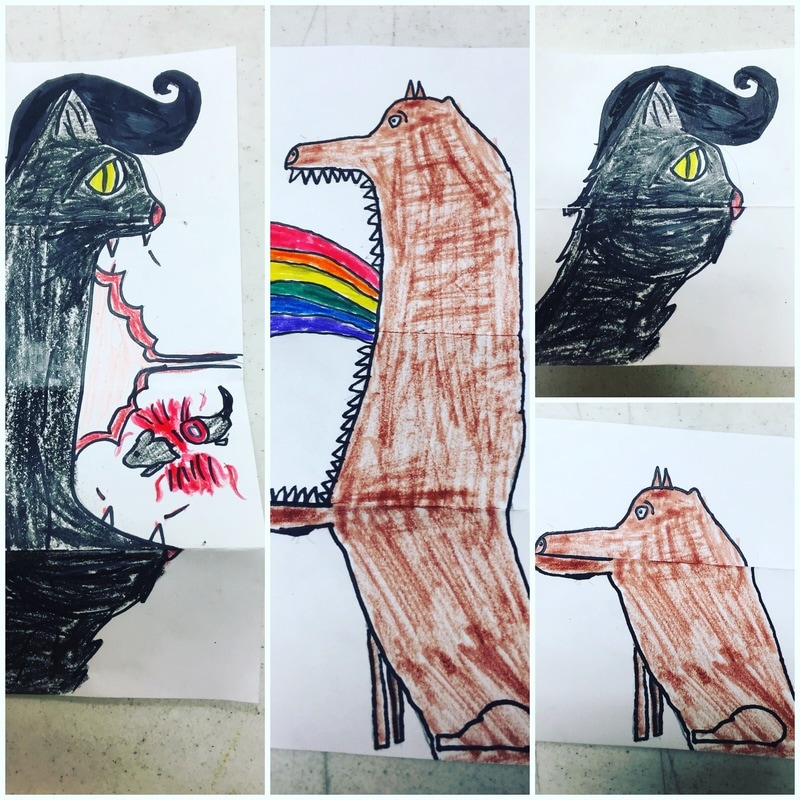
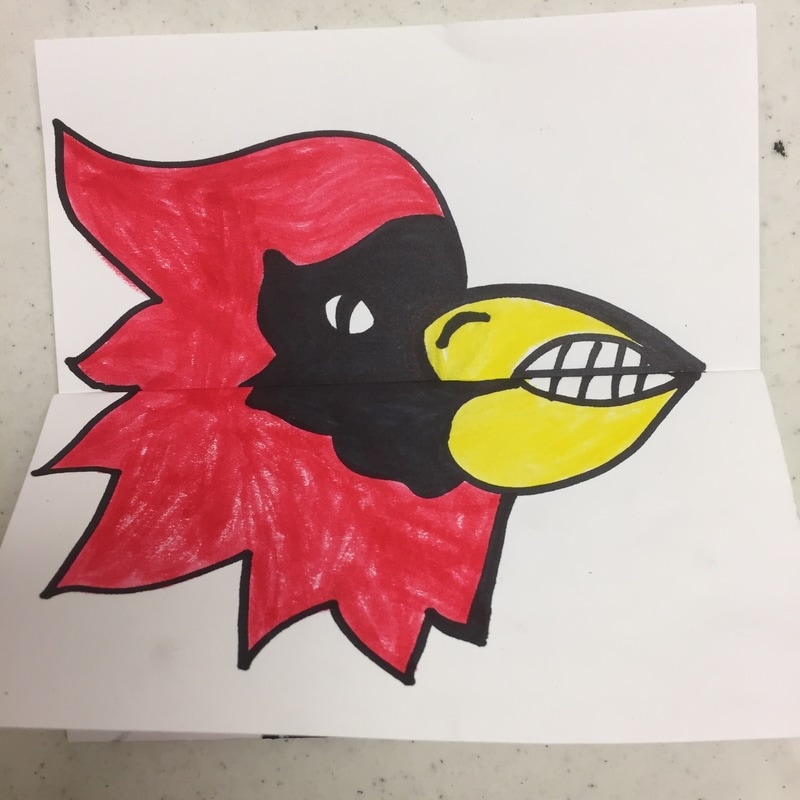
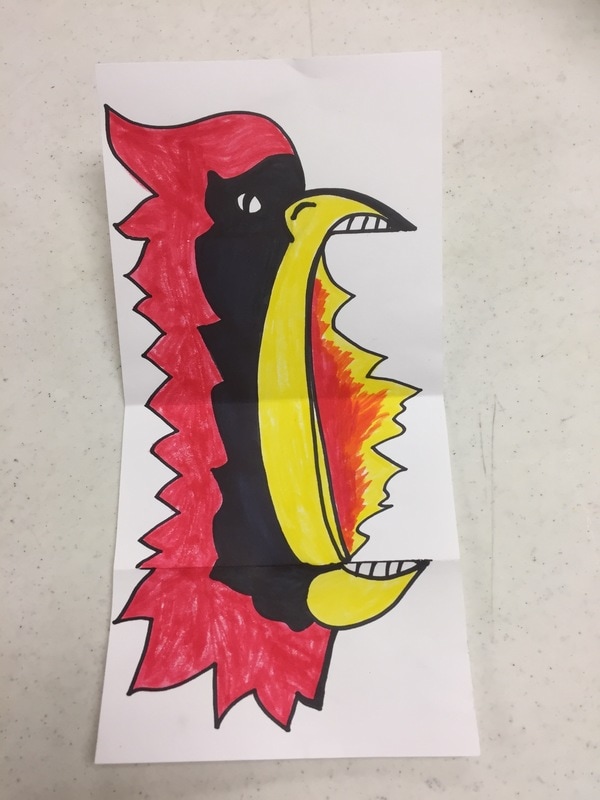
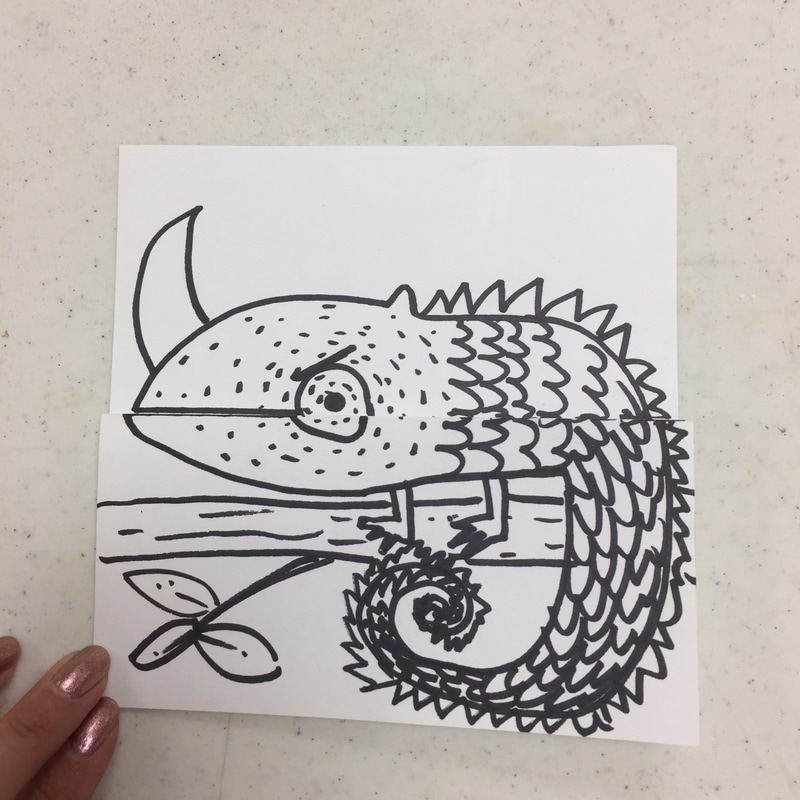
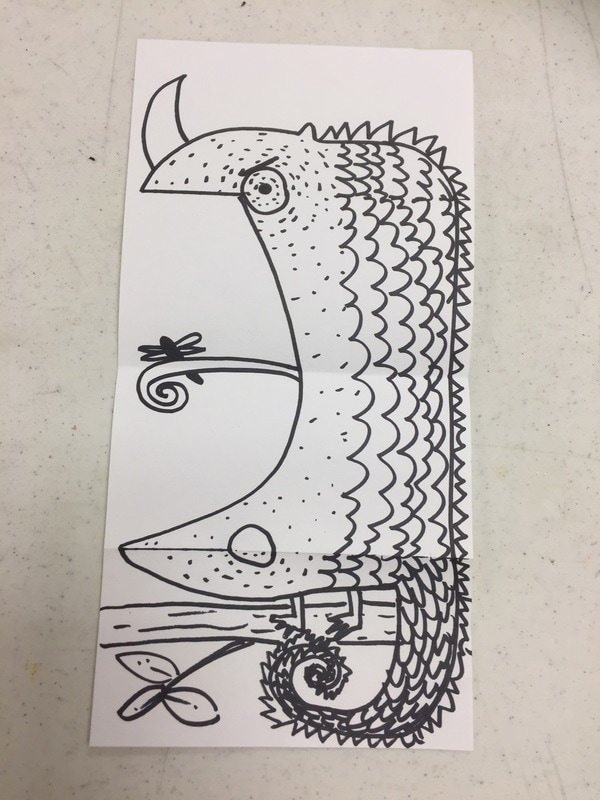
I was pleasantly surprised with many of the results. I wish a few of them would've added more details to fill in the white spaces between each food, but in some cases, the white areas work well as visual space between each item. I love the really silly ones. I was worried that some kids would rush through this, so I also purchased the Silly Sandwich sub plan on TPT and left the visuals on the board so that the sub could use them for additional instructional input. 
Picture
Picture
Picture
Picture
Picture
Picture
Picture
Picture
1 Comment

The art Sub

4/30/2018

0 Comments

 
A few years ago, I thought about leaving this as a sub plan, but never got around to prepping the lesson. This year, I had to miss a few days and it was perfect! 

Step 1:
 Introduce yourself to the class. Read the following poem and discuss YOUR expectations, by having students list how they should behave in art when Mrs. Mitchell IS here. 

Take a ride with me,
On the art submarine.
It will dive down deep, under the sea
I wonder what we will see on the art submarine!?

You must be wondering about Mrs. Mitchell,
I can only tell you that she must be ill
But today is the day
that we will play
With the idea of an art submarine

Just close your eyes, I'm sure you can imagine
A place where anything can happen
The wonderous site that is
A submarine swimming swift
In a rainbow of colors
Full of your friends and others

"You am just a sub," they say,
"Only Mrs. Mitchell can show us the way!"
But class have no fear
the challenge is clear,
Today we must design
(by coloring and drawing with lines)

The most amazing art submarine
that Mrs. Mitchell has ever seen. 


Step 2
Ask students: If you were on an ART submarine, diving down under the sea, what might you see down there? (Ex: famous paintings, art supplies, a museum, ocean animals, ocean animals dressed as artists, buried treasure and sculptures, shipwrecks, Mrs. Mitchell scuba diving?) Draw in pencil first, then trace in sharpie. 

Step 3
Use the handout of submarine images to have students draw an art submarine on 12X18 paper.Students should also draw what they might encounter if it really is an ART submarine.
Students should draw their submarine with pencils, trace over it with sharpies, and then color it with crayons. (or their choice of markers, colored pencils or construction paper crayons). 

Supplies:
12X18 Baby Blue construction paper
Pencils +erasers
Sharpies
Construction paper crayons (or I let mine choose to use regular crayons, markers or colored pencils)

For visuals, I googled 'submarine clip art' and zoomed way out and took a screenshot of a whole bunch and then made enough copies for each table to keep 4. I left a few books about sea creatures to use as a reference, but most kids were creative enough to come up with all sorts of cute things! 

Picture
Picture
Picture
When I saw this I died laughing, it is just so cool and unexpected!
Picture
A little 5th grade boy made this one, reminds me of Thomas the Train.
Picture
Picture
A SUBMARINE SUBMARINE Sandwich!! I love and this kid has a great personality. I love the pickle torpedo!
Picture
This kid is obsessed with WWII and the sub let him look up an image on the ipad....
Picture
Not Penny's Boat! (LOST t.v. show reference that my student probably would not have gotten)
0 Comments

Metal Bugs

1/14/2018

0 Comments

 
Picture
I am guilty of pinning a LOT of ideas on pinterest, but never actually making anything from my pinsperation boards. I have a HUGE roll of aluminum that I have been hoarding for a while. It was pretty expensive so I didn't want to waste it on any old thing. While I was pondering how it could be used in a project, I ran across an old pin and I knew it was perfect for my 5th and 6th graders. 

Nichole Haun's color scheme bugs were perfect for my students. We had already gone over color schemes pretty extensively so we didn't focus on that too hard for this project, I mentioned color schemes, but I didn't spend a ton of time on the instruction going over color schemes again. 

​ I did use part of her video for the metal tooling steps, which I will share below. 

My students really enjoyed this project and I did too because it wasn't crazy messy....and it involved a lot of different media we don't use very often....also, MANY students were highly successful. I was sick throughout the entire process so I didn't take any 'in progress' photos, I only have finished products to share, but I hope you find some inspiration here. 
Day 1
We started by practicing some bug sketches. I made up a packet of visuals for each student (4 packets per table, shared amongst all the classes). Students could pick a bug from the packet, but they needed to choose something a little harder than a lady bug, because some of the bugs are pretty simple. They needed to practice on a dry erase board and then they could start on the real paper which was 6X9. 

I had cut the aluminum metal roll into roughly 6X9 sheets. Some were a little bigger, some a little smaller. I encouraged students to draw the insect as big as possible on their paper so they would not waste too much of their aluminum. They did not need to draw thin little antennae or skinny little leg segments, as we would add those later with wire, but they did need to study the bug enough to remember those parts. 

Once they had a good sketch, they brought it to me so I could tape their sketch to a piece of metal. I tried to match up the sketch with the right size piece of metal. If they drew their bug too little, I made them try again. A few kids had the idea to draw the body and the wings separately, like with dragon flies and butterflies, and those turned out great. 

Some classes were not giving me much detail in their insects so I showed them Austin's butterfly and it helped inspire some kids to try again when I gave them a little more specific feedback. 

To transfer the bug to the metal, students followed the directions in Nichole's video. We only watched part of it, as they would not be cutting it out or coloring it today. 

​Supplies:
6x9 paper
dry erase boards and markers
pencils
colored pencils (to transfer to aluminum)
thick sheets of aluminum (I buy from school specialty)
felt
plastic metal tool (i tried to find a link to this but I can't figure out what to search for)

Picture
Day 2
I was absent for day 2 of this project. So I had to leave a sub plan. Here are the instructions that I left for the sub. 
Today’s lesson involves making a paper collage, which will be the frame for the insects we started last time. Students will need to use a color scheme for their frame. The possible color schemes are listed on the board on the west wall and we have been discussing color schemes for a while so they should be able to pick one quickly and easily.
Project Steps

  1. Explain that students will be making a collage. A collage is a design made by cutting and gluing shapes to a paper.
  2. Students will use scissors and glue sticks to complete their designs and if they need extra glue sticks, they can get more from the container at the front of the room. If they want to some of the papers, that is fine as I taught them some easy folds at the beginning of the year like the kite, hat and samurai fold.
  3. As they cut out shapes, they need to put their scraps in the paper pal or in the paper store tub for others to use. The paper store tubs are labeled and the big background papers are spread out on the table at the front.
  4. Don’t leave the scraps in the table top tubs as those are filled with small ‘good squares’ that we will be using all day. You will need to point out where the paper is for the paper store and send them up 1-2 tables at a time to go shopping for paper for their background. While some are shopping, the others can go through the tubs on their table to pick out colors for the collage. Some of the table top tubs may not have all the colors they need for their collage, it is up to you if you want to let them go to other tables, I would probably let them if they ask but not if they just want to wander around.
  5. When students have finished their collages, they will put them in the drying wrack, but students need to make sure their NAMES ARE ON THE BACK. I put pencils on the tables for this purpose.
  6. If their collage is really simple, encourage them to go back and add more small shapes and details so that it will look interesting with their insect on top. They can’t just glue 3 small squares and call it finished. Encourage them to use patterns and they can overlap various shapes if it looks interesting. If they want to cut out a leaf shape, they might want to fold the paper so that it is symmetrical and lightly draw it with a pencil before cutting it out.
  7. If they finish early, they may get a coloring sheet or a free sheet or origami, but they must stay busy while others are finishing.
  8. I left a sweet book on my desk if you find that the classes are finishing quickly and you want to read it either at the beginning or the end. Please try to maintain the schedule, there are only 2 minutes between classes so if you get off track it throws the whole day off.

Tips about the drying wrack for the sub:
  • Try to only put one class on each side of the drying wracks.
  • When the class leaves, put a note on top so that it is labeled with the teachers name or the class code so I will know which class it is when I take them out.
  • You will have to turn the drying wrack around after each class leaves so the next class will have an easily accessible side to put their papers in.
  • Always start filling the drying wrack from the bottom so that everyone’s paper will fit.
  • After two classes, trade out an the full drying wrack by setting it on the floor and put an empty one on that table so it is easy to fill up again with the next two classes.
  • All six sides will be completely full by the end of the day and with the biggest classes, you might have to double up some shelves so they will all fit.

​Supplies
2X2 squares of construction paper and other specialty paper like scrapbook paper
12X12 and 9X12 background paper
glue sticks
scissors
pencils

Day 3 
After being gone and very sick, I was finally back to finish up the project. Today, I demonstrated how to cut out the insects, how to add wire or pipe cleaners and how I would hot glue their bugs to their background. 

Students used skewers and chop sticks to wrap wire, like is shown in the video. They used permanent markers to color their bugs and scissors to cut them out. I had students save their metal scraps by wrapping them up in their old bug sketch, which still had a little tape on the edges, they made a little envelope so save it for later. Then they used glue dots to attach the wire. When they had everything ready, they brought the bugs up to the front where I was waiting with my glue gun to attach their insects. 

I was still not feeling great so I made a little video to help explain the process for getting wire and using glue dots. I think I had another video but I can't find it so I think I deleted it.....

Supplies
permanent markers
scissors
glue dots (I needed about 4X this many)
​wire (twisteeze, pipe cleaners, stovepipe wire)
hot glue gun and hot glue
​chopsticks for wrapping wire
Picture
Picture
Picture
I draped twisteeze wire over my loom so that it would be displayed easily! Worked like a charm.
0 Comments

Surprise Ferocious Beings

5/23/2017

1 Comment

 
While gone for a field trip in May, I needed a fun sub plan for my students. This project took about 30 minutes, so luckily I had a Mother's Day card/coloring sheet available for early finishers. A few kids wanted to make more than one. 

I had markers and white paper, but I also had a LOT of extra black and colored 6X12 paper so I had construction paper crayons and colored pencils available. I encouraged students to sketch idea lightly in pencil and then outline in sharpie so they did not waste paper. Got the idea for this project here. 
Picture
Picture
Picture
Picture
Picture
Picture
Picture
Picture
Picture
Picture
Picture
Picture
I love the 4 piece band by one of my 6th graders, very creative. This was a great end-of-the year project as students could take it home the same day, and it is very cute! 
1 Comment

The Art Sub

9/6/2013

0 Comments

 
Picture
One day, I was chatting with the coach and I started to notice how organized his desk was. Unlike my cluttered desk, his was clear of papers. He didn't have piles of notes from students, art catalogs from two years ago, or stacks of books.

 On the wall above his desk, there were 3 white hooks, and hanging from the hooks were clear page protectors, and in each page protector, was a sheet of paper. One sheet was his class schedule, with class rosters just behind that, and one was a set of instructions in case of an emergency, the third contained a lesson plan for the week. Above each hook was a little white rectangle, printed with black lettering, describing what was in each of the page protectors. In the event that he needs a sub on the fly, everything is in plain sigh

What a great idea, I thought to myself. In my experience, notebooks can get overlooked or bogged down with too much information. A hook above the desk, what a novel idea. 

So I decided to copy him. I hung some hooks behind my desk. I printed out my schedule, and typed up a note for a substitute. I even made a super cute sign to hang beside the hook so that the sub would surely see the instructions. 

After a while, I realized that my desk would never stay as pristinely clean as the coach's...and I also realized that it was really hard to keep a weekly printout of the lesson plans hanging from a hook behind my desk, because I teach 5 grade levels in two buildings...and often I have to put a book with a lesson plan, and the paper/supplies necessary, with everything sticky noted and handouts copied, etc.

So the ART SUB sign stayed up on the wall, but after a year or two, I stopped utilizing it, because it was ineffective for my methods. The poor sign, posted in big bold, black letters advertised nothing more than the fact that I had neglected a great idea....

One day, I overheard a couple of students whispering. They were pointing at the 'Art Sub' sign. "I wonder when we will get to go on the art sub?" "Yeah, I wonder why Mrs. Mitchell has never shown us the art sub?" "I bet its under the school."

Art Sub. 

To my imaginative first graders the words 'Art Sub' literally mean an ART SUB! As in ART SUBMARINE!

 HA! To them, the information hanging beside the 'art sub' sign had nothing to do with a substitute teacher, rather it was an invitation to take a ride in a submarine filled with art supplies....or into an underwater art gallery....

This year, I took down the sign...because I moved my desk to a new location...but I am going to reinvent its purpose with a lesson plan just for a substitute that embraces the idea of an art submarine!

Before designing a new lesson, I always look around to see if anyone had done it better. I do research in order to find the best approach, especially if I am leaving a lesson for someone else to execute. Here are a few things that might be helpful:

Youtube video with step-by-step instructions on how to draw a simple submarine!
How to draw a submarine video.
Printable submarine coloring page. 
Lesson plan with a couple of alternative ideas to drawing the entire submarine. 
Adorable submarine collage. 
A beautiful flickr image of the Beatles Yellow Submarine album art painting. 

Googling 'submarine clip art' will provide tons of easy-to-draw submarines...a handout of the printed results could be very helpful for a substitute to place on each table. Or a poster of the step-by-step video above. 

Picture
If you are looking to provide a 'teacher' sample, this iStockphoto image might be great to reference. 
Picture
I'm still tweaking the idea....and I haven't created any teacher samples, but if I were to leave this for a sub, here is the basic lesson plan I would follow. Also, I just made up the silly poem, but feel free to change the words and use it if it works for you. 

Step 1: Introduce yourself to the class. Read the following poem and discuss YOUR expectations, by having students list how they should behave in art when Mrs. Mitchell IS here. 

Take a ride with me,
On the art submarine.
It will dive down deep, under the sea
I wonder what we will see on the art submarine!?

You must be wondering about Mrs. Mitchell,
I can only tell you that she must be ill
But today is the day
that we will play
With the idea of an art submarine

Just close your eyes, I'm sure you can imagine
A place where anything can happen
The wonderous site that is
A submarine swimming swift
In a rainbow of colors
Full of your friends and others

"You am just a sub," they say,
"Only Mrs. Mitchell can show us the way!"
But class have no fear
the challenge is clear,
Today we must design
(by coloring and drawing with lines)

The most amazing art submarine
that Mrs. Mitchell has ever seen. 


Step 2
Ask students: If you were on an ART submarine, diving down under the sea, what might you see down there? (Ex: famous paintings, art supplies, a museum, ocean animals, ocean animals dressed as artists, buried treasure and sculptures, shipwrecks, Mrs. Mitchell scuba diving?)

Step 3
Use the step-by-step drawing guide (or a handout of submarine images) to have students draw an art submarine on 12X18 paper.Students should also draw what they might encounter if it really is an ART submarine.
Students should draw their submarine with pencils, trace over it with sharpies, and then color it with crayons.
0 Comments
    PictureWelcome!

    Mrs. Mitchell

    Art teacher from Missouri. 

    Instagram
    Add to Flipboard Magazine.

    Archives

    March 2021
    April 2020
    November 2019
    July 2019
    April 2019
    January 2019
    October 2018
    July 2018
    June 2018
    May 2018
    April 2018
    March 2018
    January 2018
    September 2017
    May 2017
    April 2017
    March 2017
    January 2017
    December 2016
    November 2016
    October 2016
    September 2016
    March 2016
    December 2015
    October 2015
    August 2015
    May 2015
    April 2015
    March 2015
    February 2015
    November 2014
    October 2014
    September 2014
    August 2014
    June 2014
    May 2014
    April 2014
    March 2014
    February 2014
    January 2014
    December 2013
    November 2013
    October 2013
    September 2013
    August 2013
    July 2013
    June 2013
    May 2013

    Categories

    All
    1st Day Of School
    1st Grade
    3d
    Abstract Art
    Alcohol Ink Tiles
    Alpacas
    Animal Art
    Animation
    Architecture
    Art Centers
    Art For Kids Hub
    Art History
    Art Hub For Kids
    Art Room
    Art Show
    Art Teacher Conference
    Bell Ringer
    Birds
    Blending
    Bunnies
    Cardboard
    Chalk Pastels
    Chalk Stencil
    Charcoal
    Choice Based
    Christmas
    Chuck Close
    Classroom
    Clay
    Club Day
    Collage
    Color Diffusing Paper
    Colored Pencil
    Colored Pencils
    Construction Paper Crayons
    Contest Art
    Creatures
    Crystal Bridges
    Design
    Dice Games
    Document Camera
    Dot Day
    Drawing
    Early Finishers
    Easter
    Emojis
    Fall
    Field Trip
    Food Art
    Foxes
    Green Screen
    Grid Drawing
    Group Challenge
    Halloween
    Haunted Houses
    Hearts
    Hermit Crab
    High School
    Human Form
    Ice Breaker
    Inspirational Posters
    Ipads
    Jim Dine
    Justand
    Killer Whales
    Kindergarten
    Landscape
    Lesson Plans
    Lettering
    Llamas
    Magazines
    Mandala
    Maori
    Markers
    Masks
    Matisse
    Metal
    Model Magic
    Mona Lisa
    Monster Trucks
    Mother's Day
    Mother's Day Card
    Mummies
    Mural
    Newspaper
    New Zealand
    Notan
    Observational Drawing
    Ocean Art
    Oil Pastel
    Oil Pastels
    Optical Illusions
    Origami
    Owls
    Painting
    Paper Weaving
    Pd
    Pencil Topper
    Perspective
    Pete The Cat
    Picasso
    Polar Bears
    Pop Art
    Portraits
    Printmaking
    Product Review
    Professional Development
    Quiver
    Reflection
    Reflective Teaching
    Room Tour
    Rooster
    Sea Horse
    Seals
    Sea Turtle
    Self Portrait
    Shading
    Shaving Cream Prints
    Shoes
    Sketchbooks
    Sloth
    Solar Eclipse
    Spinners
    Spring Conference
    Star Wars
    Statue Of Liberty
    Step-by-step
    Step By Step Drawing
    Step-by-step Drawing
    Still Life
    Stop Motion
    Story Board
    Sub Plans
    Summer School
    Symmetry
    Tab
    Teacher Appreciation Cards
    Technology
    Tempera Paint
    Tiny Food
    Tissue Paper
    Trees
    Tumbling Blocks
    Valentine's Day
    Warm Ups
    Watercolor
    Wax Resist
    Word Art
    Yellow Submarine
    Zentangle

    RSS Feed

Powered by Create your own unique website with customizable templates.