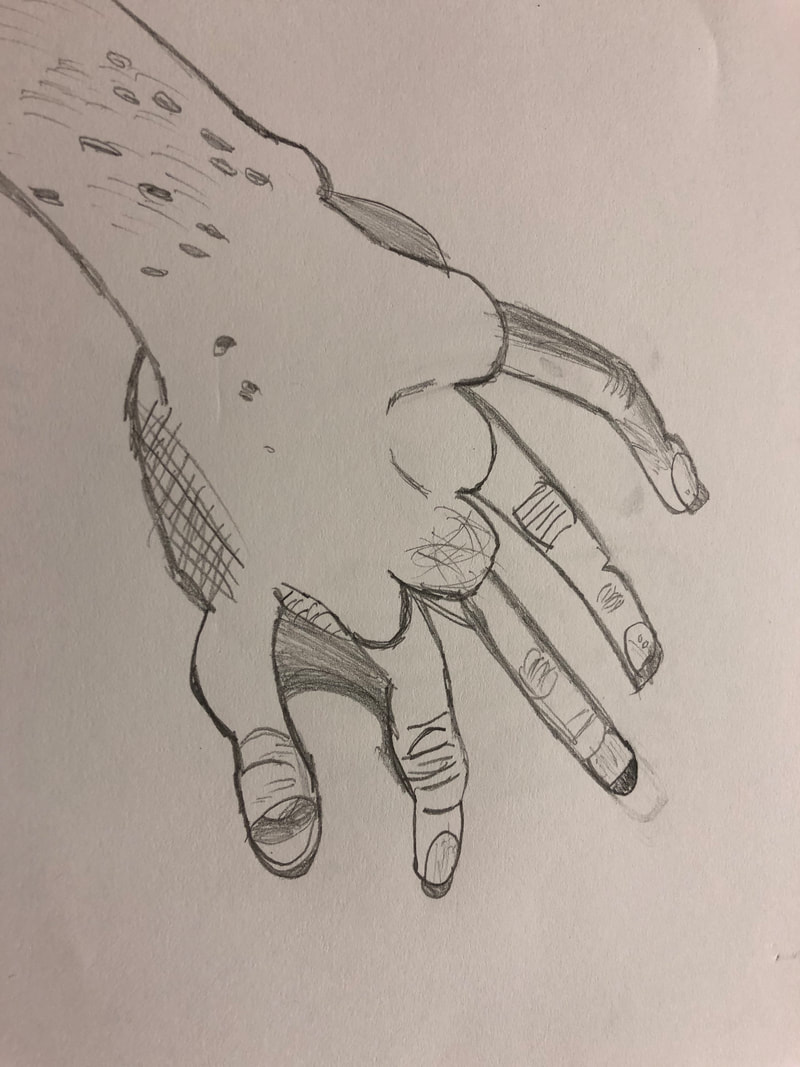
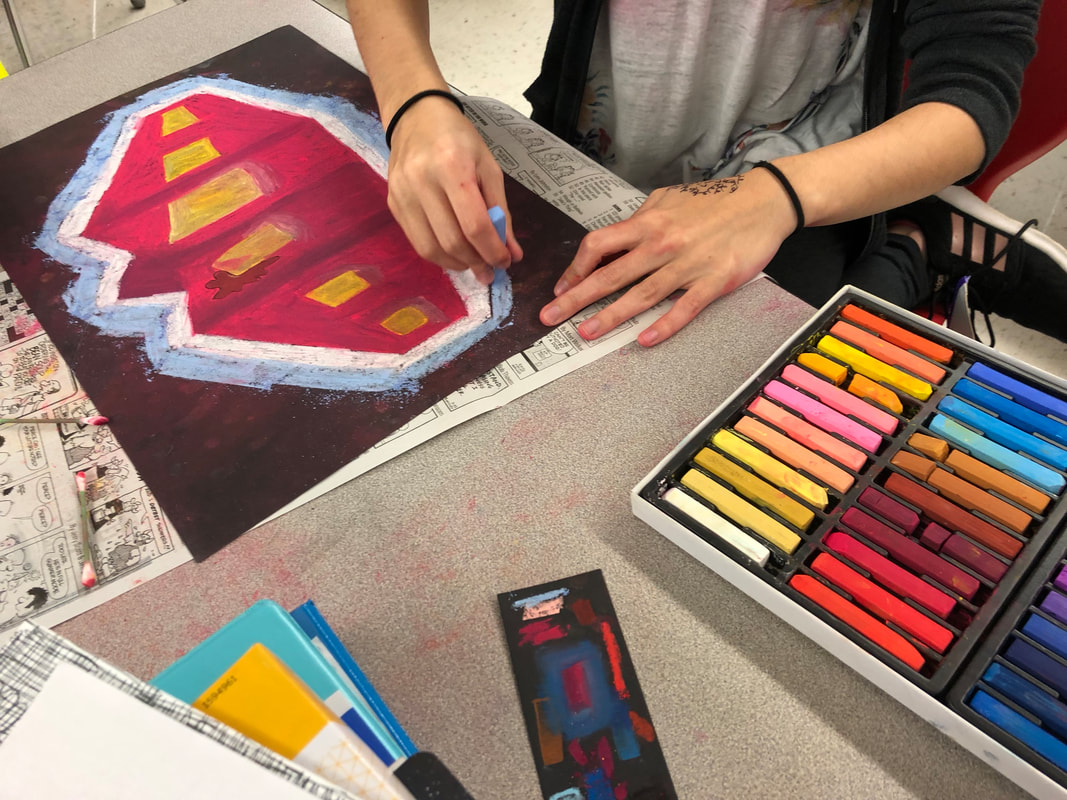
Before I start this project, I introduce the idea of creating different values in using a pen. I model stippling, scumbling, hatching, and cross hatching and students follow along taking 'notes' in their sketchbooks.
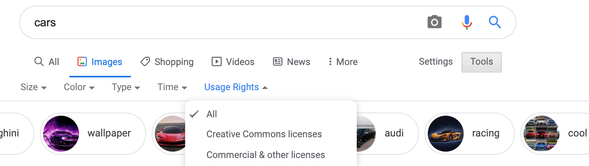
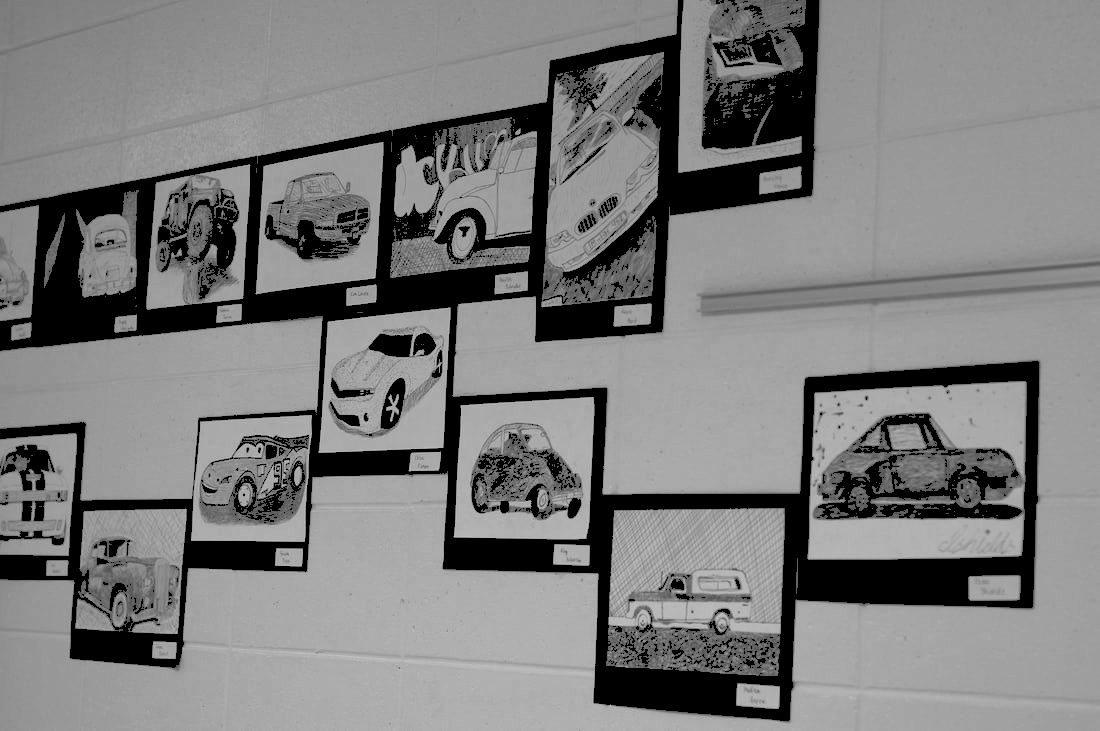
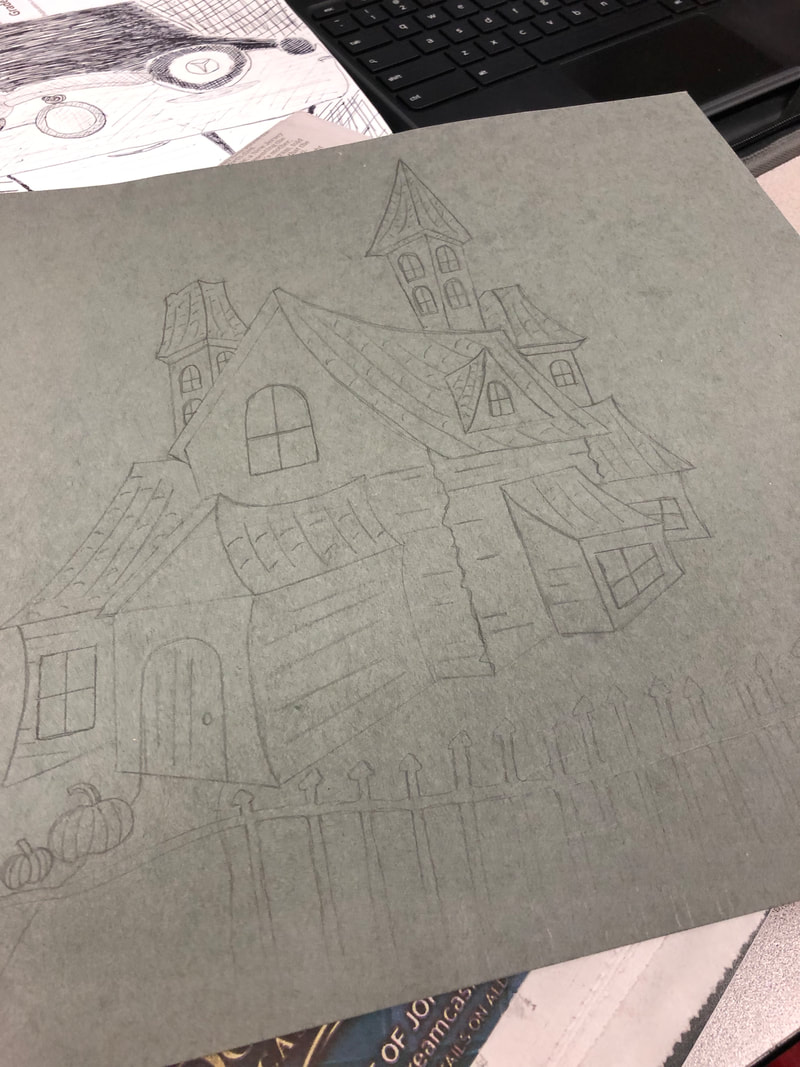
Since I do this project with Art 1, I also go through the steps of how to find an image on google that is not copyrighted (change the image search settings to 'creative commons licenses' and change the color to black and white usually helps them narrow it down). See example above.
Then, I explain how to put the image into google drawings, adjust the size and I even take the time to teach them how to email the image to me so that I can print it off for them. (Students cannot print from my room, they have to go to the library). I also show them how to convert the image to black and white in google drawing.
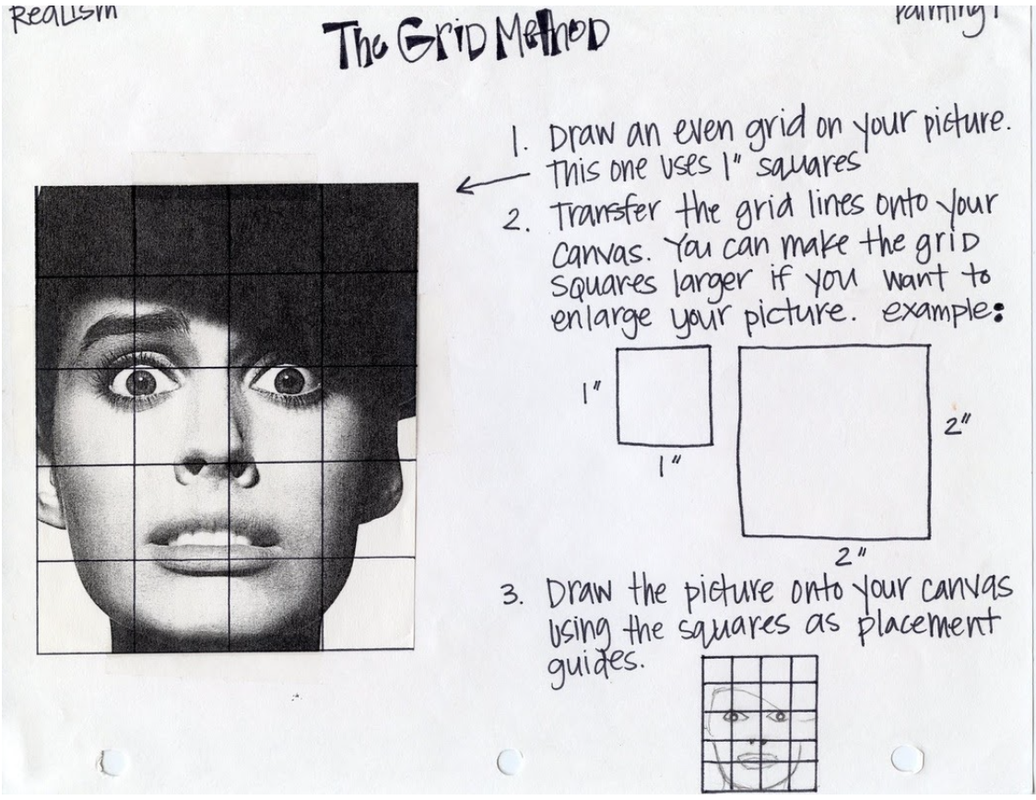
Since I am also using this project to introduce the idea of grid drawing, it is helpful for them to have a black and white printed copy of their vehicle. We draw our 'vehicles' on 9X12 paper, and I have them resize the image in google drawings to 4.5X6 and draw a half inch grid on it with a ruler once it is printed. On their actual drawing paper, they draw a 1" grid and the ratios match up pretty well. I take a few minutes to teach them how to read a ruler before they start the measuring process.
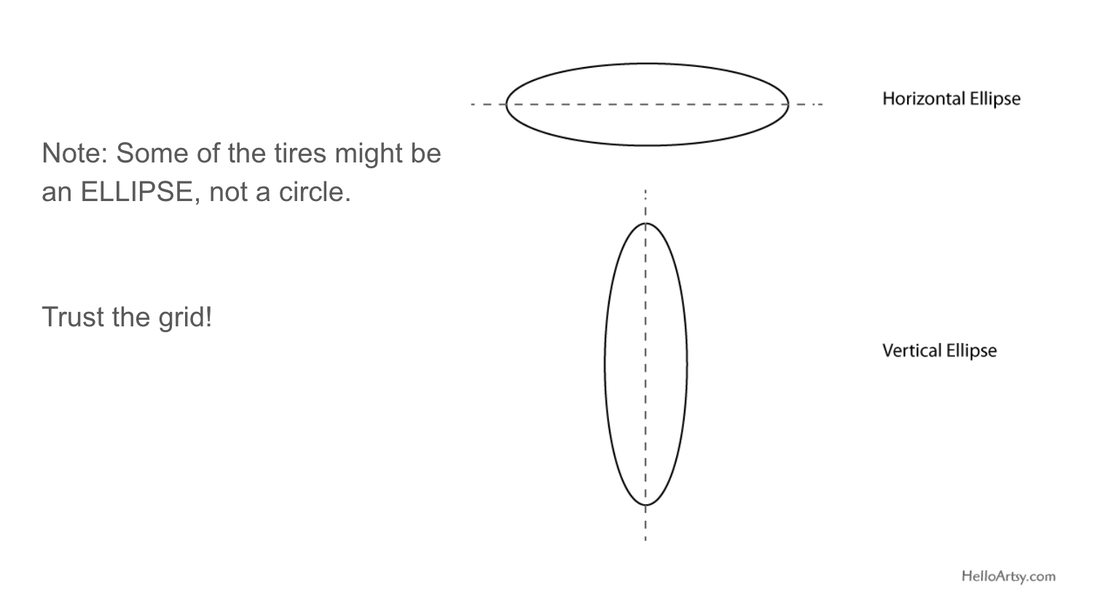
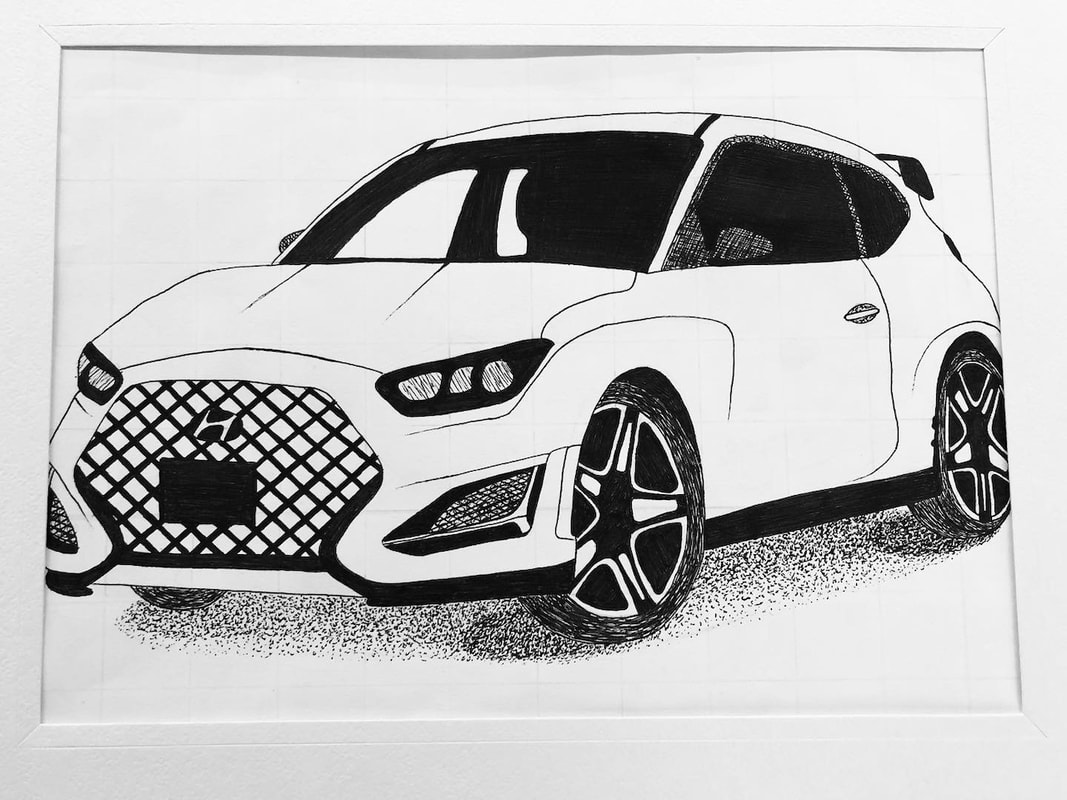
This lesson covers a LOT of things in art 1 that we establish at the beginning of the year. One more thing I added this year was the discussion of 'ellipse' which is the way the tire gets stretched out in an image, and doesn't look like a perfect circle, I encourage them to trust the grid!!!
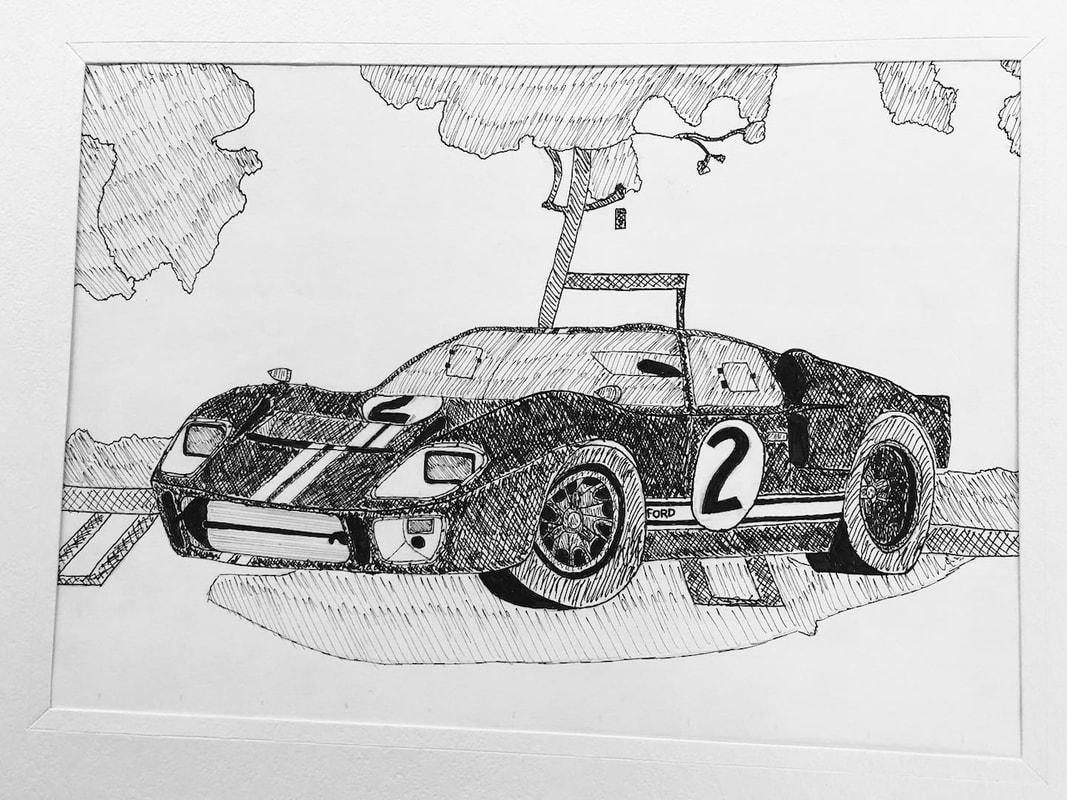
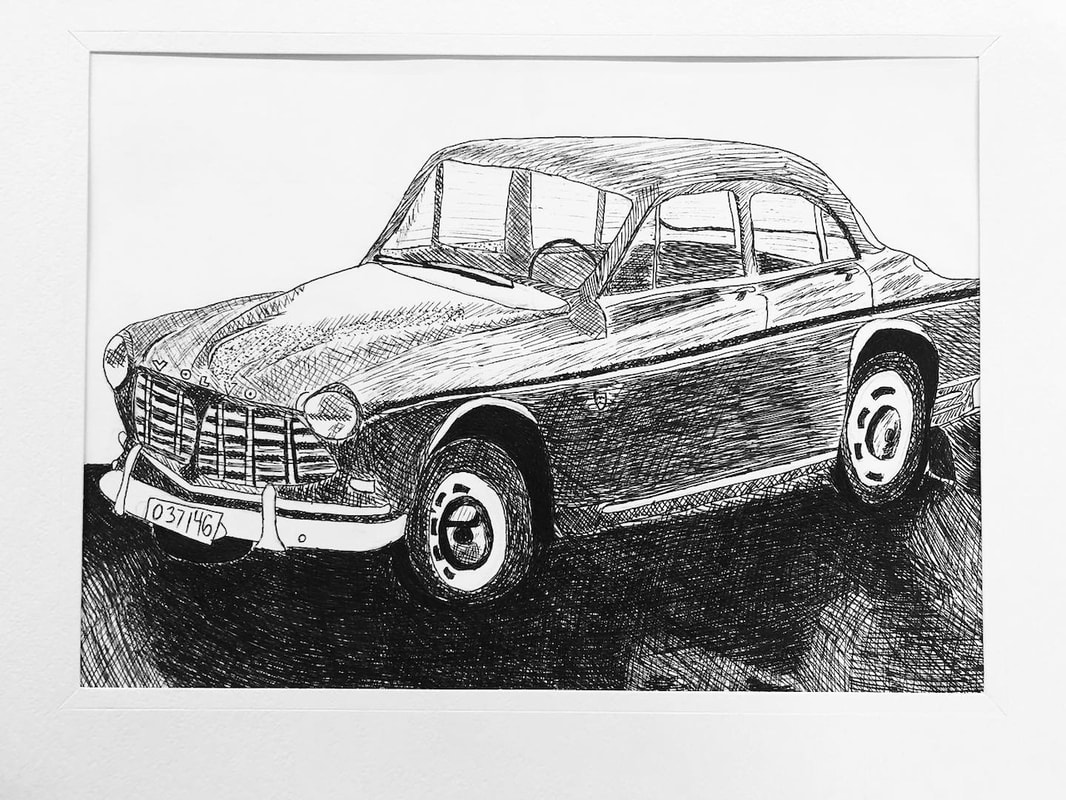
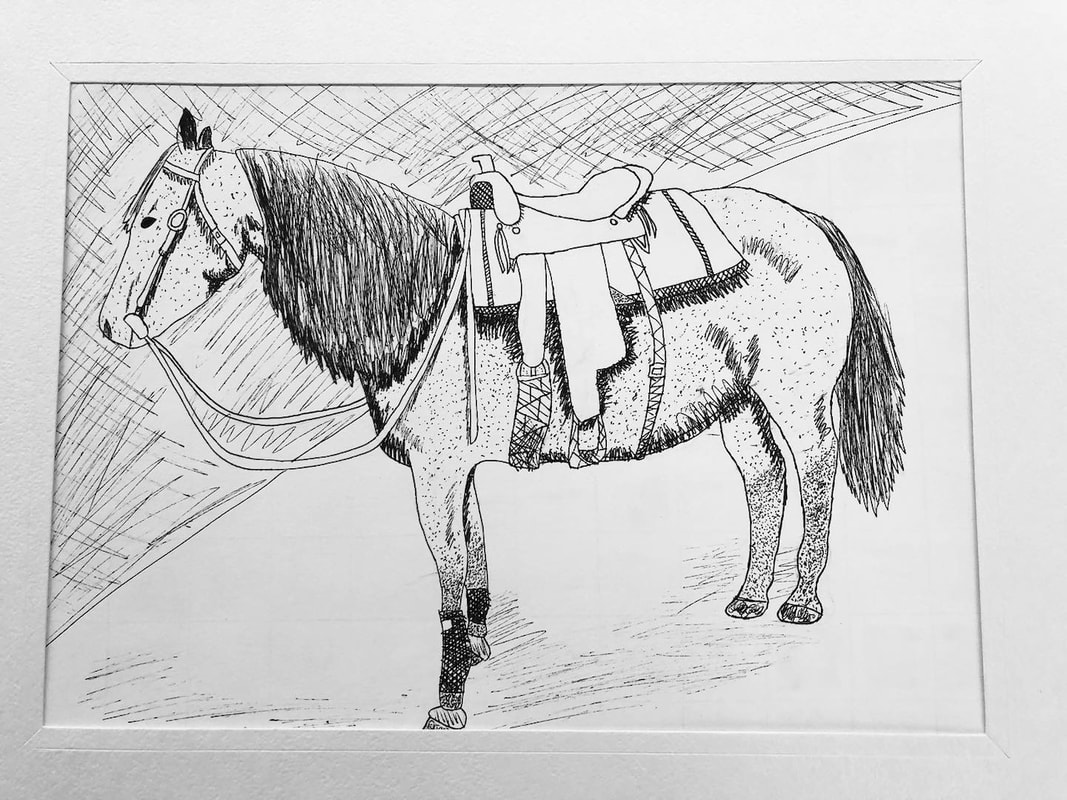
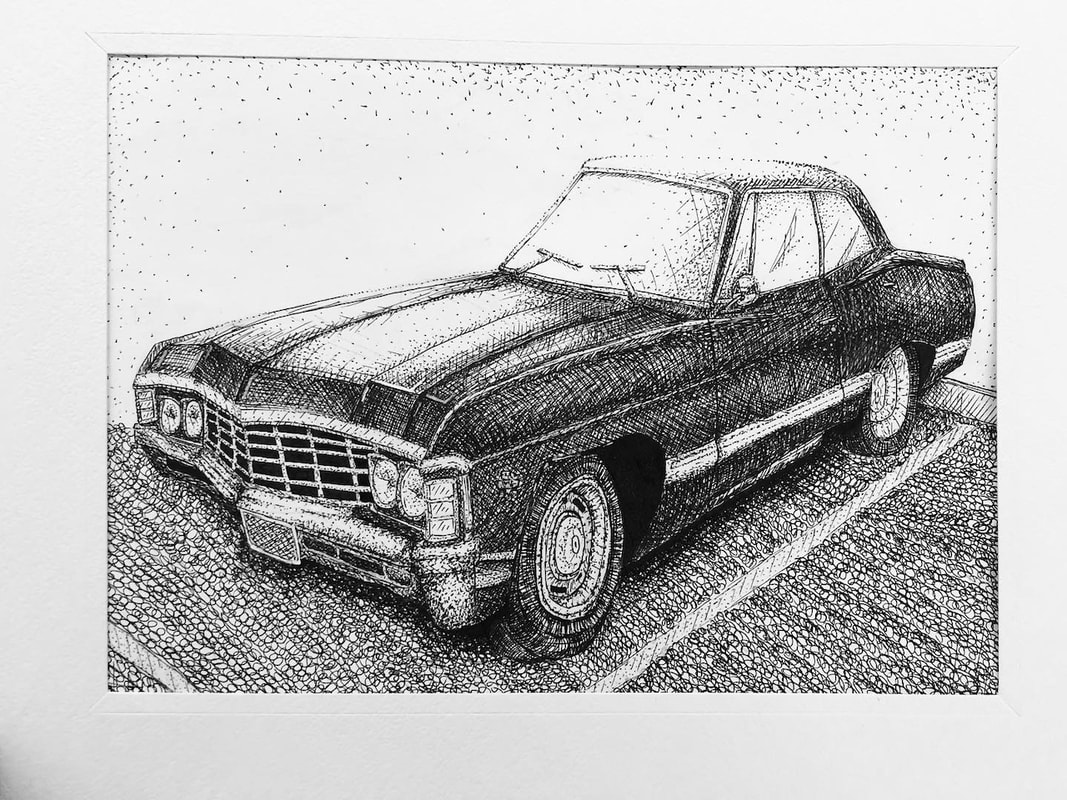
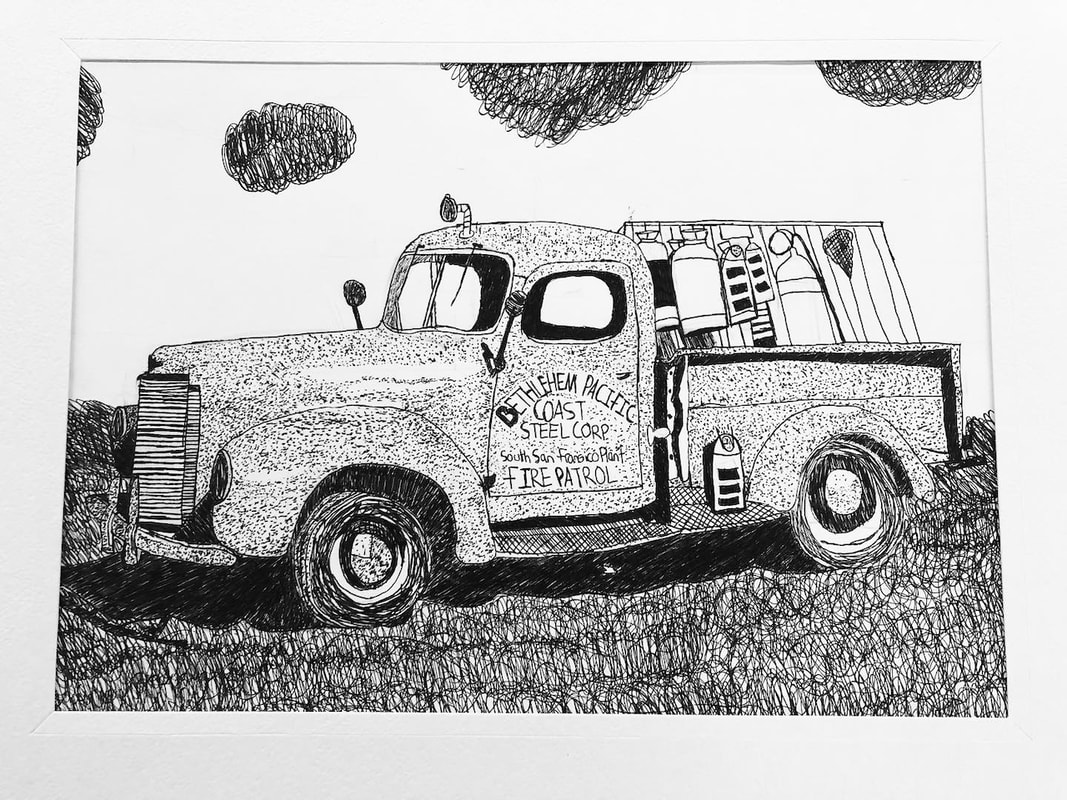
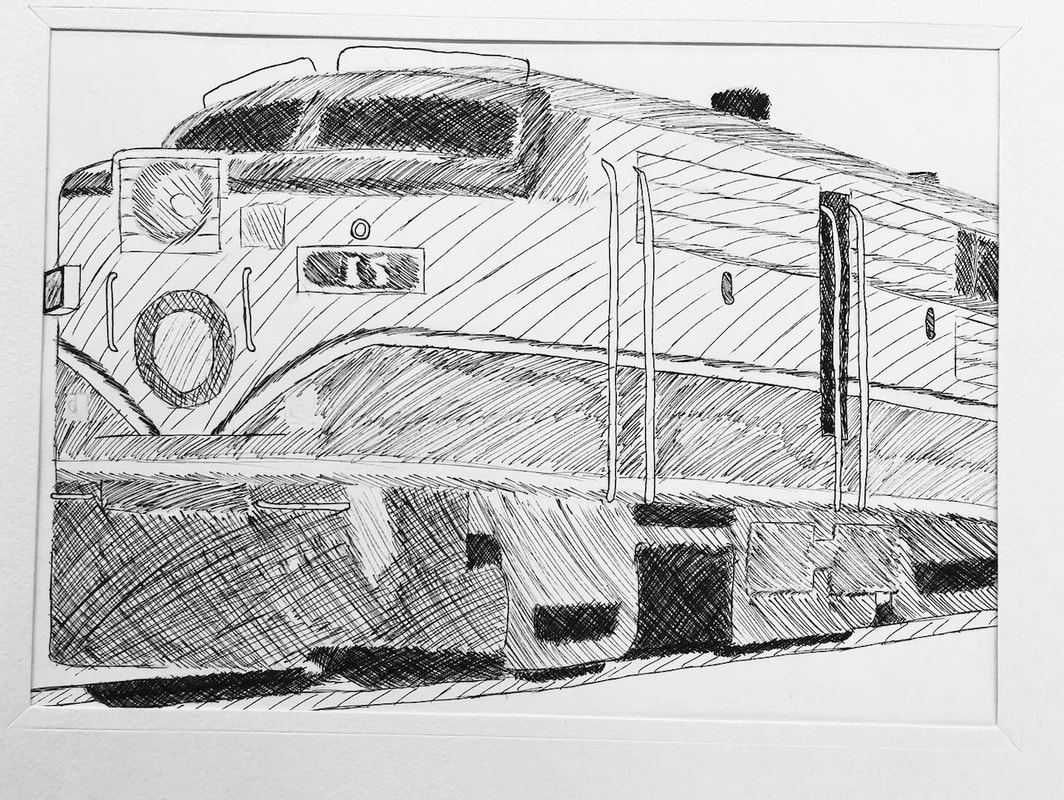
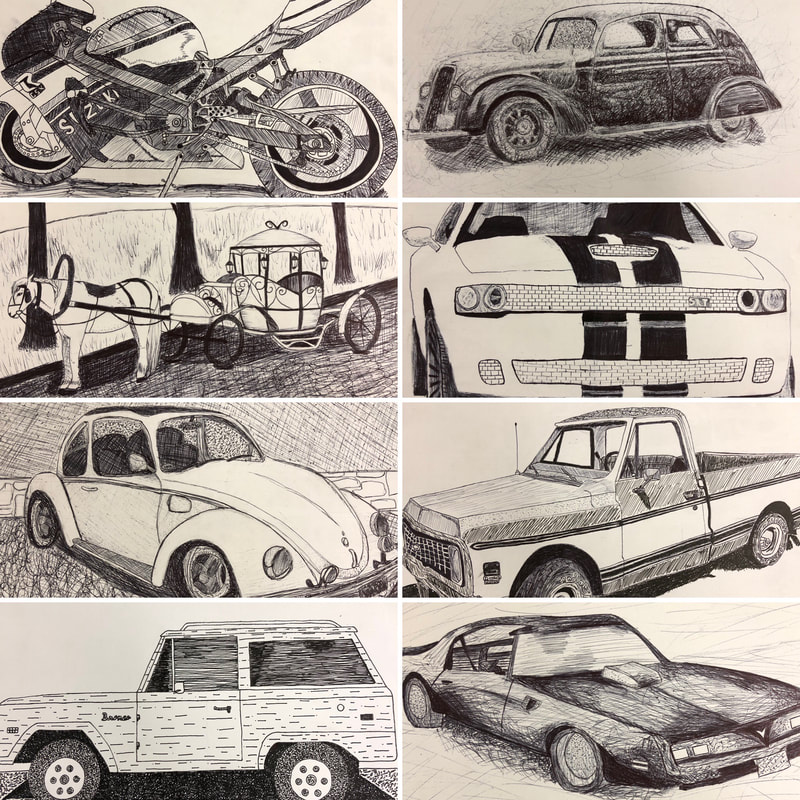
Pen and Ink Vehicle Drawing
Materials: ballpoint pen, calligraphy pen, ultra fine sharpie OR other ink pen (microns work great), ruler, pencil
Step one: Find a black and white picture of a vehicle of your choice. You can photocopy it from a book or print it from the internet. It can be any vehicle as long as
Step Three: Draw a grid on your photo. Draw a proportional grid on your drawing paper.
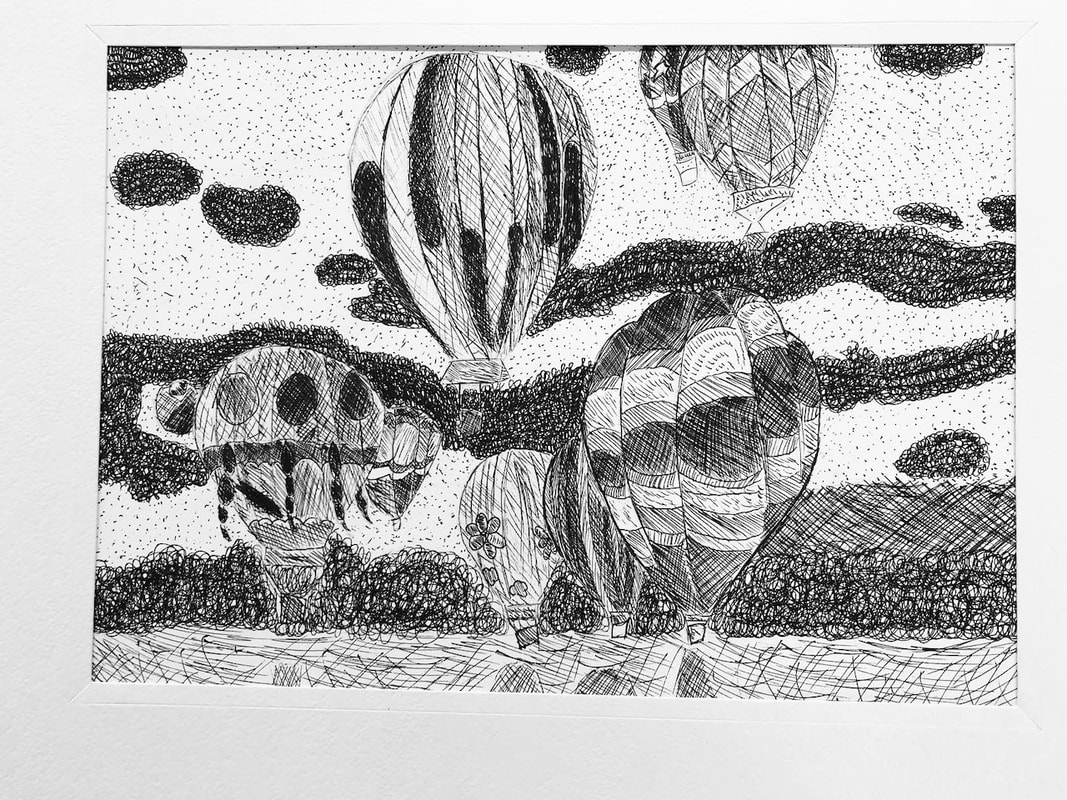
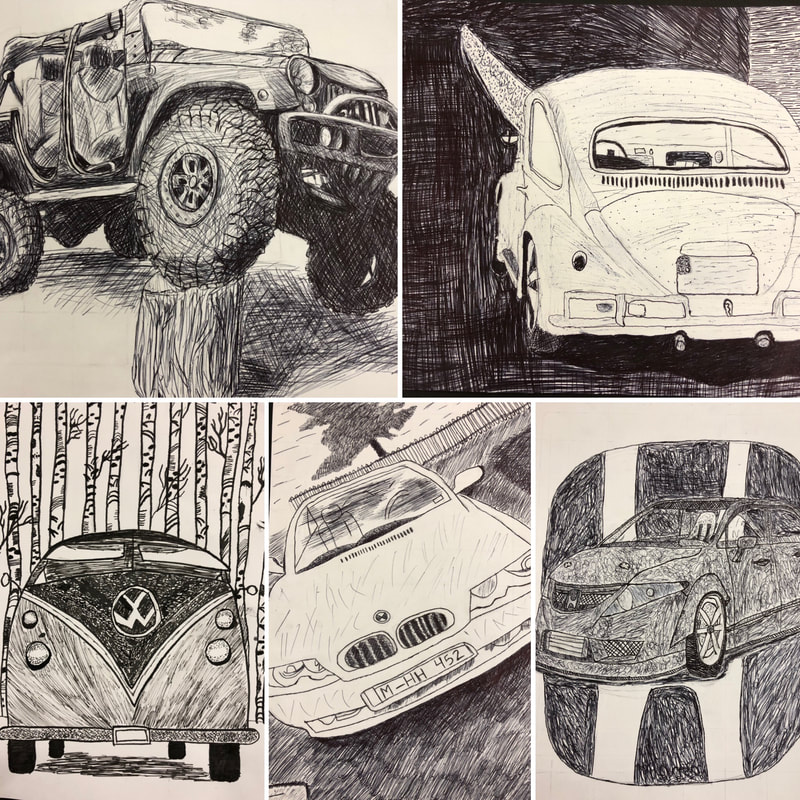
Step Five: Use hatching, cross-hatching, contour lines, stippling, scumbling to create the VALUES and TEXTURES in the image. Erase all old pencil lines.
Since I do this project with Art 1, I also go through the steps of how to find an image on google that is not copyrighted (change the image search settings to 'creative commons licenses' and change the color to black and white usually helps them narrow it down). See example above.
Then, I explain how to put the image into google drawings, adjust the size and I even take the time to teach them how to email the image to me so that I can print it off for them. (Students cannot print from my room, they have to go to the library). I also show them how to convert the image to black and white in google drawing.
Since I am also using this project to introduce the idea of grid drawing, it is helpful for them to have a black and white printed copy of their vehicle. We draw our 'vehicles' on 9X12 paper, and I have them resize the image in google drawings to 4.5X6 and draw a half inch grid on it with a ruler once it is printed. On their actual drawing paper, they draw a 1" grid and the ratios match up pretty well. I take a few minutes to teach them how to read a ruler before they start the measuring process.
This lesson covers a LOT of things in art 1 that we establish at the beginning of the year. One more thing I added this year was the discussion of 'ellipse' which is the way the tire gets stretched out in an image, and doesn't look like a perfect circle, I encourage them to trust the grid!!!
Pen and Ink Vehicle Drawing
Materials: ballpoint pen, calligraphy pen, ultra fine sharpie OR other ink pen (microns work great), ruler, pencil
Step one: Find a black and white picture of a vehicle of your choice. You can photocopy it from a book or print it from the internet. It can be any vehicle as long as
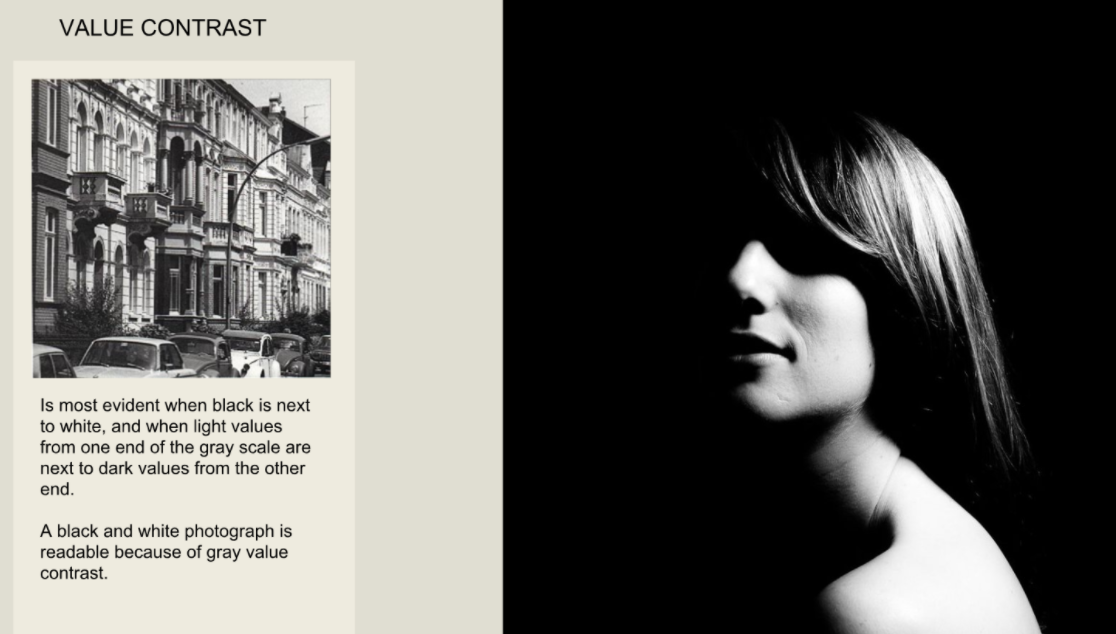
- The picture has dark areas, midtones, and highlights
- The photo takes up a full 8.5X11 paper (or use 9X12 drawing paper)
- It is a photo and not a drawing.
- I suggest using a photo from the creative commons. If you choose to use a photo you have taken, convert it to black and white and boost the contrast!
Step Three: Draw a grid on your photo. Draw a proportional grid on your drawing paper.
- Optional: You can use the app Grid# but you will want to make sure to put square grid boxes on the photo, 9 boxes on the longest edge and 6 on the short edge.
- If you are using a chromebook, use the website: Art Tutor Grid to add a grid to the photo
Step Five: Use hatching, cross-hatching, contour lines, stippling, scumbling to create the VALUES and TEXTURES in the image. Erase all old pencil lines.


 RSS Feed
