THIS LITTLE CLASS OF MINE
  • Home
  • Contact Me
  • Lesson Plans

CHALK STILL LIFE

1/17/2018

0 Comments

 
Having three snow days in a row has really motivated my blogging. I'm digging all the way back to the 2014-2015 school year for lessons and photos on my external hard drive. After getting a new (much smaller hard drive) computer at school, backing up all of my old photos on an external drive, getting a new phone and finishing up my master's that year, I just did not do much blogging. At least I did take a lot of great photos of projects that I am excited to share now. 

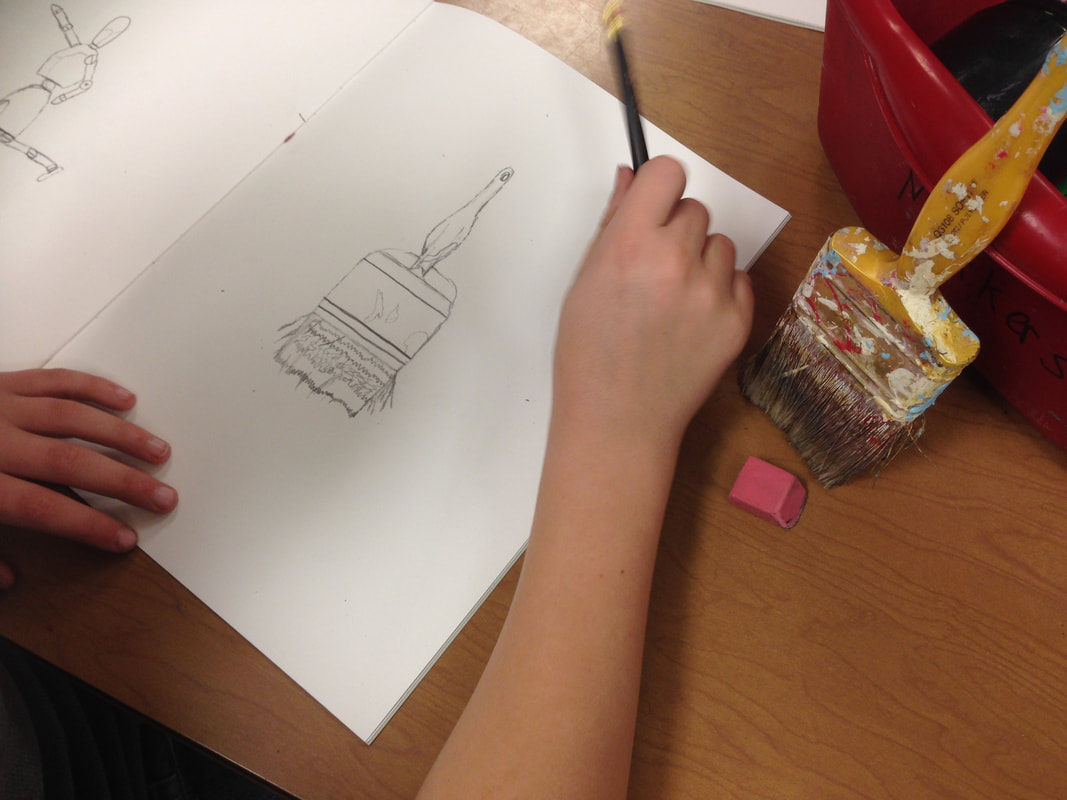
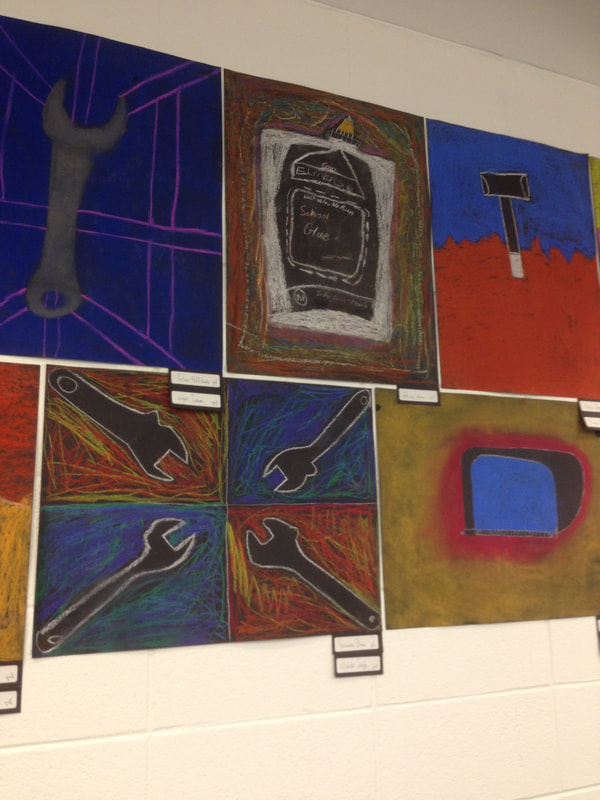
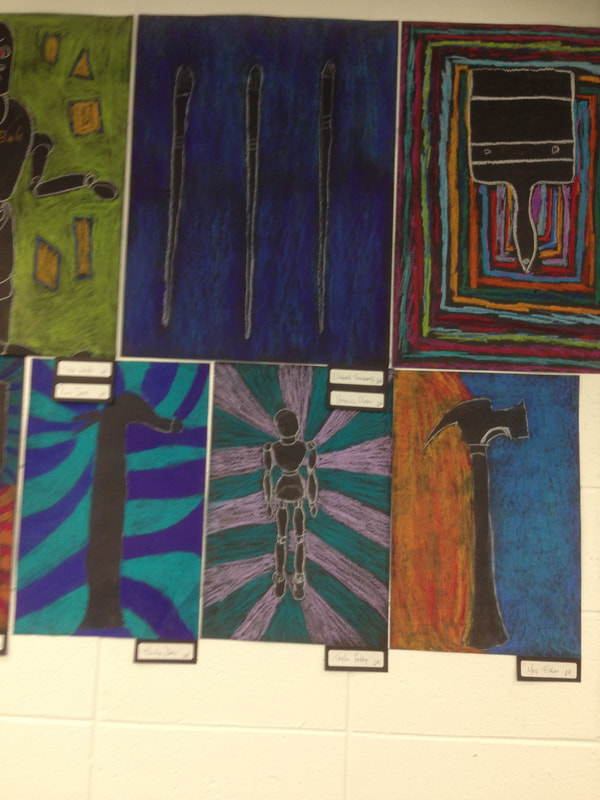
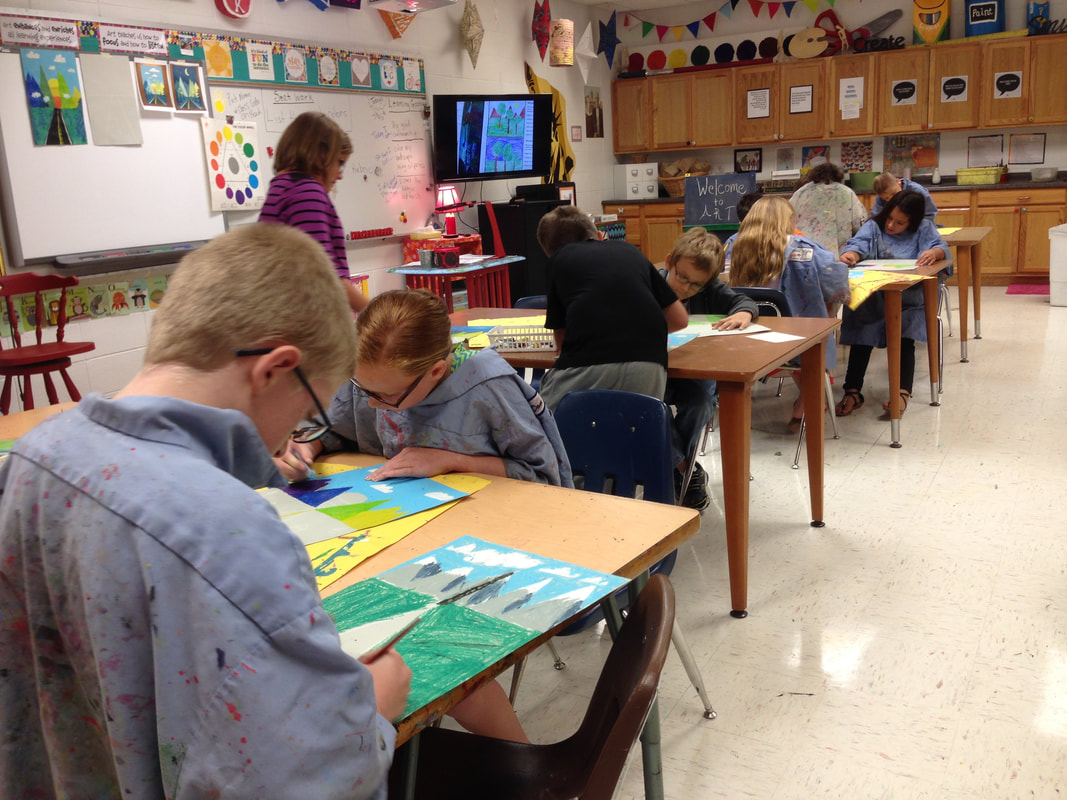
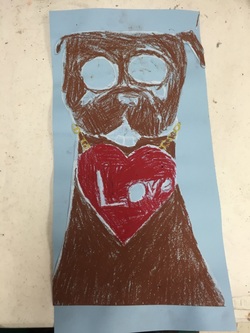
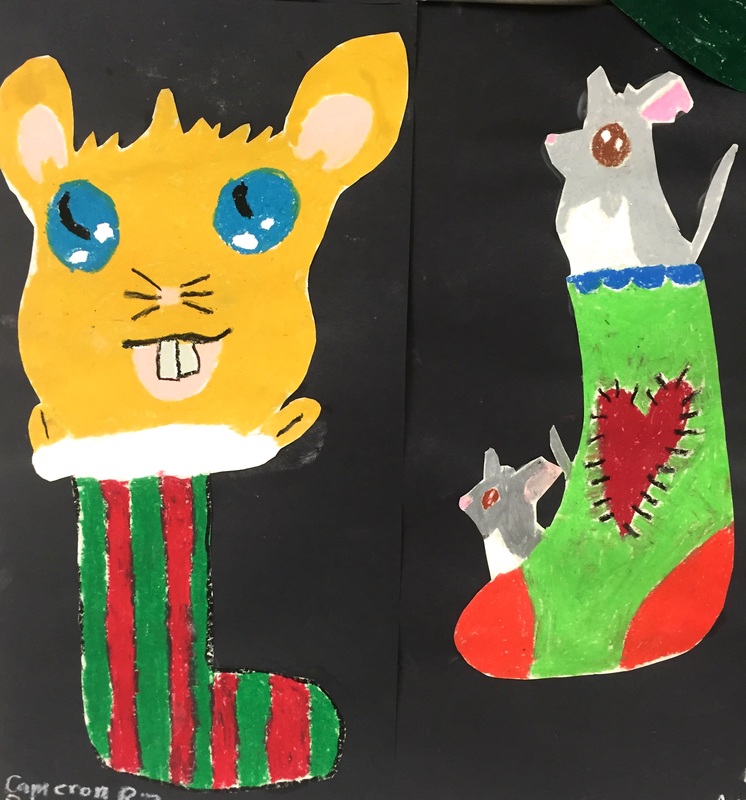
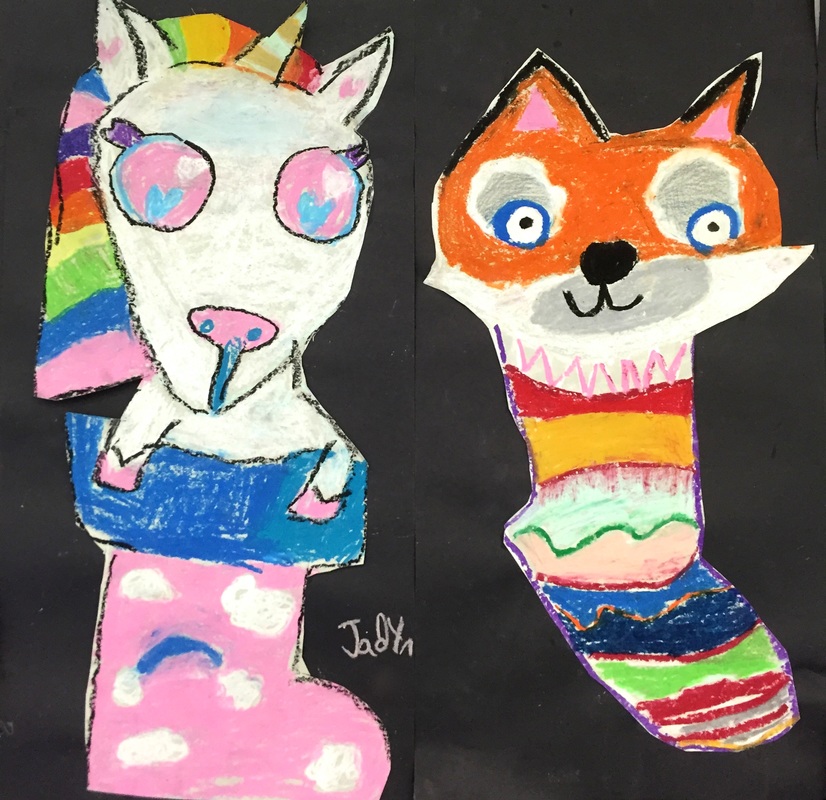
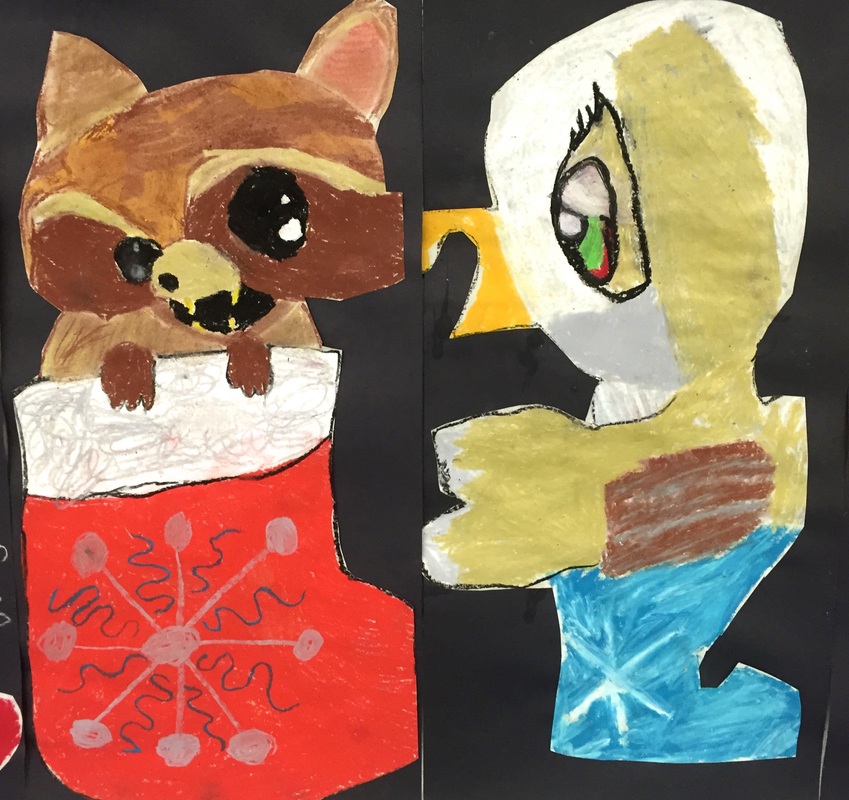
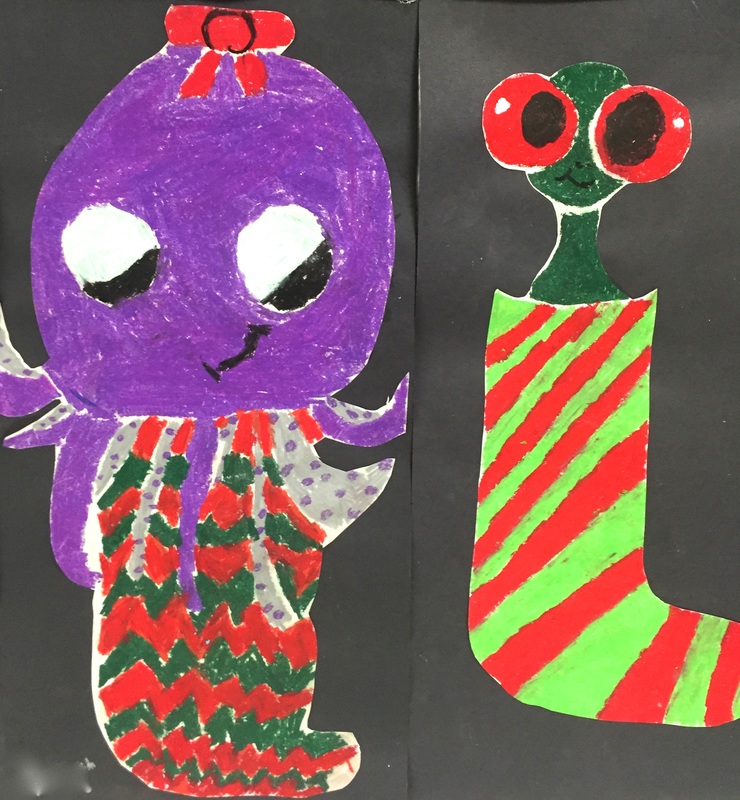
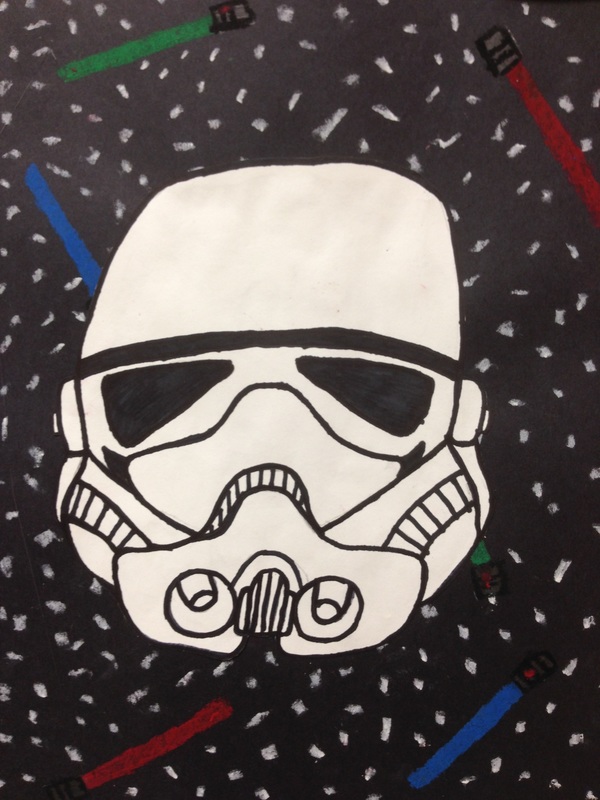
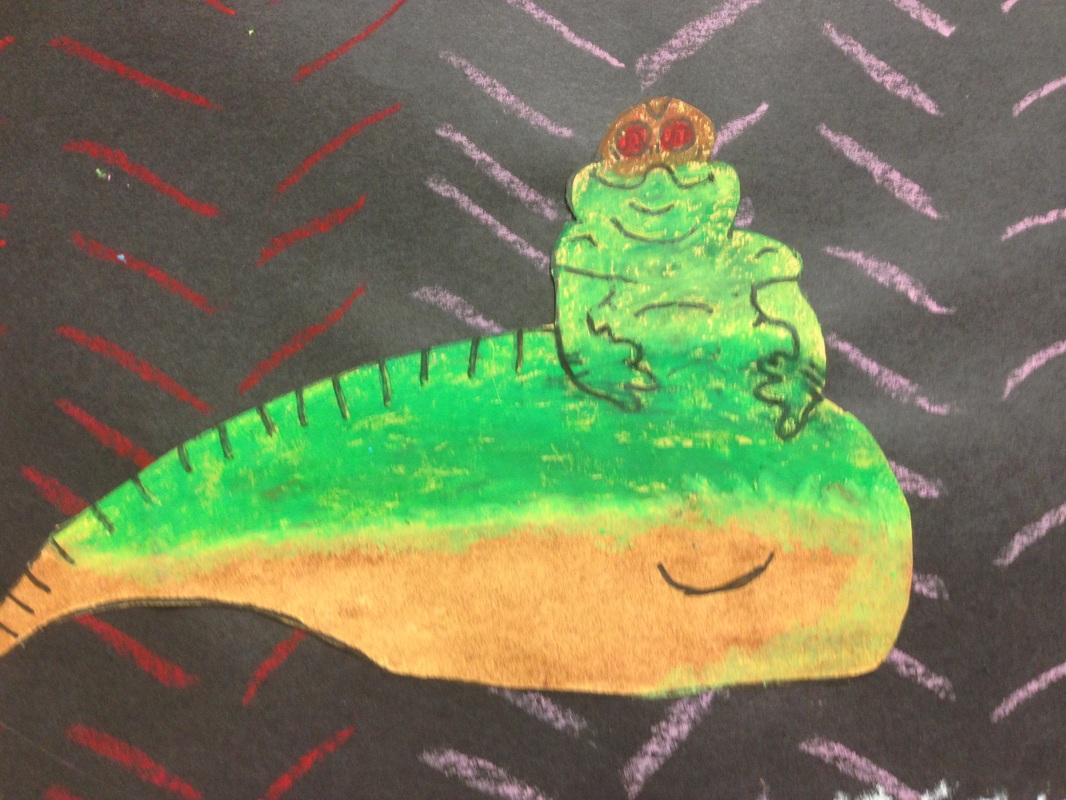
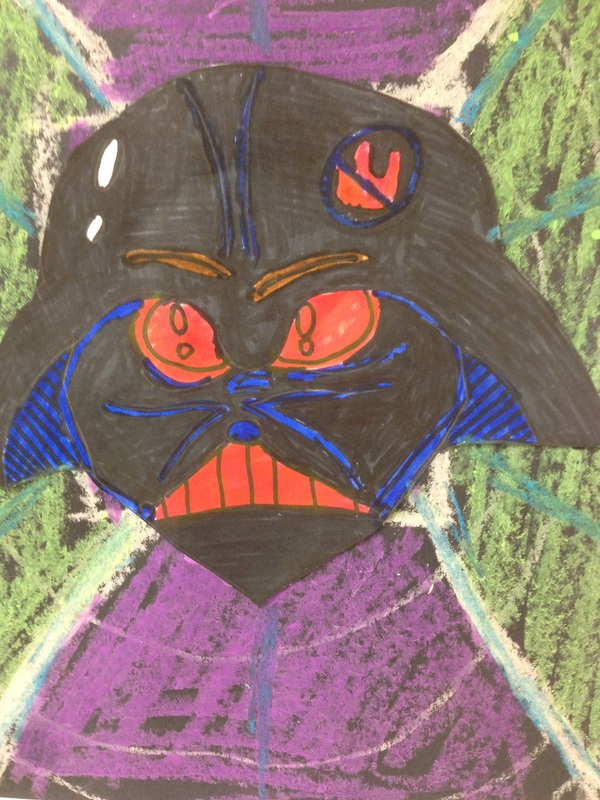
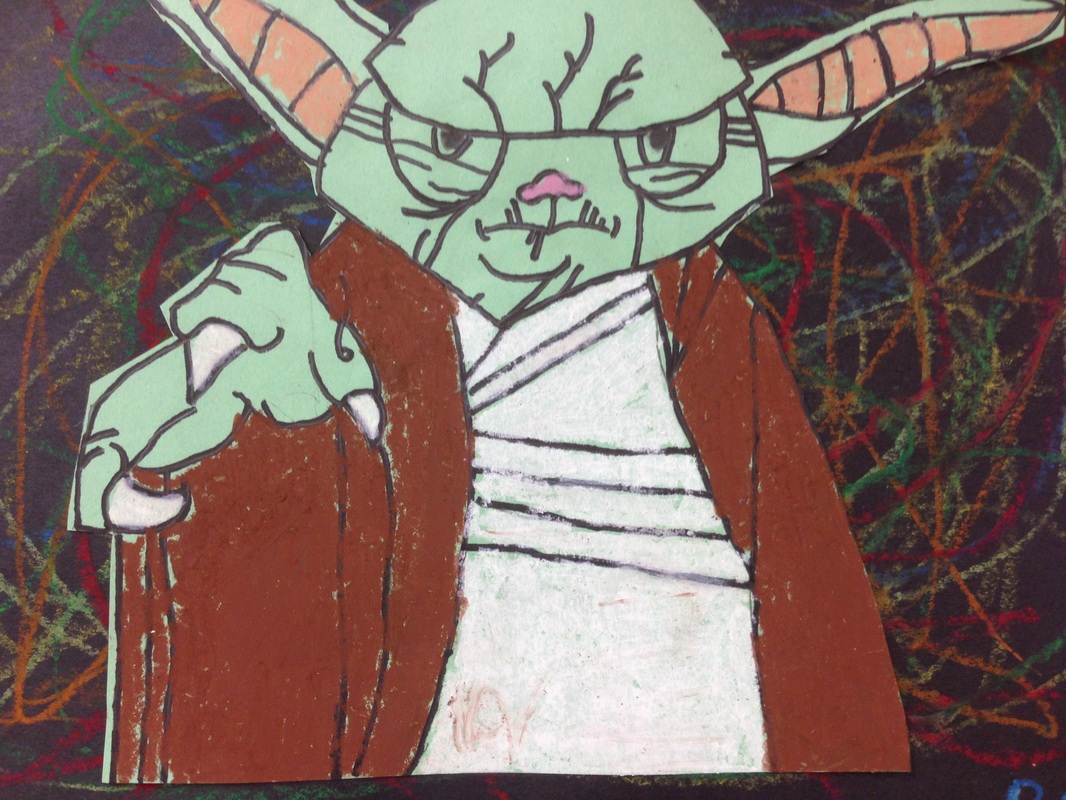
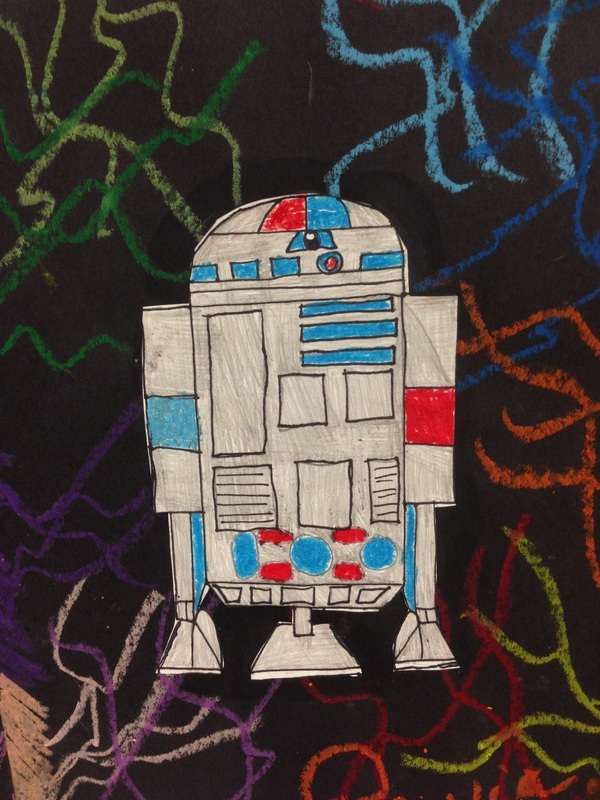
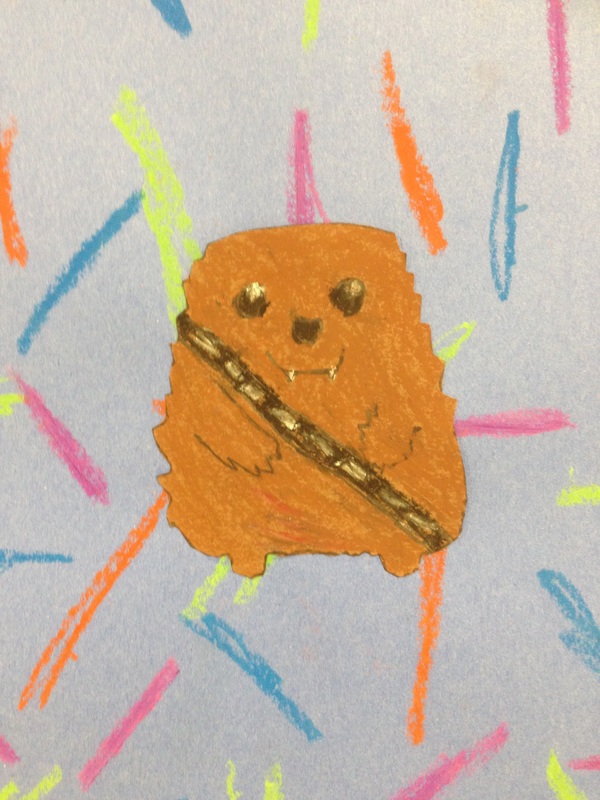
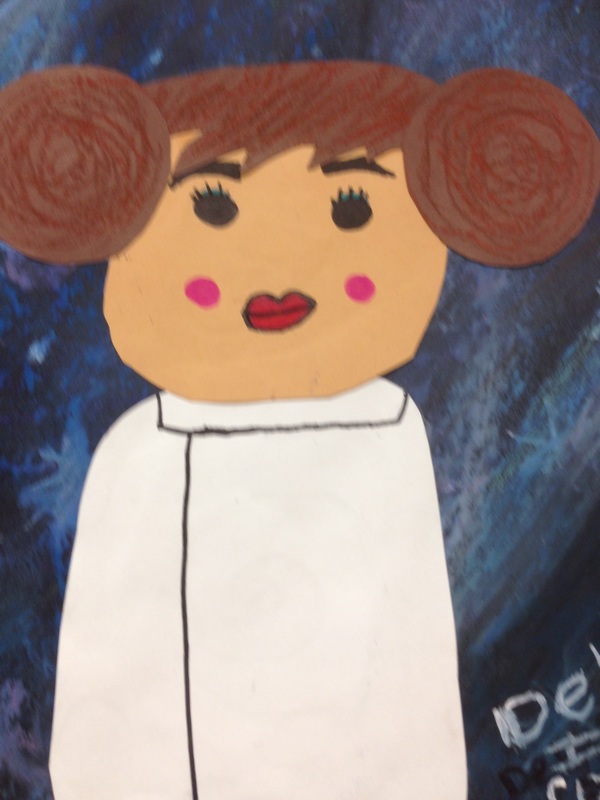
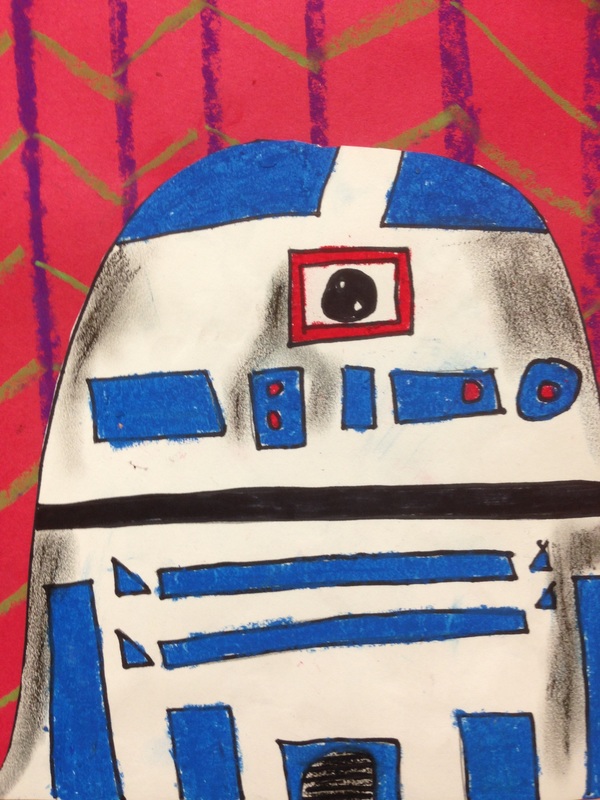
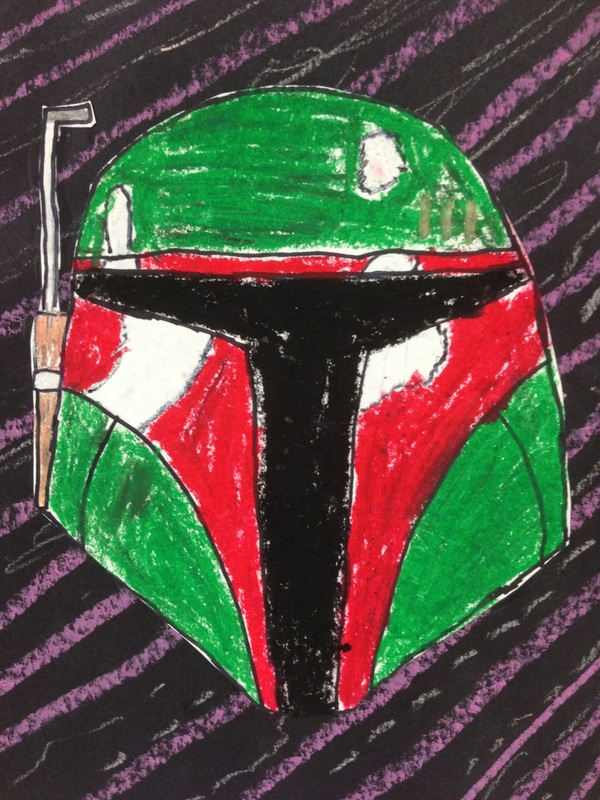
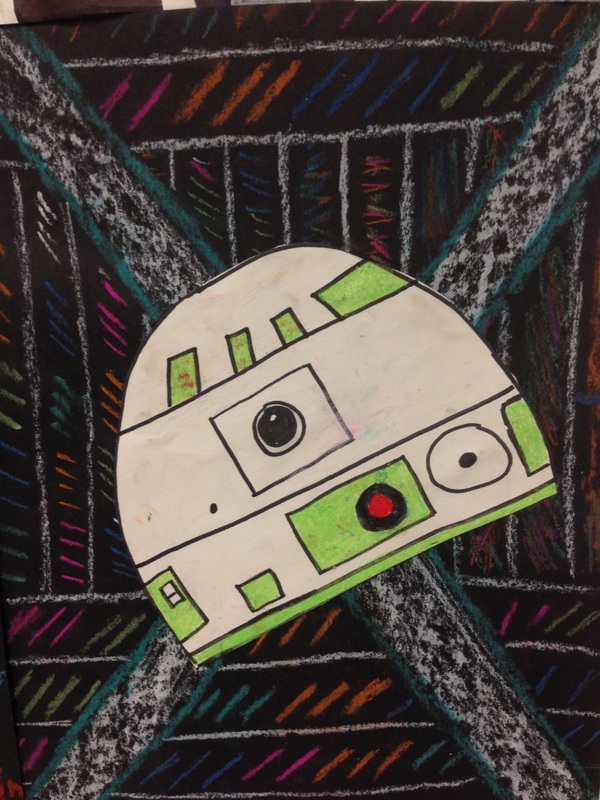
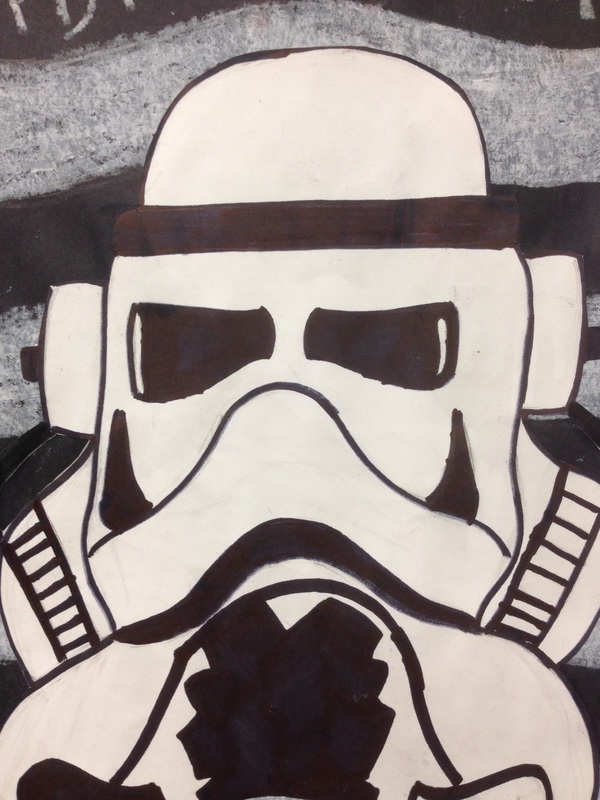
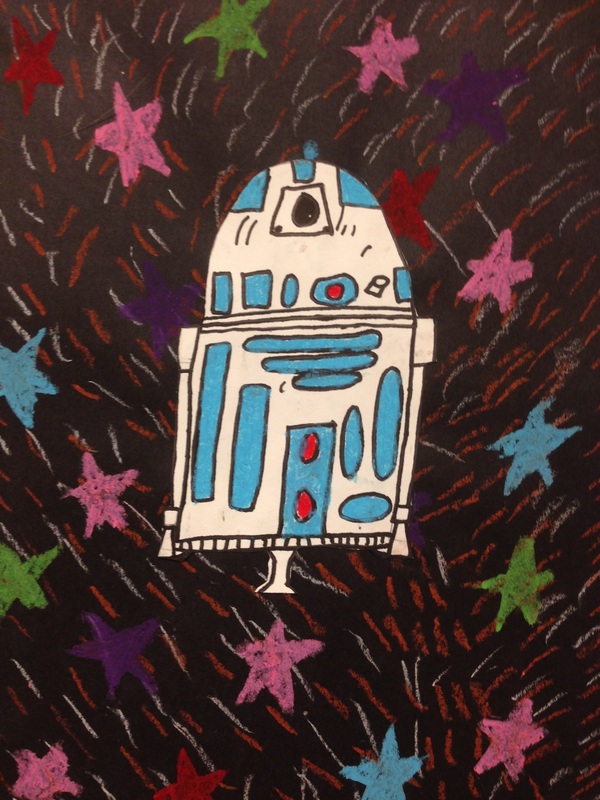
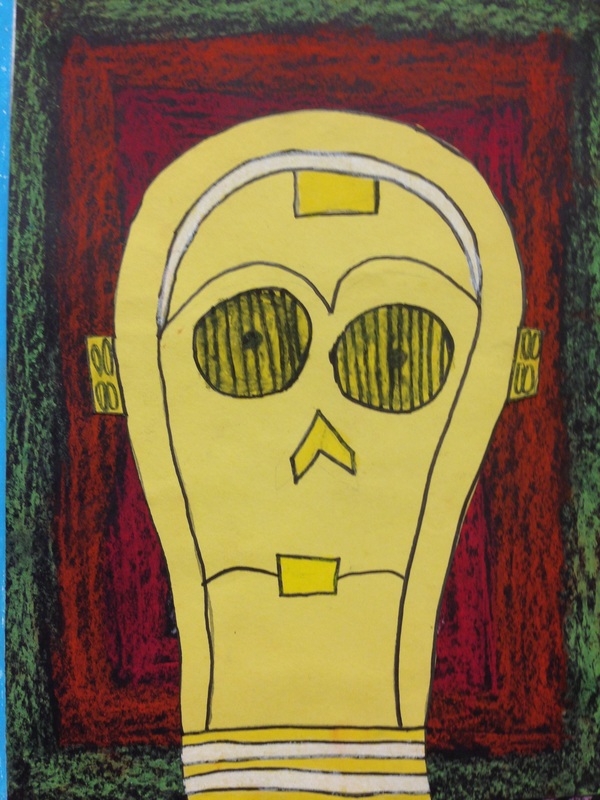
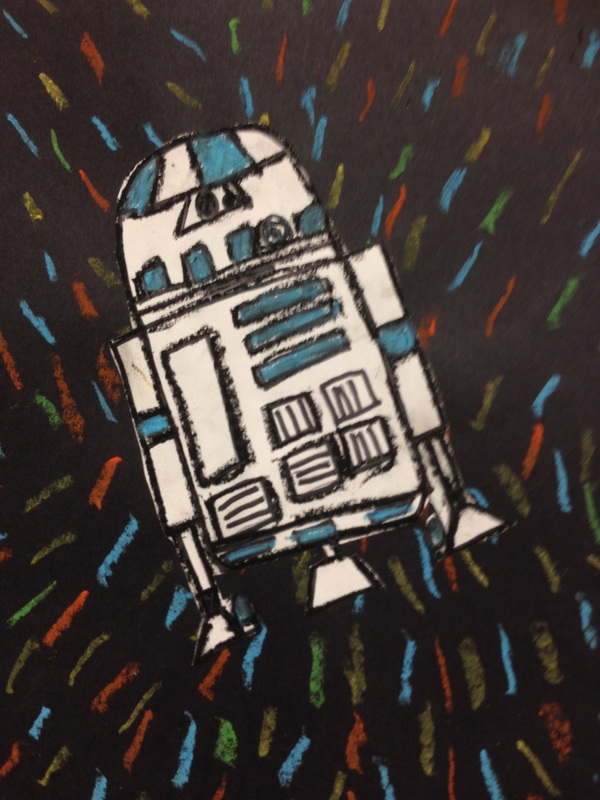
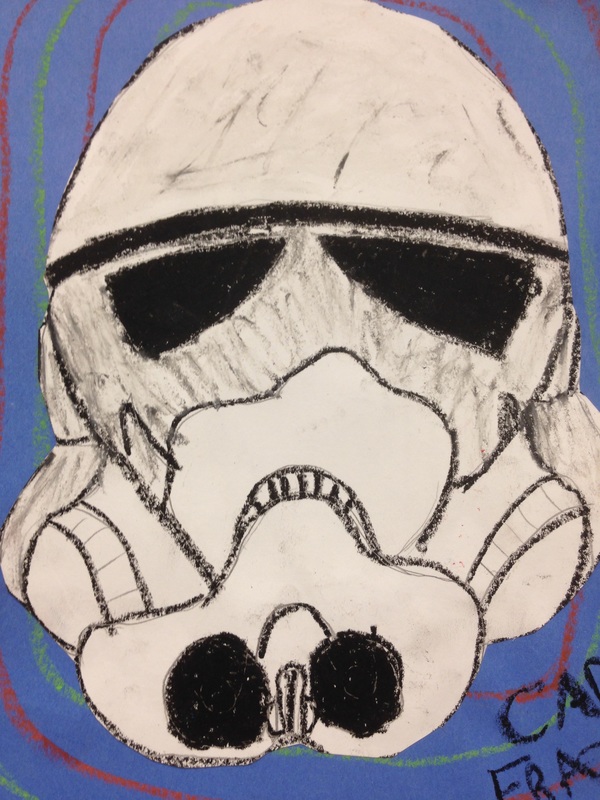
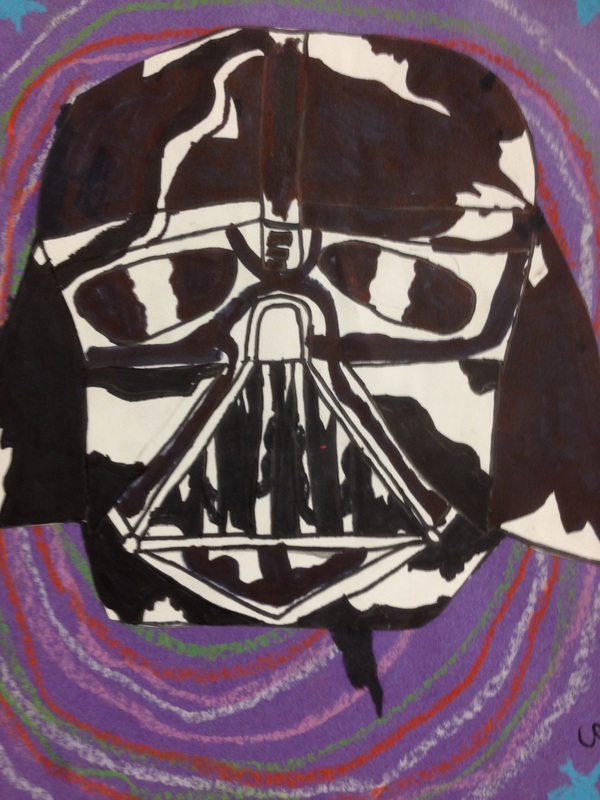
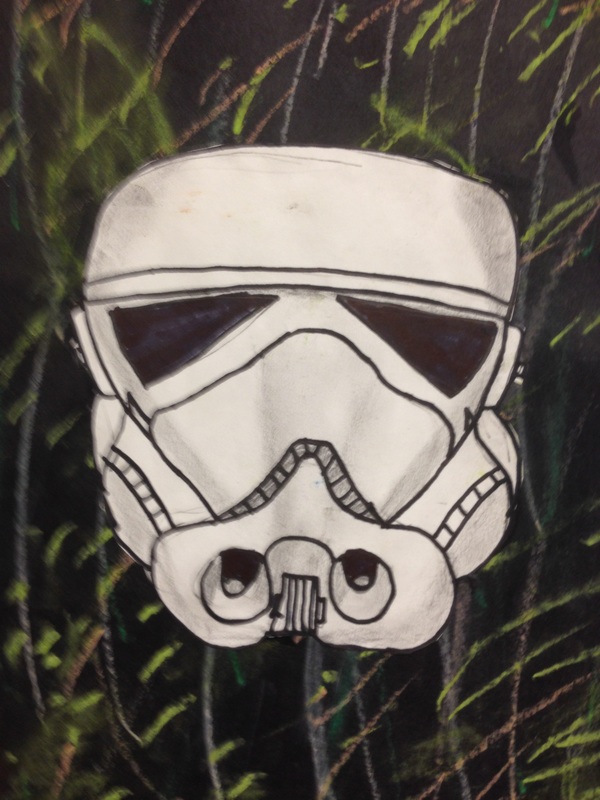
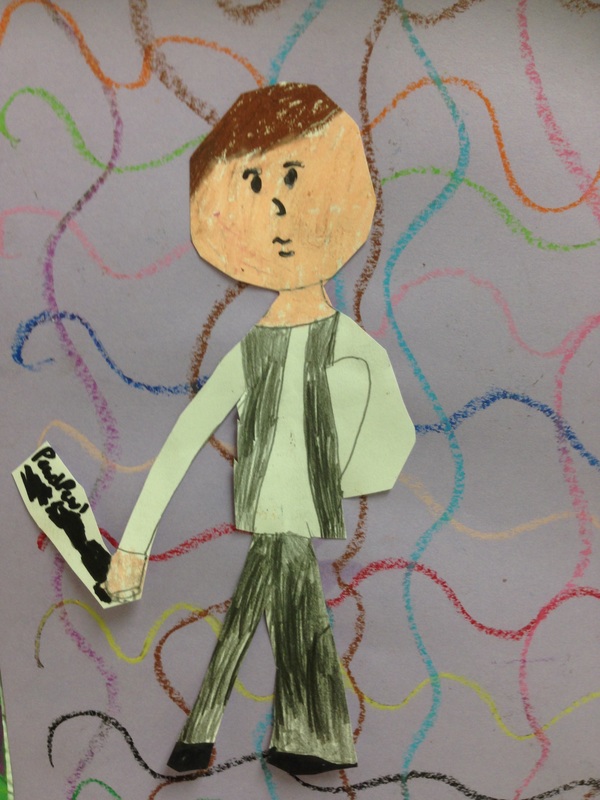
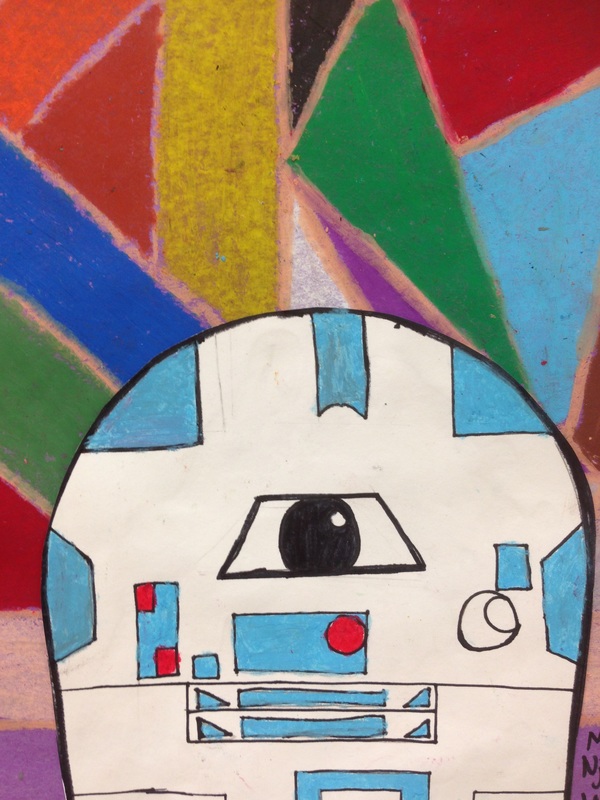
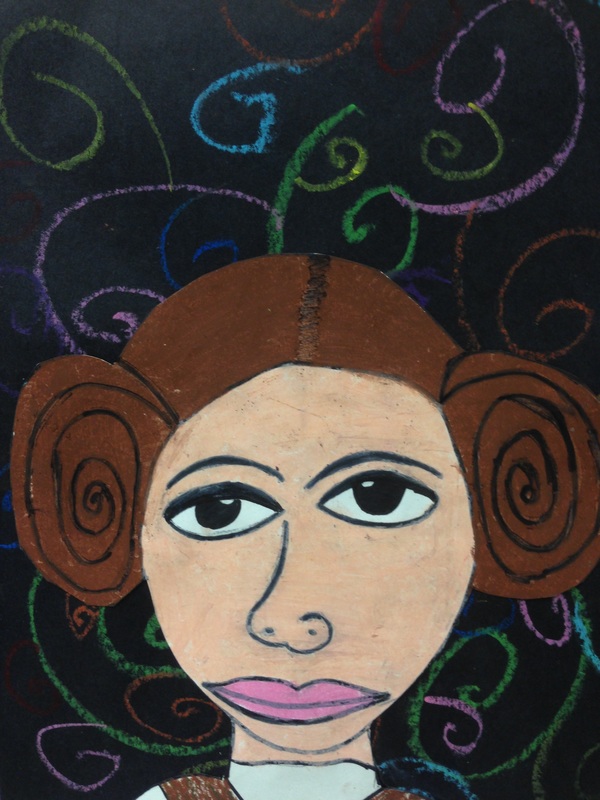
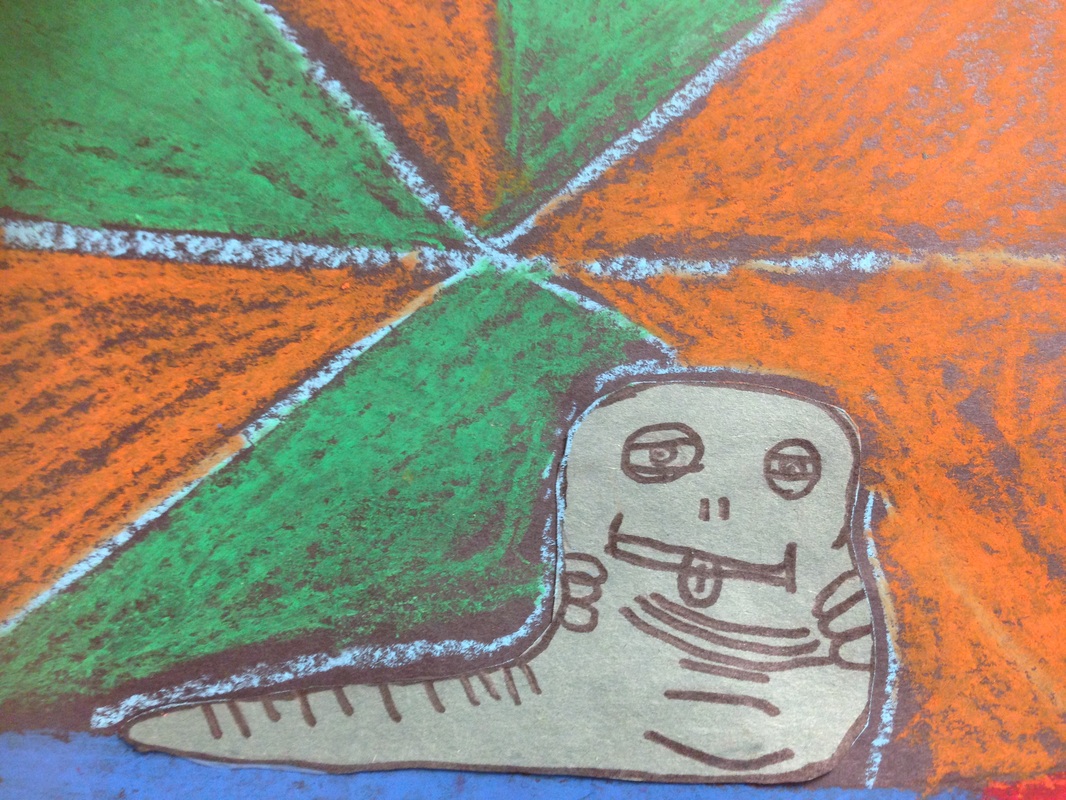
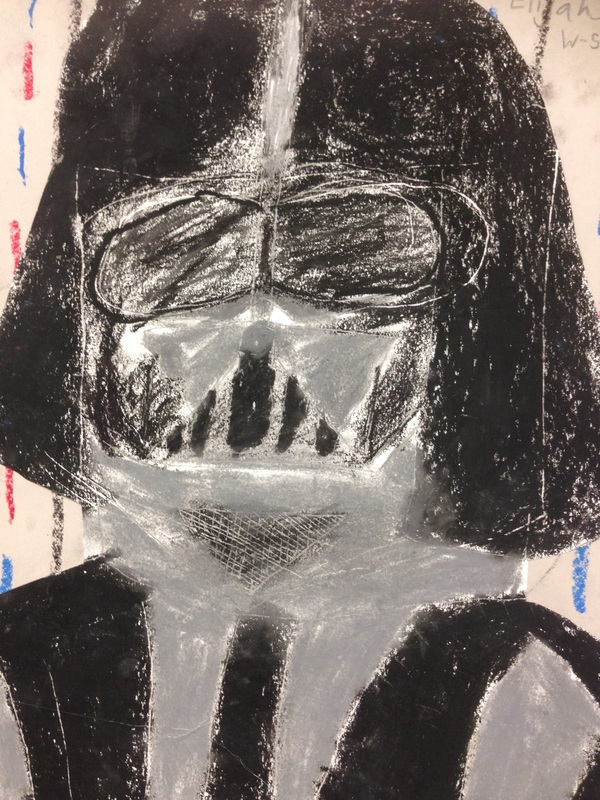
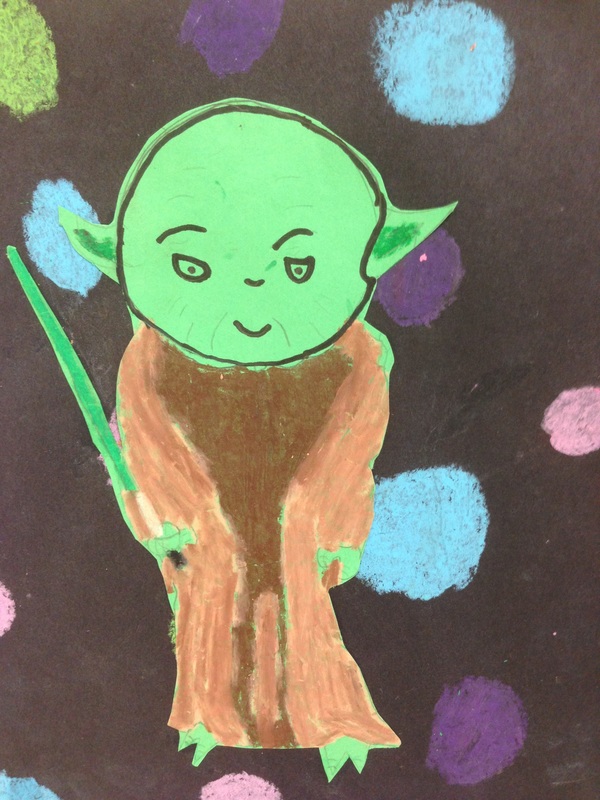
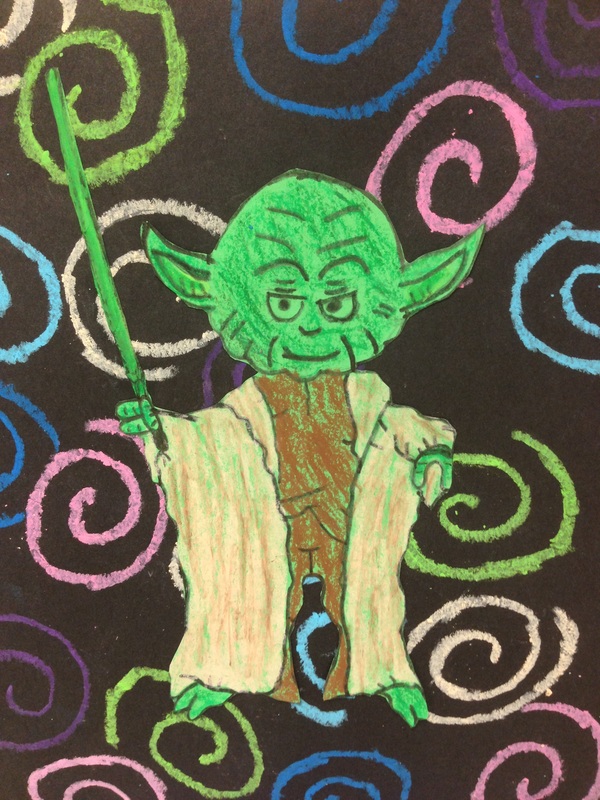
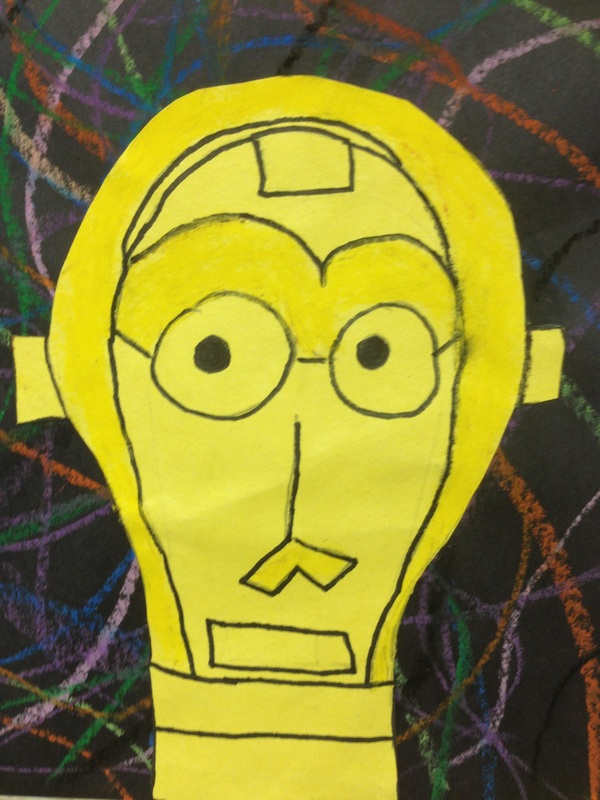
​For this project, we did some observational drawing in our sketchbooks. We drew the manikins in action poses, and we drew random stuff around the art room. Then, students picked one of their sketches to draw big. I was obsessed with 18X24 that year.

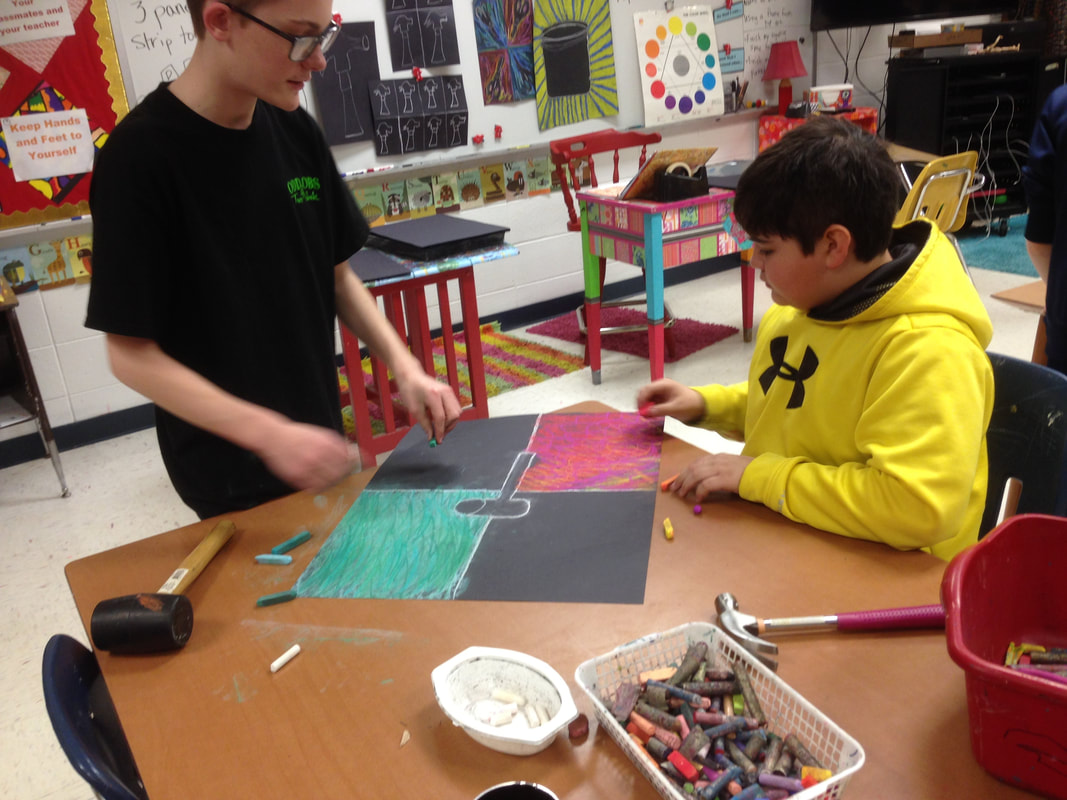
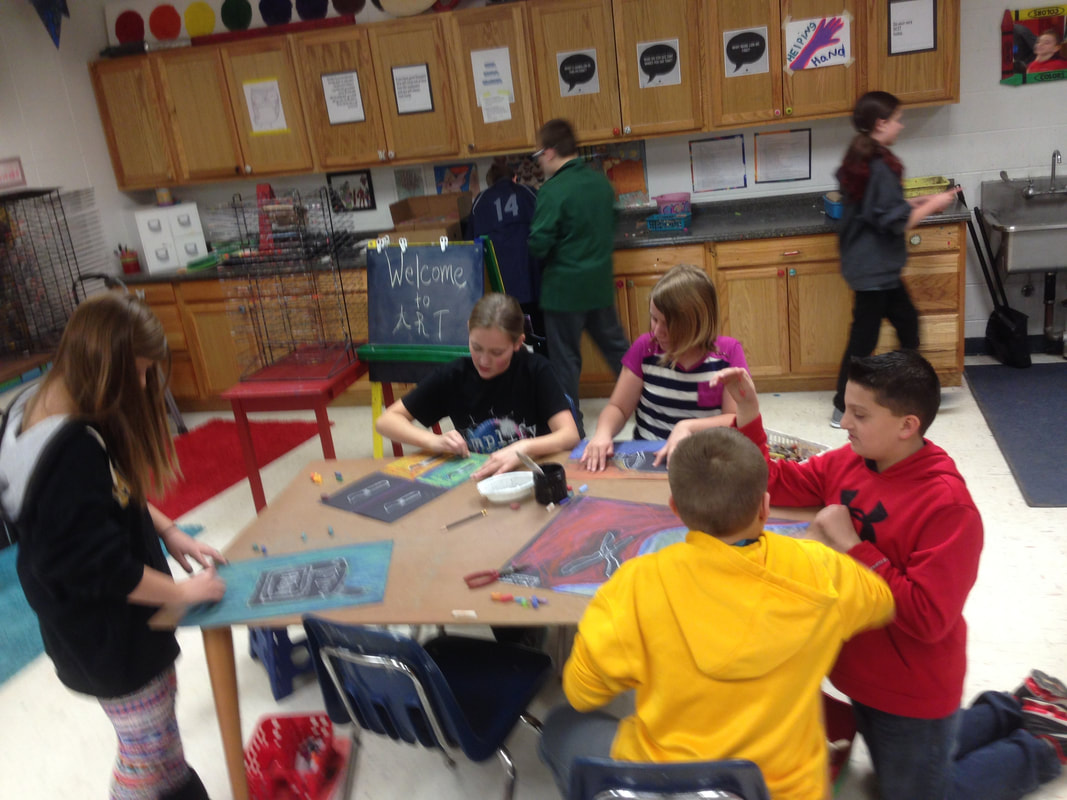
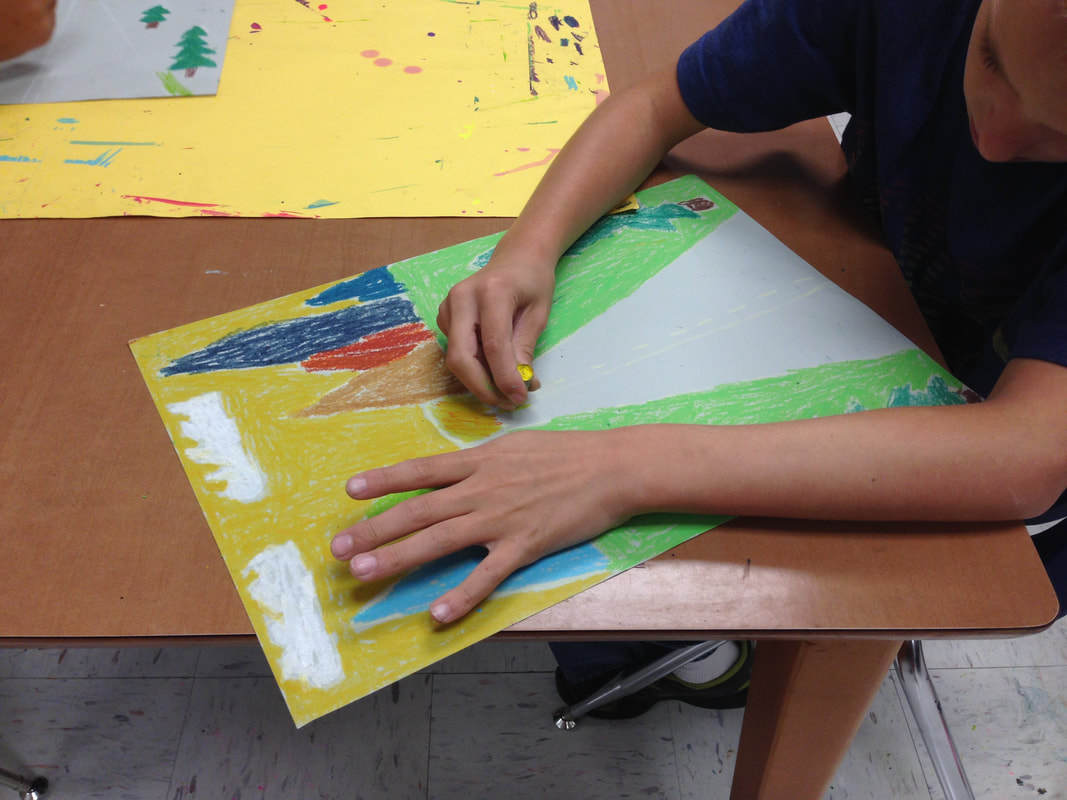
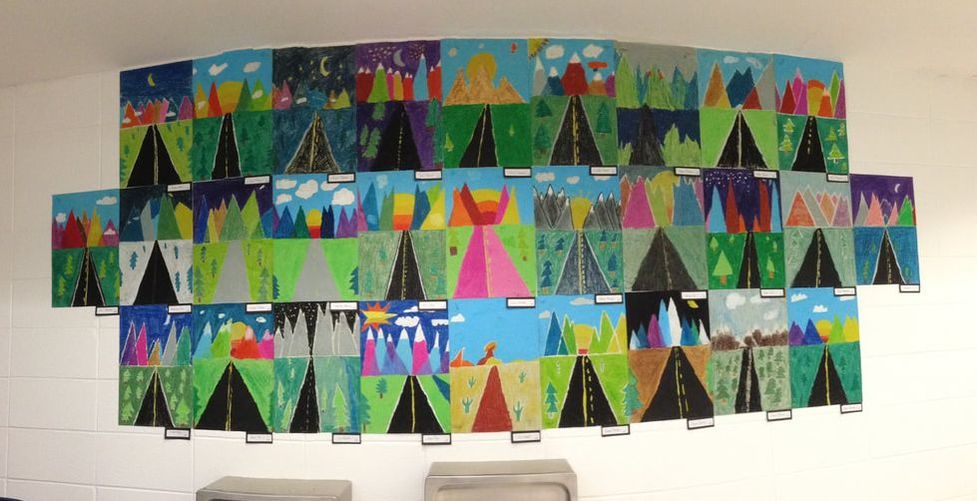
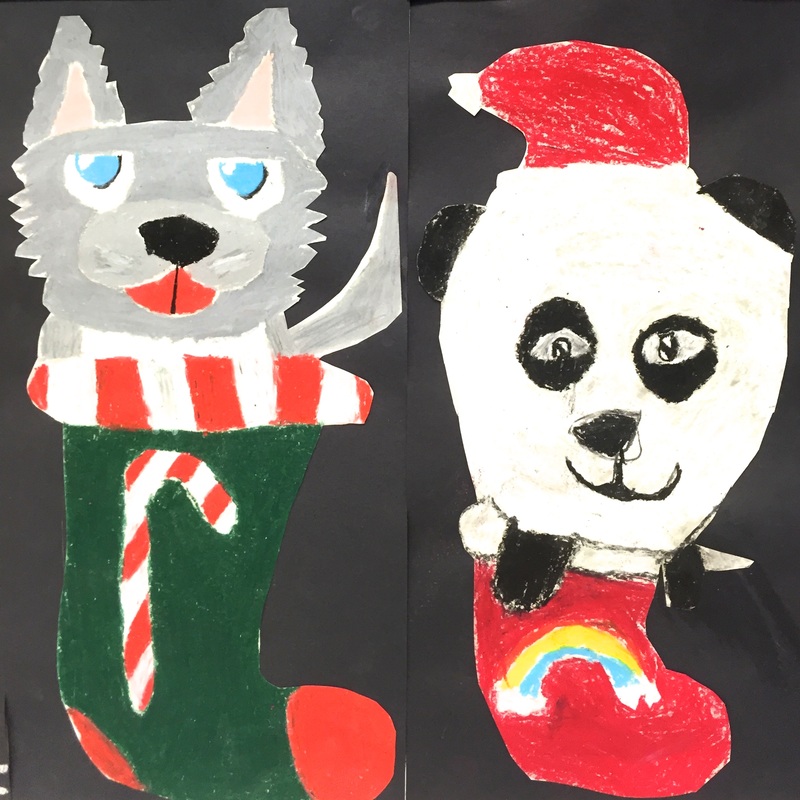
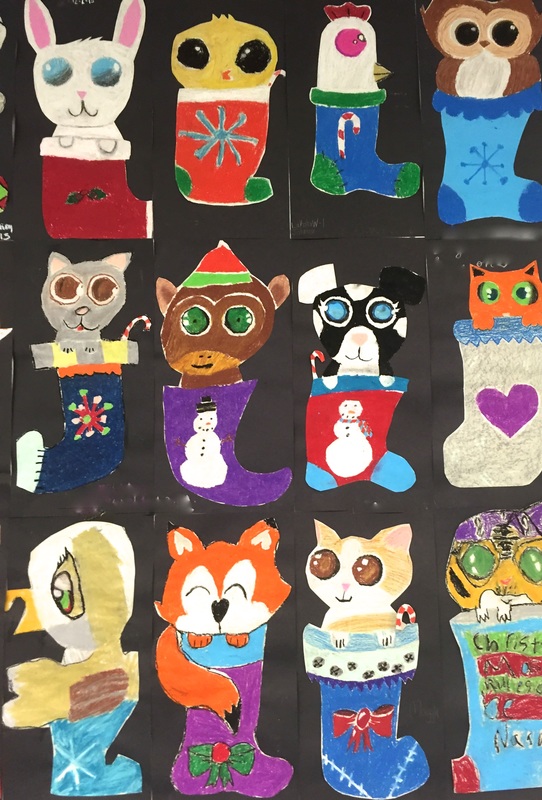
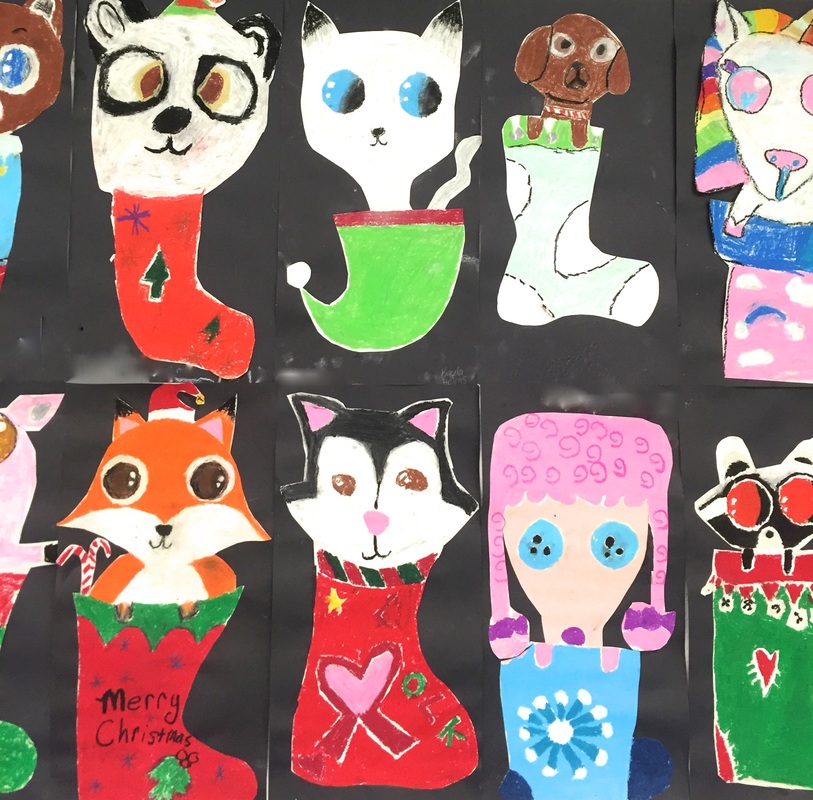
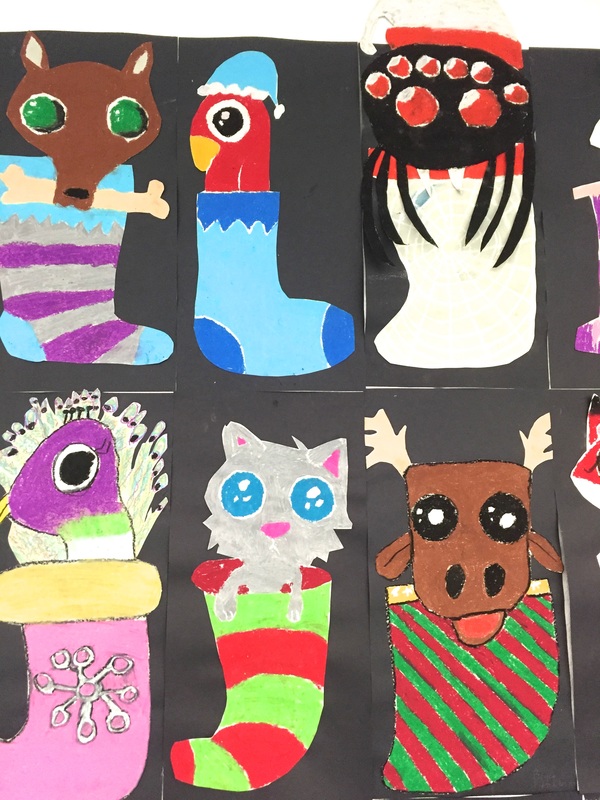
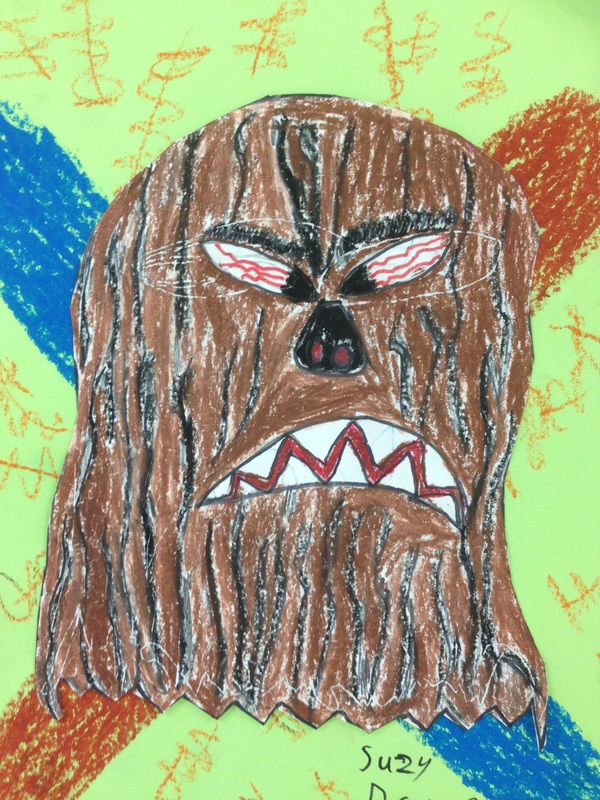
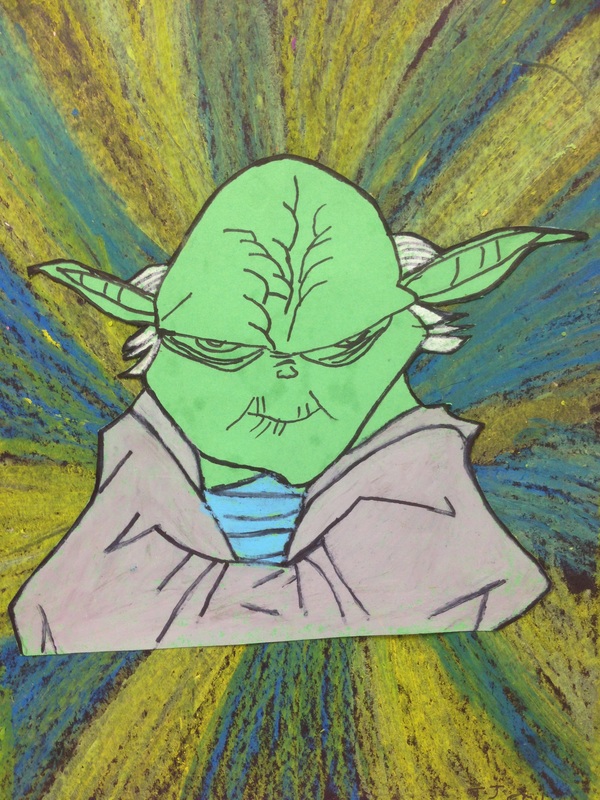
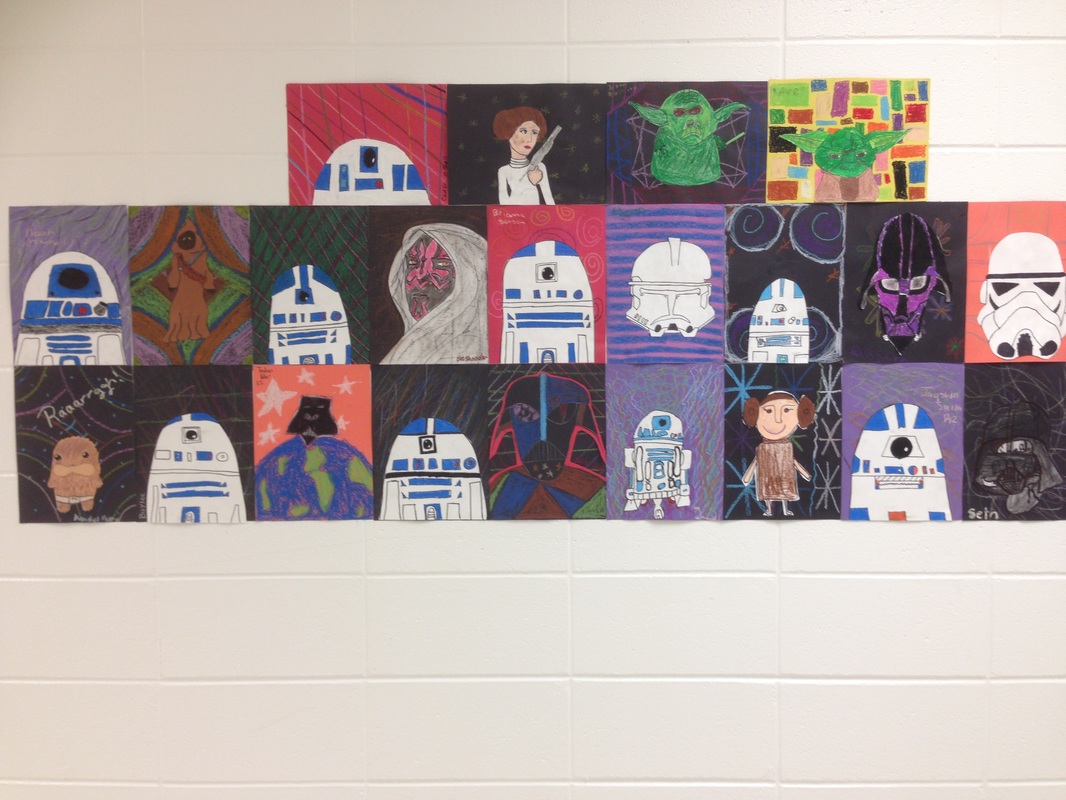
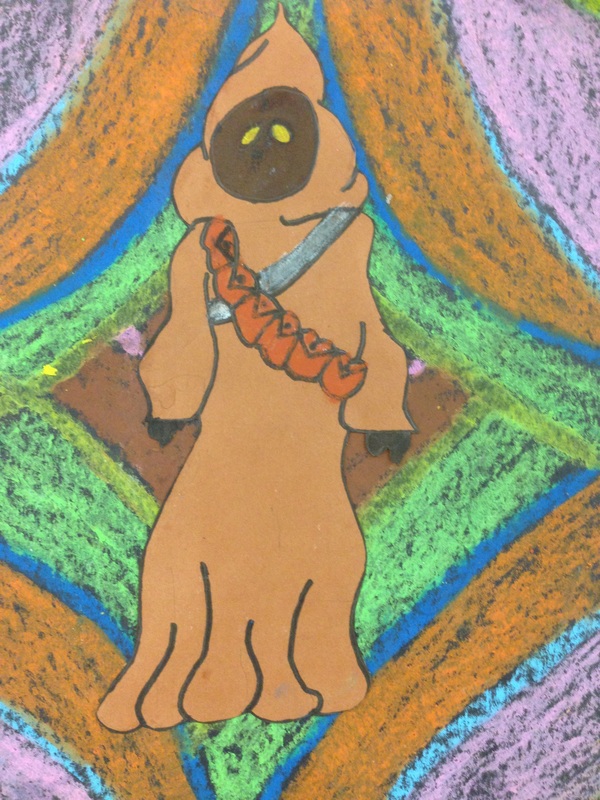
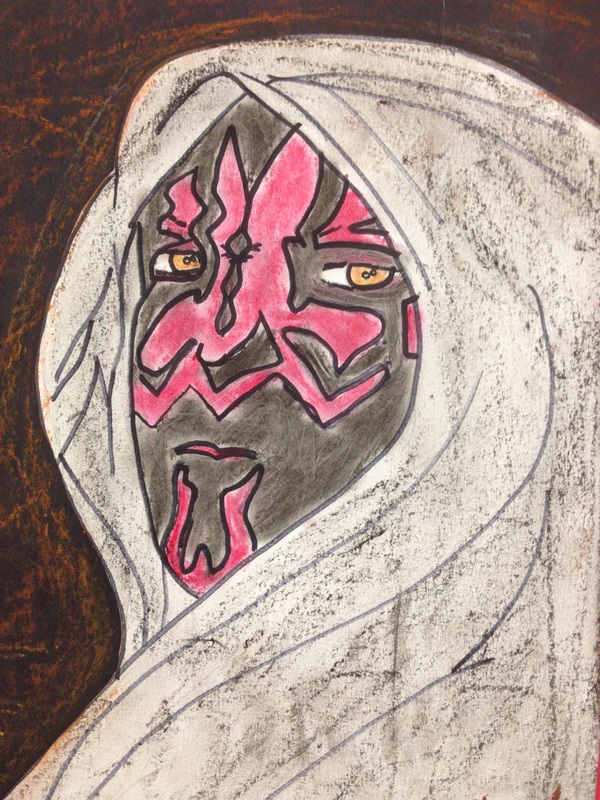
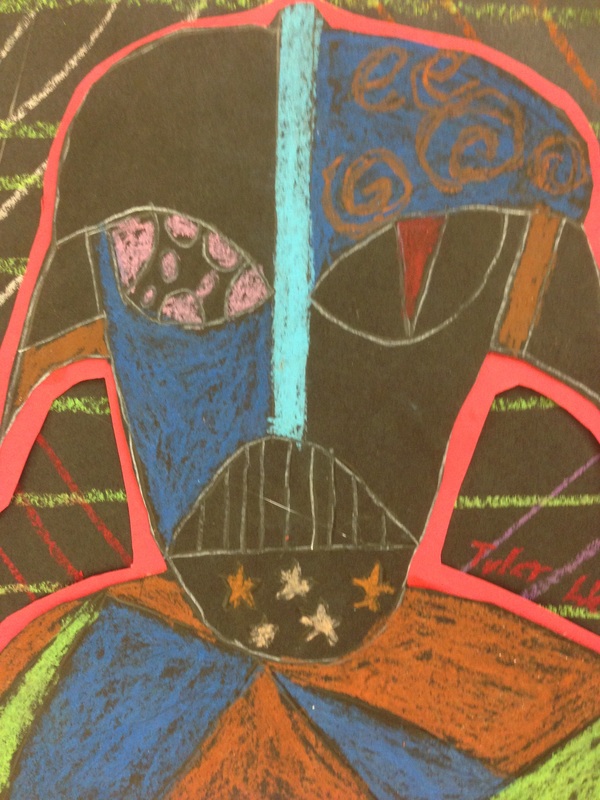
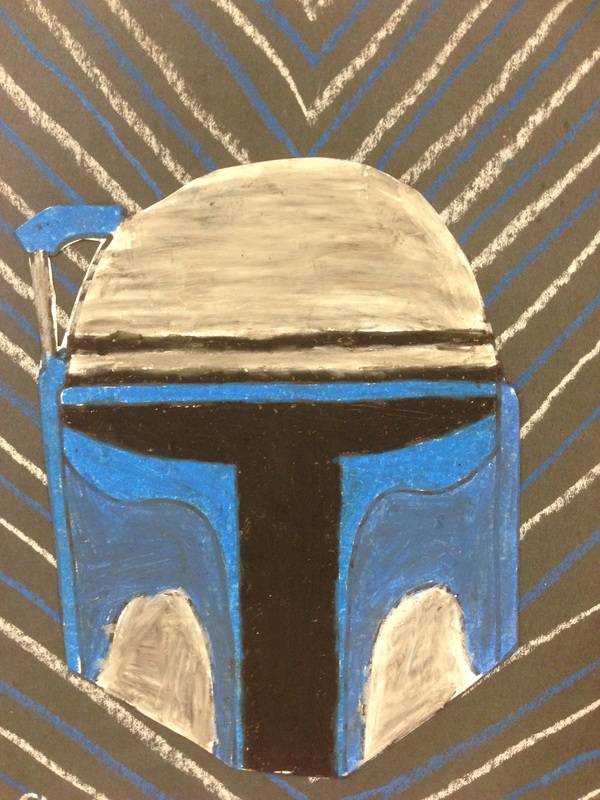
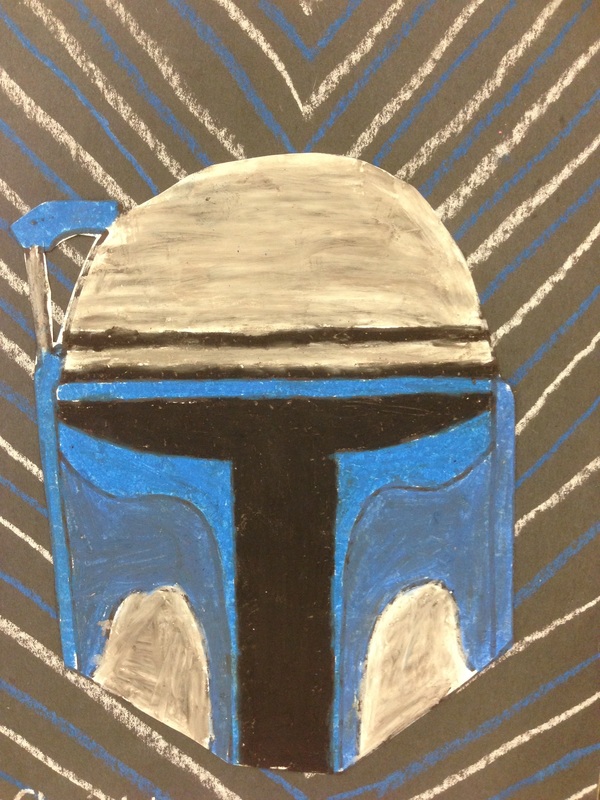
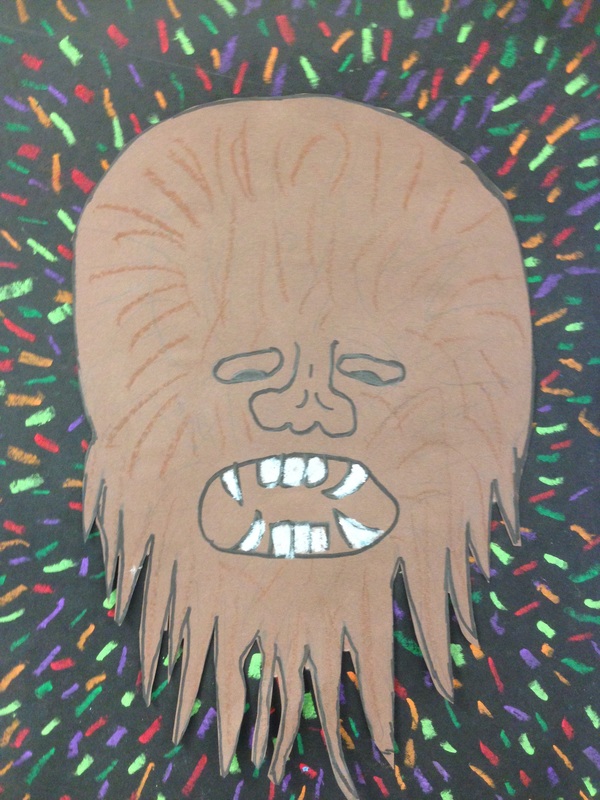
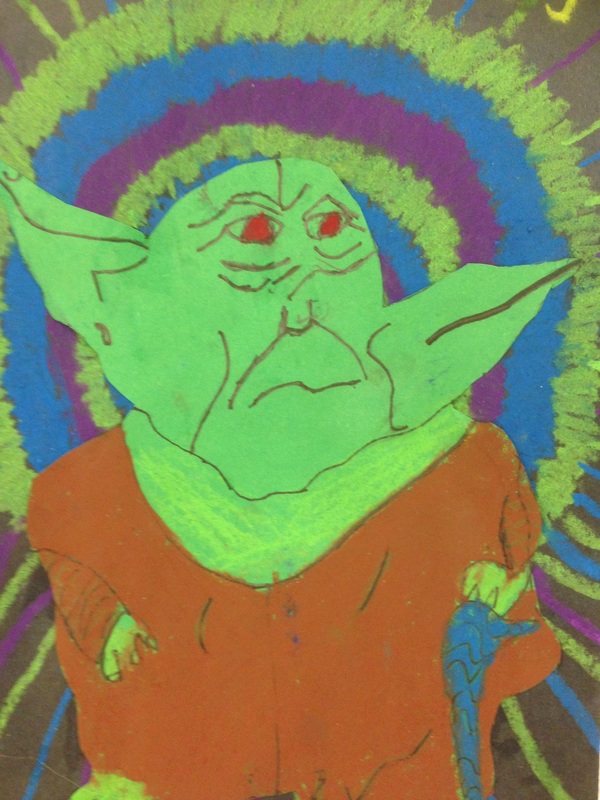
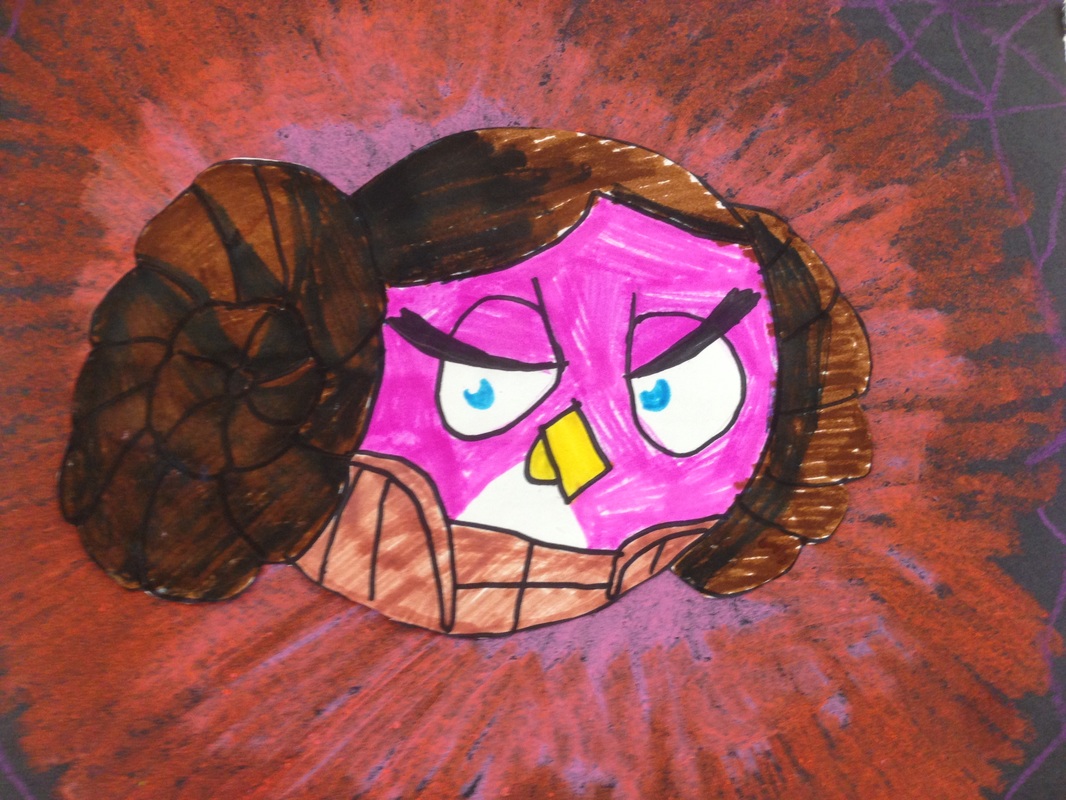
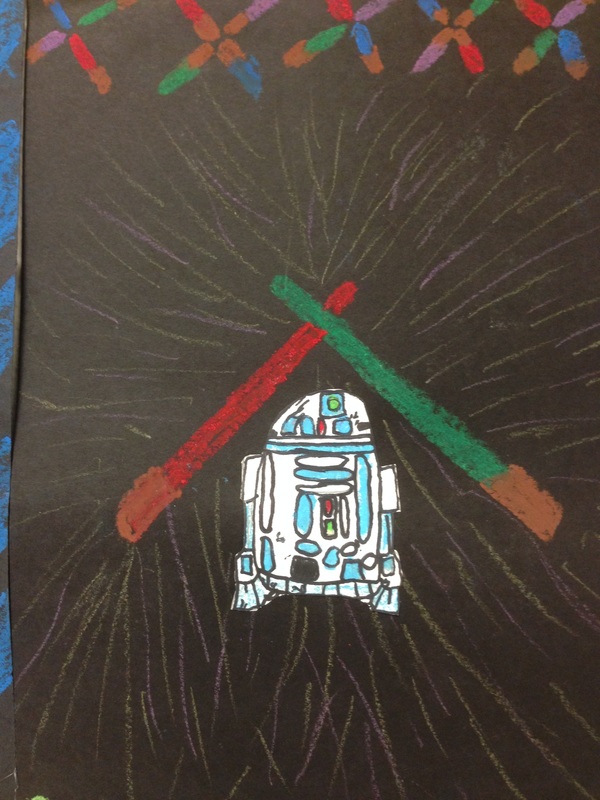
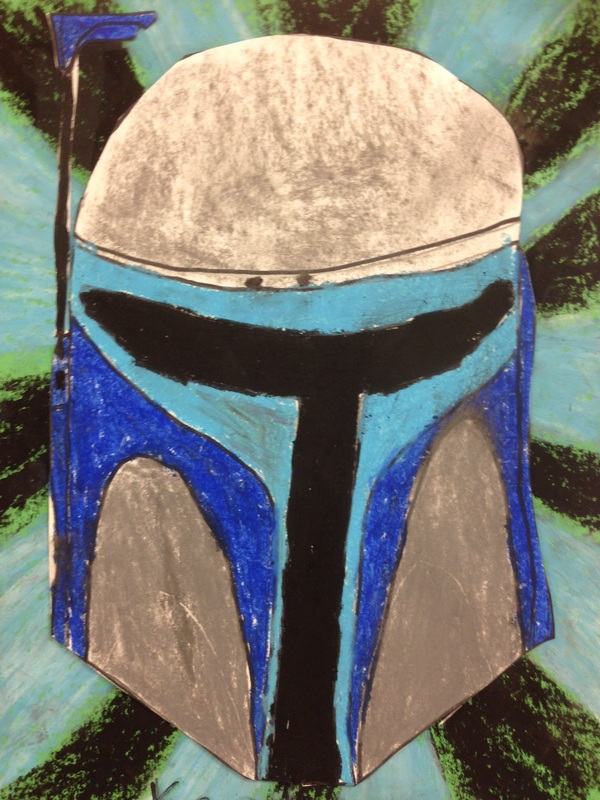
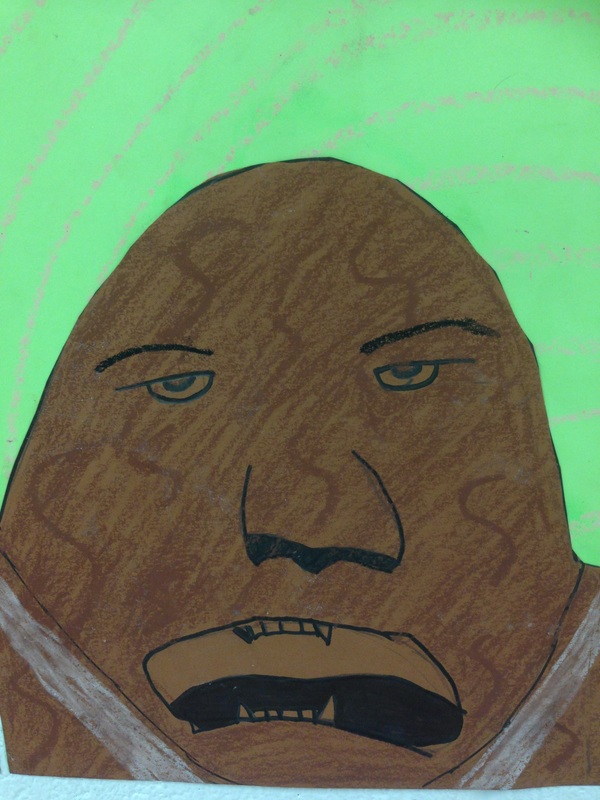
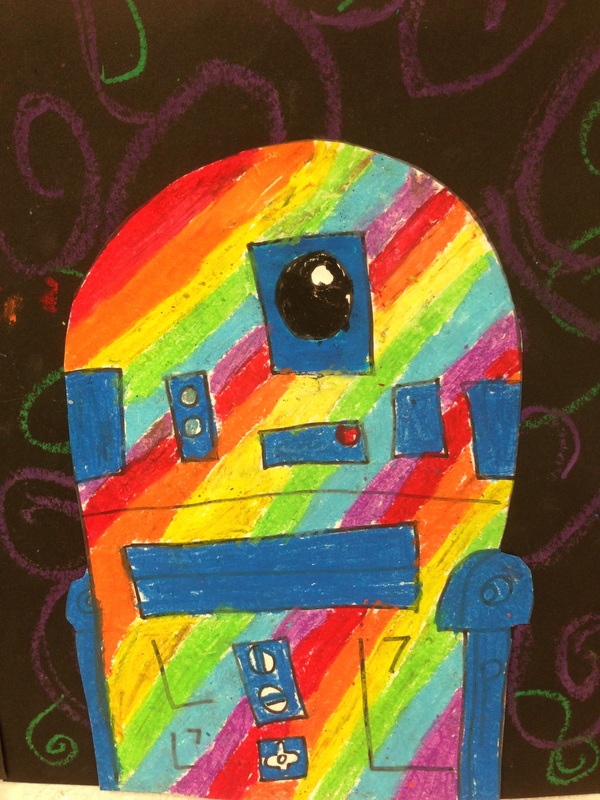
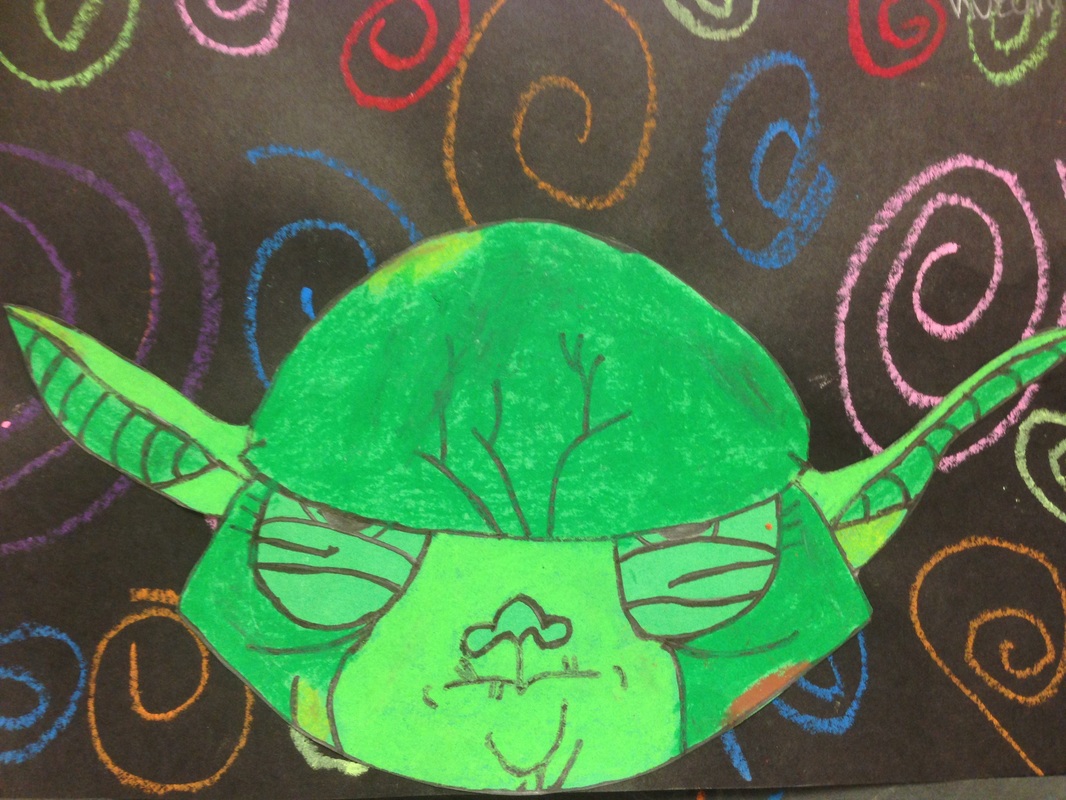
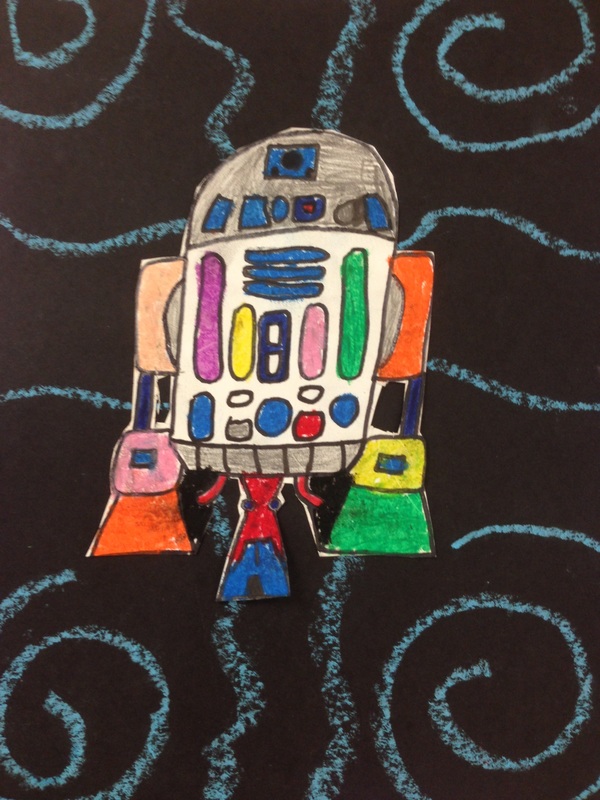
We mostly drew with chalk on black paper and colored with chalk pastels AND oil pastels. I have found that I have more and more students that are sensitive to the texture of drawing with chalk or sharpies on paper.

The vibrations bother them and I either have to let them use a rubber glove, an alternative supply or find some other way for them to complete the project.

Do you have sensory issues with supplies like this? What do you do? 
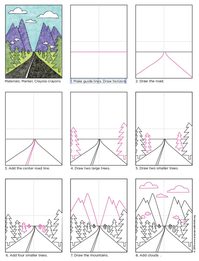
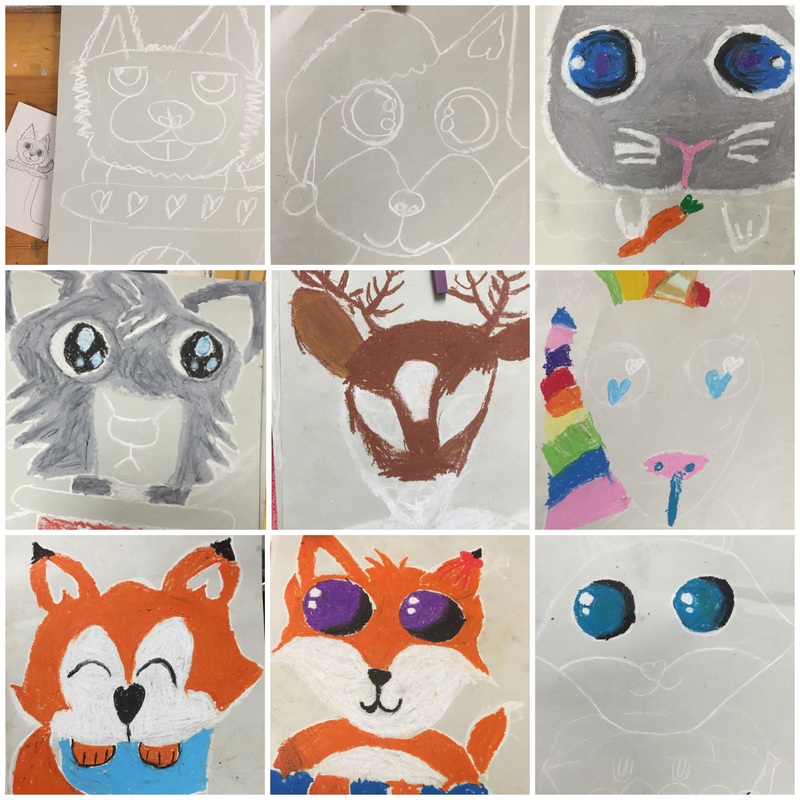
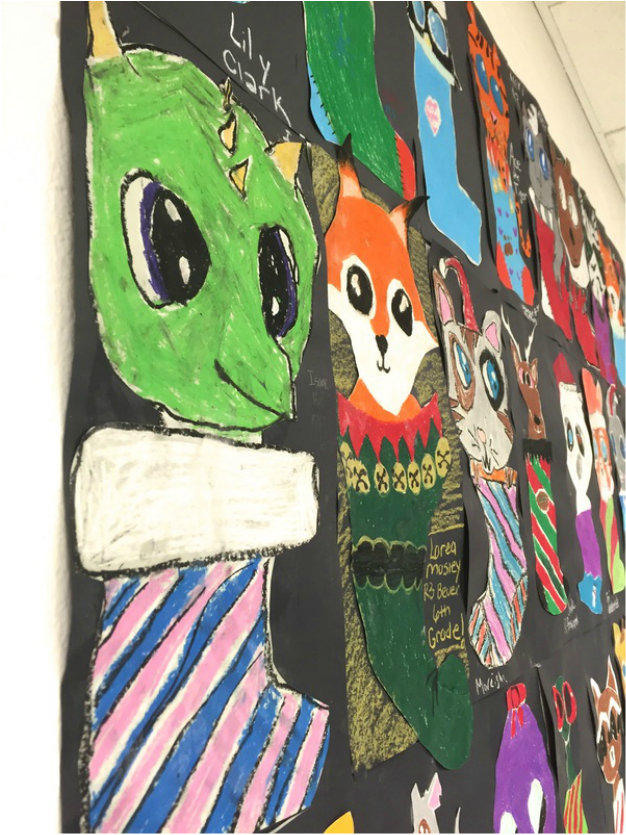
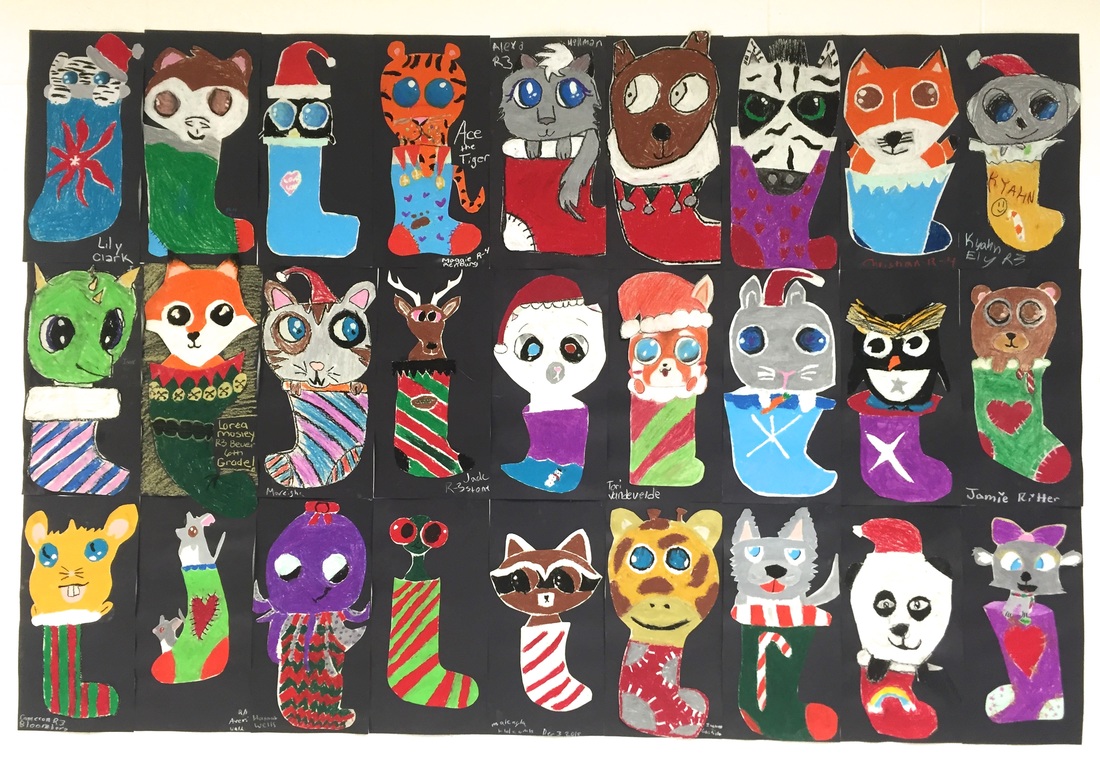
Picture
Picture
  Day 1-2
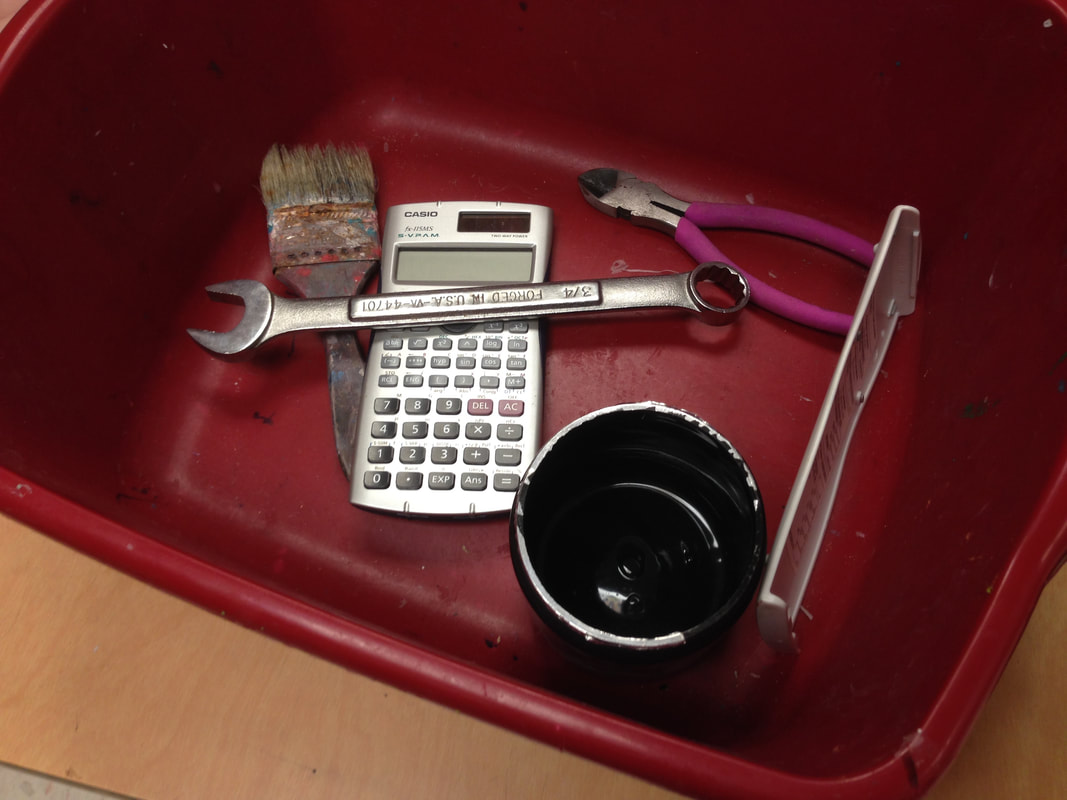
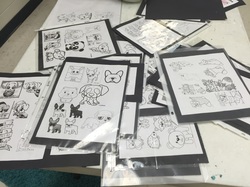
Draw objects to practice in your sketchbooks. First, pose the manikin and draw the pose. Do 2-3 drawings of the manikin in different poses. Then, I will bring around a tub of tools, objects and basic still life materials. Set up a still life or draw one object at a time, practicing LOOKING at the contour lines of the object. No tracing! Select one of your sketches to blow up big. Sketch it on black paper with chalk. 

Day 2
​Finish coloring still life with chalk and oil pastels. Look at examples of Jim Dine's tool still life drawings. 

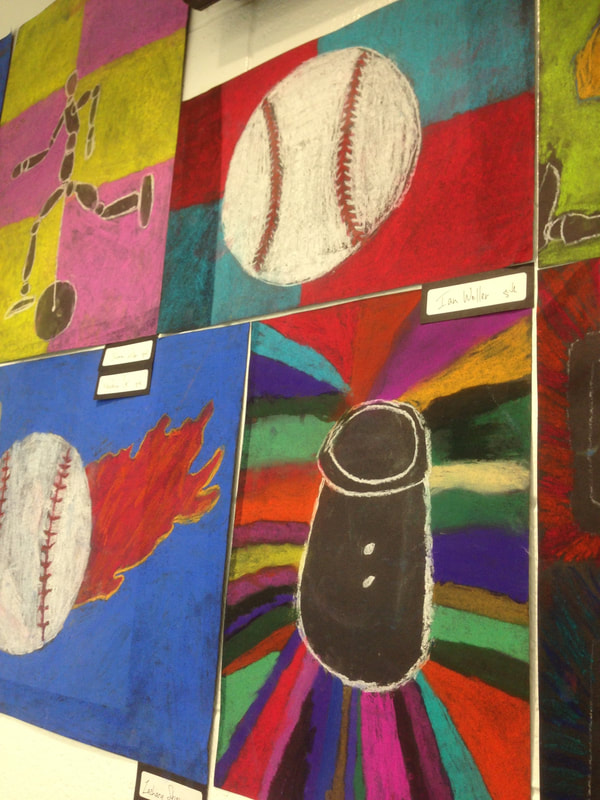
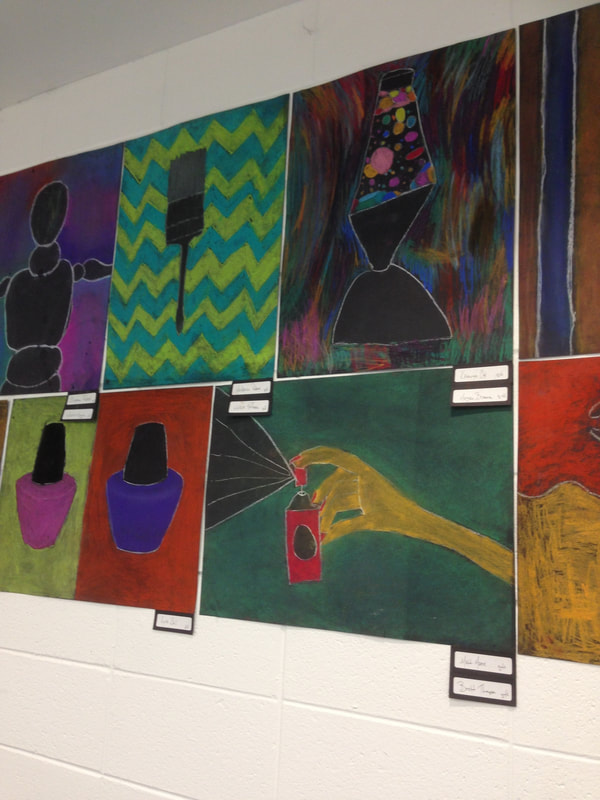
*I think I might've let a few classes work with a partner on this project. Also, I let them draw objects around the room, like my lava lamp. And I even let them draw a few made up objects like ice cream and sports balls and nail polish....

Supplies
still life objects
pencils and sketchbooks
chalk
black 18X24 paper
chalk pastels and oil pastels
Picture
Picture
Picture
Picture
Picture
Picture
Picture
Picture
Picture
0 Comments

One Point Perspective

1/17/2018

0 Comments

 
Picture

Okay so the details on this one are a bit fuzzy. The idea, back in 2014 when we did this project was to introduce some basic procedures, but also to teach about perspective. I don't remember that my students really loved it because it was too cookie cutter. And I agree. I would definitely do it differently now. But as a teacher, I learned a LOT. My students blew through the oil pastels....it was one of the first projects that I did with every students, and oh man, I learned a lot about how quickly they get all chewed up and look old and nasty. I felt sorry for the 6th class each day....

I am pretty sure we looked at the Art Projects for Kids example on how to create a vanishing point along a road. 

When students are going to be coloring with oil pastels, I don't like it when they start the project with pencil. I think the results are much better if they start with white or yellow chalk....that way their erased pencil lines can't leave a groove in the paper and they have to draw much bigger with chalk than they do in pencil, making it easier to color. In my opinion. 

Picture
Picture
Picture
Day 1
Seat work: Draw what Mrs. Mitchell looks like when you are talking while she is talking. Review a few procedures, practice a few of them, cover anything that was forgotten.

Objective 6: Interpret the environment through art: Use techniques to depict the illusion of depth in a landscape drawing.
  • Read poem about perspective…..or quote….Define perspective. 
  • Start ‘perspective project’.
  • Draw Horizon line, make small dot in center, draw lines converging into the ‘vanishing point’.  Be careful not to smear the chalk while drawing.
  • Students may choose between a DAY scene or a NIGHT scene.
  • Make sure names and class codes (R-1) are on the back. Students might have a little time to add some color, but should start with the mountains, using cool colors that OVERLAP.
Supplies: 
gray 12X18 paper
chalk
ruler

Day 2

  • Seat work: What are the cool colors?
  • Objective: Use cool colors, use oil pastels
  • Students should begin with the middle part of the paper being careful when coloring not to smear the pastel. Use COOL colors (write blue, turquoise, green on the board…purple is also a cool color, but we are substituting yellow because it mixes with green better).
  • Save one blue color for the sky, use hot colors for sun. Use white for clouds.
  • Be careful when coloring around trees.
  • Save black for very last.
​

Supplies
Water soluble oil pastels
Table covers
Drawings from previous class
0 Comments

Valentine's Day Pets in Oil Pastel

3/10/2016

1 Comment

 
Picture
Following the plan I had used for the Christmas Pets in Oil pastel, I designed  a project to use basically the same ideas for my 2nd semester students, but we themed the animals to go with Valentine's day. 

The main differences, were that instead of just black background, I offered turquoise, purple, pink and black. Also, I had foam heart tracers students could use if they could not free-hand the heart. I also printed out several extra cartoonish images of animals holding hearts so we could reference those.  Several surprised me with their way of figuring out how to make a 3-D box for their pet to peek out of. I also told them they could make it for a family member if they weren't sure what they would want as a pet. 


Picture
This was a very successful project because most students were engaged in the process and happy to follow the directions. One student, chose not to color the entire dog, and did not even try to finish the eyes---so he cut it out just like this and glued it to the background. This would be an example of a '1' on a scale of 1-3. He made an attempt, and drew the dog nicely, but did not follow through or finish the project using the steps provided. 

1 Comment

Christmas Stocking

12/7/2015

0 Comments

 
Picture

IF YOU WOKE UP CHRISTMAS MORNING TO FIND A NEW PET PEEKING OUT OF YOUR STOCKING, WHAT ANIMAL WOULD YOU HOPE TO FIND?

Picture
 i
​This was the prompt I asked my students right before Thanksgiving break.I explained that when I was a little girl, I would lay in bed at night and WISH that I would wake up in the morning to find a new cuddly little pet peeking up at me from its little cage. I would pray that the sweet little new hamster or baby bunny would arrived equipped with all of its food, toys and accessories. 

I made a list of animals after they wrote them down and printed out a bunch of  'cute animal' visuals for them to reference. I also had them do some mini sketches to practice drawing the animal peeking out of a stocking. I opted for cute versions of the animals for my students to look at---as this project verges on toy versions of realism, and really appeals to my 5th grade students. The 6th graders are proud of their work, but weren't as sold on the project initially. 

The day we started, I had the cute visuals---clip art (simply drawn versions of cheetahs, sharks, horses, and it was helpful to have several varieties of dogs since some have snouts and others have snub noses.) I also had a few color prints hanging up that showed sad, big eyed-animals. We talked about the white highlight in the eyes, how that helped give the animal a lifelike quality.

Students drew their animal on 9X18 gray paper with white chalk. The nice thing about the chalk, is that it forced them to draw big and it also erases more easily than pencil, which can tend to leave a groove in the paper when they press hard with their pencil and attempt to erase, sometimes it still shows up when they switch to oil pastels.

I also had several 2" circles punched out of tagboard on the table and I encouraged my students to trace the circles for the eyes. For this project, I encouraged students to draw the eyes really big. The eyes were a little unnatural, and many of the animals look a little bit like stuffed toys---which I think is good for this particular project. 

TIP: Once students start coloring with oil pastels, I stressed to them that they should do ALL of the white first. Especially if their pet has a LOT of white, like a panda or a fox, because if they do the black first, it smears really bad! Also, if they are planning to trace the mouth or the nose with black, save that for last, after they color the fur around that area with another color, so it doesn't smear. 

Picture
Picture
I printed the photos above after finding them on a Pinerest search. I would love the give the artist credit, but I had trouble tracking down the original artist. I will post the link here if anyone finds it. 


Here is the paper, the tray of chalk+tagboard circles. I used my 2" punch to create the tracers. This size circle worked really well for this size paper. 

Picture
We spent a little time on one of the first, day before we drew the animal, practicing shading a sphere. Many students had never shaded a sphere and the eyes were looking really flat. I love the animals that have 'gum ball' looking eyes----they used the shading technique in their coloring, and did a nice job of blending the oil pastels! 

I posted steps 1-3 on the board and added 4-5 the 2nd day. 
1. Trace the eyes. Use chalk. (save room for ears/hat above the eyes)
2. Draw details and add a stocking.  
3. Color with oil pastels. 
4. Cut out. 
5. Glue to black paper, put name on black paper. 

Tip: Make sure eye highlight is white. The reflection needs to be white or else it looks strange. 
Picture

This is how they looked after day 1.

​Lots of foxes. Some had time to color the eyes. Some waited until the 2nd day to color the eyes. I encouraged them to do the eyes open, but the closed eyes are pretty cute too. Also, I suggested that they use multiple colors to make realistic textures. Some students spent a long time drawing, so they did not get as much colored. If they made the animal too big to squeeze the stocking on the same page, I let them use a 2nd piece for the stocking. The paws were optional. 

On the last day, we finished coloring, and cut out the animals, gluing them to a simple black background. This was all that some had time for, if they spent a lot of time designing the stocking or were slower at coloring. I had a few Christmas coloring pages for early finishers. 

Picture
Picture
Picture
Picture
Picture
I love the side view of the eagle and the 3/4 view of the red panda with open mouth above! 
Picture
Picture
Picture
Picture
Overall, this was a very successful project that we were able to finish in 2-3 art sessions. The kids loved them. At one point, I was so excited with the success: "You guys!! This room looks like a cute apocalypse, "I proclaimed with a class because there were SO many cute animals everywhere!! 

Students loved this project because pretty much any animal was approved...sharks, spiders, and peacocks were all welcome, and only a little bit of the head/shoulders had to peek out of the stocking. They were able to decorate and customize the stockings, and add toys/accessories, candy canes, hats, bows and anything else they wanted to make their image. 

One or two students that do not celebrate Christmas did not have to include the stocking, they could just draw the animal peeking out of its home or something. I would love another alternative if you have an idea, please leave it in the comments! 
Picture
0 Comments

Star Wars 'Portraits'

4/6/2015

1 Comment

 
On Thursday, my school is having a little writing fair. I was quick to jump on board with the planning so that we could display some artwork as part of the writing fair---to boost attendance, and show off my amazingly talented students.

Since we were studying Pop Art---I had my students create a 'portrait' in a colorful pop art style.

Star Wars is a huge element of pop culture so it is a perfect theme.

I told my students they could make 'baby' versions of some of the characters if they weren't too keen on the serious and boyish theme and that helped convince some of my 5th and 6th graders that they could personalize and customize the portrait of their choice. I also pointed out that if they liked animals, robots, humans, or creatures, there is a little something for everyone, but they have to do a little research if they aren't familiar with the movies in order to learn a little more.

Honestly, I got the idea from the fabulous Drip, Drip, Splatter Splash blog.

Day 1
I introduced the idea of Pop Art to my students.
I had them research characters in Star Wars and make a practice sketch in their sketch books. The research was mostly done via my smore flyer (they scanned a QR code to access it), but some characters needed to be googled---because I did not provide visuals for every single one. I also had some printed 'coloring sheet' versions of some of the characters.

Day 2
Since so many of my students knew nothing about Star Wars, I showed them this quick summary.
Make a background using 9X12 colored construction paper (don't use the same color as your character) using oil pastels. Could design with space, lasers, bright colors, patterns, etc.
Begin drawing character on a 2nd color of paper---for R2D2, use white, for C3P0, use yellow--for yoda, use green. Trace character in sharpie, add color with oil pastels.

Day 3
Finish drawing, outlining and coloring character. Cut, out and glue to background. Sign name on front since we are hanging everyone's in the hall.

My amazing parent volunteer helped hang over 300 of them today! YAY!!

There are so many awesome ones, I tried to take a few pictures to show off some of my favorites below, enjoy!!
Picture
1 Comment
    PictureWelcome!

    Mrs. Mitchell

    Art teacher from Missouri. 

    Instagram
    Add to Flipboard Magazine.

    Archives

    March 2021
    April 2020
    November 2019
    July 2019
    April 2019
    January 2019
    October 2018
    July 2018
    June 2018
    May 2018
    April 2018
    March 2018
    January 2018
    September 2017
    May 2017
    April 2017
    March 2017
    January 2017
    December 2016
    November 2016
    October 2016
    September 2016
    March 2016
    December 2015
    October 2015
    August 2015
    May 2015
    April 2015
    March 2015
    February 2015
    November 2014
    October 2014
    September 2014
    August 2014
    June 2014
    May 2014
    April 2014
    March 2014
    February 2014
    January 2014
    December 2013
    November 2013
    October 2013
    September 2013
    August 2013
    July 2013
    June 2013
    May 2013

    Categories

    All
    1st Day Of School
    1st Grade
    3d
    Abstract Art
    Alcohol Ink Tiles
    Alpacas
    Animal Art
    Animation
    Architecture
    Art Centers
    Art For Kids Hub
    Art History
    Art Hub For Kids
    Art Room
    Art Show
    Art Teacher Conference
    Bell Ringer
    Birds
    Blending
    Bunnies
    Cardboard
    Chalk Pastels
    Chalk Stencil
    Charcoal
    Choice Based
    Christmas
    Chuck Close
    Classroom
    Clay
    Club Day
    Collage
    Color Diffusing Paper
    Colored Pencil
    Colored Pencils
    Construction Paper Crayons
    Contest Art
    Creatures
    Crystal Bridges
    Design
    Dice Games
    Document Camera
    Dot Day
    Drawing
    Early Finishers
    Easter
    Emojis
    Fall
    Field Trip
    Food Art
    Foxes
    Green Screen
    Grid Drawing
    Group Challenge
    Halloween
    Haunted Houses
    Hearts
    Hermit Crab
    High School
    Human Form
    Ice Breaker
    Inspirational Posters
    Ipads
    Jim Dine
    Justand
    Killer Whales
    Kindergarten
    Landscape
    Lesson Plans
    Lettering
    Llamas
    Magazines
    Mandala
    Maori
    Markers
    Masks
    Matisse
    Metal
    Model Magic
    Mona Lisa
    Monster Trucks
    Mother's Day
    Mother's Day Card
    Mummies
    Mural
    Newspaper
    New Zealand
    Notan
    Observational Drawing
    Ocean Art
    Oil Pastel
    Oil Pastels
    Optical Illusions
    Origami
    Owls
    Painting
    Paper Weaving
    Pd
    Pencil Topper
    Perspective
    Pete The Cat
    Picasso
    Polar Bears
    Pop Art
    Portraits
    Printmaking
    Product Review
    Professional Development
    Quiver
    Reflection
    Reflective Teaching
    Room Tour
    Rooster
    Sea Horse
    Seals
    Sea Turtle
    Self Portrait
    Shading
    Shaving Cream Prints
    Shoes
    Sketchbooks
    Sloth
    Solar Eclipse
    Spinners
    Spring Conference
    Star Wars
    Statue Of Liberty
    Step-by-step
    Step By Step Drawing
    Step-by-step Drawing
    Still Life
    Stop Motion
    Story Board
    Sub Plans
    Summer School
    Symmetry
    Tab
    Teacher Appreciation Cards
    Technology
    Tempera Paint
    Tiny Food
    Tissue Paper
    Trees
    Tumbling Blocks
    Valentine's Day
    Warm Ups
    Watercolor
    Wax Resist
    Word Art
    Yellow Submarine
    Zentangle

    RSS Feed

Powered by Create your own unique website with customizable templates.