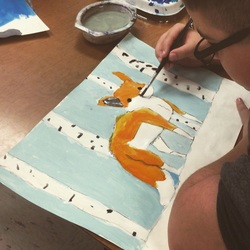
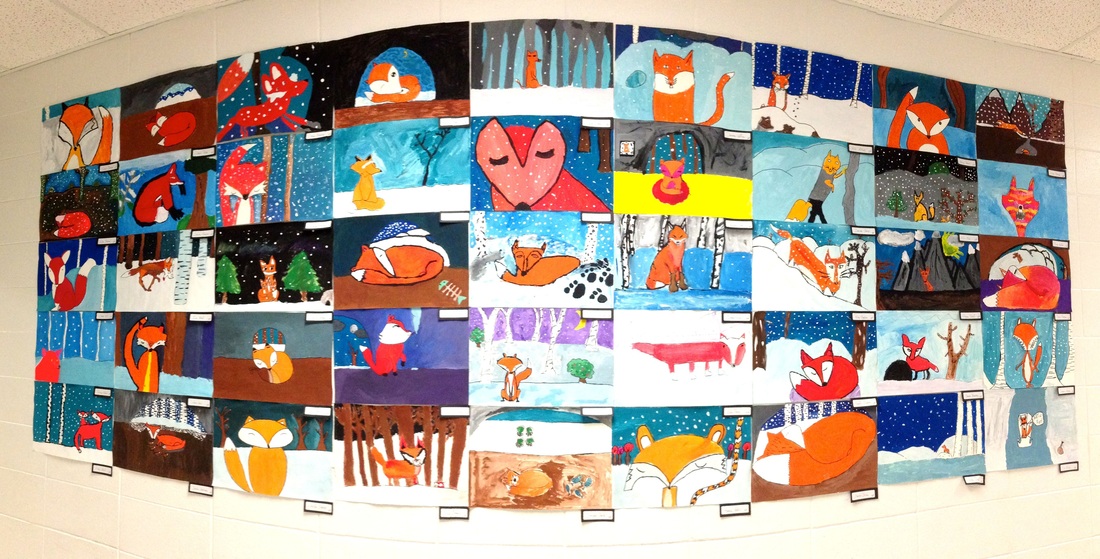
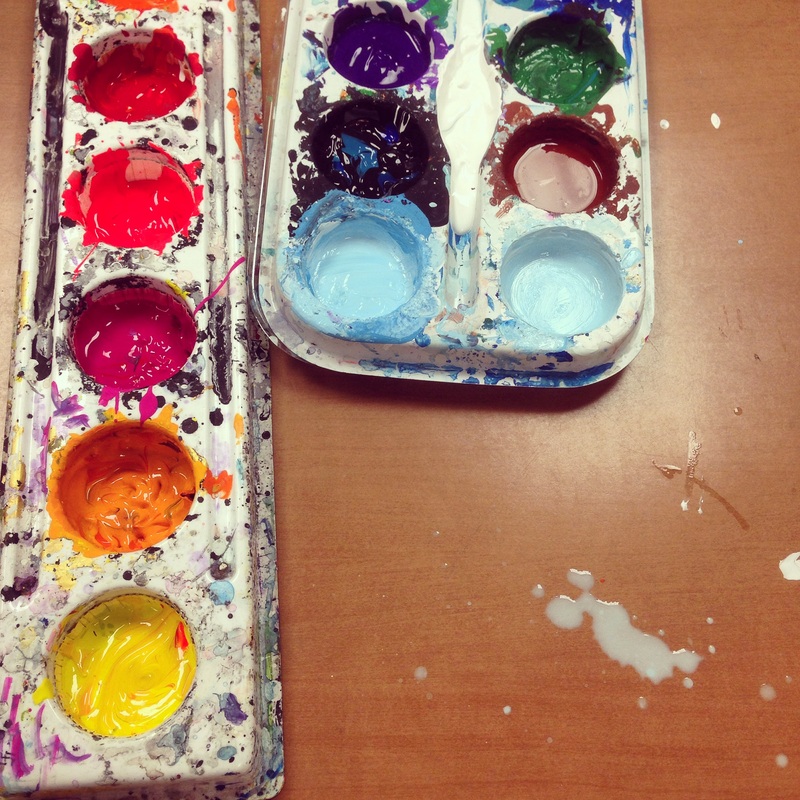
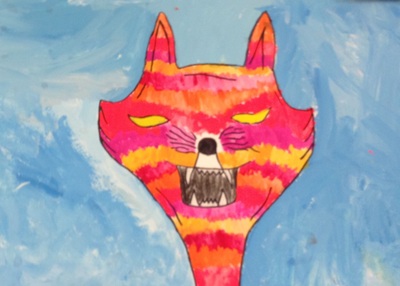
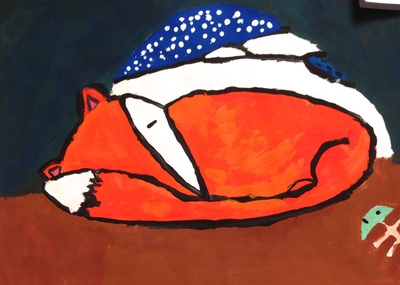
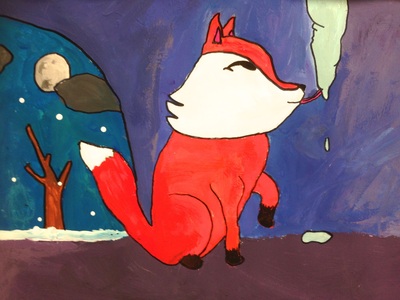
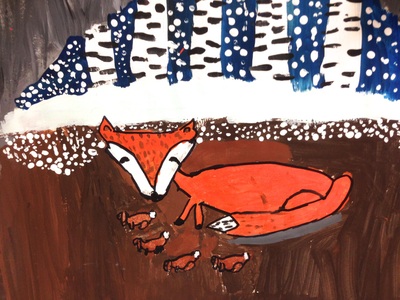
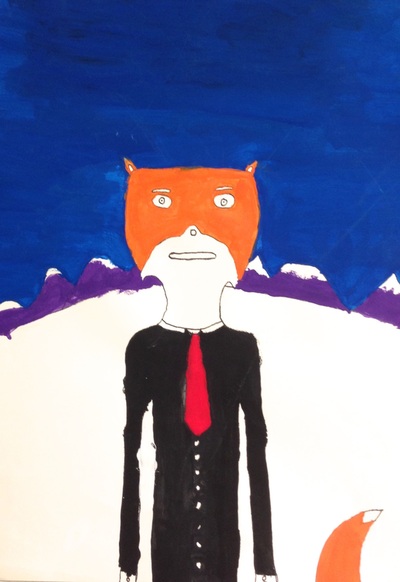
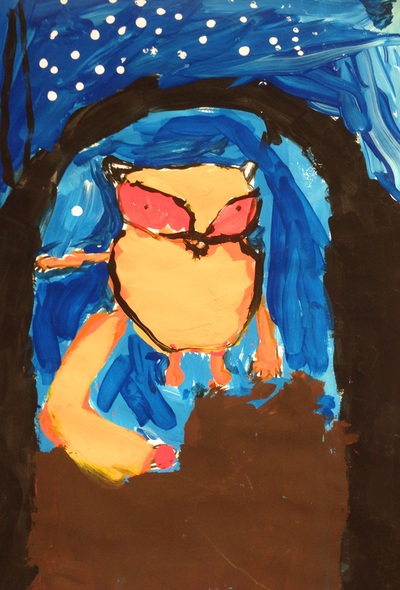
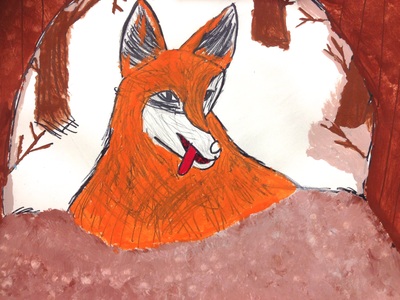
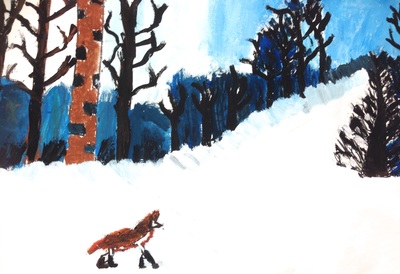
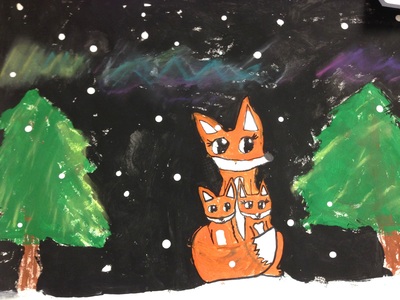
For this 5th and 6th grade project, I gave students lots of visuals and freedom. I said it must be a winter scene with a fox in it. The fox could be sleeping in its den or out and about. I made them stick to cool colors and neutrals the first week and 2nd, and then brought out the hot colors the 3rd week. I like to include neon red when we are using hot colors, and also bright pink....they make really vibrant options for color mixing.
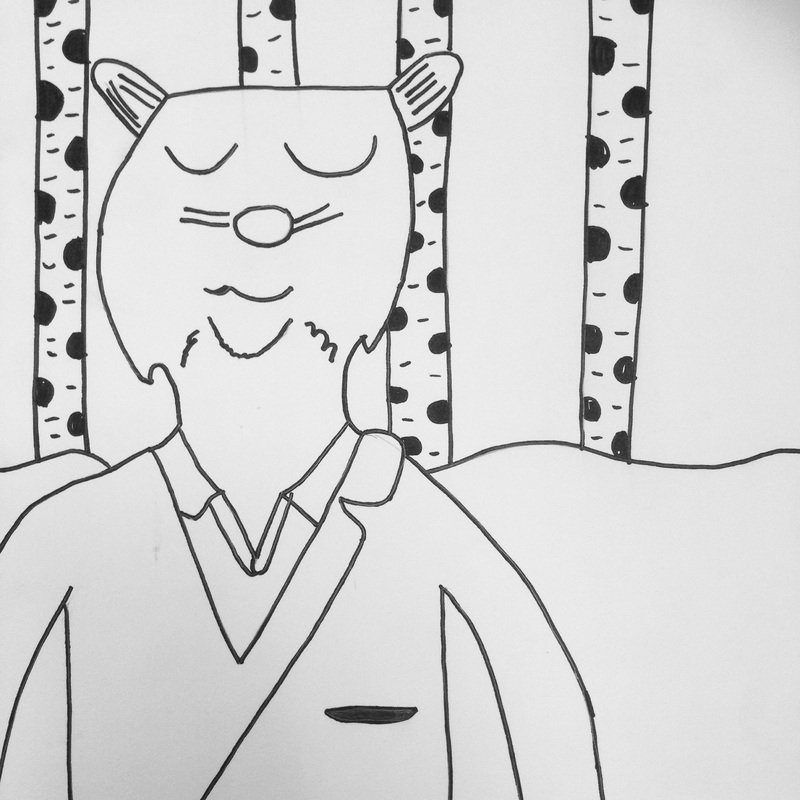
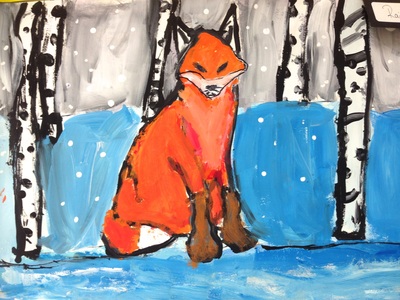
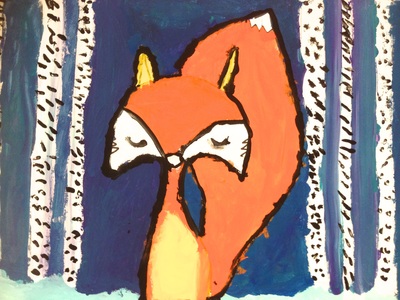
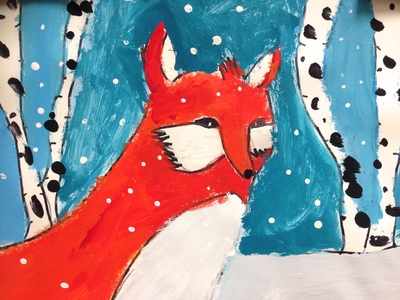
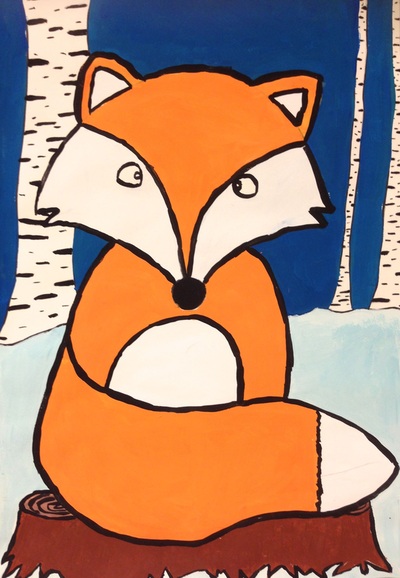
I taught them how to draw trees, and if that was really hard for them, I encouraged them to put birch trees in the background, which are simple and add a lot of contrast. Also, it was hard for some to paint around all the branches, so birch trees tended to look a little better becuase they didn't have to worry about that.
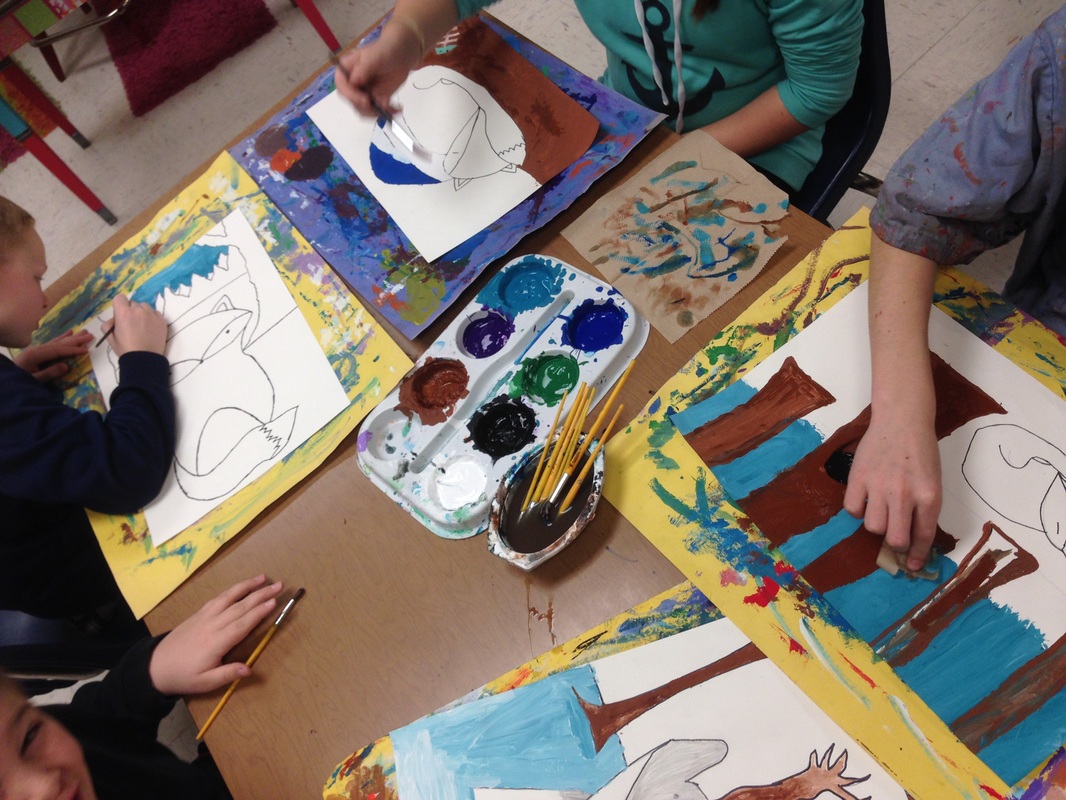
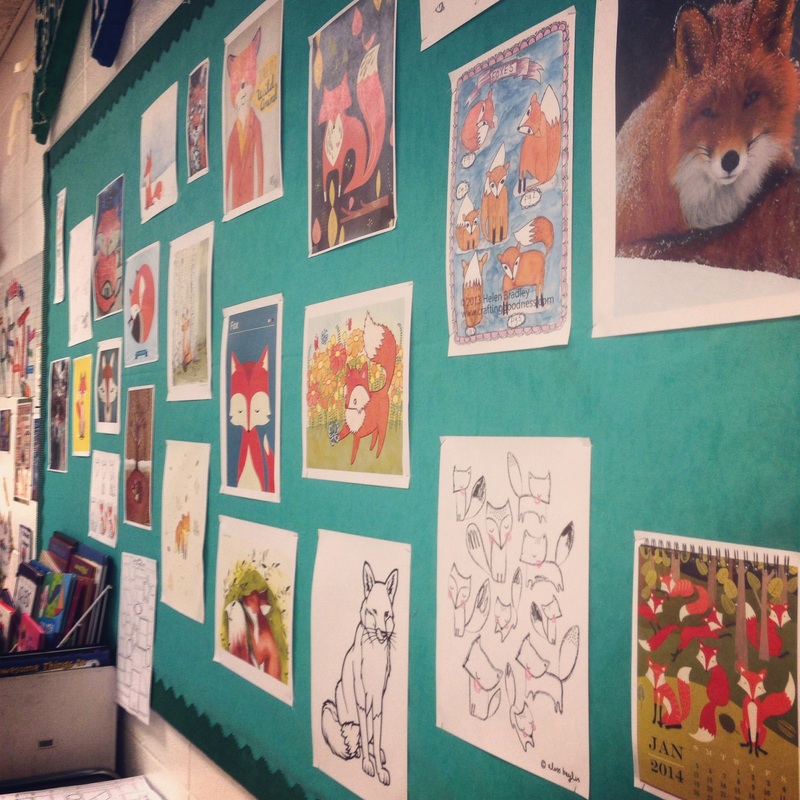
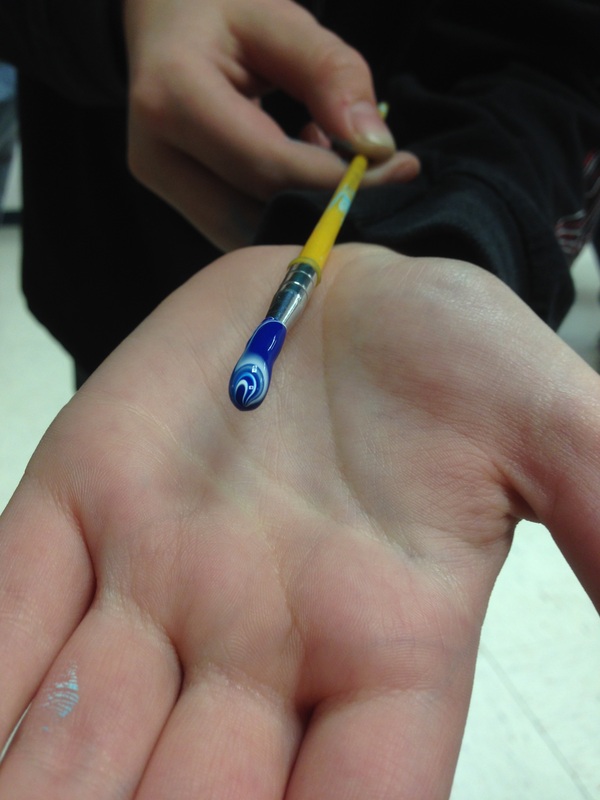
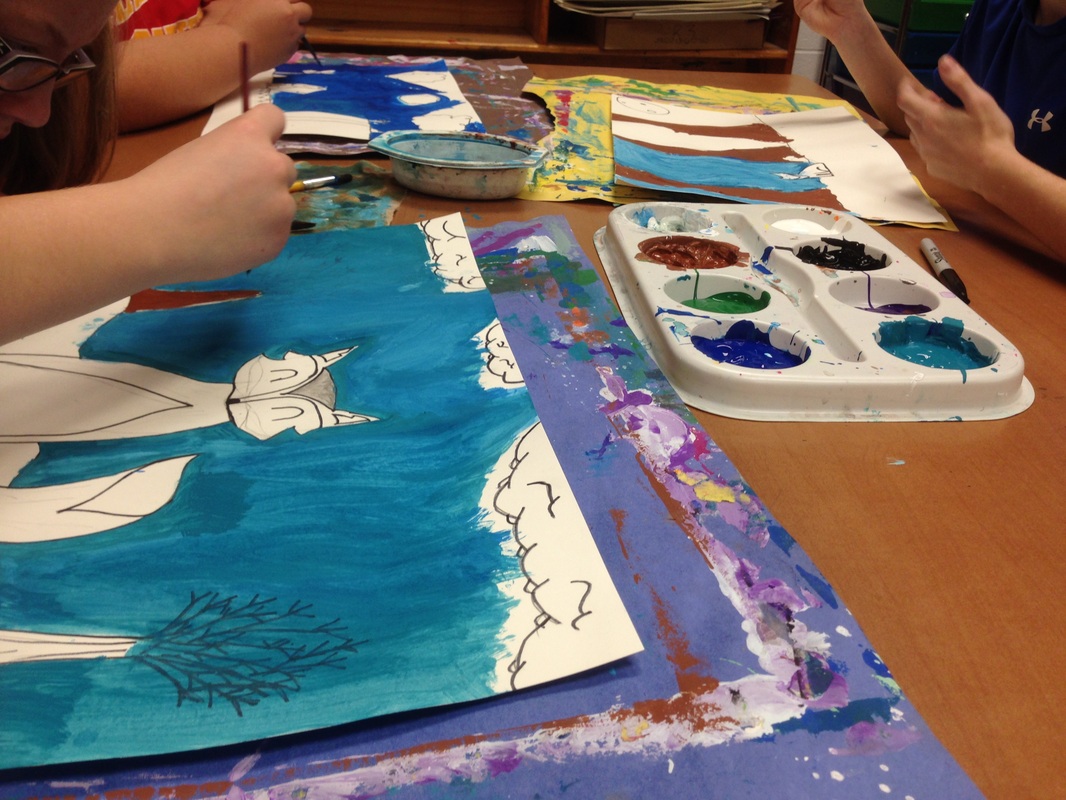
I provided some step-by-step foxes that I printed from pinterest for my struggling artist, and fox books with photos of real foxes in the wild for my advanced artists. I let students mix colors right on their paper, and use a water cup+paper towel for blotting when switching from hue to hue.
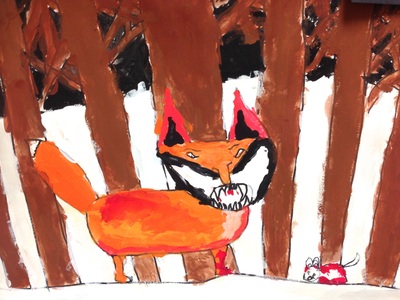
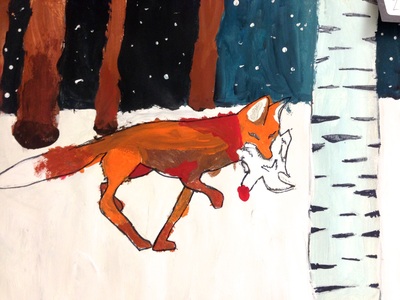
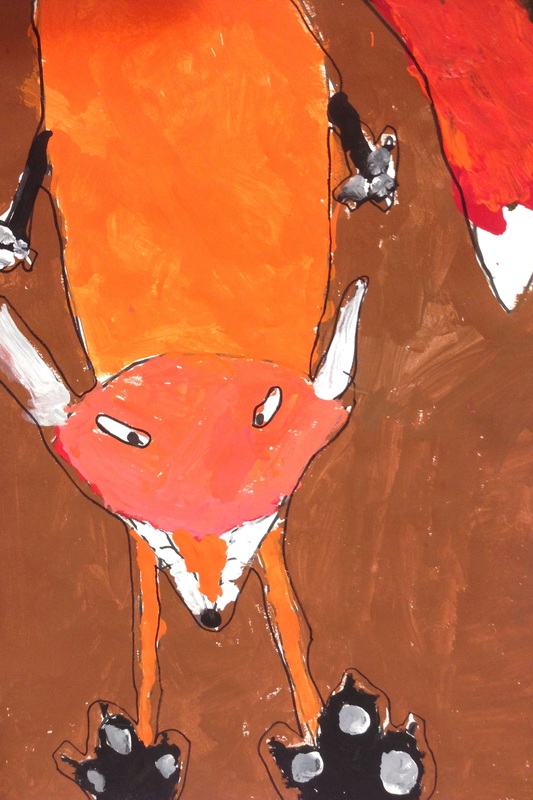
I had a boy, the very first day...the very first class....ask if he could make his fox hunting...and I said, well yes...but just don't put a lot of blood. And he looked up at me with a creepy look in his eye and said, "don't worry, it will be a clean kill." I told this to most of my classes and ended up with a few creepy, slightly bloody ones...but I kind of like them because they are an interesting perspective on the realities of nature. I had several who put a fox sleeping underground with a little fish bone beside him and several who included mommas and babies.
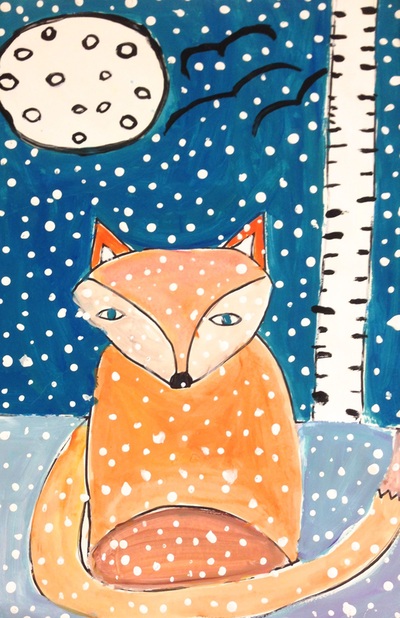
I made them save the snowy dots for the very last day...and I encouraged them to do those with the tip of a paintbrush. I demonstrated how to do this technique so they would have a clear idea of why it is important to save this step for last...if they were planning to outline their fox, it would ruin the snow dots which would smear.
Day 1: Look at pictures of foxes, practice drawing fox in sketchbook...do 2-3 practice sketches. Select one for the painting, draw on bigger paper. When adding the background, consider the entire space, things that are far away look smaller and are higher on the page. 12X18 size. This was the day I should've been better about discouraging suns in the corner, especially if they wanted a snowy scene, the sun most likely would not have been shining, but I forgot to say that to a lot of classes and ended up with a few suns.
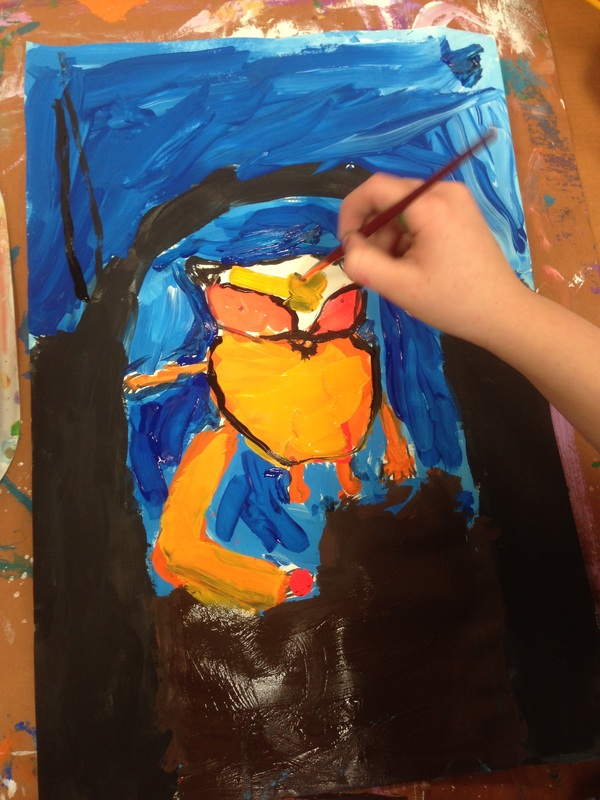
Day 2: (Seatwork: practice drawing trees). Finish drawing fox. Begin painting the background. Start with cool and neutrals only. When painting snow, add a touch of blue to give it a cooler feeling. Point out shadows in the snow and also explain how birch trees are a simple, graphic type of tree that might be a good solution for those that struggle with branches---it is HARD to paint around a bunch of tiny branches, it is easier to paint over the whole thing and add them back over the top. Explain how to mix white+black to make a grey.
Day 3: (Discuss warm and cool colors in seat work, introduce the color wheel). Continue to work on the background, try to finish this part today because we will be using hot colors next time. I did try to discourage sun sets, and encourage cool colors for the sky and ground so that the fox would pop out more against the cool colors of the background.
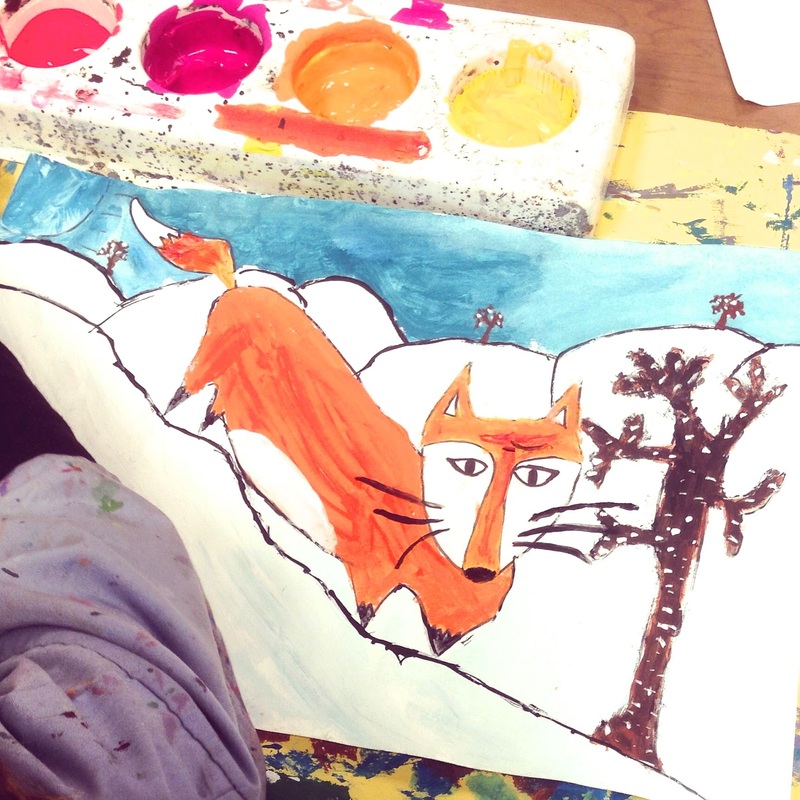
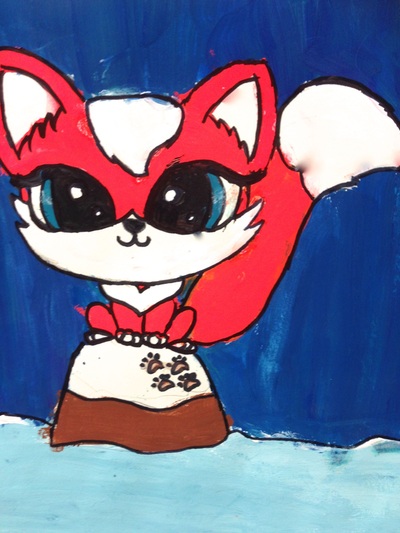
Day 4: First, make sure the background is done. Then, use hot colors to paint the fox. Students can mix on their paper to get different shades of orange. I like to include florescent red and pink along with traditional red, orange and yellow. I even made a yellow-orange for them to use. Save the eyes and nose for last, as those things will smear if you try to cover them. Some kids even waited until the face was dry and then used a tiny brush or a sharpie to draw the eyes back on.
Day 5: Last day of painting: If planning to outline, make sure fox is finished, then outline. You don't have to outline! Save snow dots for very last. Demo how to make small dots of snow with the tip of a paintbrush, this is optional.
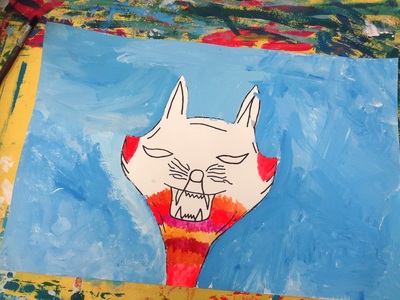
All of the foxes had so much personality and there are tons of variation in the finished products because each student was able to mix his or her own colors.
At the end of the project, I asked students to write a self-reflection on their sketchbook page next to their practice sketches. I asked them to give a rating of 0-5, and what they are most proud of. I asked them if they had all the time, money, and resources in the world, what would they do differently next time? Most said that they would pay someone to do it for them...BOOOO! But many said great things like they would buy a real fox to use as a model to make the it look more realistic or they would buy a canvas and better paint to do it much bigger for a gallery.


 RSS Feed
