THIS LITTLE CLASS OF MINE
  • Home
  • Contact Me
  • Lesson Plans

Winter Animals Reduction Printing

3/4/2017

0 Comments

 
Picture
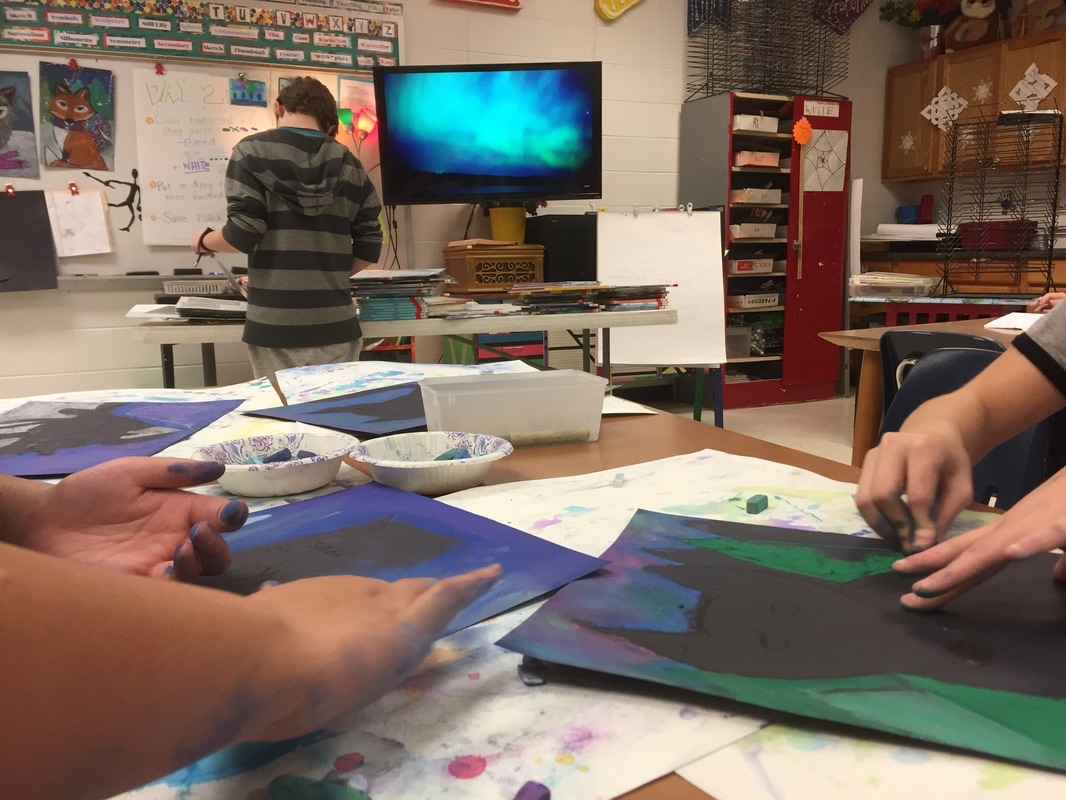
Printmaking is a huge undertaking in my opinion. It requires a lot of moving around, a lot of mess, and a lot of space for drying. Sometimes the students don't really understand the process in the beginning so its hard to explain what to expect until we actually start printing. It also means that I have to set up my room completely differently to accommodate all of the printing stations. 

Last winter, when we embarked on our 'winter animal reduction' prints, I learned a LOT about what to do and what not to do. I also had a very difficult student tell me that it was his favorite thing we did all year. 

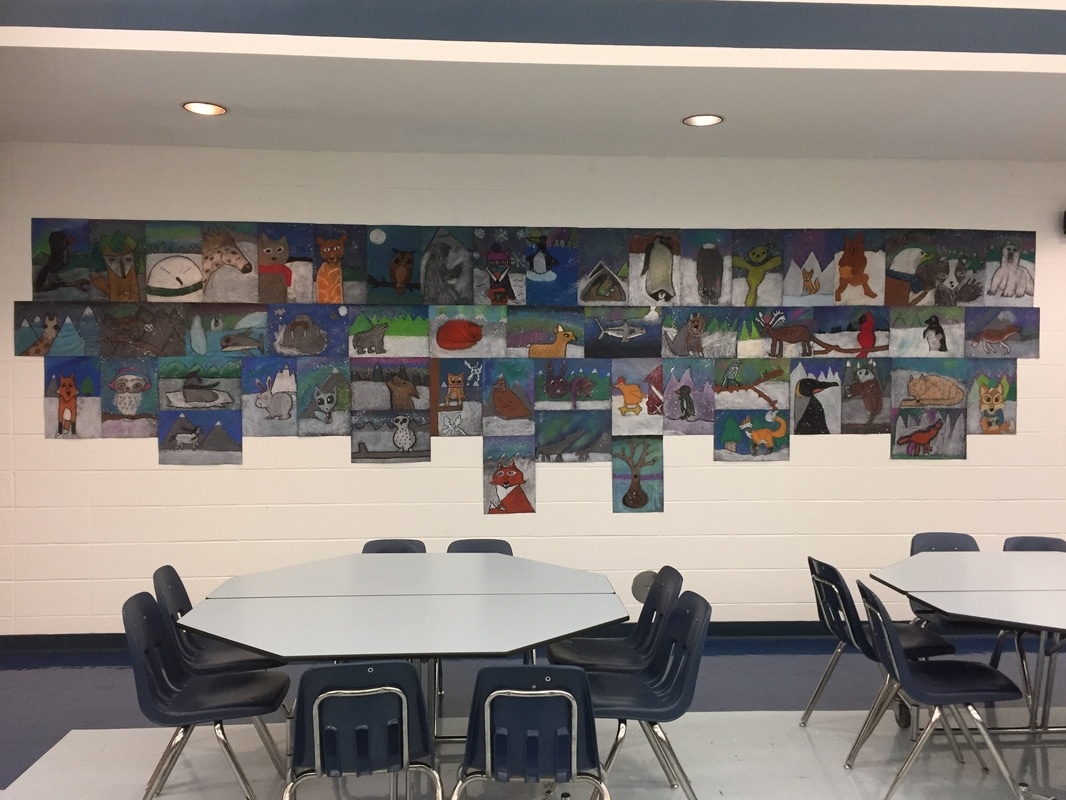
​I have been waiting to post this for a long time because I have felt like the final products were not very successful, but I am posting now so you can learn from my mistakes. Here is another post from last year's printmaking adventure. 

Day 1
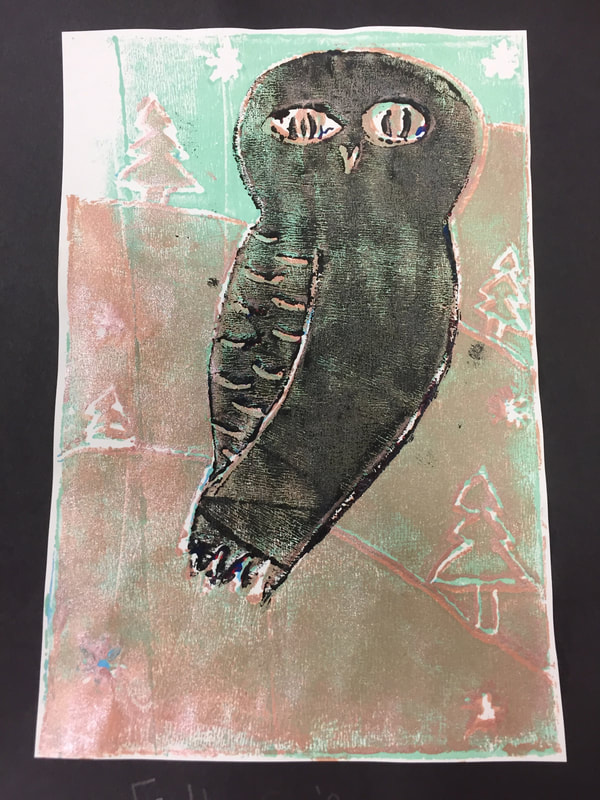
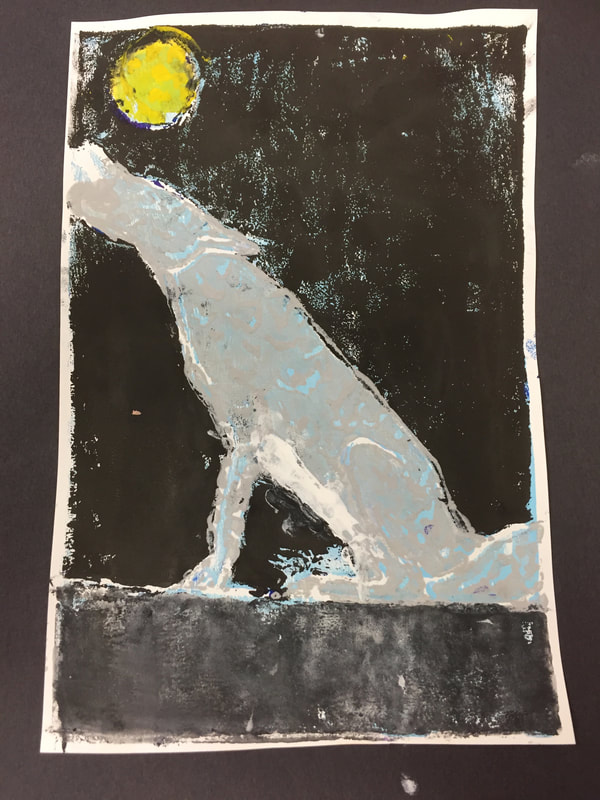
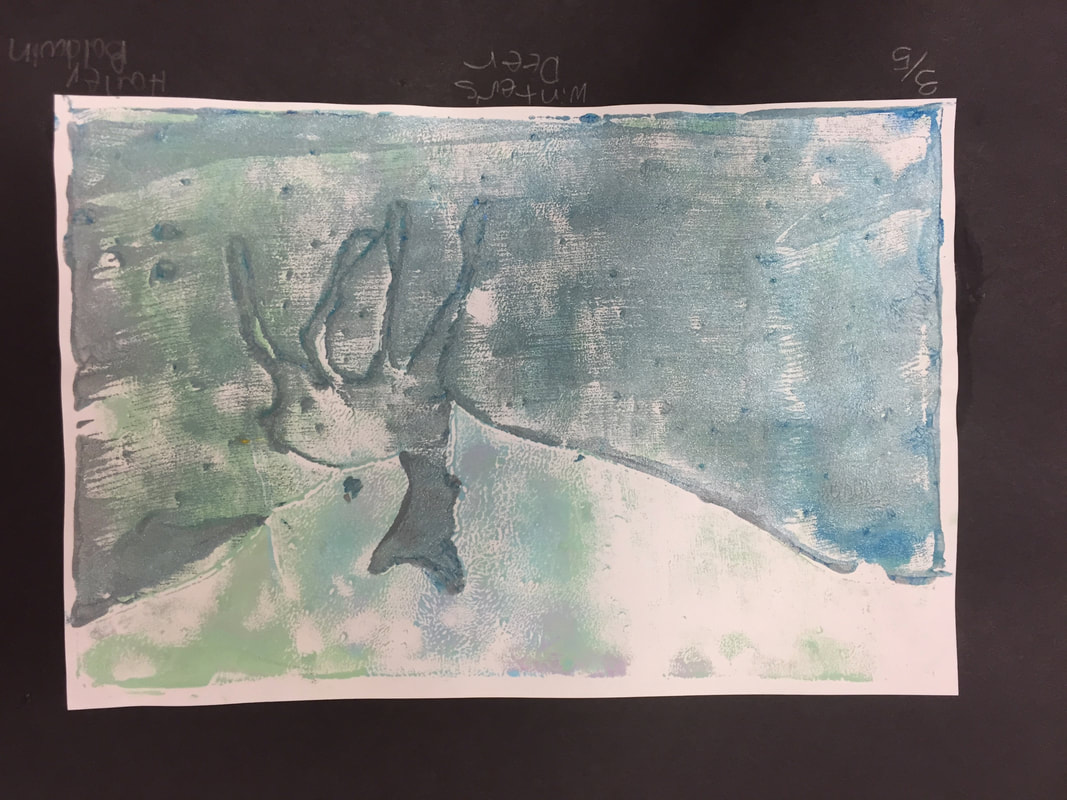
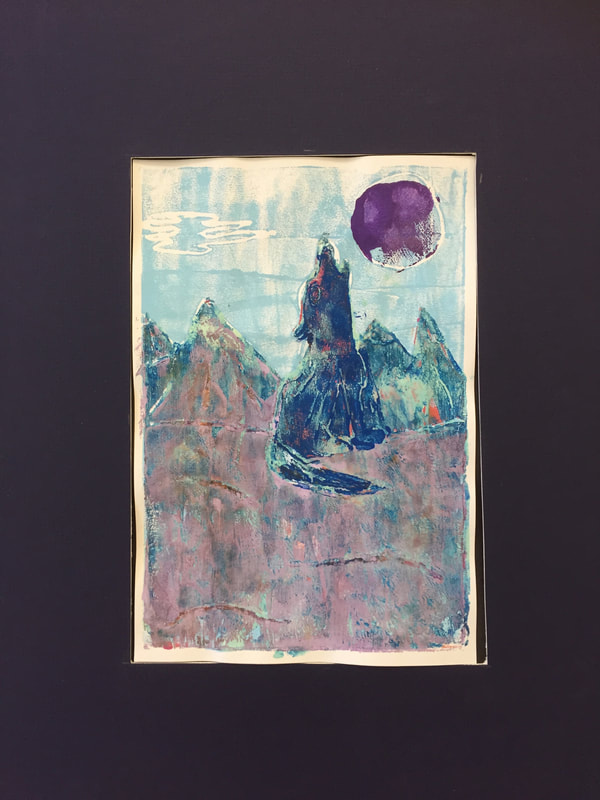
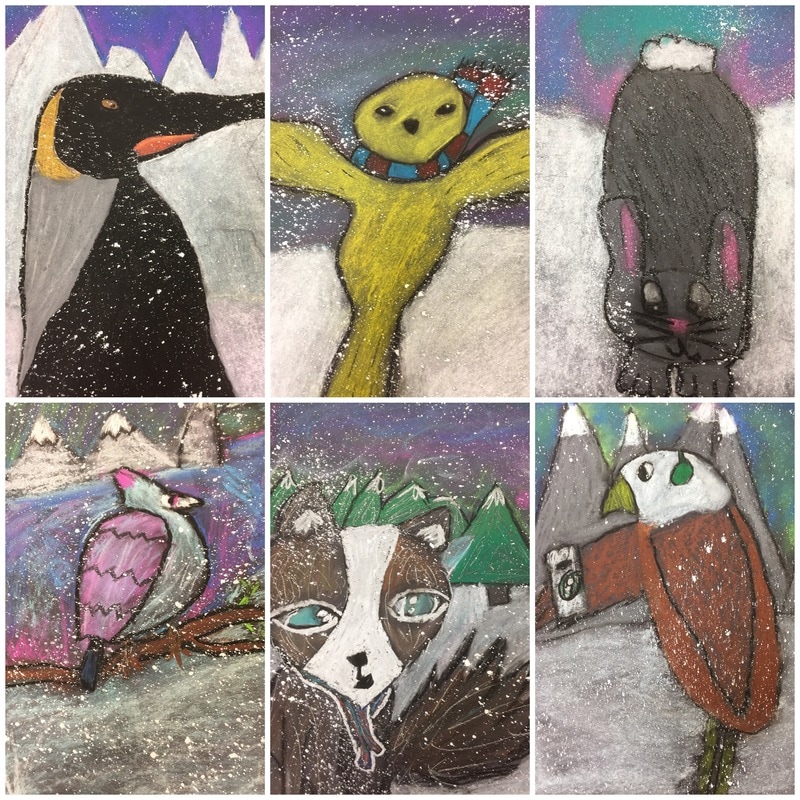
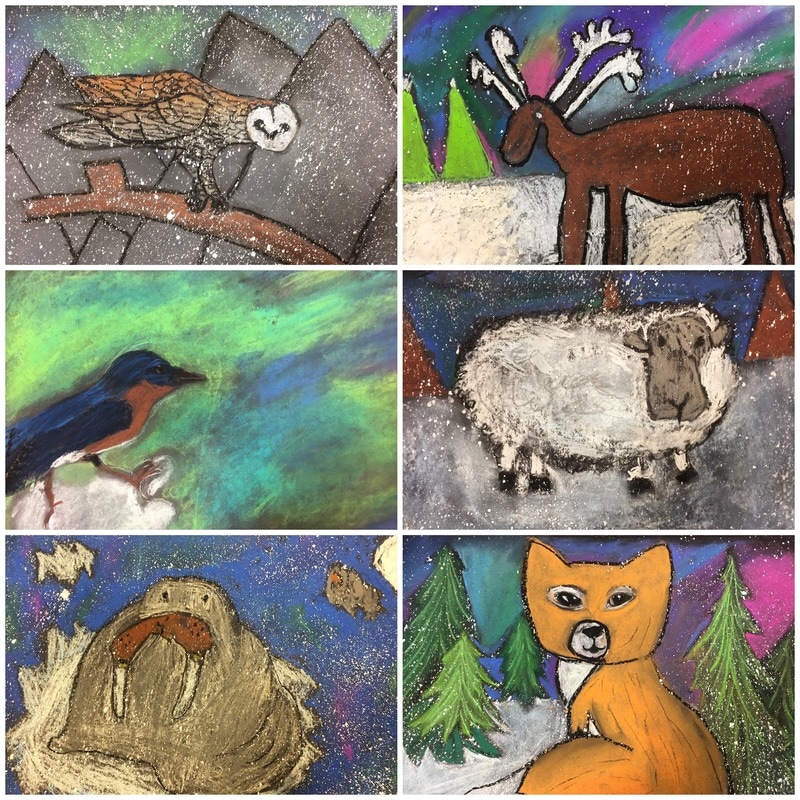
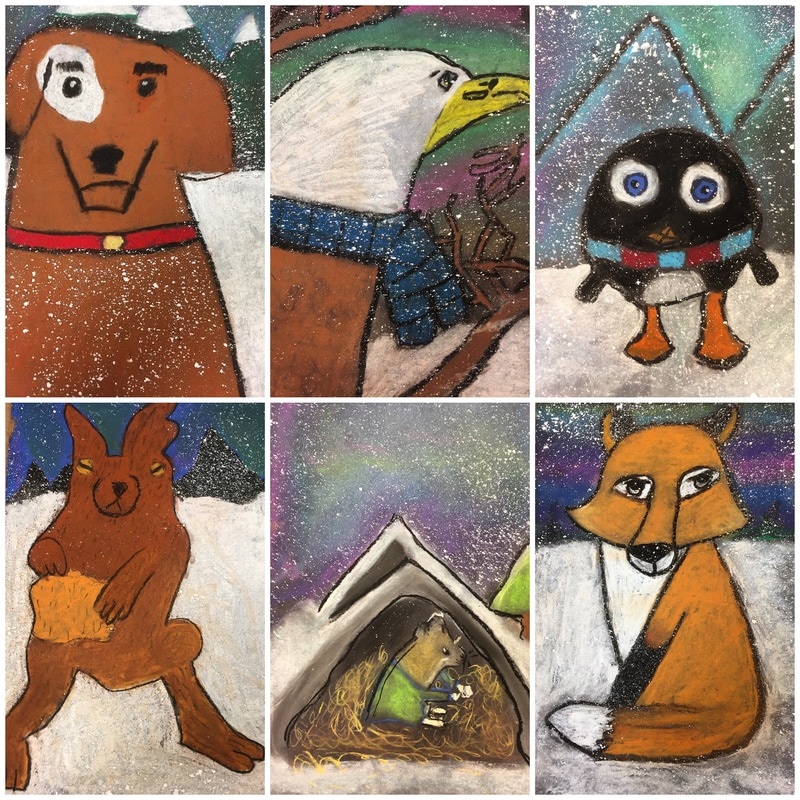
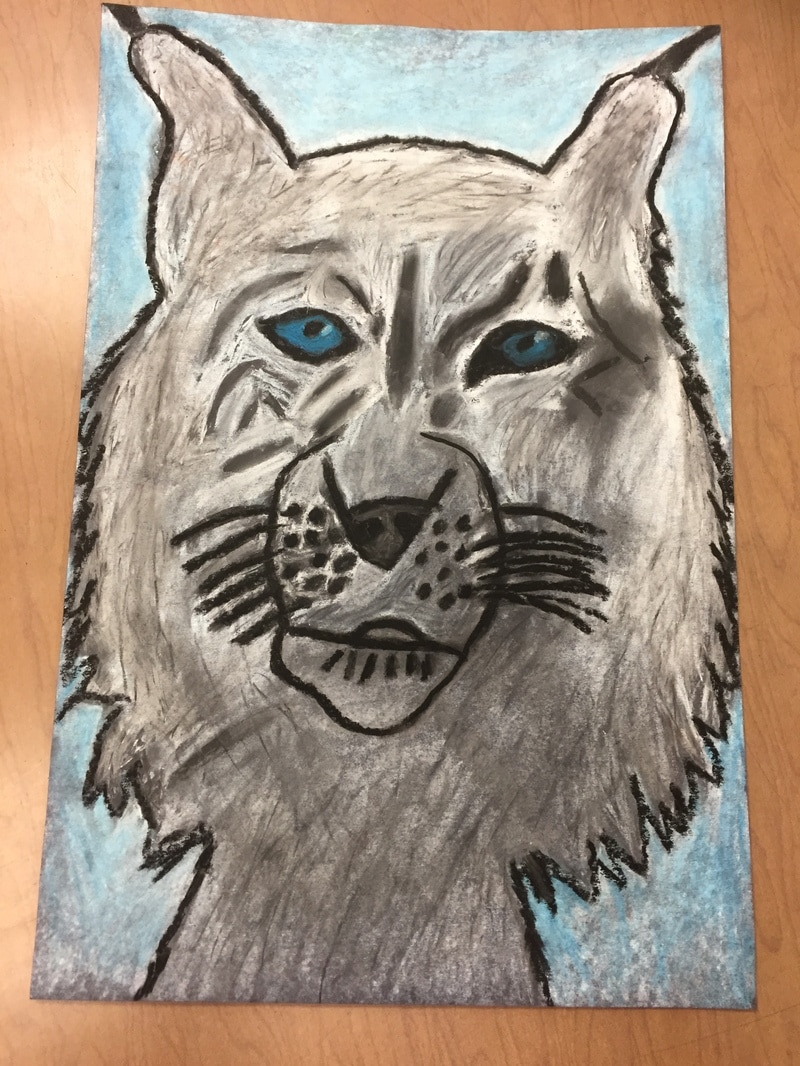
Students selected a 'winter animal' to draw. It had to be something that thrived in snowy weather and did not hibernate all winter. I read the Winter Animals book to give them a few ideas. Students began by practicing in their sketchbooks. I also showed the Over and Under in the Snow book. 

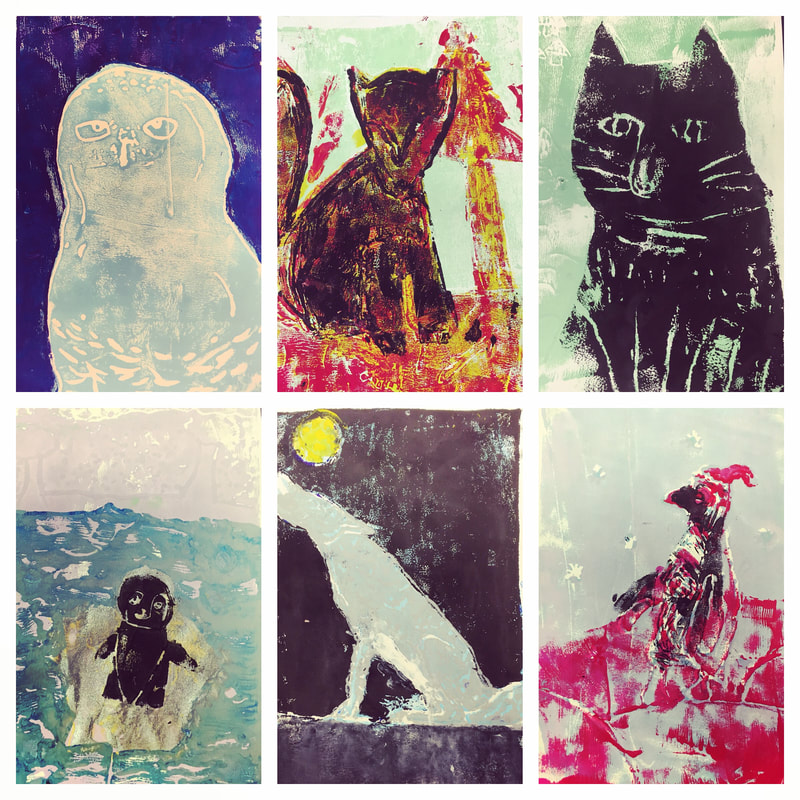
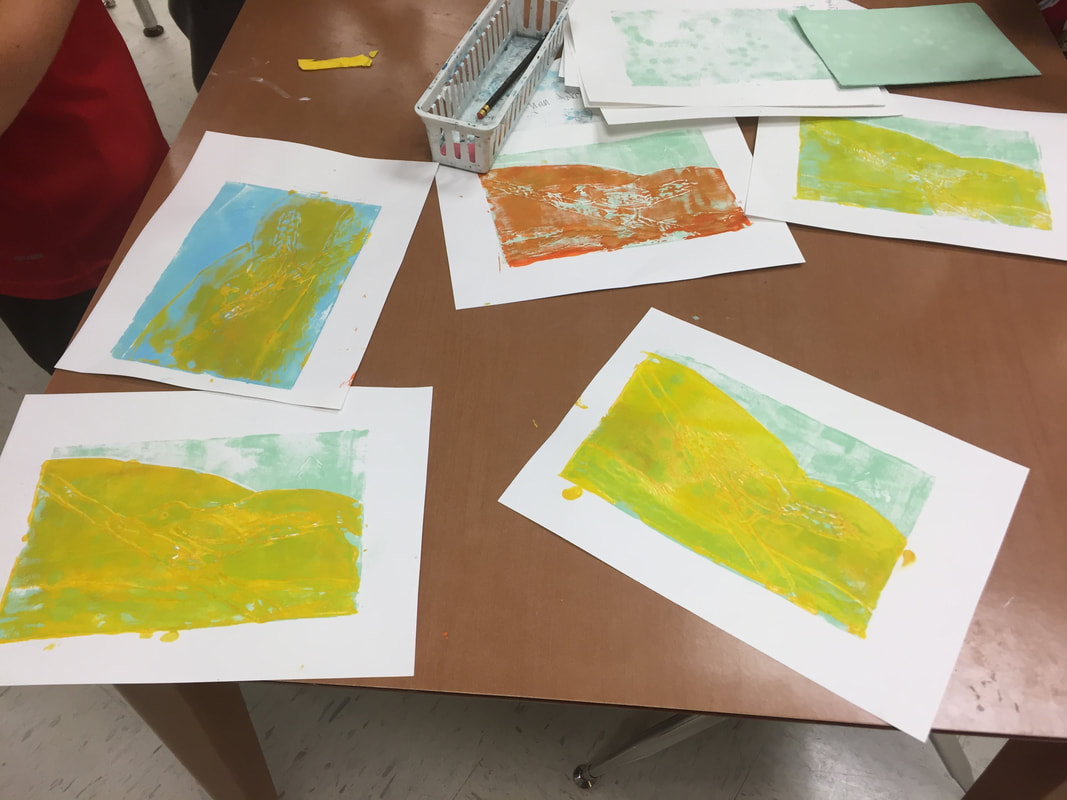
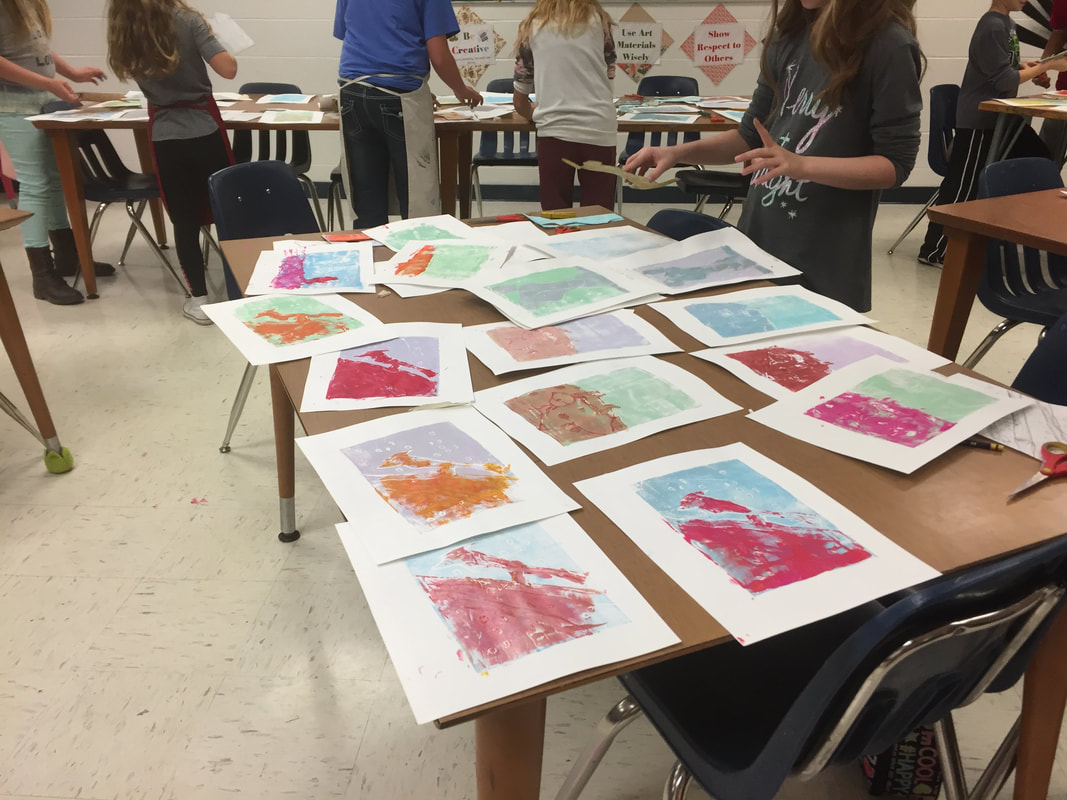
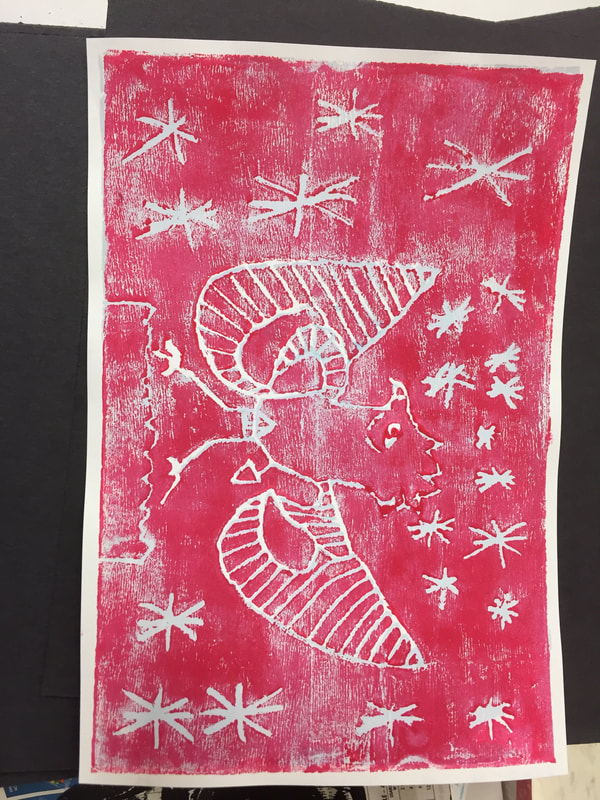
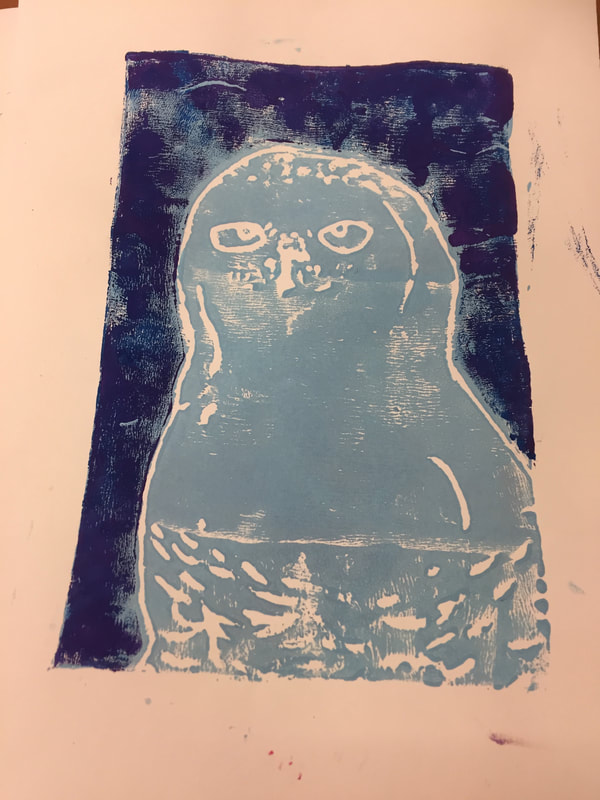
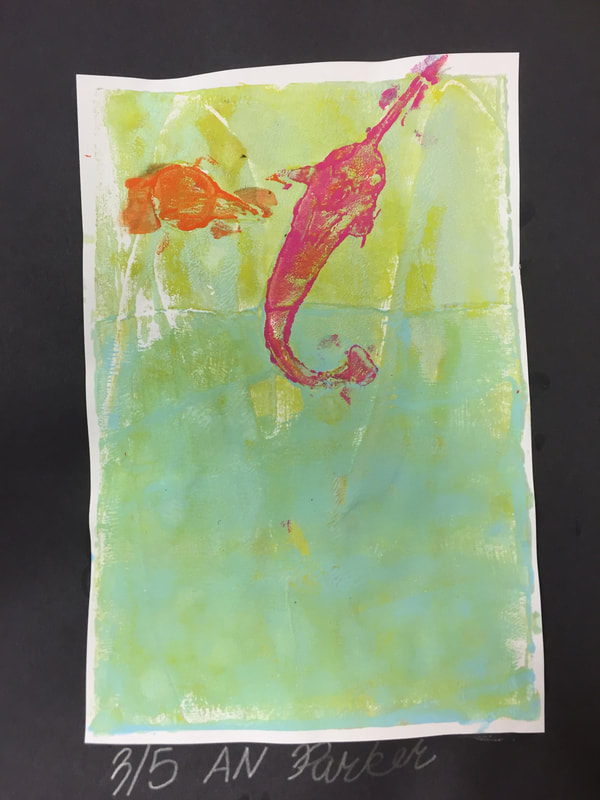
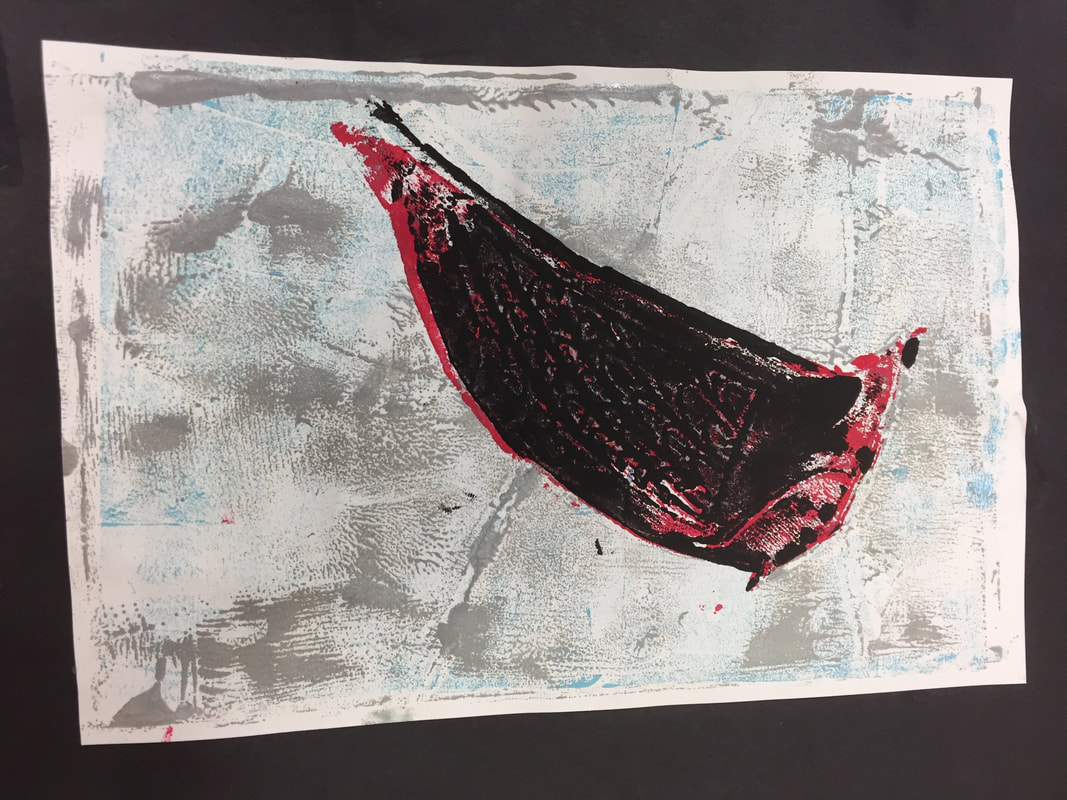
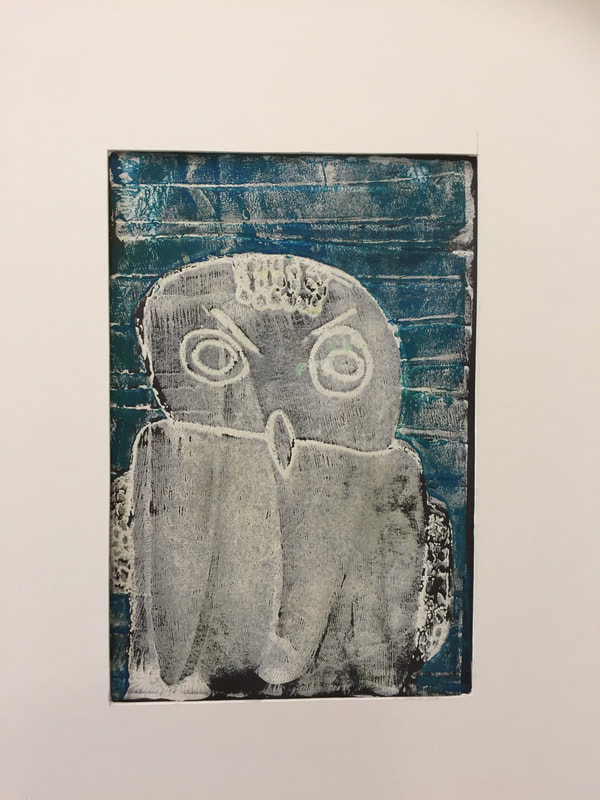
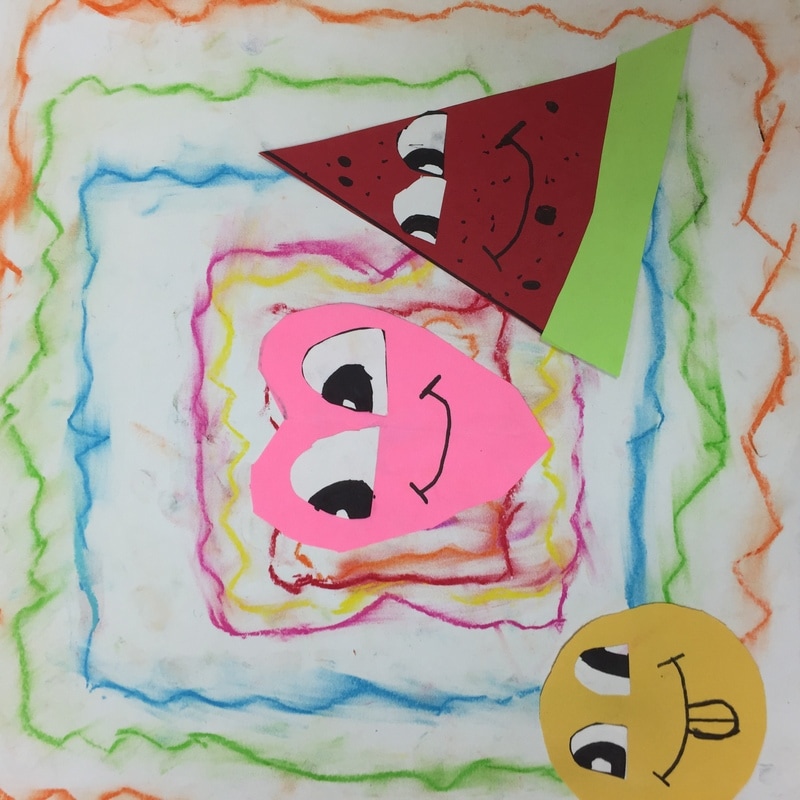
I had researched a couple of other reduction printing projects like this animal one and this fall leaf  so I felt like things would go pretty smoothly. And for the most part, they did. But I did not anticipate the results looking so blah. Most of the great detail in their foam plates was just lost in the printing process because we used tempera paint.....and about half of my students, I didn't have enough of the good foam and the other foam we used crumbled a little bit when they tried to carve into it. 

Once students had practiced their animals, I gave them a piece of 9X6 paper to start planning their stamp. 

Supplies:
sketchbooks
visuals of animals
pencils
erasers 
6X9 paper
Picture
Day 2
Students had some time to finish their sketches, but as soon as they had their design, it needed to go onto the 6X9 paper so they could start carving their stamp. To carve the stamp, they needed to tape the foam plate to the back and transfer part of the design to the foam plate with a colored pencil. I told them to ONLY transfer the background (keep it simple) and the outline of the animal. 

Supplies
Pencils
colored pencils
6X9 foam
6X9 paper
tape
​erasers
Day 3
Printing:
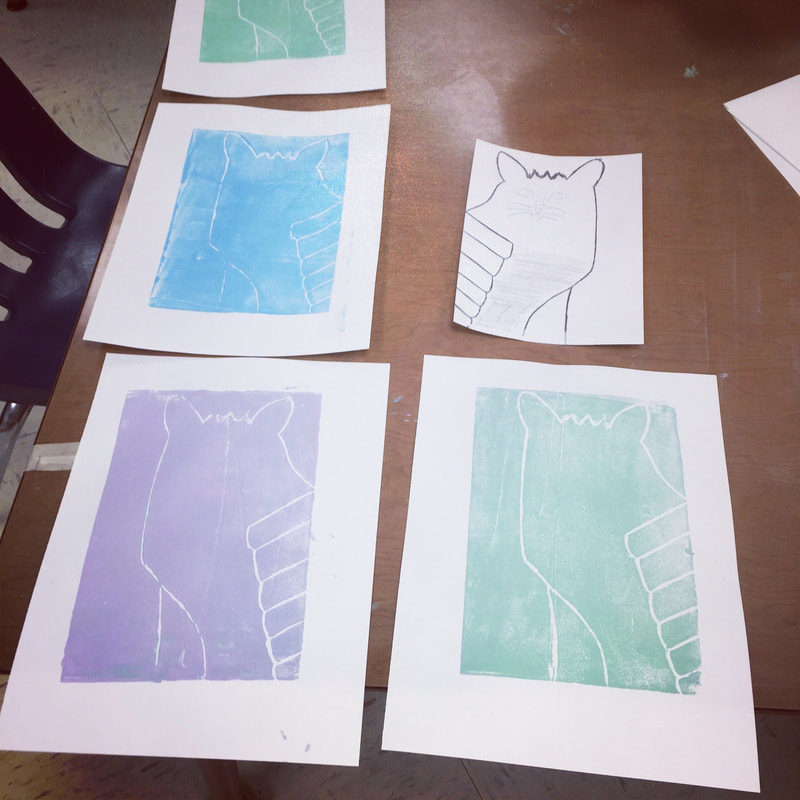
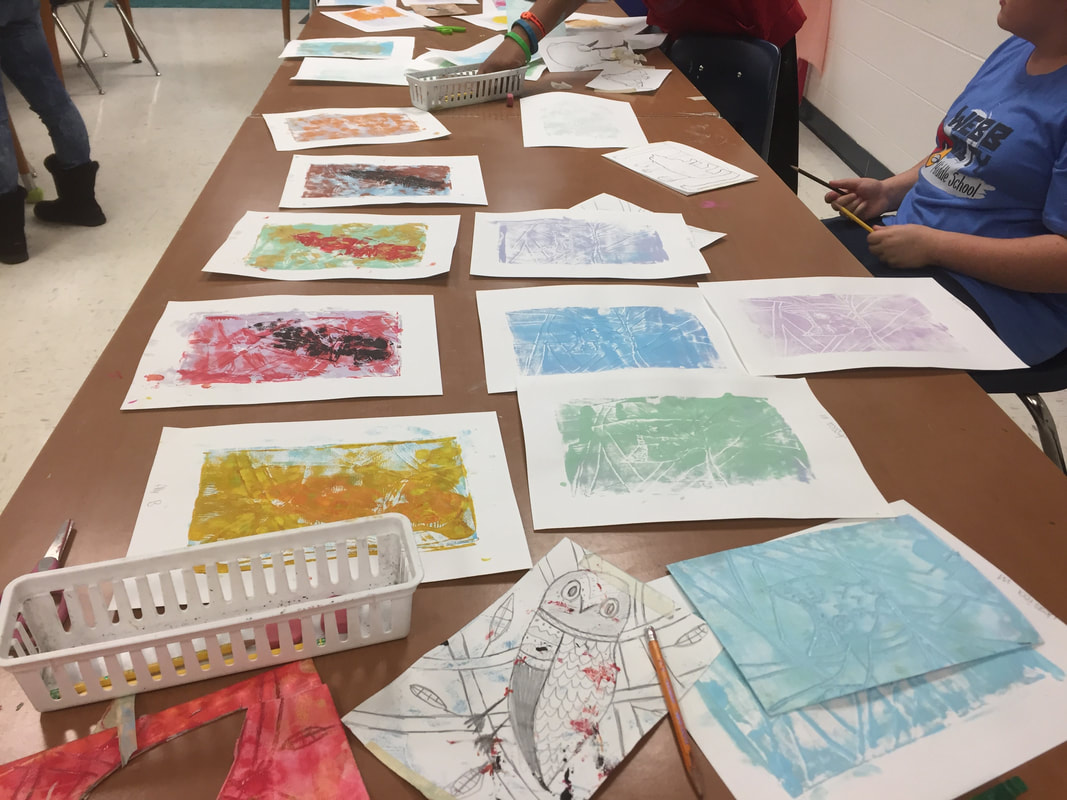
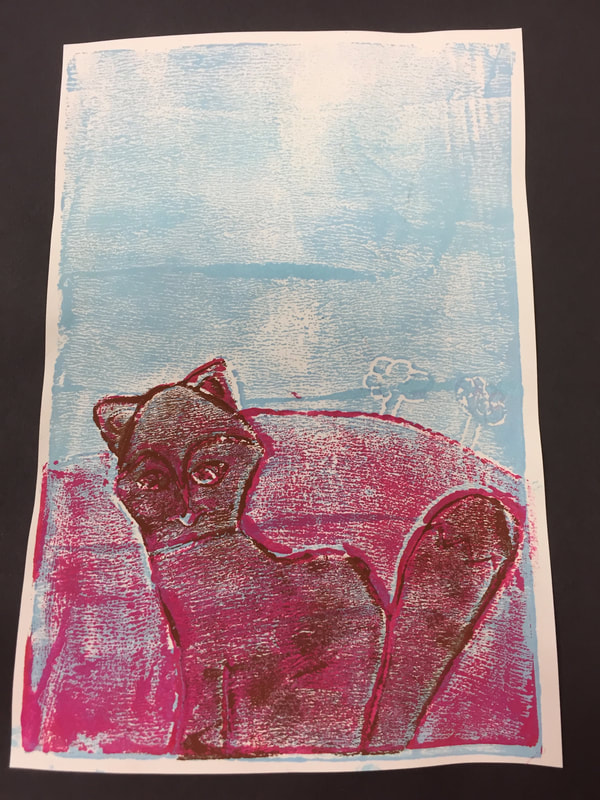
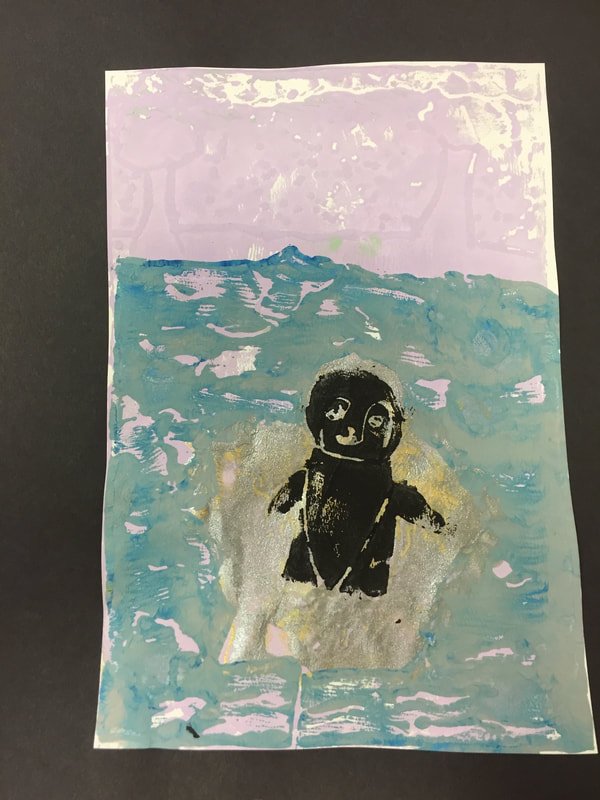
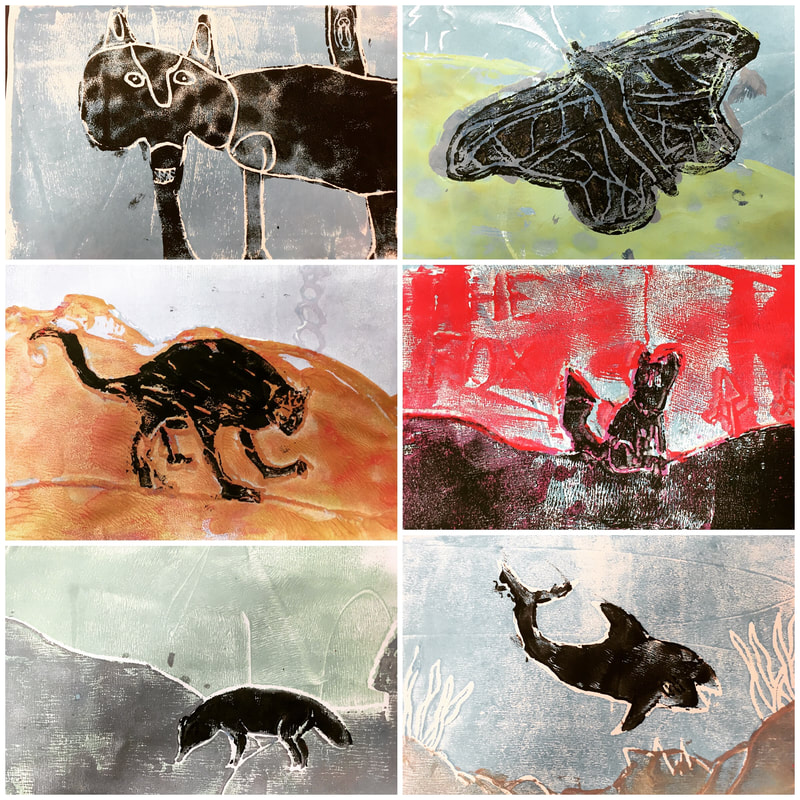
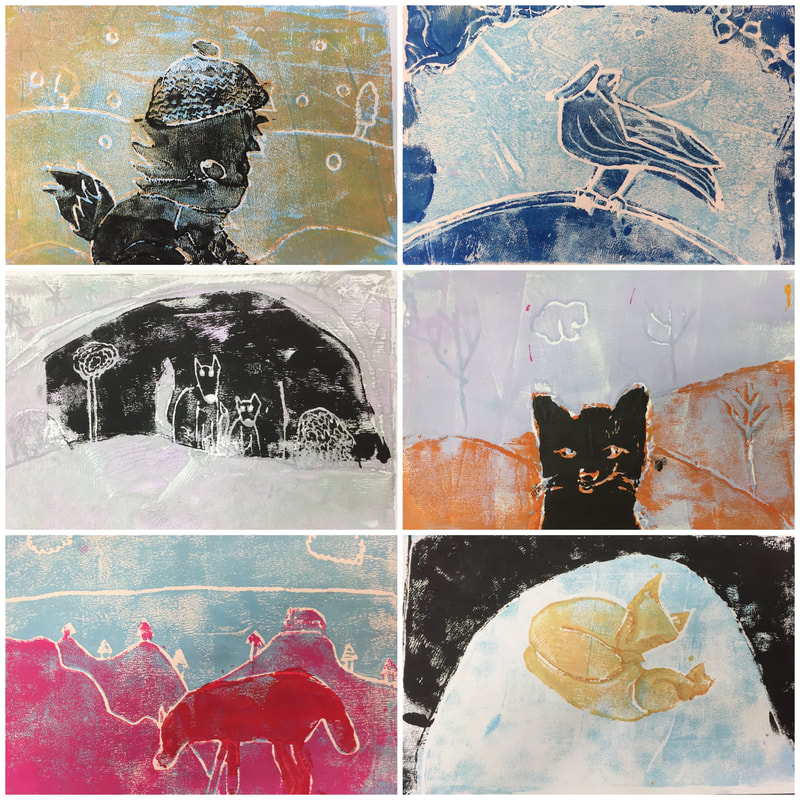
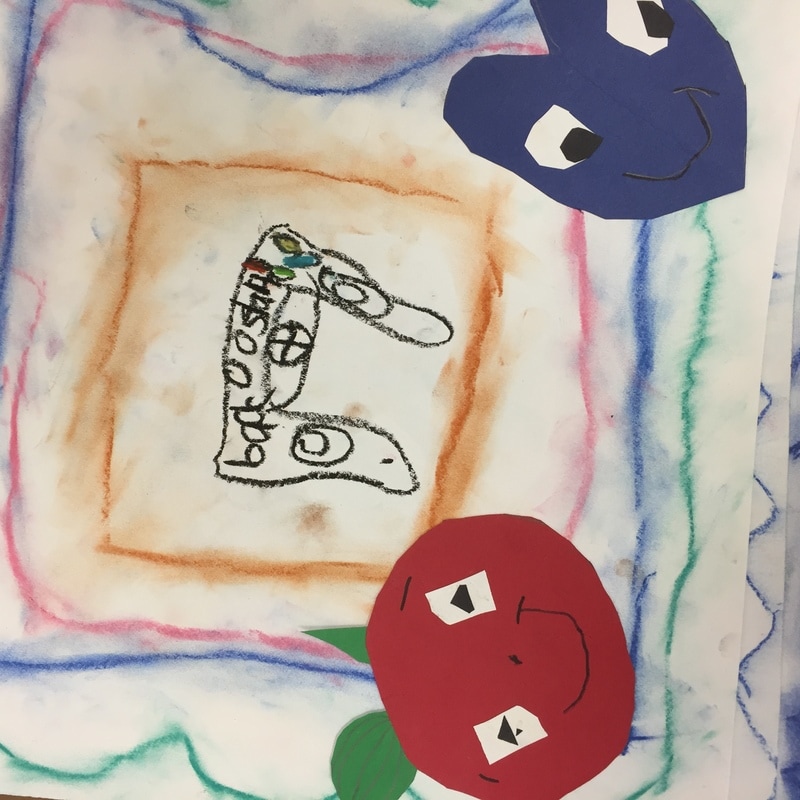
Since this is a reductive printing process, students only needed to transfer part of their design to the stamp initially. Then, they print 4 copies using light pastel colors. We used tempera paint for this layer. I mixed pastels (and completely ran out of white paint!) for them. 

Even though I made a video and STRESSED many details emphatically, some students still got lost on this day because they carved too much or they missed a day or some other distraction made the whole process confusing for them. 

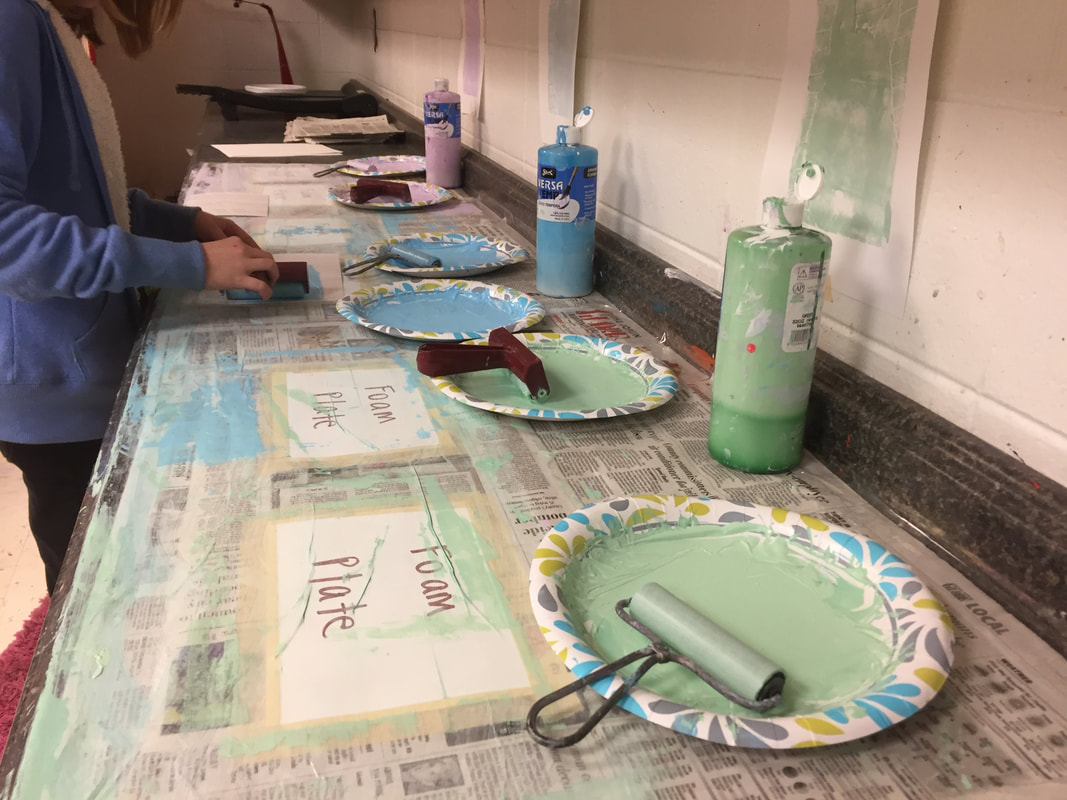
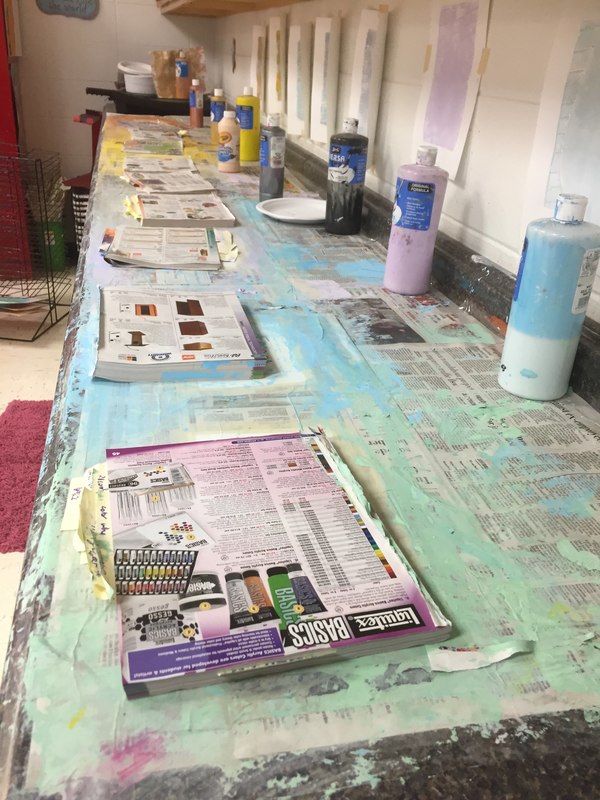
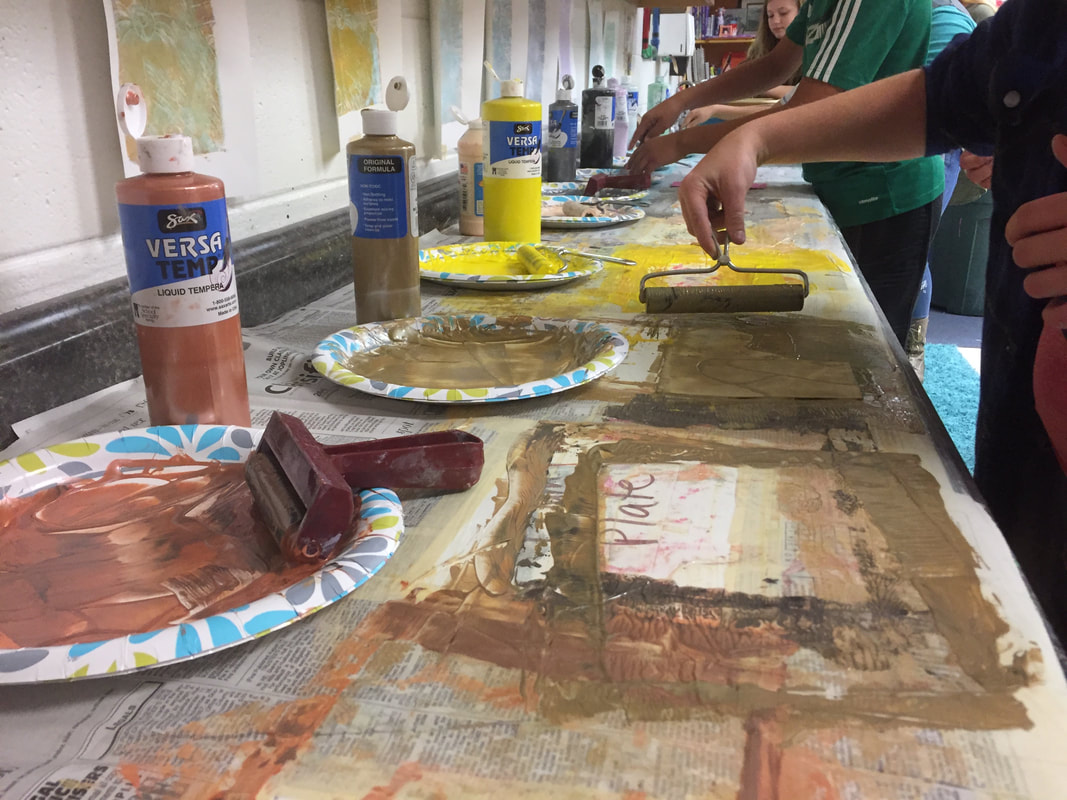
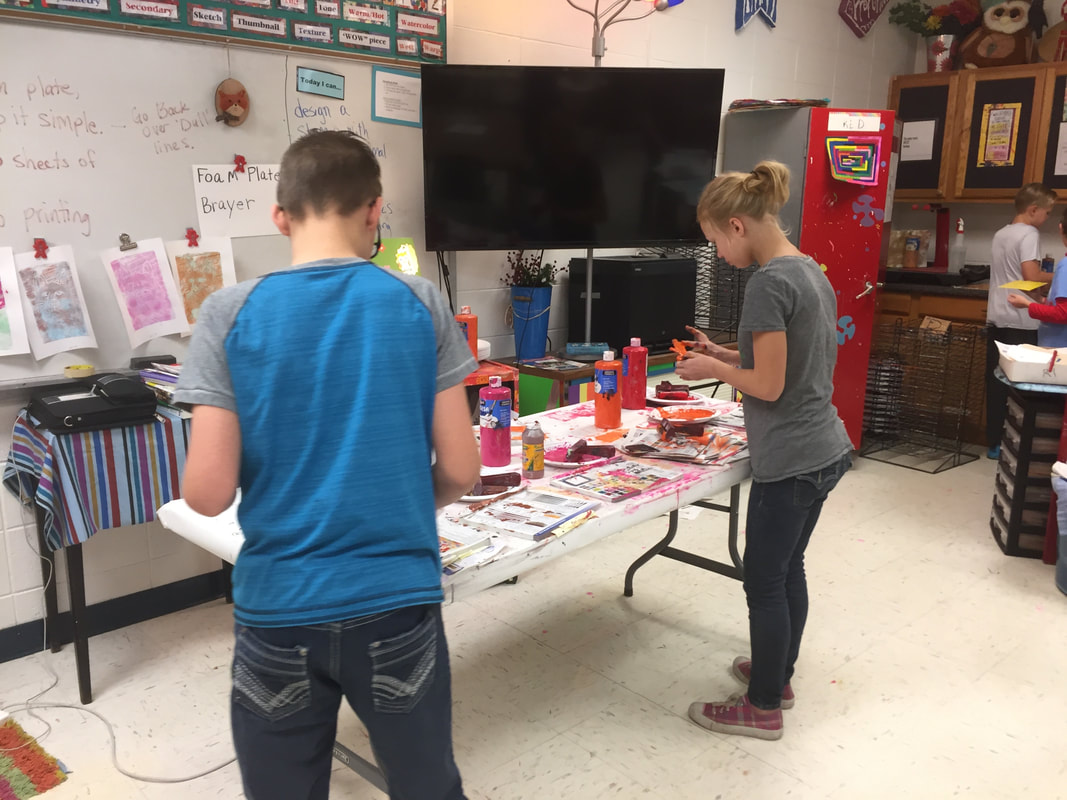
Students needed to write their name on 4 pieces of white paper and keep it at their table. Then, take their printing plate to the inking station, ink it up and then return to their table to print it. We did not clean off out block between colors since they were light colors. I thought I was being clever setting up the paint on paper plates...but after 3 classes the plates were shredded. NEVER AGAIN! Also, the inking station was so covered with paint, we started using old catalogs as cover sheets, which helped but since I was printing with 6 classes back to back, it was H-E-double-hockey-sticks keeping the surface clean and ready for each class. 

Instructional video for day 1 of printing (day 3 of the project). 
​
Supplies:
brayers
ink (pastel colors)
carved stamps
pencils
​colored pencils
Picture
Picture
Picture

Day 4
REDUCTION DAY


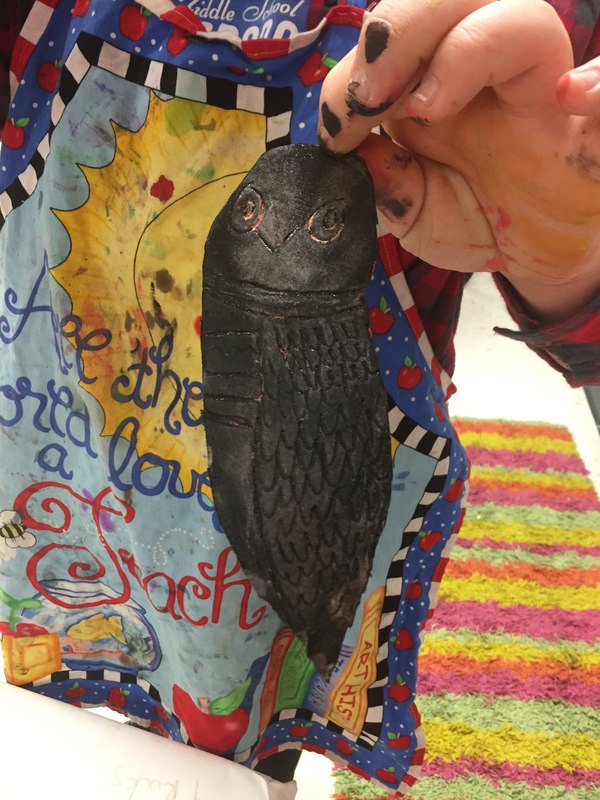
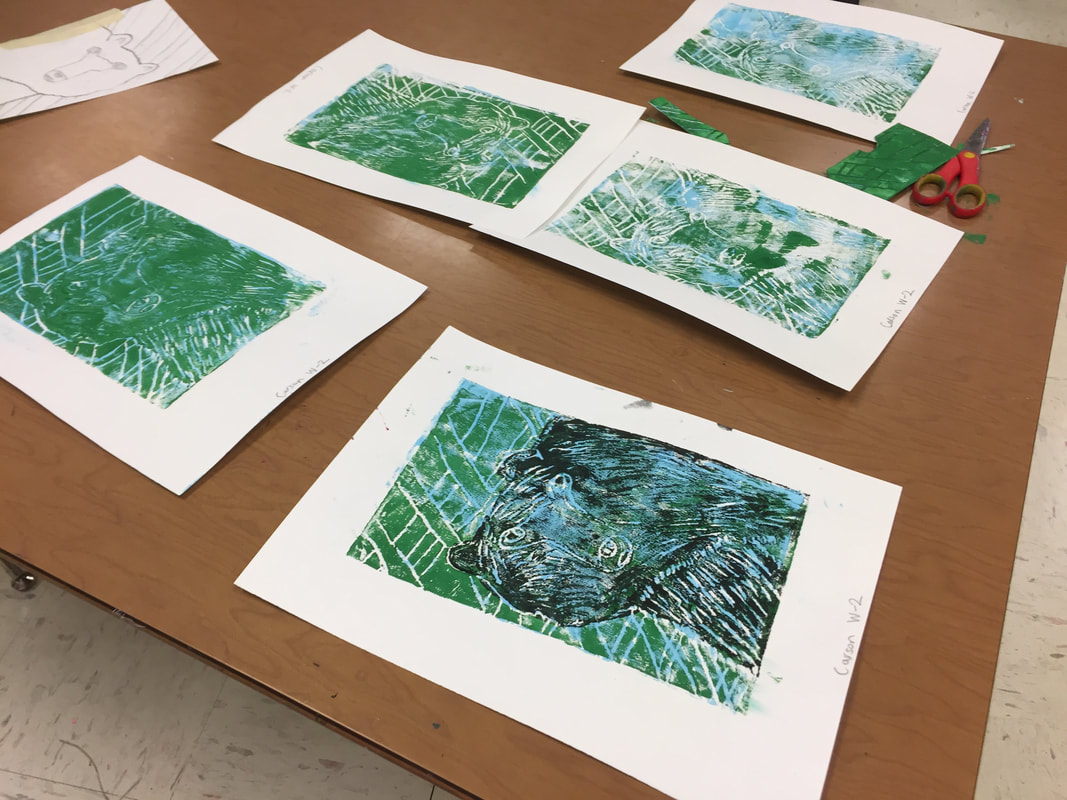
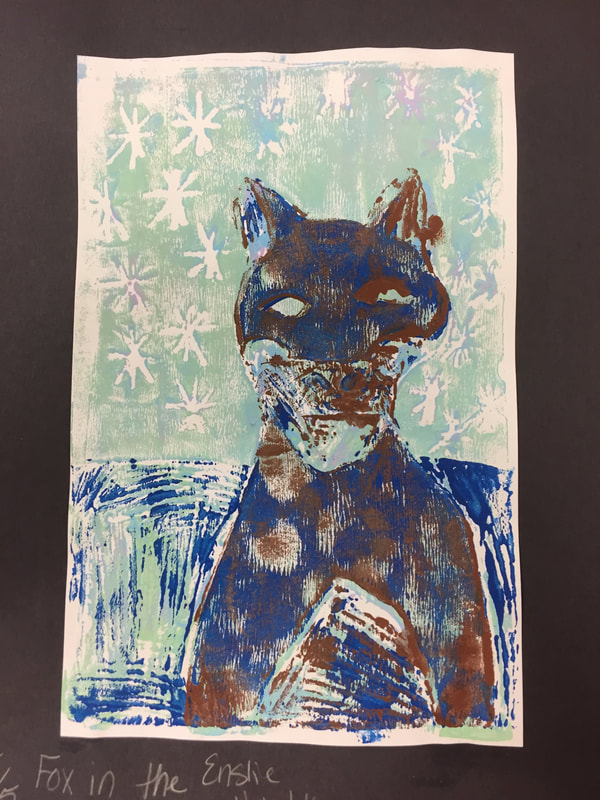
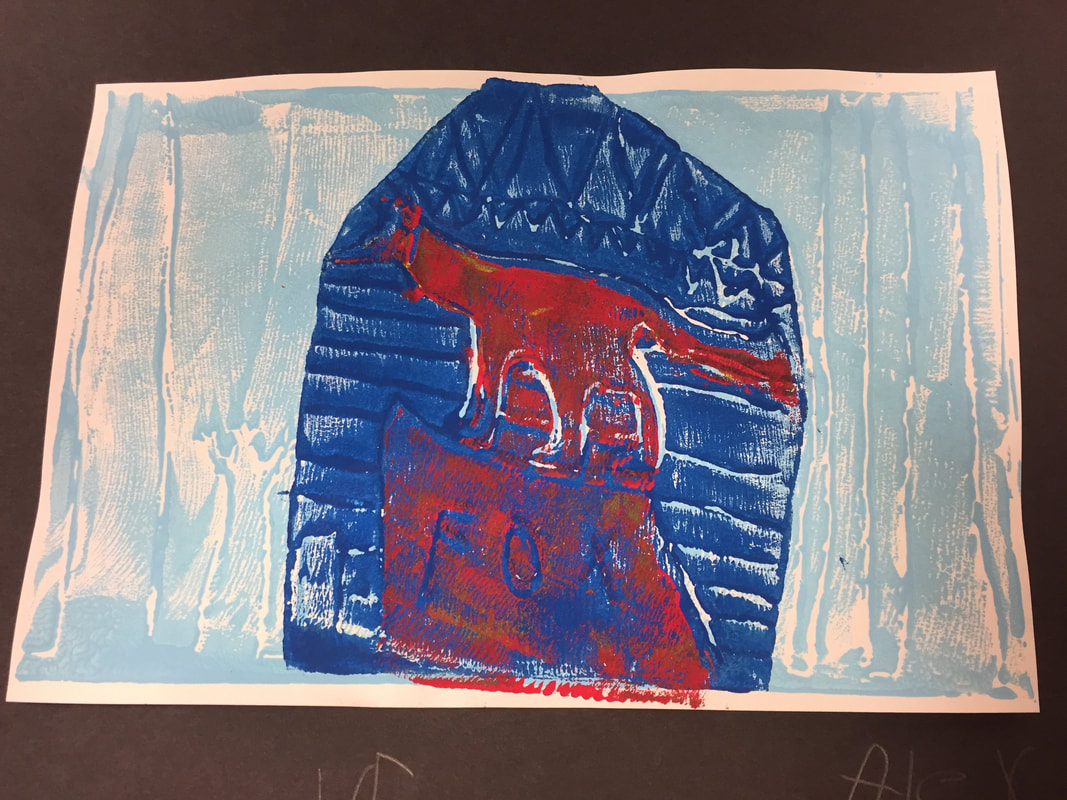
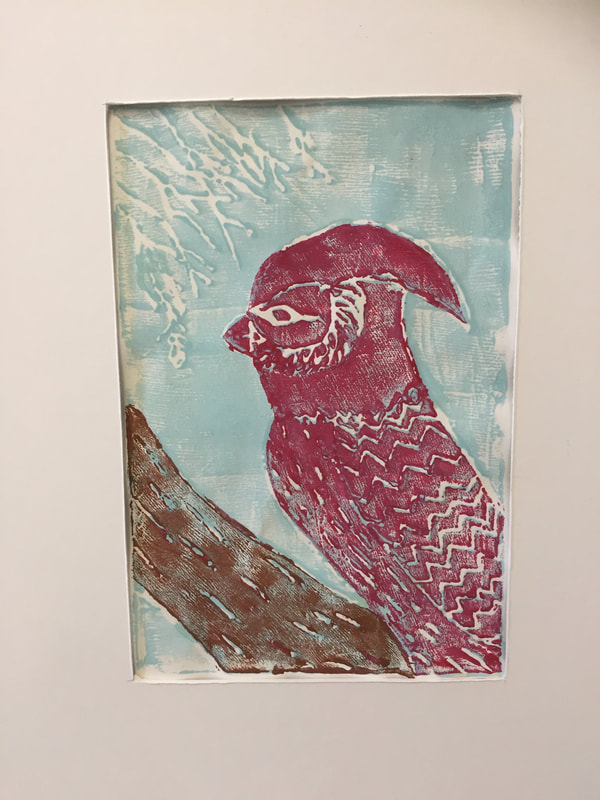
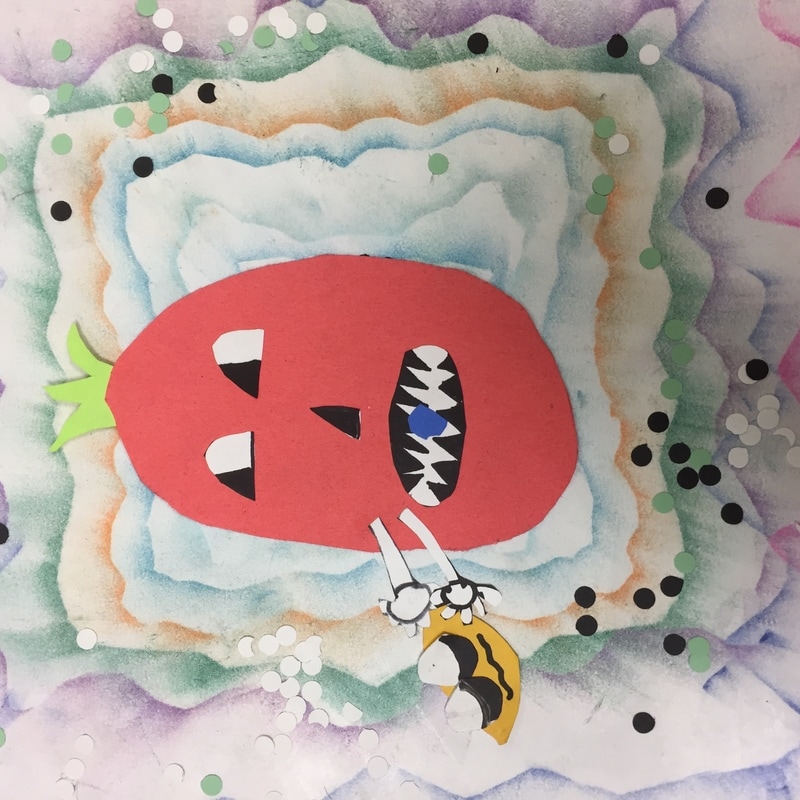
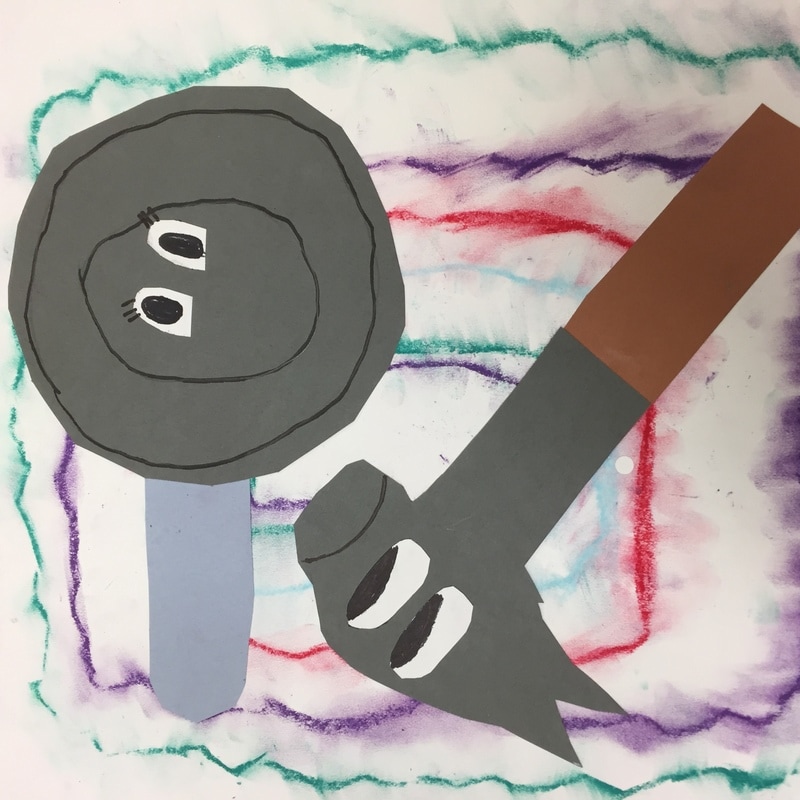
Okay, for this day, I had to make sure that EVERY kid had their 4 base colors printed before they could transfer the additional details, print with their 2nd color and then cut out their animal and print with their third and final color on all 4 papers.

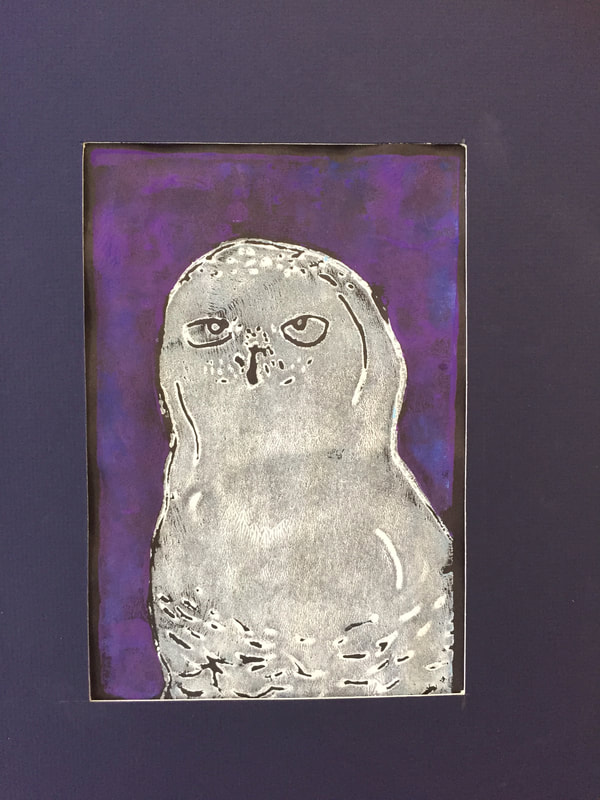
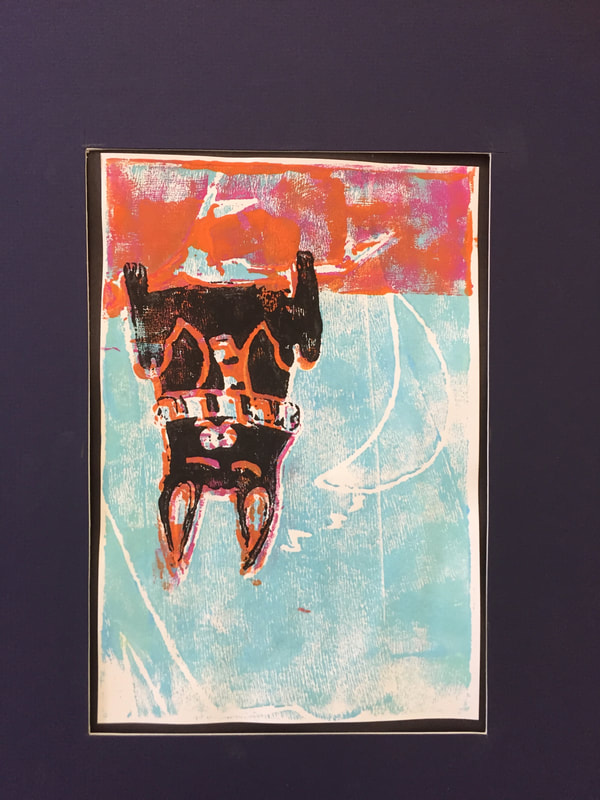
Once they cut their animal out, that was it, no going back.....This is where things really got dicey, especially if someone was absent. I made a video to demonstrate this part. I added tons of other colors to the options and I found that some just did not print well and many of the final editions are not great as a result. Live and learn. 

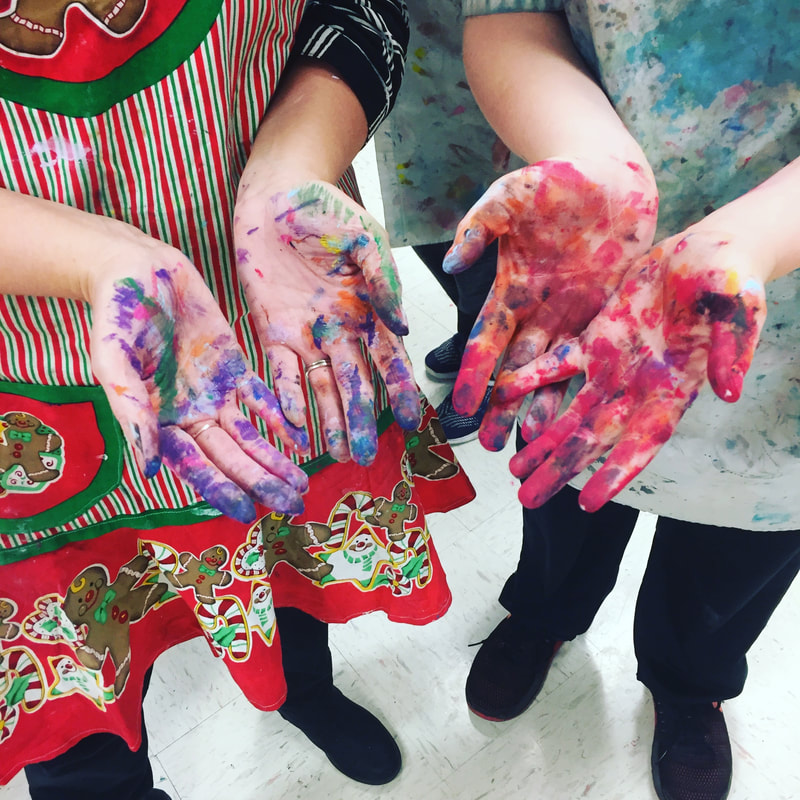
A lot of kids LOVED this day because it was a frenzy of moving around the room to the various stations, and it was UBER messy. 
 
Instructional vides part 2 and part 3 of the reduction process. I made two separate videos but most kids did both steps the same day. 

Supplies
Foam stamps
4 pieces of paper with background printed
brayers
Ink (we used paint, I don't recommend)
​

Picture
Picture
Picture
Picture
Picture
Picture
Picture
Picture
Picture
Picture
Picture
Picture
Picture
Picture
Picture
0 Comments

Winter Animals in Chalk Pastel

3/4/2017

0 Comments

 
Fall semester students had just created 'winter animal' styrofoam prints so I already had tons of books, magazines, and visuals posted in my room but I wasn't quite ready to start the spring semester kids off with printmaking.....

I really wanted to start with creating sketchbooks and a little drawing and maybe some chalk, similar to the way that we created the sloths earlier in the fall. I decided to combine the two ideas.

Students could select any animal that either lived where it is cold, or spent the winter hunting, for the most part. I was pretty lenient and also let them choose pets. I only really limited the 'winter' part because I wanted them to use a snow technique, and I also wanted to have plenty of visuals....and stay away from reptiles as the blending techniques we would be using wouldn't work as well on scales as they would on fur and feathers.

Anyway, we spent the first day creating practice drawings in our sketchbooks. I told them they could make the animal wearing cute hats, scarves, and ear muffs if desired. Some did, some did not. 

Then we began the project by drawing with fat black crayons on 12X18 black paper. Some students struggled with the fact that they could not 'erase' the black crayon, even though I told them to draw lightly and we would be able to flip it over or color over mistakes. This was stressful for some kids. Next year, I want to use gray chalk for this step. Black is a little too messy, but I think gray would be perfect. 

Next, we started by coloring anything we wanted white. Especially animals with a lot of white, and anything that was supposed to be snowy. 

Also, we created a colorful blended aurora borealis inspired sky. This was a great chance to practice color blending. I loved playing an aurora video while they were working, and it gave them ideas on how they could vary the colors. I gave them a bowl with JUST cool colors (plus hot pink and lime green) chalk so they could really incorporate lots of cool colors. Also, I wanted them to create a different sky other than plain blue with a sun in the corner. 
Picture
Then, we colored the animals. I gave them a demonstration on how they could color the animals with chalk pastels, and put texture on top of the chalk with oil pastels for fur and feathers. They could also outline if desired. We outlined with black oil pastel very last!! 

Finally, if students wanted, we sprayed a fine mist of white paint over the background. I tried to mask off the animal a bit so that we wouldn't cover their work. I also asked them if they wanted it to look more like stars, and only be in the sky or if they were okay with it being sprayed everywhere like a snowy look. They were happy with the results and there was a ton of variety!! 

Next time, I think I will trim their papers down a little before we start the project so that we can create a frame around them. I think the big display is missing something. 
Picture
Picture
Picture
Picture
Picture
Picture
I'm sad that is is already time to take these down. Winter is over and the snowy pictures are a reminder!! 
Picture
0 Comments

Chris Uphues Happy Collages

3/4/2017

0 Comments

 
After creating the Chalk Stencil designs as a way to introduce chalk, messy procedures and cutting to my 5th and 6th graders, I couldn't shake the idea that they would make a great background for a collage. 

So for the students having art 2nd semester, we looked at the artwork of Chris Uphues. I created a slideshow with examples and talked about how he is a current, working artist. I explained how he sells his designs, creates murals, and also sells paintings and small items like patches. We started they day by watching this catchy, sweet little youtube video and then looked at the slide show. 

I was afraid students would find his work too babyish, but for the most part everyone was on board. Especially since they could make 'cute' food or hearts. I spent time teaching them how to fold a piece of paper in half to make a symmetrical heart. It is incredible how many students have never learned that technique. I'm hoping it will pay off when we start a big mask project later this year. 

Students could make any design they wanted, it just couldn't be too simple. Ex. one heart with a smiley face. I showed them how to draw two eyes, fold the paper and cut the exact same shape out that would match. Sometimes students get frustrated that they can't make the same shape again. 

We used glue sticks to attach the various pieces. If they finished with their main collage, they were also required to make one for a mural. The purpose of the mural: to make people happy. 

Once they made their shape/food/face, they had to show it to me for 'quality control'. I would not let anything that was sloppy or messy go on the mural, they had to erase pencil lines, draw things in sharpie and make sure stuff was glued on well. They would not be getting their pieces back, but everyone's would be hung up. 

I hung the murals and a few selected collages together around the building. They make me so happy to look at. 


Picture
We had a little fun with photography. Early finishers could cut out faces for some of my fake food and tape it on. Okay, the apple is real. We couldn't resist making it 'cute'.
Picture
It wouldn't be 2017 if there wasn't a poop emoji and a slenderman on the mural, now would it?
Picture
This katana is one of my favorites!!
Picture
This pizza makes me incredibly happy!!!
Picture
Mini cute art supplies.....be still my heart!!!
Picture
Picture
Picture
We used 3 big huge pieces of bulletin board paper as the background for our murals. I put a little hot glue on the back of the shape, and the kids stuck it wherever they wanted on the mural.
0 Comments

Op Art Sketchbook Covers

3/4/2017

0 Comments

 
This semester, we kicked things off by creating sketchbooks. I like the students to keep a sketchbook so that we have an ongoing record of activities happening in the classroom. They also like the ownership of having something that stays in the room for them to access each week. 

We followed the lead of another art teacher and used manilla file folders as the cover. I did not think ahead and have central office save them for me. We just used a box of new ones that I ordered last year. 

Students spent several days designing an optical illusion for the cover. If they finished quickly, they could also design the back. We looked at the artwork of Bridget Riley and Vasarley for ideas. I created a slide show and we looked at really cool examples of Op Art. It messed with our eyes. ;-) 

Once they were finished, they brought the cover to me and I stapled about 15 sheets of white copy paper, along with a copy of a color wheel for them to color and a shading practice sheet for them to use later. 

Even though I ordered 20 packs of the 'school specialty' brand permanent markers, with all 370 students using them at once, they quickly died. Especially the reds and blues. That was extremely frustrating. Other markers did not match the colors quite right. Also, I choose permanent markers in case of spills or splashes. I didn't want their covers to get ruined unnecessarily after all that work. 

Even with the bad markers, students still had a lot of success with their designs. I encouraged them to color 'most' of the front. They could use the tan color of their folder as part of the design, just as long as they were filling up the front in a way that looked nice. 

*Note: I've noticed that the first page or two that is pressed against the front cover is starting to yellow from the permanent marker ink. Interesting. I'll have to keep that in mind for the future. Maybe we will use colored pencils next year. 
Picture
Picture
0 Comments
    PictureWelcome!

    Mrs. Mitchell

    Art teacher from Missouri. 

    Instagram
    Add to Flipboard Magazine.

    Archives

    March 2021
    April 2020
    November 2019
    July 2019
    April 2019
    January 2019
    October 2018
    July 2018
    June 2018
    May 2018
    April 2018
    March 2018
    January 2018
    September 2017
    May 2017
    April 2017
    March 2017
    January 2017
    December 2016
    November 2016
    October 2016
    September 2016
    March 2016
    December 2015
    October 2015
    August 2015
    May 2015
    April 2015
    March 2015
    February 2015
    November 2014
    October 2014
    September 2014
    August 2014
    June 2014
    May 2014
    April 2014
    March 2014
    February 2014
    January 2014
    December 2013
    November 2013
    October 2013
    September 2013
    August 2013
    July 2013
    June 2013
    May 2013

    Categories

    All
    1st Day Of School
    1st Grade
    3d
    Abstract Art
    Alcohol Ink Tiles
    Alpacas
    Animal Art
    Animation
    Architecture
    Art Centers
    Art For Kids Hub
    Art History
    Art Hub For Kids
    Art Room
    Art Show
    Art Teacher Conference
    Bell Ringer
    Birds
    Blending
    Bunnies
    Cardboard
    Chalk Pastels
    Chalk Stencil
    Charcoal
    Choice Based
    Christmas
    Chuck Close
    Classroom
    Clay
    Club Day
    Collage
    Color Diffusing Paper
    Colored Pencil
    Colored Pencils
    Construction Paper Crayons
    Contest Art
    Creatures
    Crystal Bridges
    Design
    Dice Games
    Document Camera
    Dot Day
    Drawing
    Early Finishers
    Easter
    Emojis
    Fall
    Field Trip
    Food Art
    Foxes
    Green Screen
    Grid Drawing
    Group Challenge
    Halloween
    Haunted Houses
    Hearts
    Hermit Crab
    High School
    Human Form
    Ice Breaker
    Inspirational Posters
    Ipads
    Jim Dine
    Justand
    Killer Whales
    Kindergarten
    Landscape
    Lesson Plans
    Lettering
    Llamas
    Magazines
    Mandala
    Maori
    Markers
    Masks
    Matisse
    Metal
    Model Magic
    Mona Lisa
    Monster Trucks
    Mother's Day
    Mother's Day Card
    Mummies
    Mural
    Newspaper
    New Zealand
    Notan
    Observational Drawing
    Ocean Art
    Oil Pastel
    Oil Pastels
    Optical Illusions
    Origami
    Owls
    Painting
    Paper Weaving
    Pd
    Pencil Topper
    Perspective
    Pete The Cat
    Picasso
    Polar Bears
    Pop Art
    Portraits
    Printmaking
    Product Review
    Professional Development
    Quiver
    Reflection
    Reflective Teaching
    Room Tour
    Rooster
    Sea Horse
    Seals
    Sea Turtle
    Self Portrait
    Shading
    Shaving Cream Prints
    Shoes
    Sketchbooks
    Sloth
    Solar Eclipse
    Spinners
    Spring Conference
    Star Wars
    Statue Of Liberty
    Step-by-step
    Step By Step Drawing
    Step-by-step Drawing
    Still Life
    Stop Motion
    Story Board
    Sub Plans
    Summer School
    Symmetry
    Tab
    Teacher Appreciation Cards
    Technology
    Tempera Paint
    Tiny Food
    Tissue Paper
    Trees
    Tumbling Blocks
    Valentine's Day
    Warm Ups
    Watercolor
    Wax Resist
    Word Art
    Yellow Submarine
    Zentangle

    RSS Feed

Powered by Create your own unique website with customizable templates.