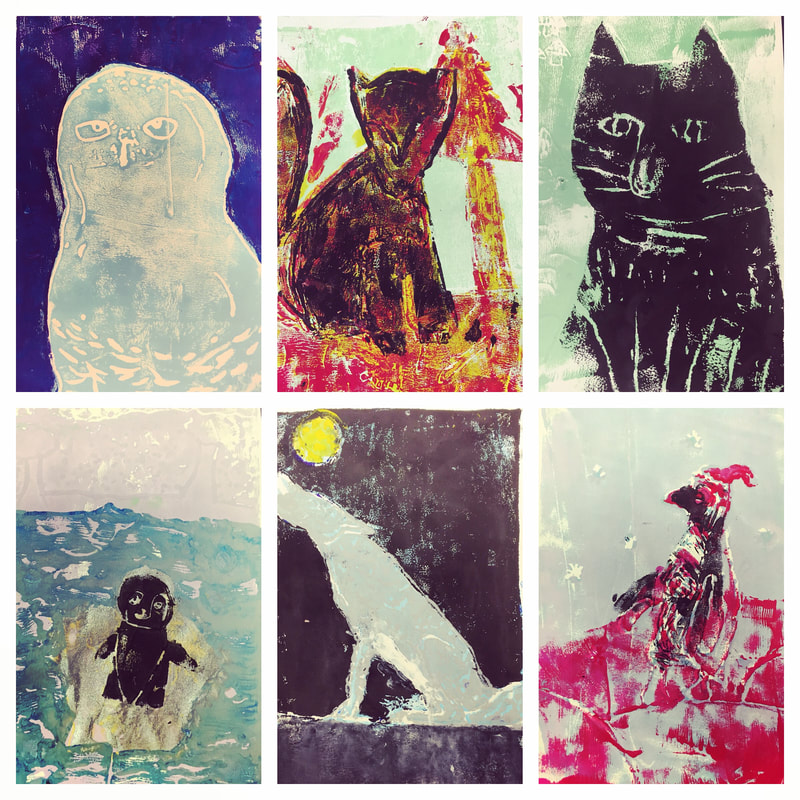
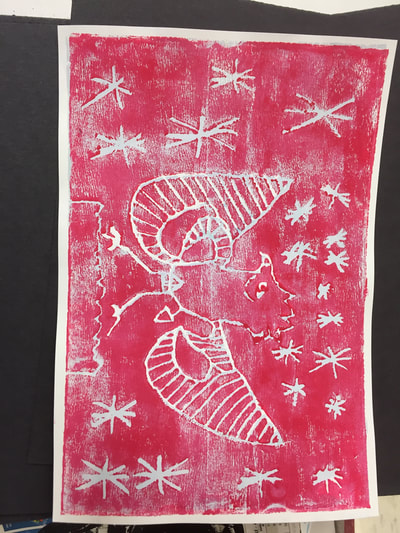
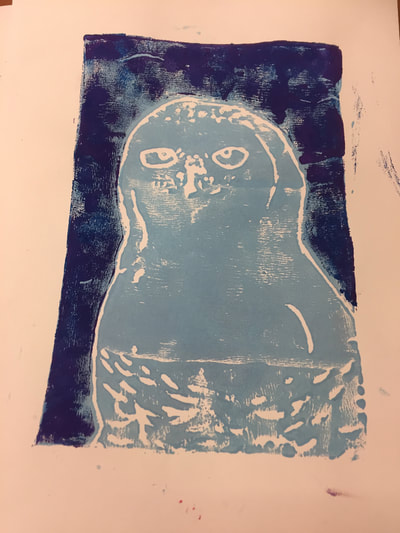
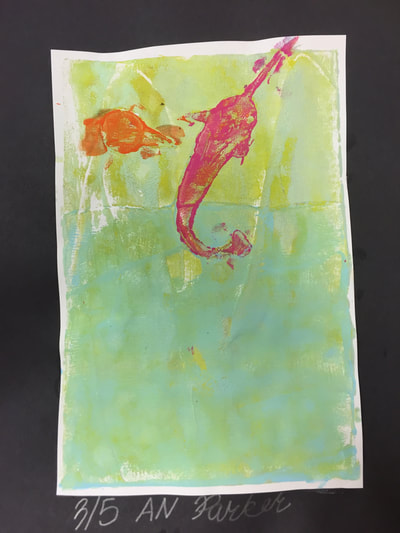
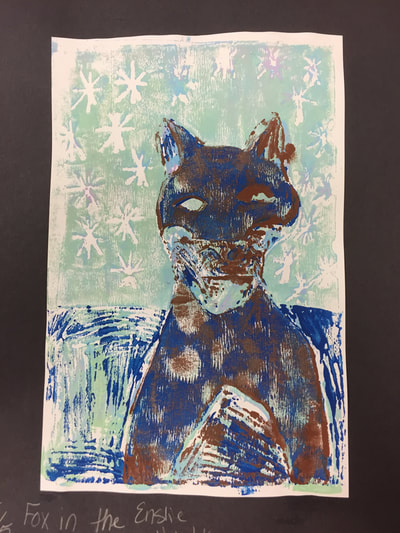
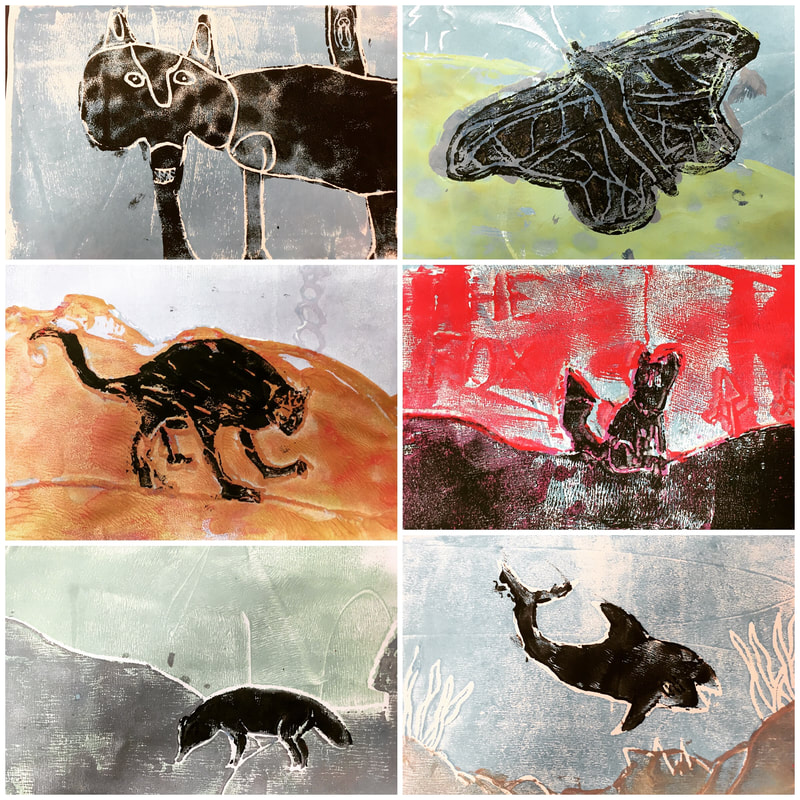
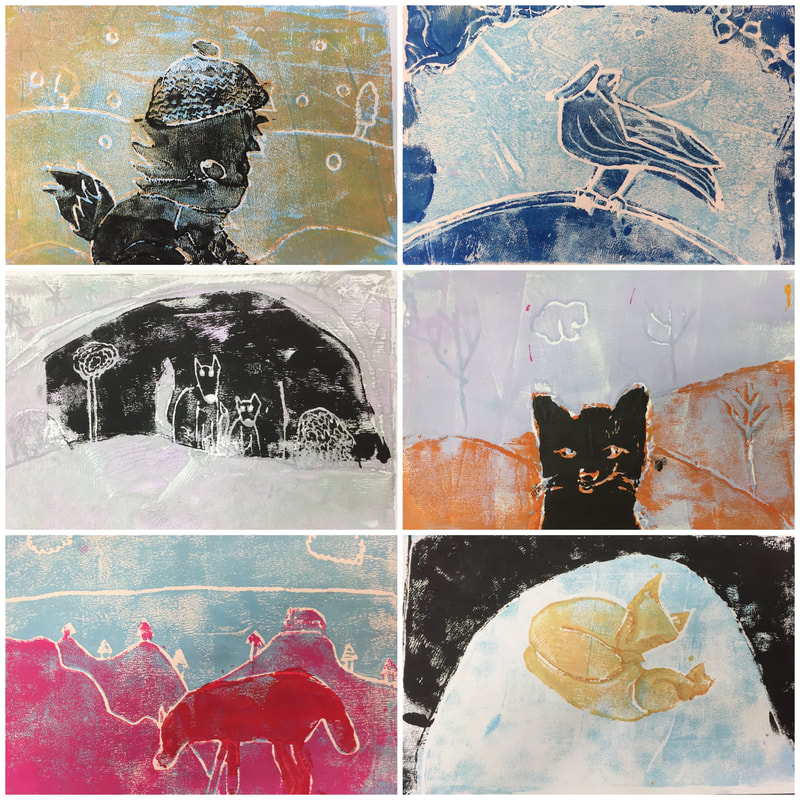
Last winter, when we embarked on our 'winter animal reduction' prints, I learned a LOT about what to do and what not to do. I also had a very difficult student tell me that it was his favorite thing we did all year.
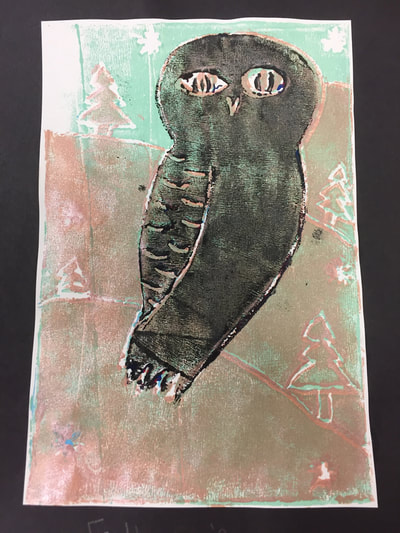
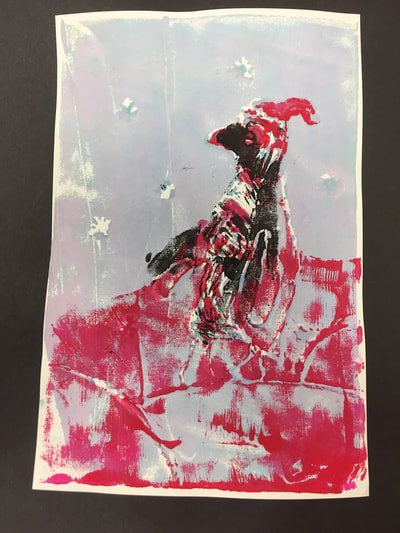
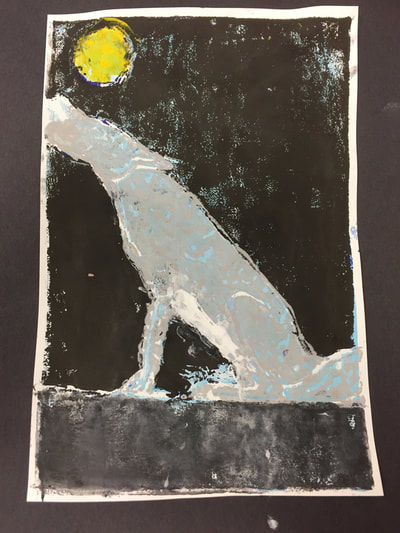
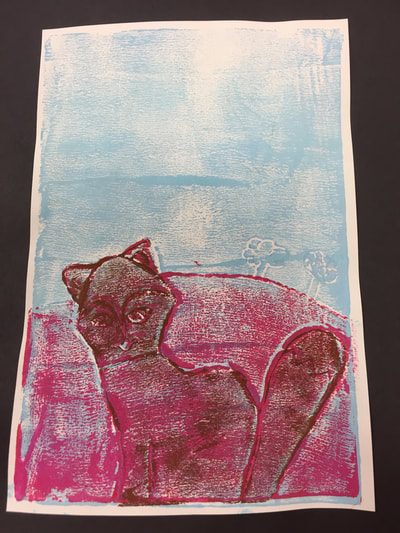
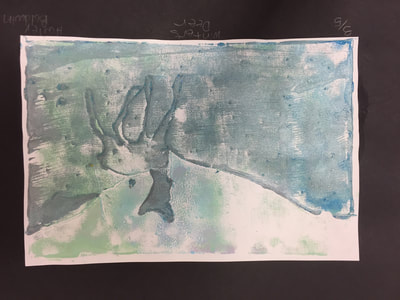
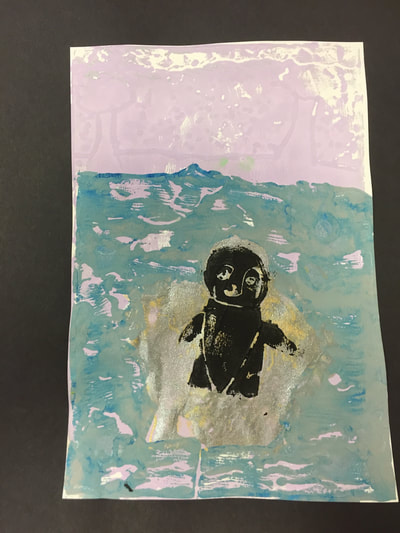
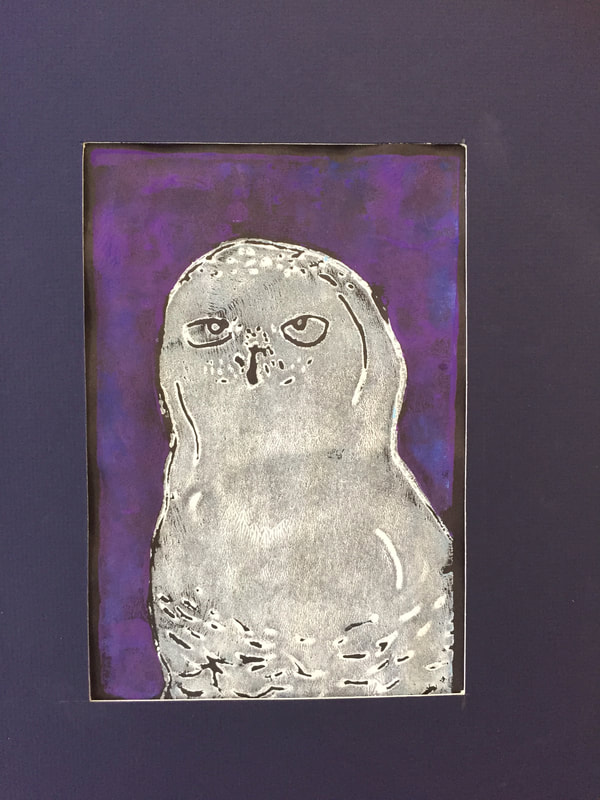
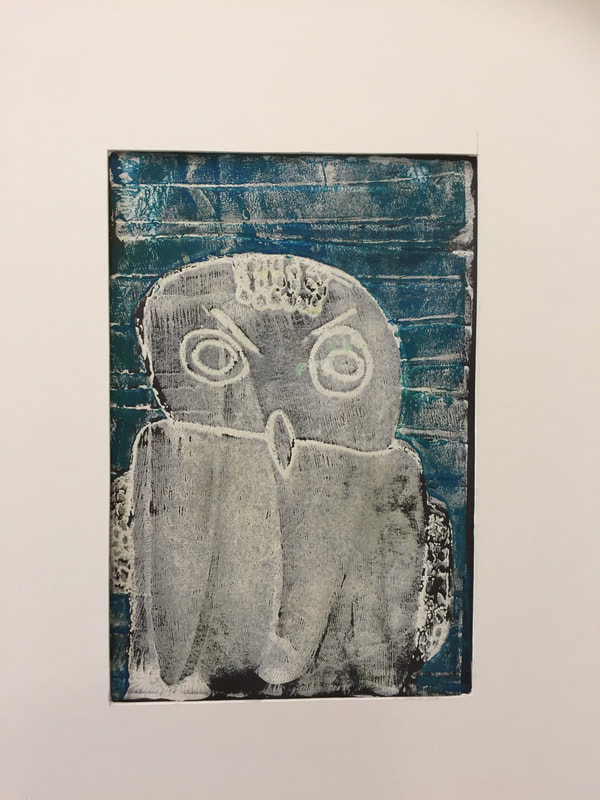
I have been waiting to post this for a long time because I have felt like the final products were not very successful, but I am posting now so you can learn from my mistakes. Here is another post from last year's printmaking adventure.
Students selected a 'winter animal' to draw. It had to be something that thrived in snowy weather and did not hibernate all winter. I read the Winter Animals book to give them a few ideas. Students began by practicing in their sketchbooks. I also showed the Over and Under in the Snow book.
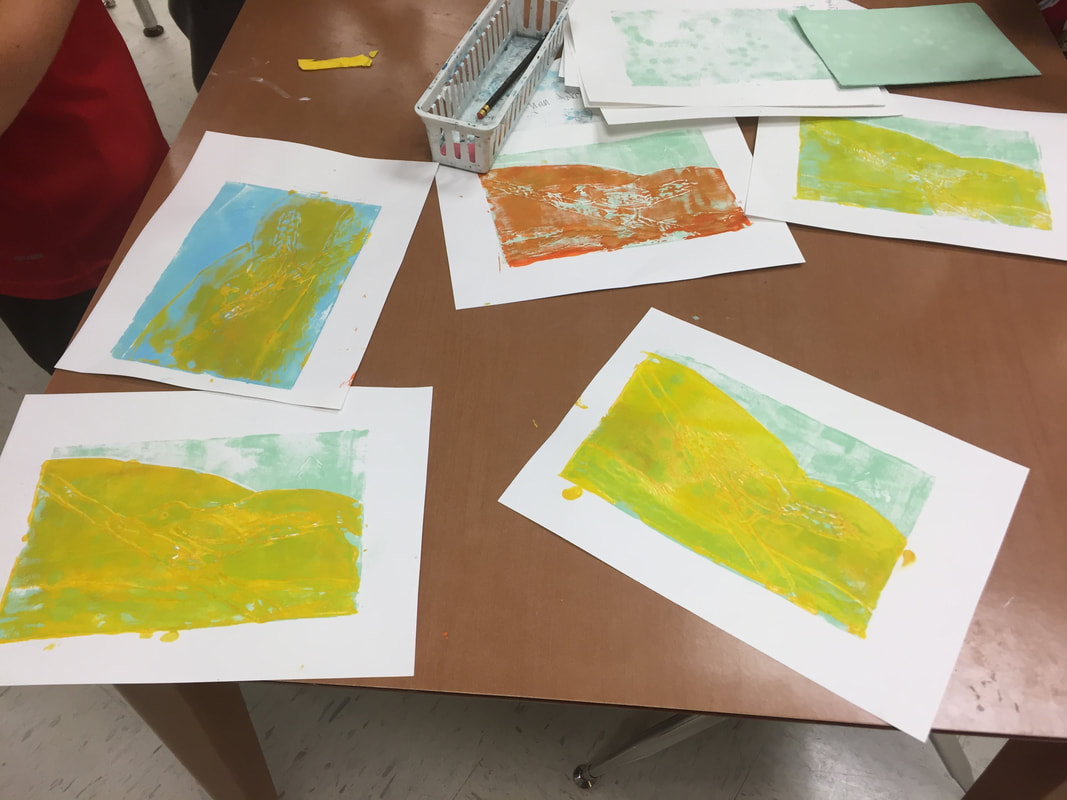
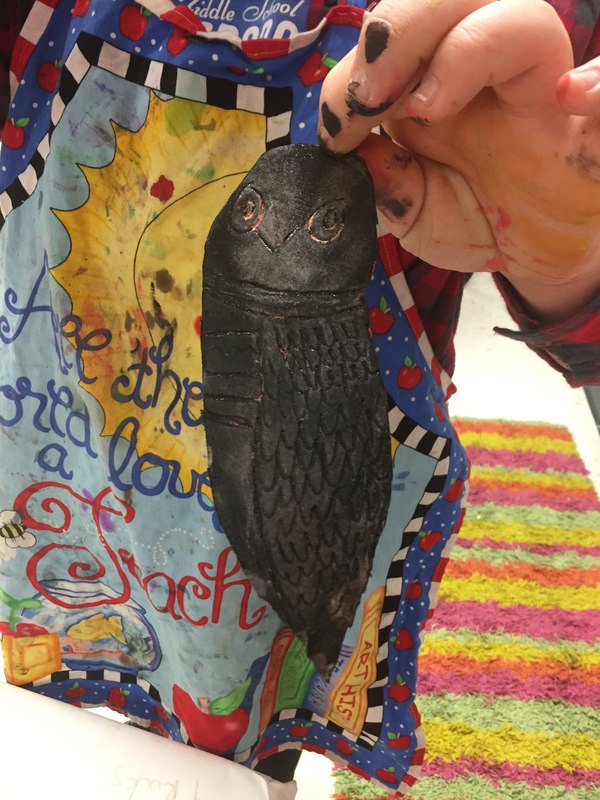
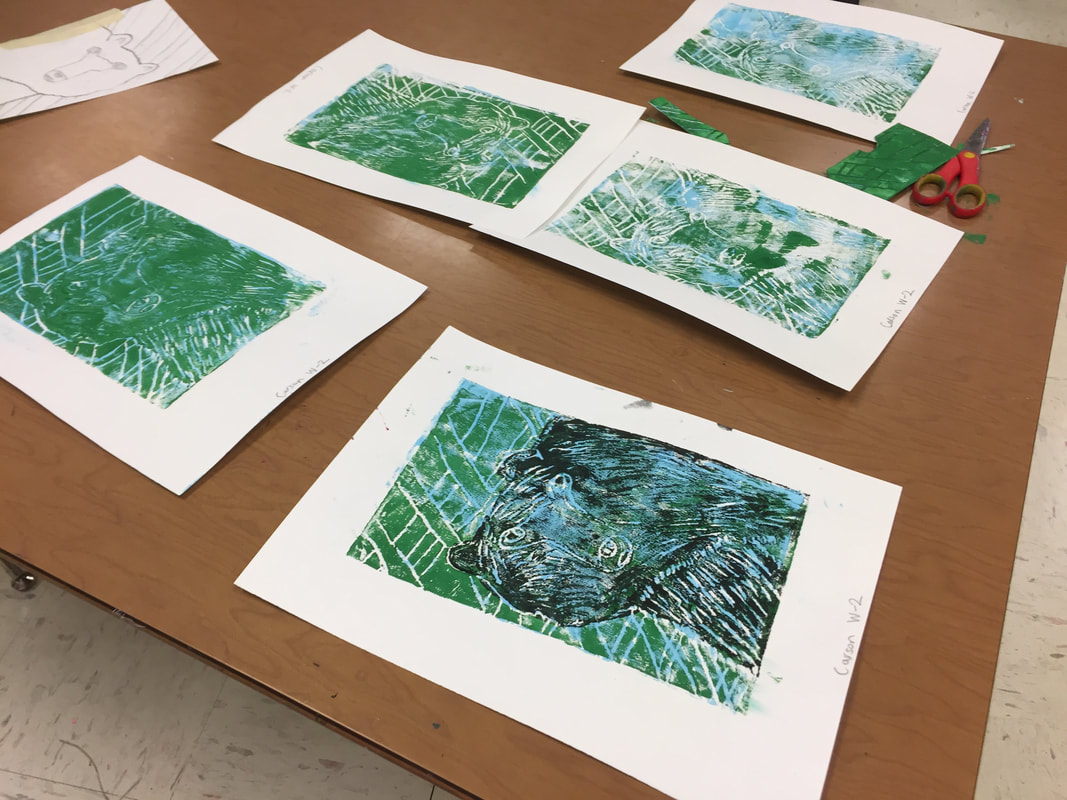
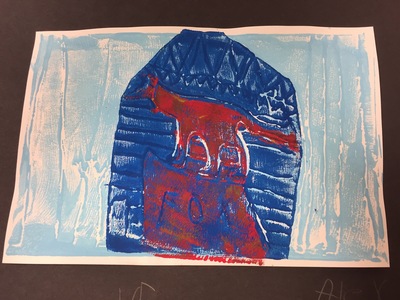
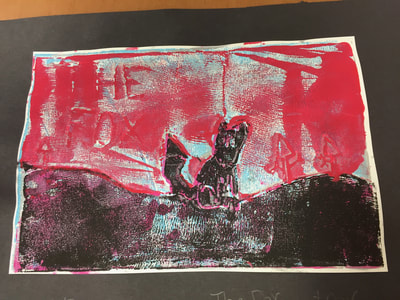
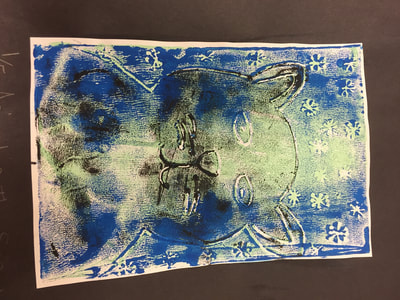
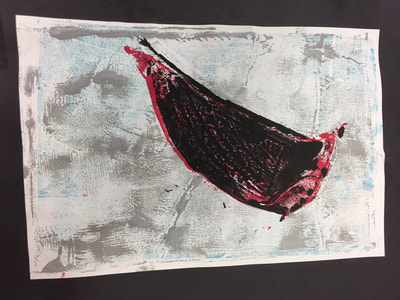
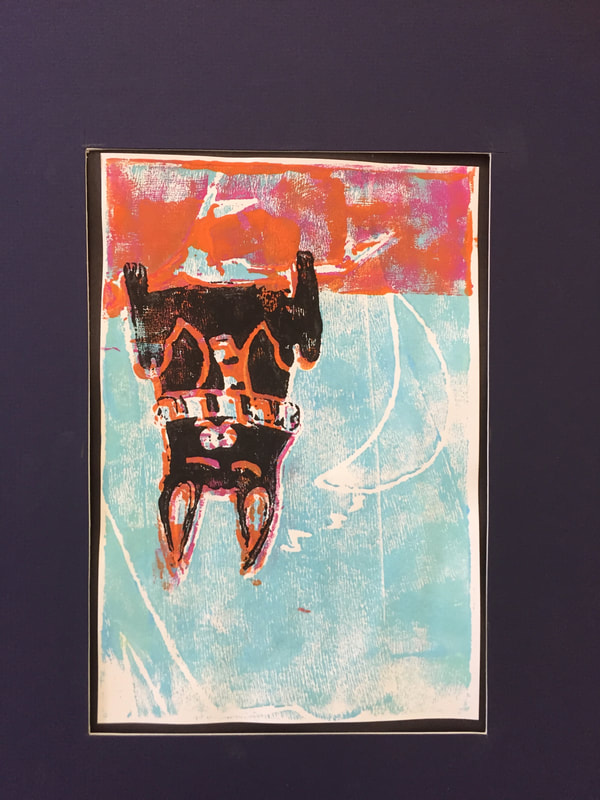
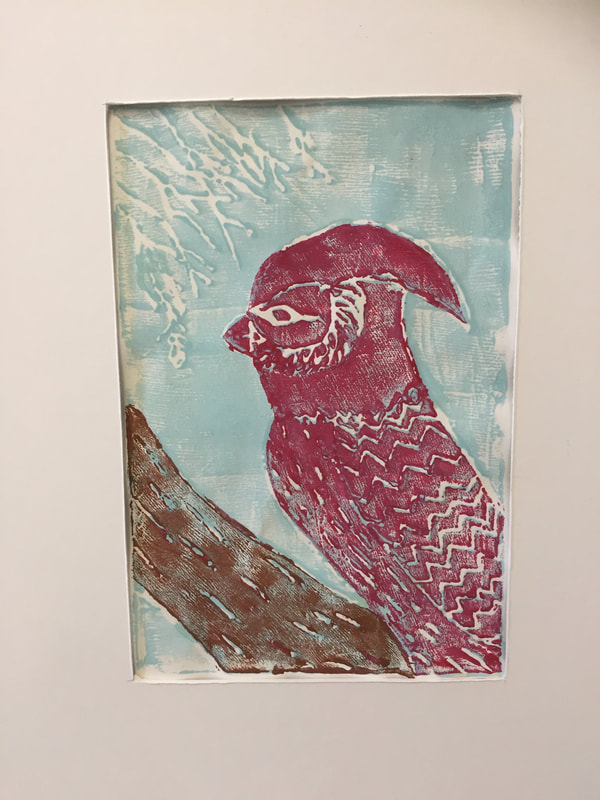
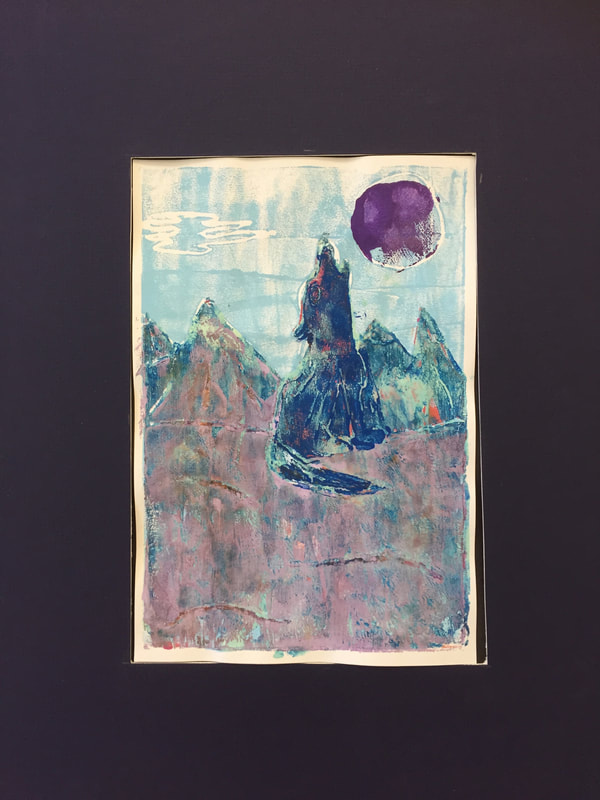
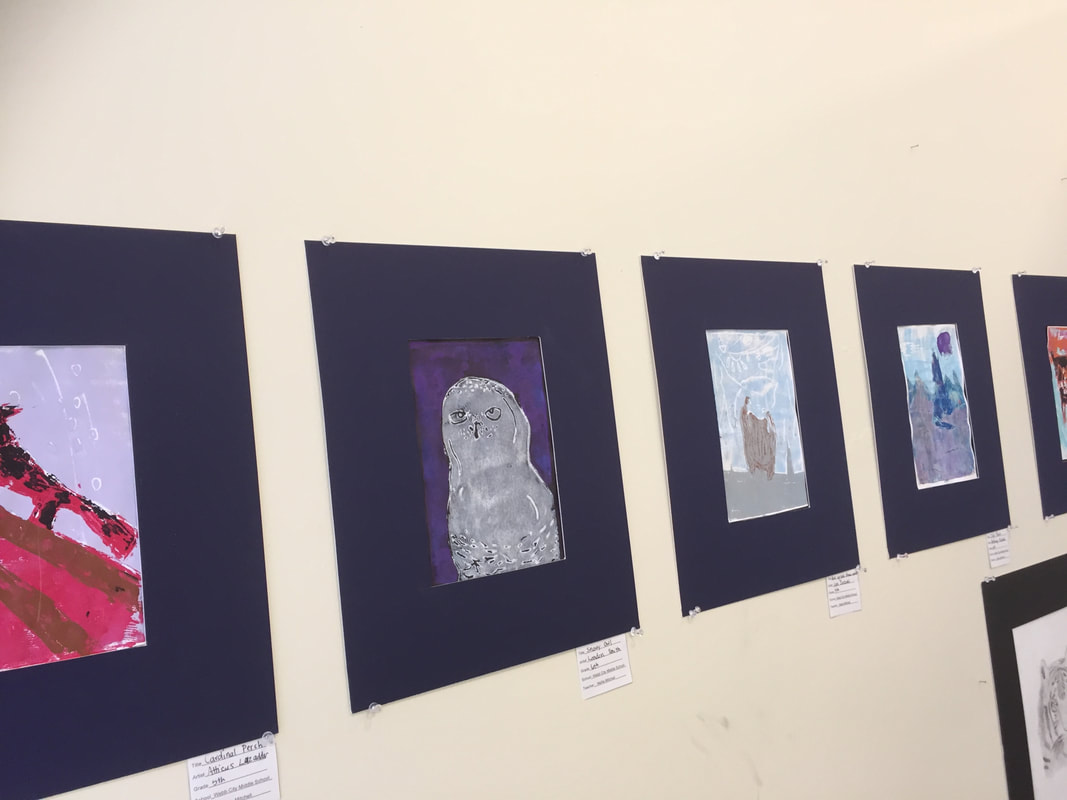
I had researched a couple of other reduction printing projects like this animal one and this fall leaf so I felt like things would go pretty smoothly. And for the most part, they did. But I did not anticipate the results looking so blah. Most of the great detail in their foam plates was just lost in the printing process because we used tempera paint.....and about half of my students, I didn't have enough of the good foam and the other foam we used crumbled a little bit when they tried to carve into it.
Once students had practiced their animals, I gave them a piece of 9X6 paper to start planning their stamp.
Supplies:
sketchbooks
visuals of animals
pencils
erasers
6X9 paper
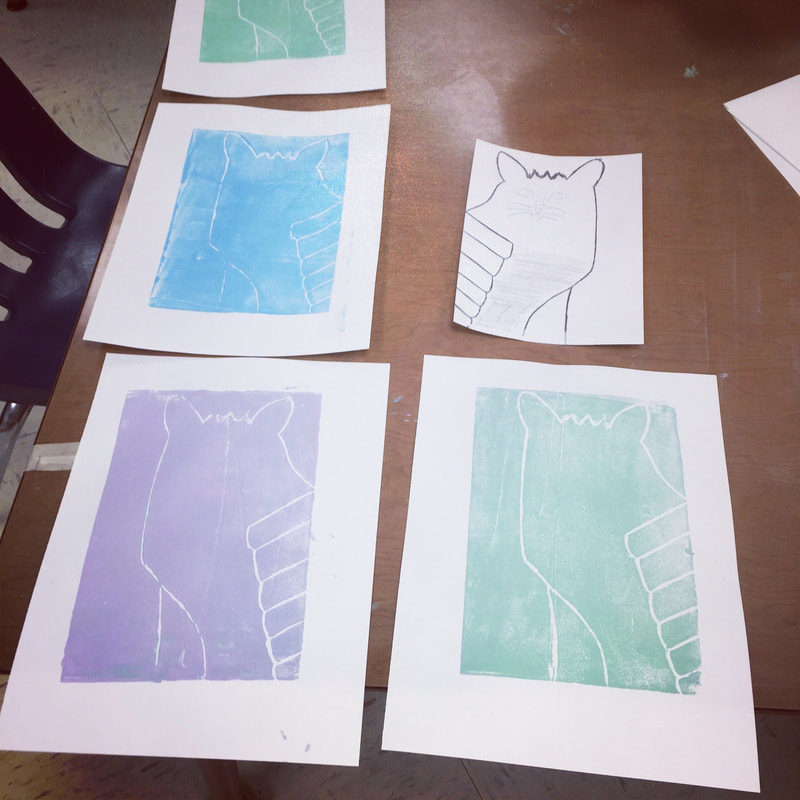
Students had some time to finish their sketches, but as soon as they had their design, it needed to go onto the 6X9 paper so they could start carving their stamp. To carve the stamp, they needed to tape the foam plate to the back and transfer part of the design to the foam plate with a colored pencil. I told them to ONLY transfer the background (keep it simple) and the outline of the animal.
Supplies
Pencils
colored pencils
6X9 foam
6X9 paper
tape
erasers
Printing:
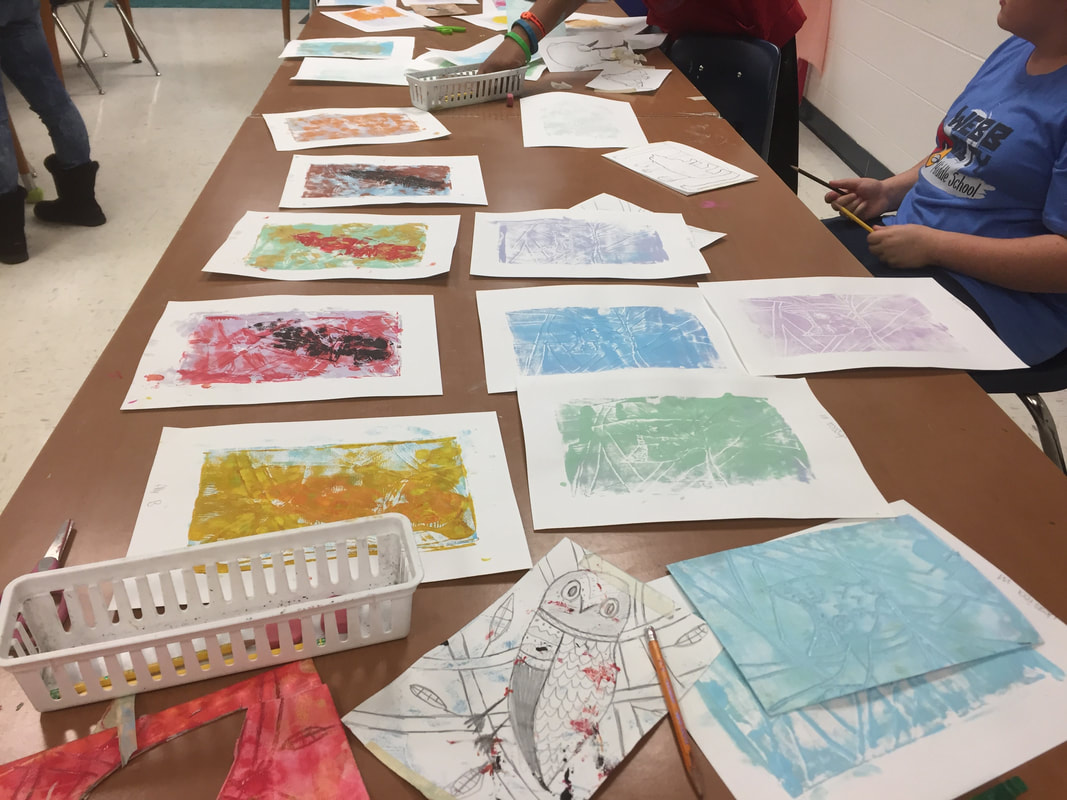
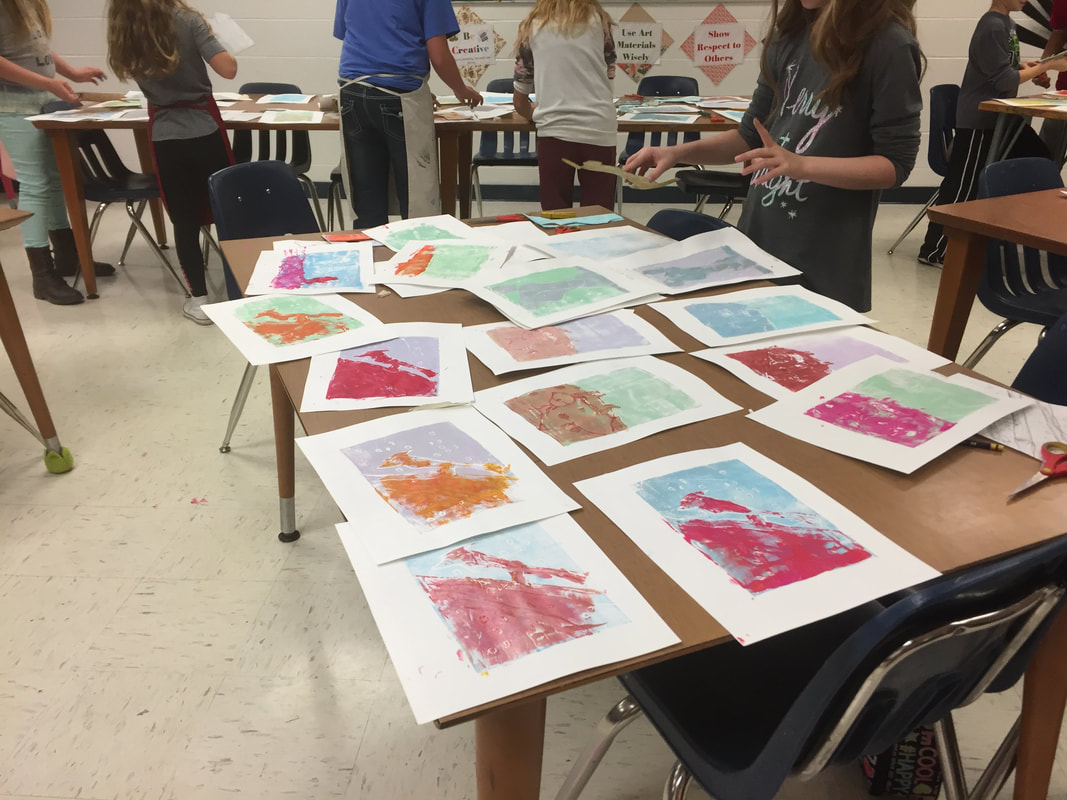
Since this is a reductive printing process, students only needed to transfer part of their design to the stamp initially. Then, they print 4 copies using light pastel colors. We used tempera paint for this layer. I mixed pastels (and completely ran out of white paint!) for them.
Even though I made a video and STRESSED many details emphatically, some students still got lost on this day because they carved too much or they missed a day or some other distraction made the whole process confusing for them.
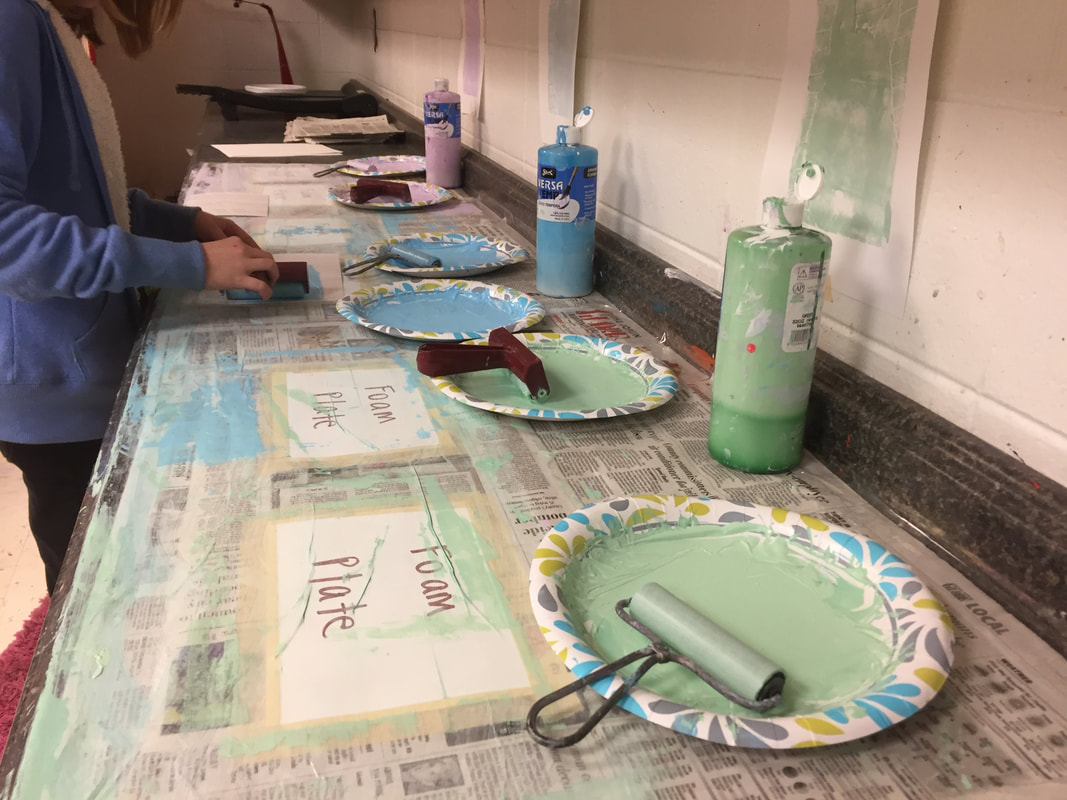
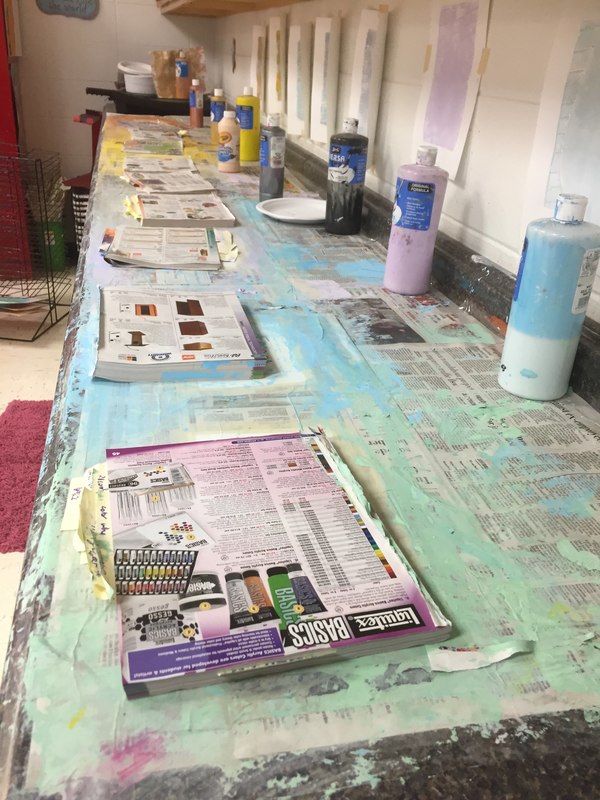
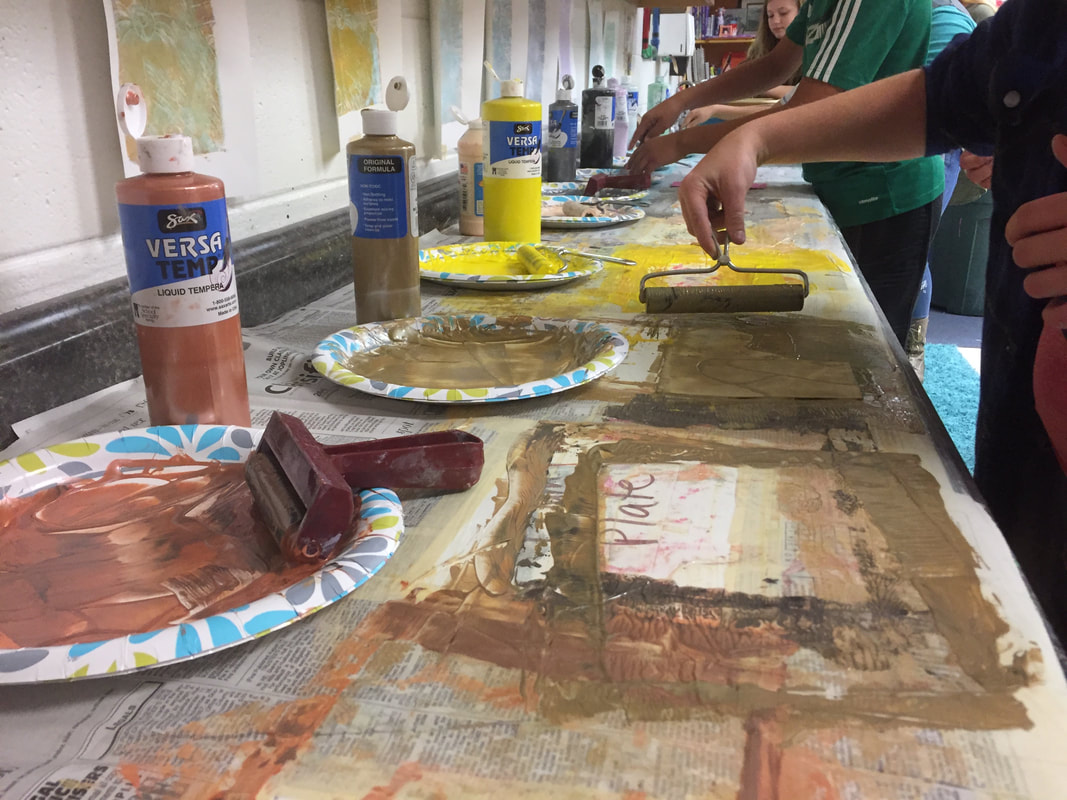
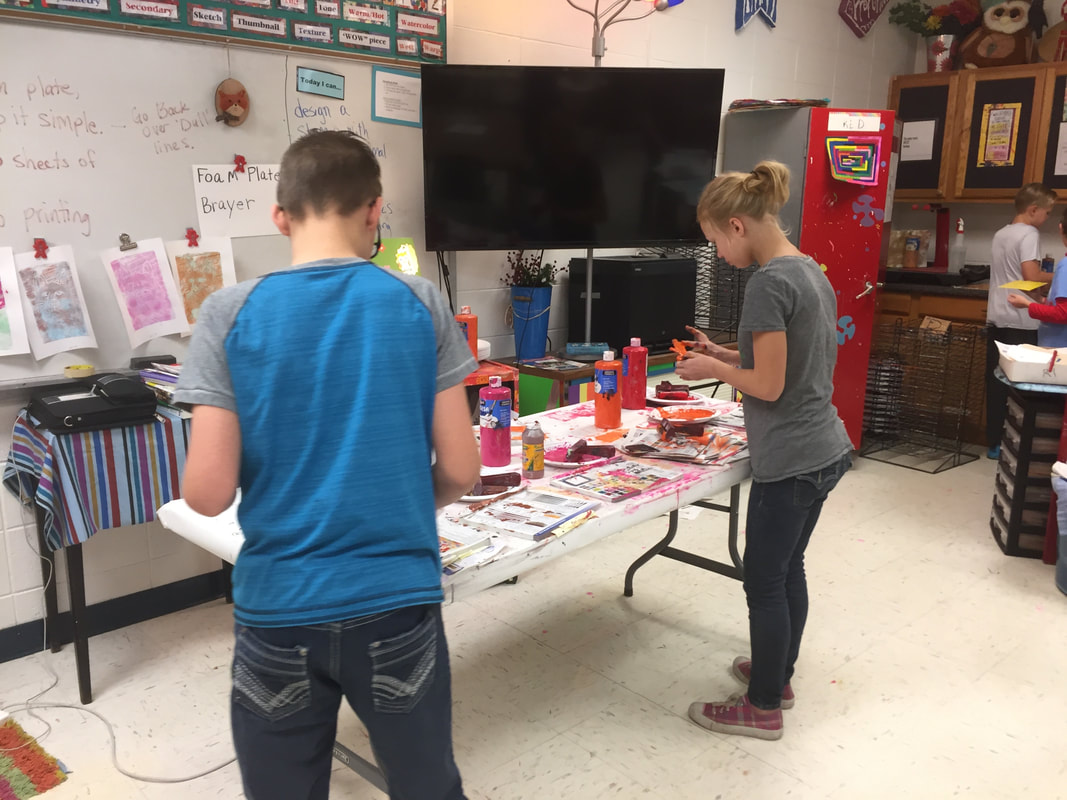
Students needed to write their name on 4 pieces of white paper and keep it at their table. Then, take their printing plate to the inking station, ink it up and then return to their table to print it. We did not clean off out block between colors since they were light colors. I thought I was being clever setting up the paint on paper plates...but after 3 classes the plates were shredded. NEVER AGAIN! Also, the inking station was so covered with paint, we started using old catalogs as cover sheets, which helped but since I was printing with 6 classes back to back, it was H-E-double-hockey-sticks keeping the surface clean and ready for each class.
Instructional video for day 1 of printing (day 3 of the project).
Supplies:
brayers
ink (pastel colors)
carved stamps
pencils
colored pencils
Day 4
REDUCTION DAY
Okay, for this day, I had to make sure that EVERY kid had their 4 base colors printed before they could transfer the additional details, print with their 2nd color and then cut out their animal and print with their third and final color on all 4 papers.
Once they cut their animal out, that was it, no going back.....This is where things really got dicey, especially if someone was absent. I made a video to demonstrate this part. I added tons of other colors to the options and I found that some just did not print well and many of the final editions are not great as a result. Live and learn.
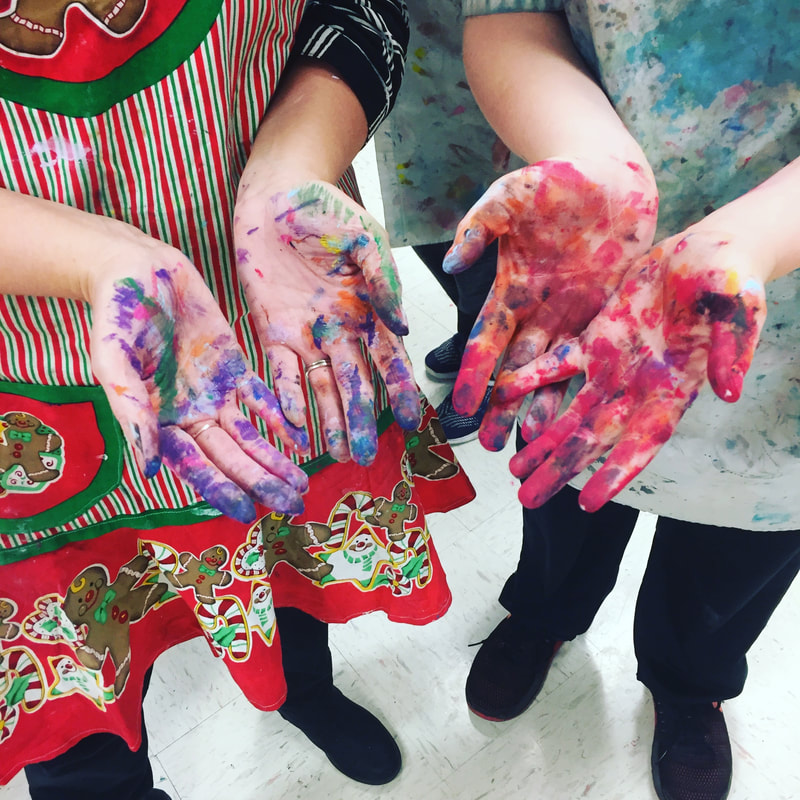
A lot of kids LOVED this day because it was a frenzy of moving around the room to the various stations, and it was UBER messy.
Instructional vides part 2 and part 3 of the reduction process. I made two separate videos but most kids did both steps the same day.
Supplies
Foam stamps
4 pieces of paper with background printed
brayers
Ink (we used paint, I don't recommend)


 RSS Feed
