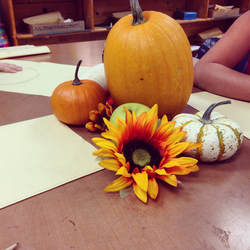
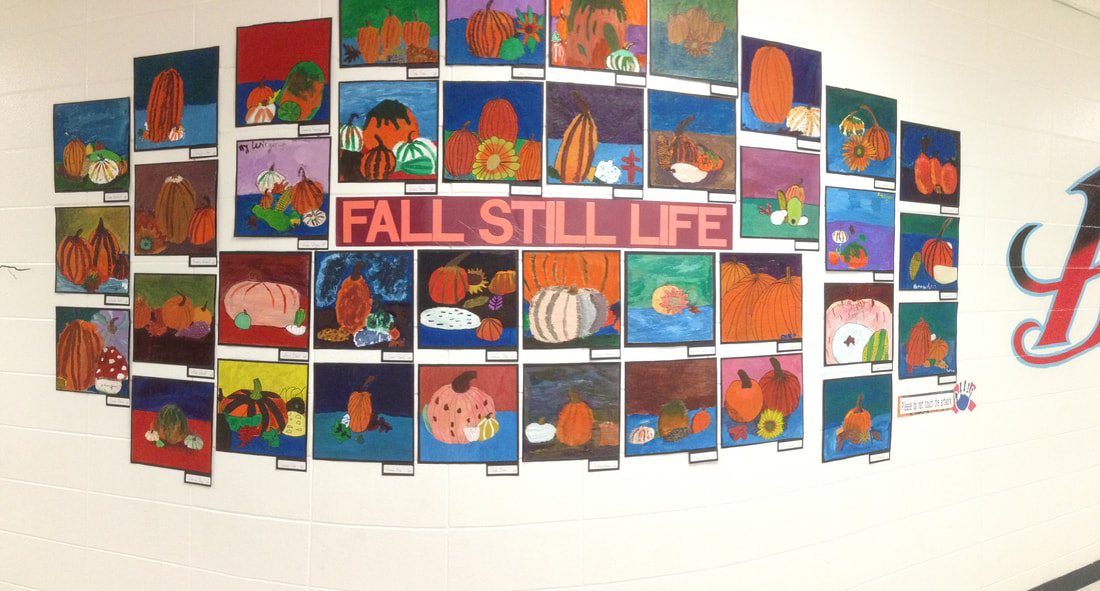
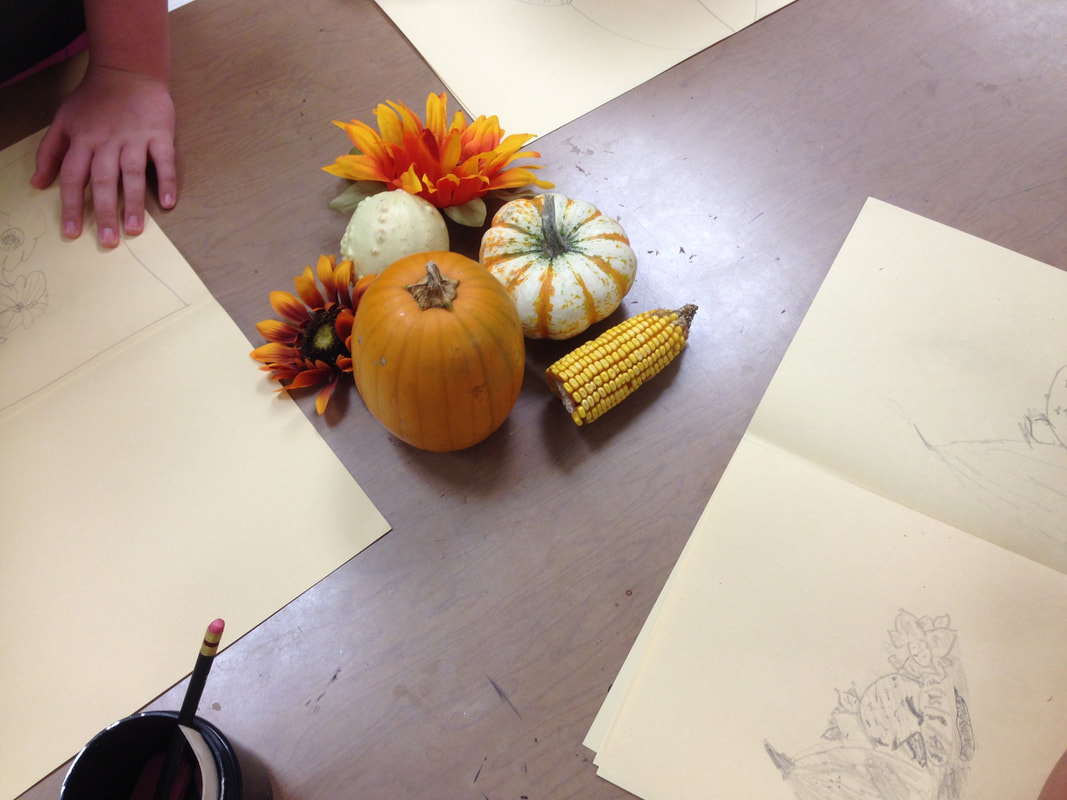
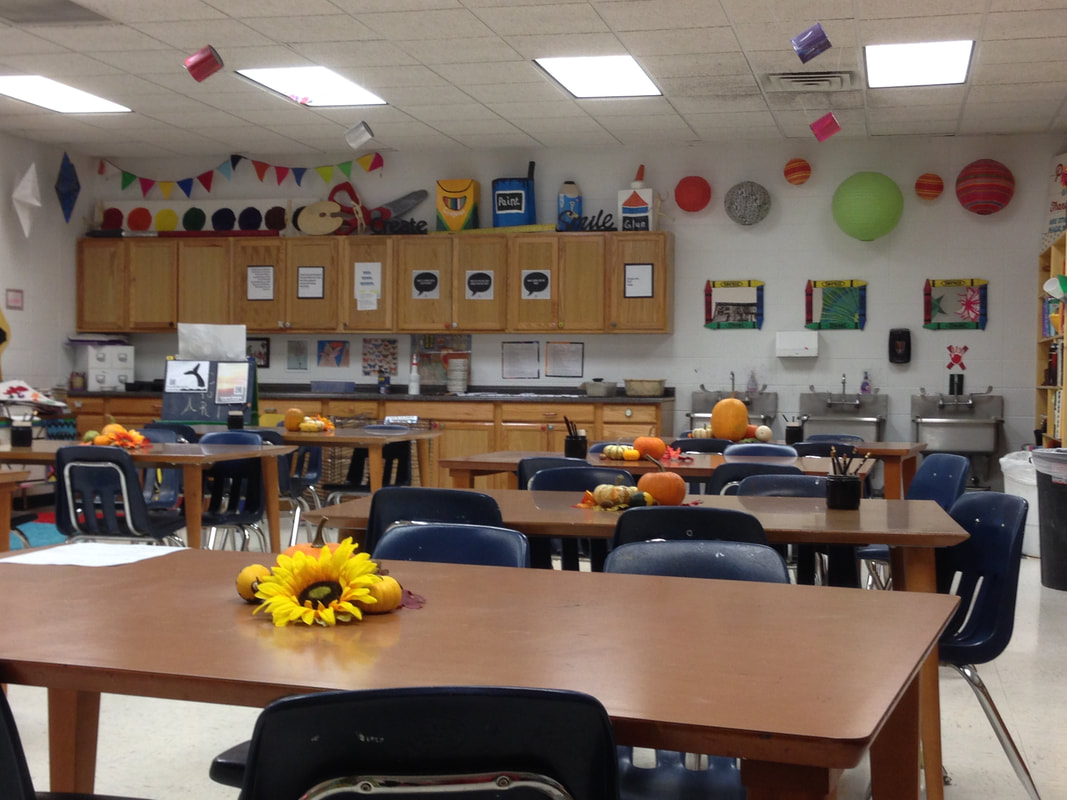
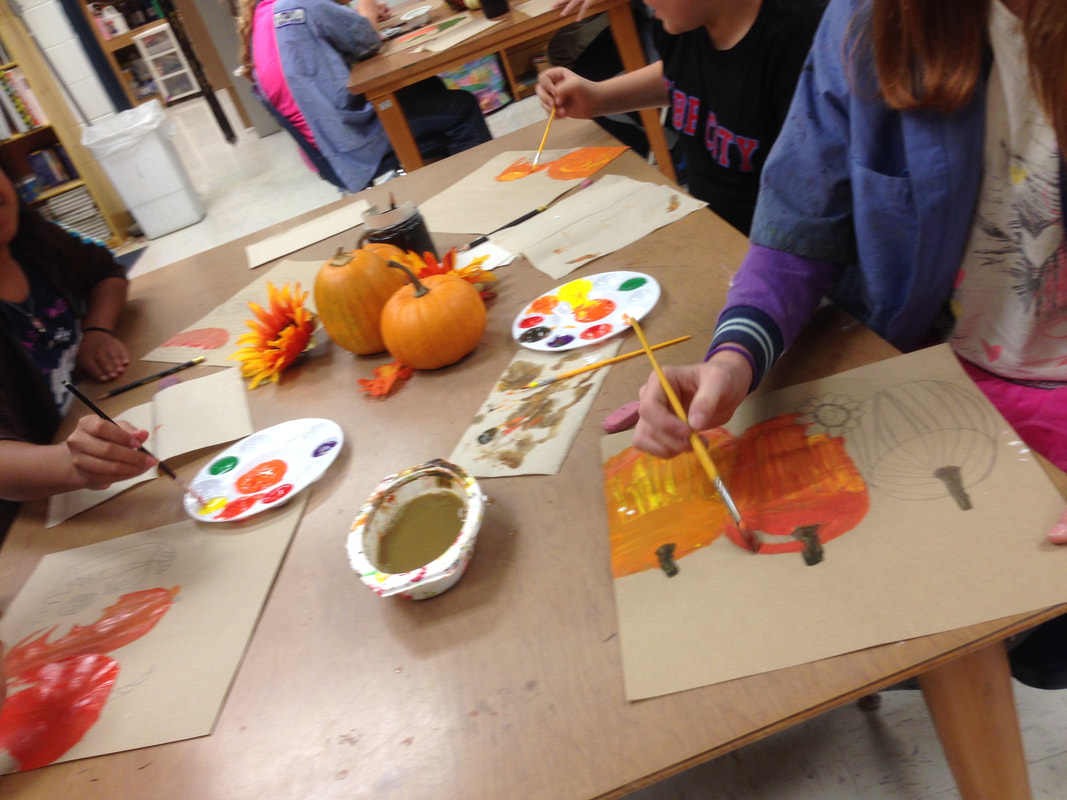
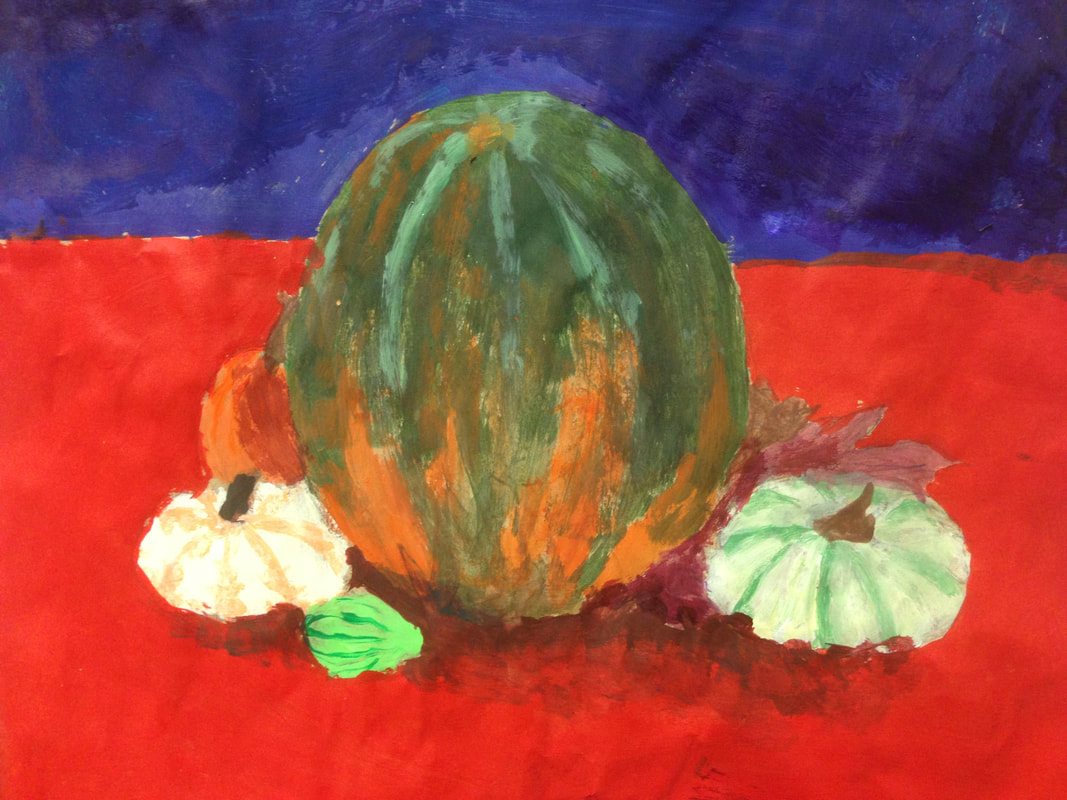
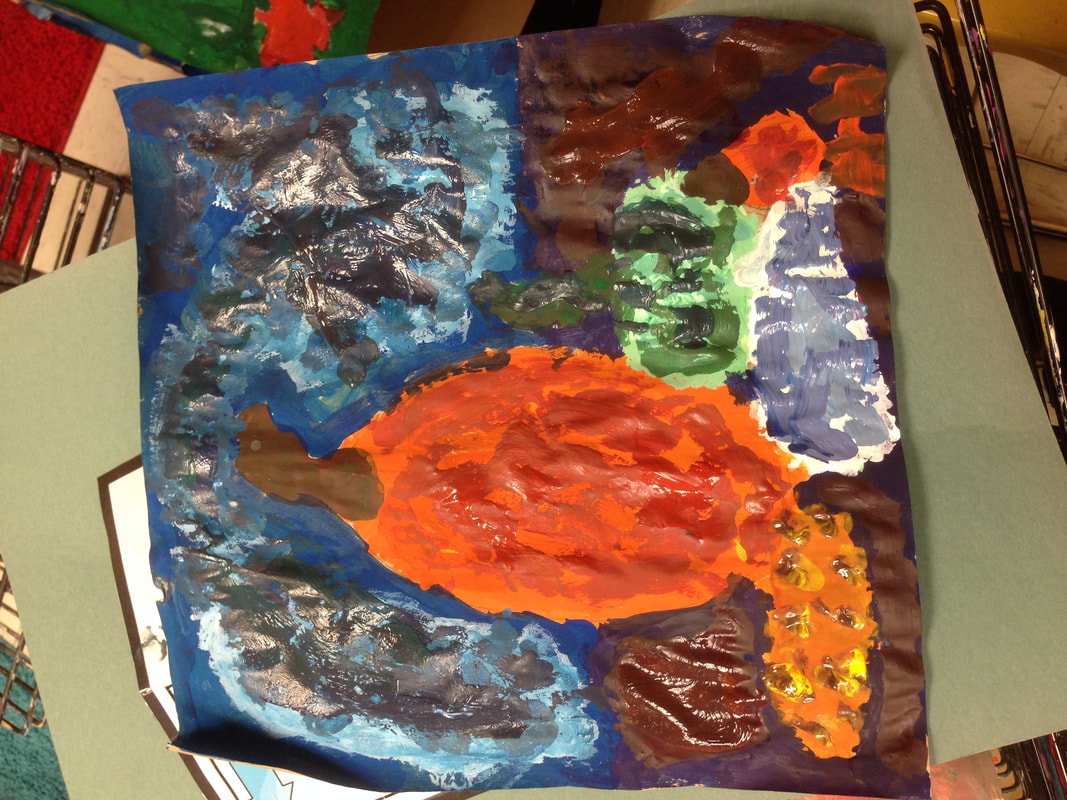
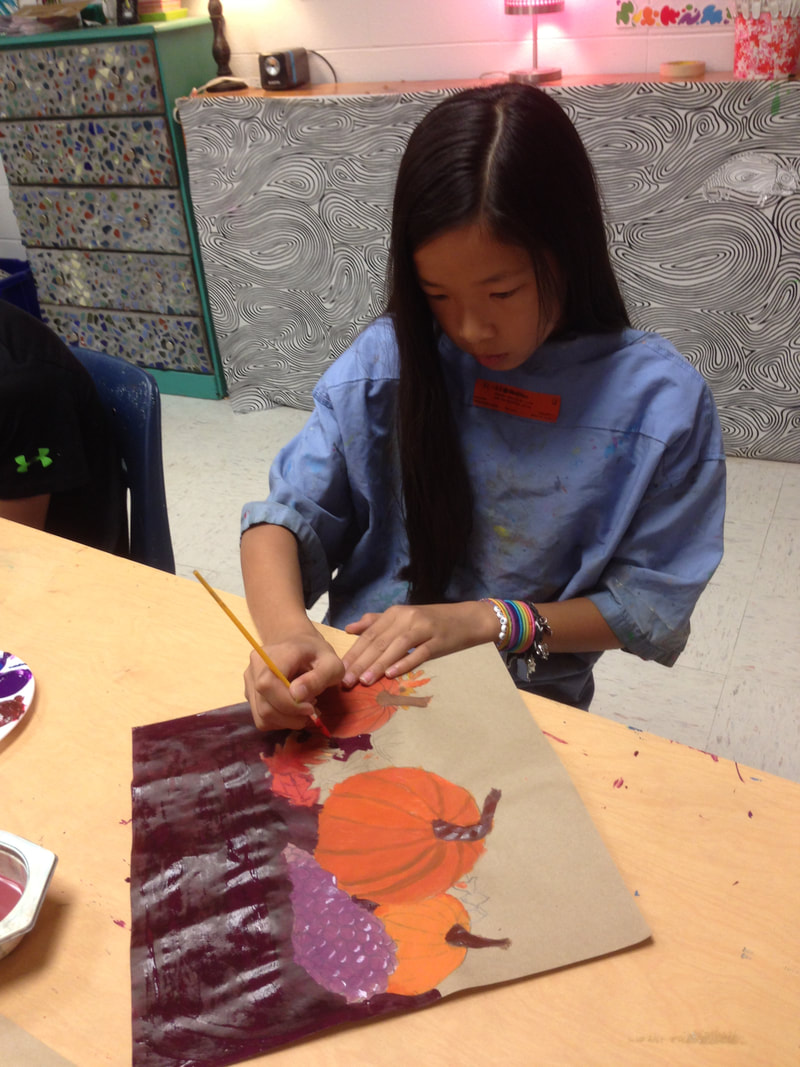
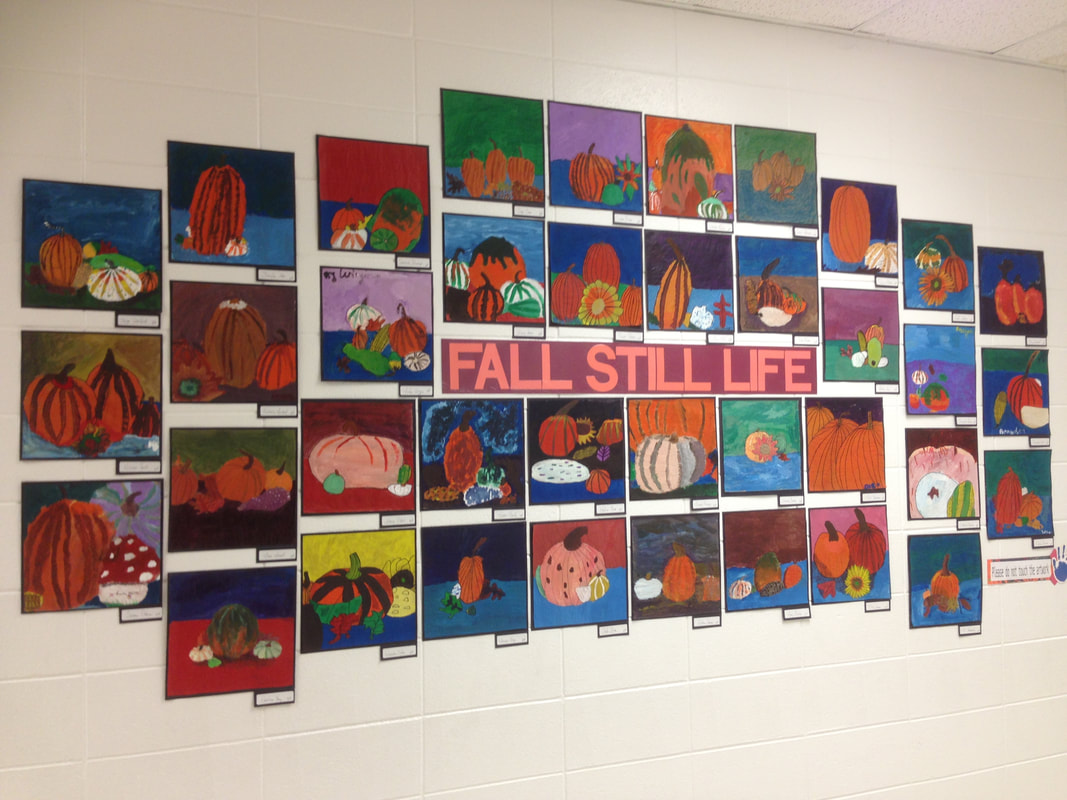
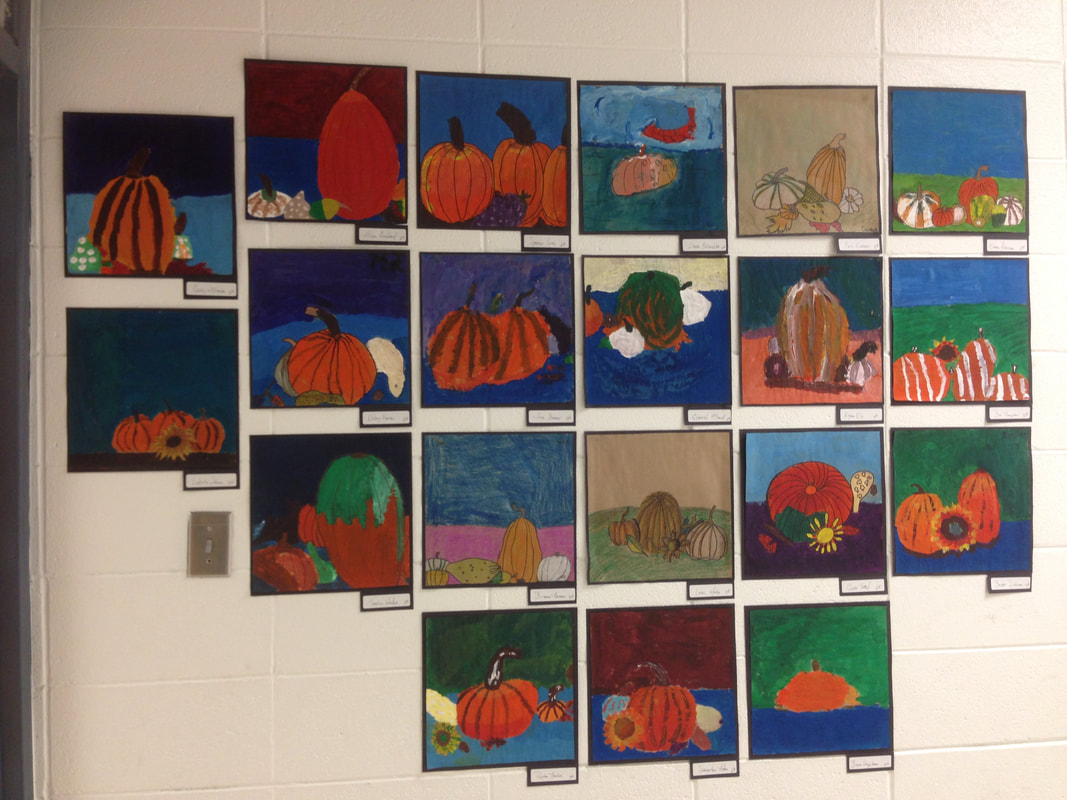
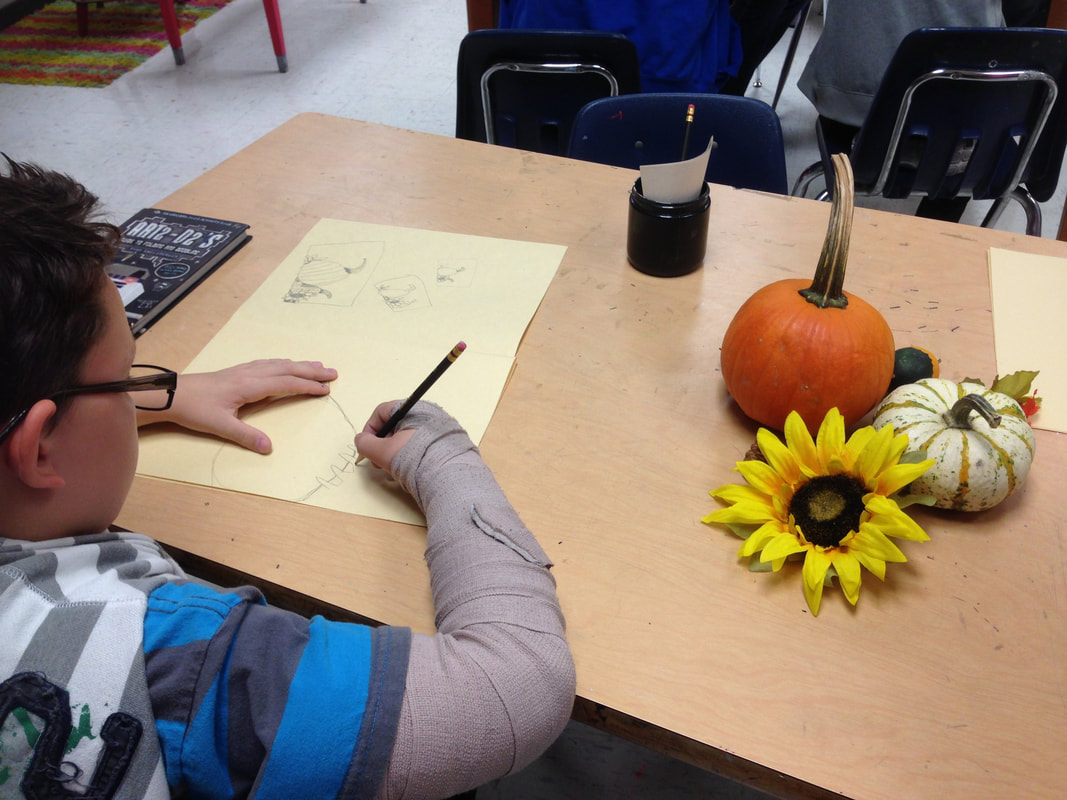
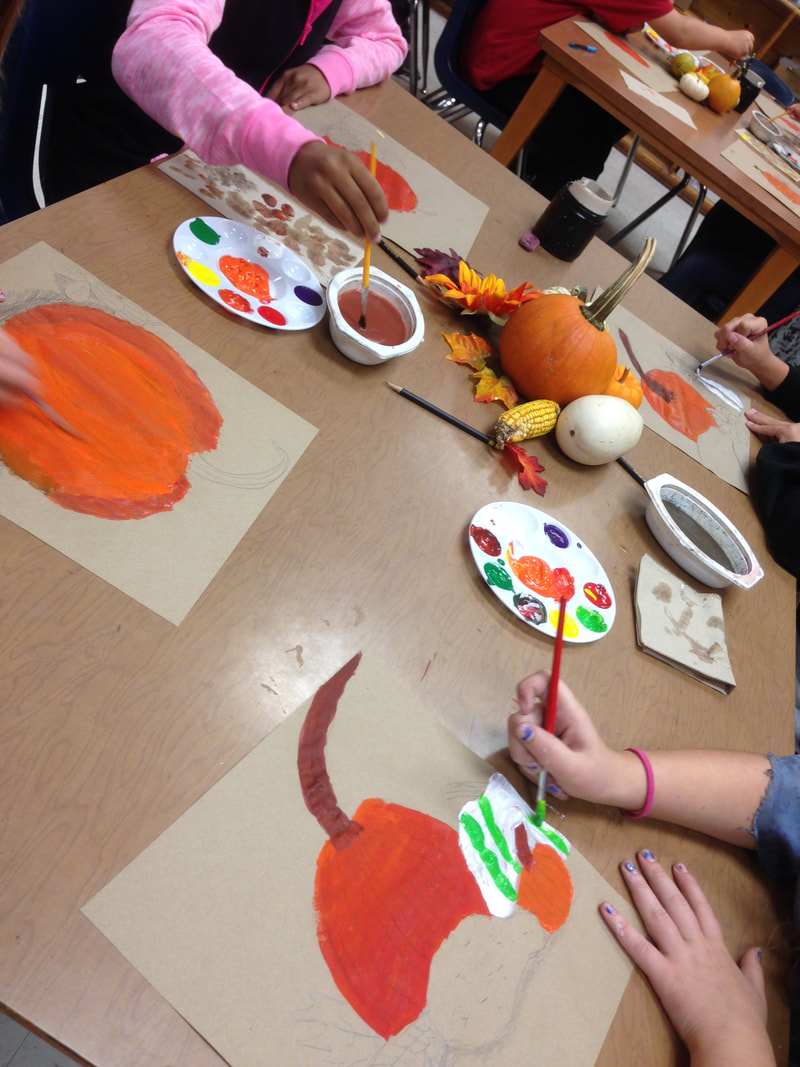
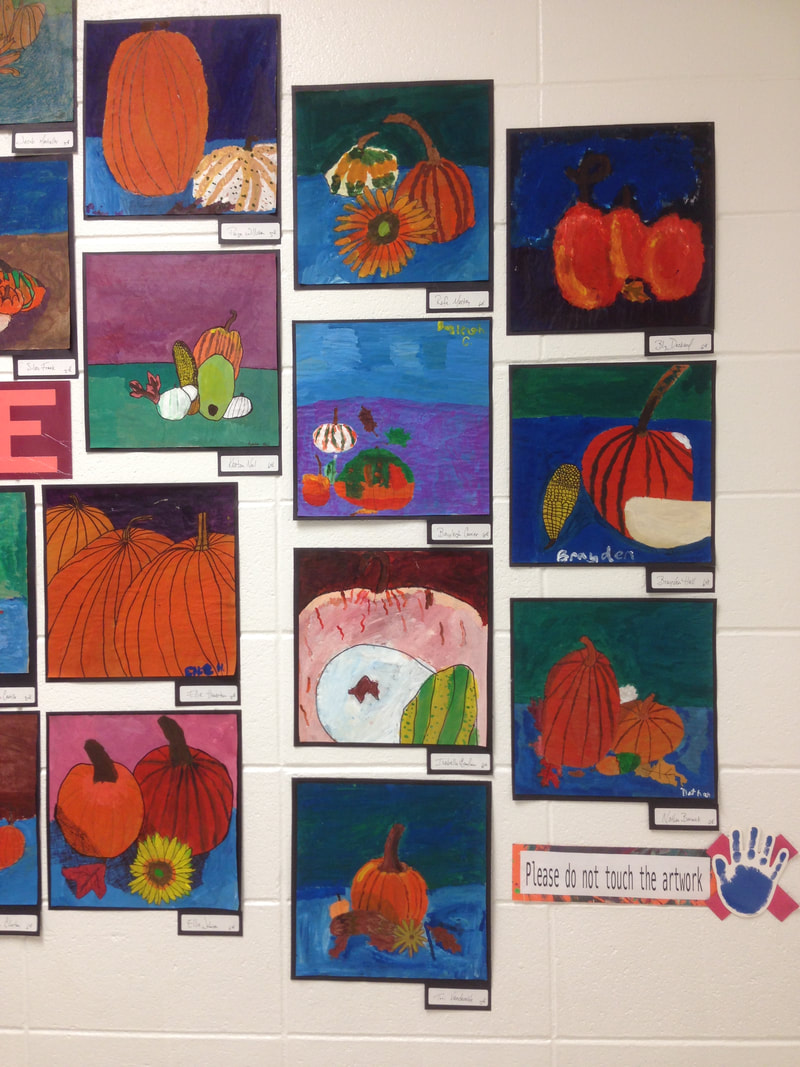
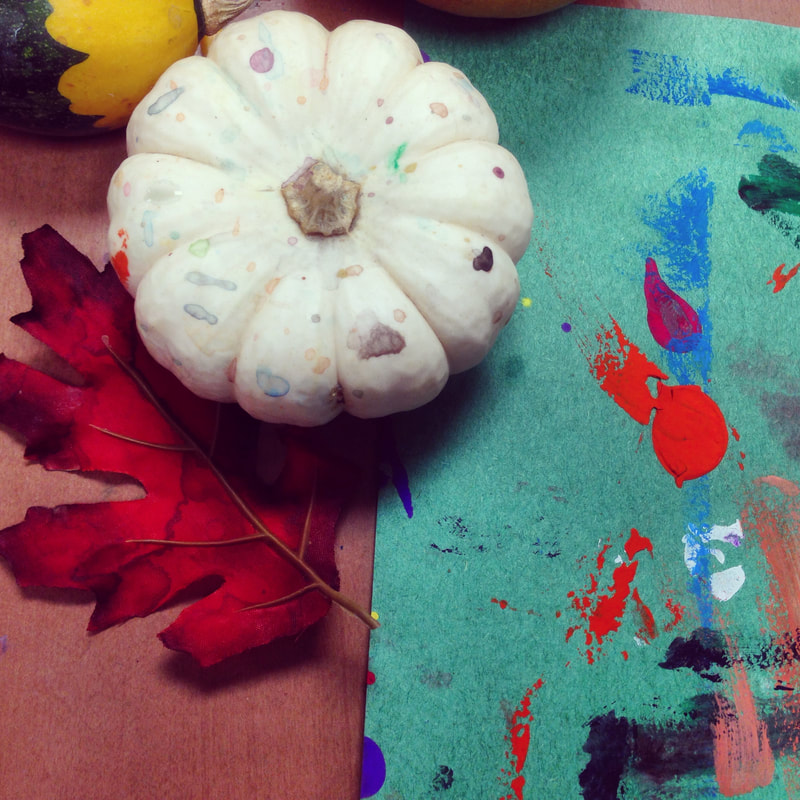
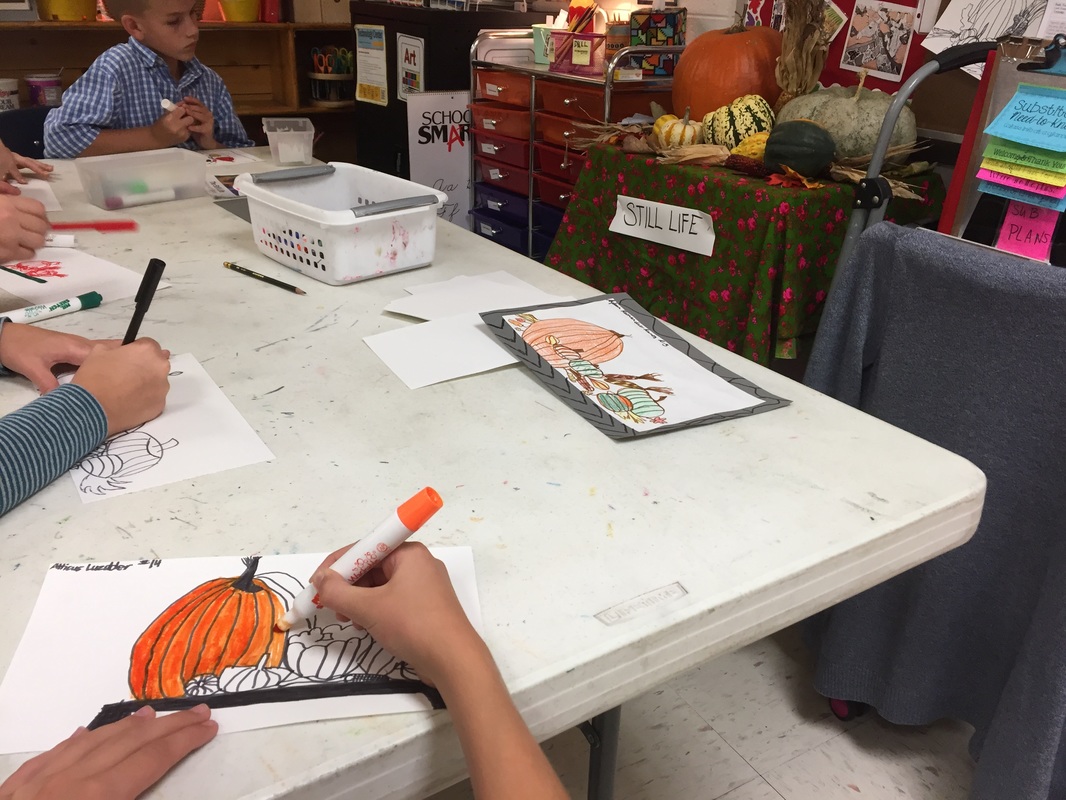
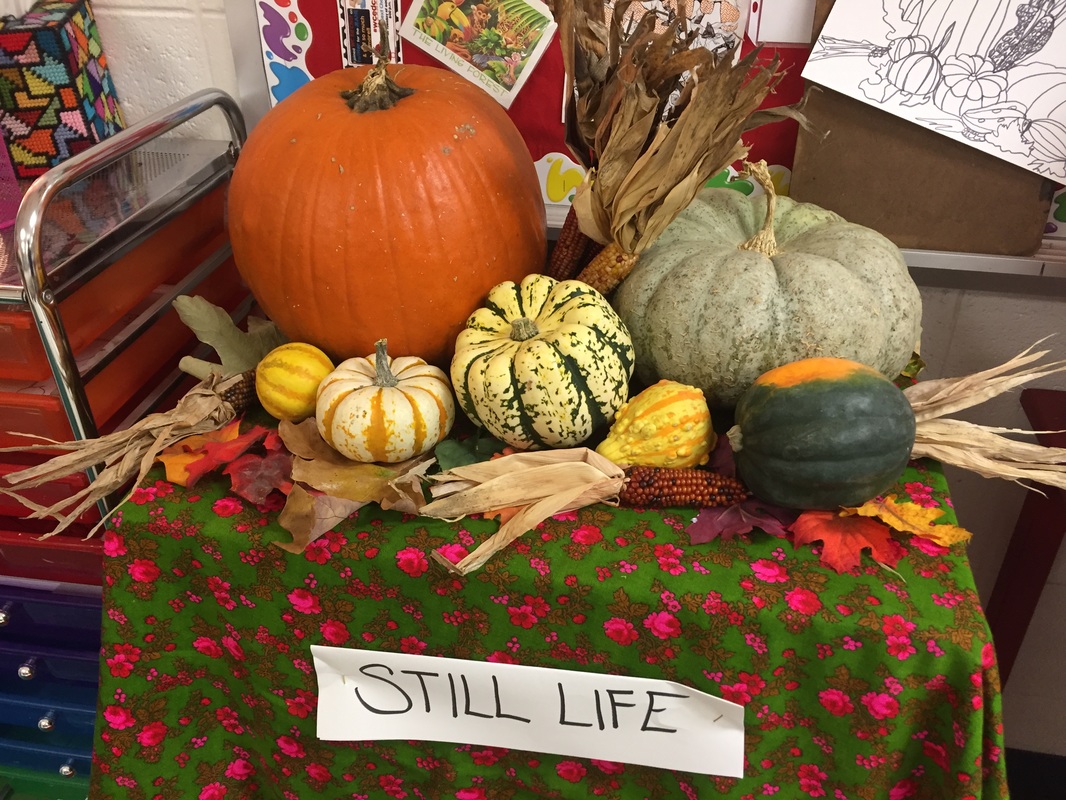
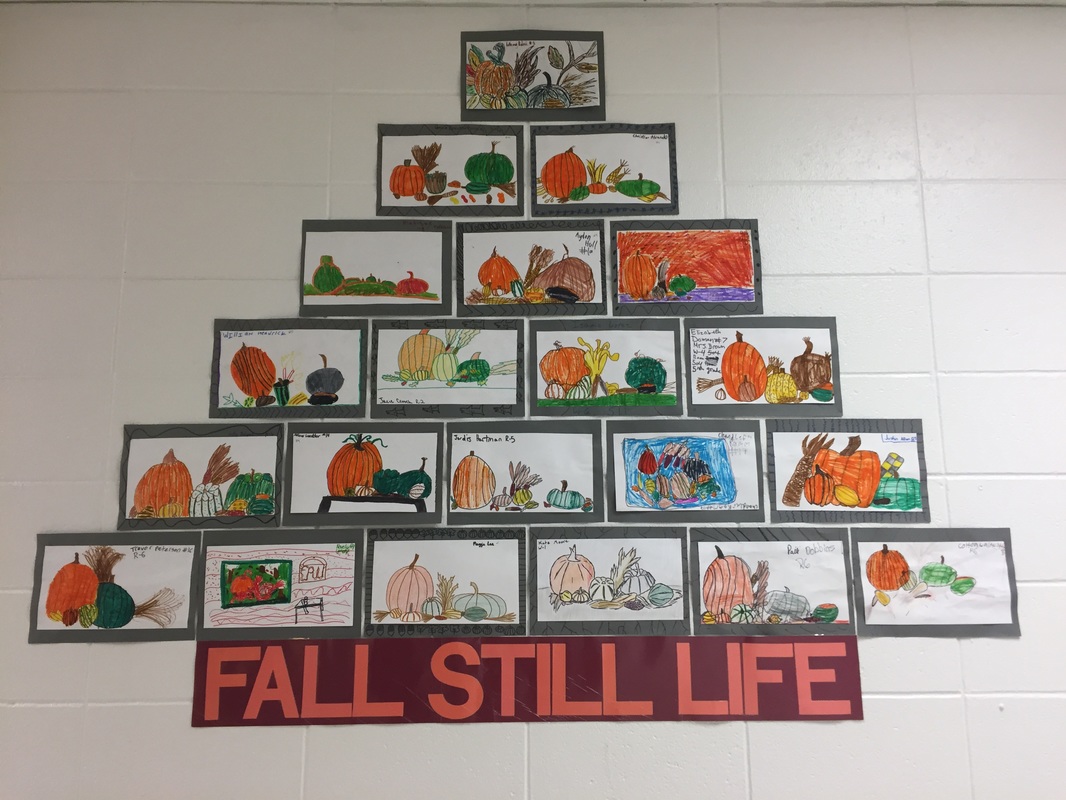
I set up a still life made of up of fake leaves, fake sunflowers, fake fruit, with real pumpkins and gourds on every table. Students practiced drawing them, and then tried to 'zoom' in and draw a close up of some element of their still life on bigger 12X12 brown craft paper. We painted them still life pictures with acrylic paint....and we did not outline anything in sharpie. For that I am proud. I am guilty of black outlining everything. (a few kids wanted to and I let them, but it wasn't required)
We really focused on overlapping and value. Students would have to draw the textures in their sketches so they could paint them later.
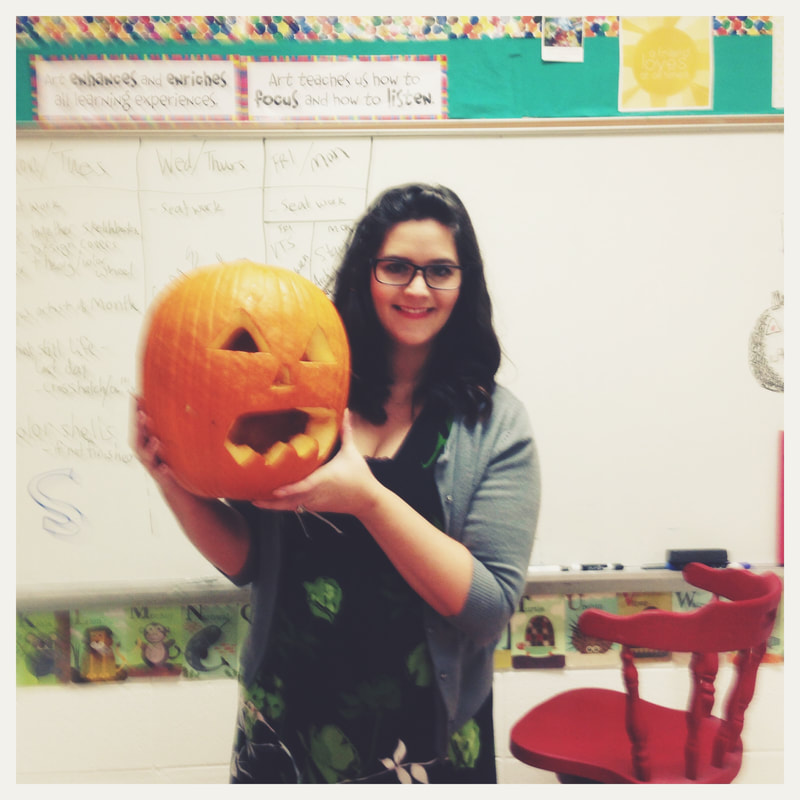
This was also the year that a boy carved a pumkin and brought it to school for me! So thoughtful!!
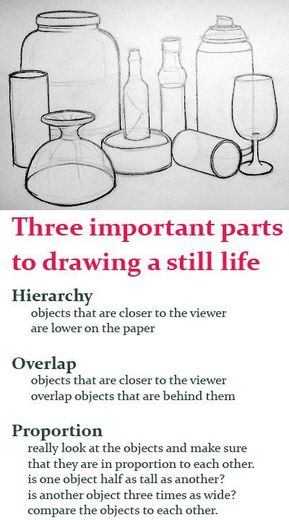
Look at a slide show about still life art. Focus on word: overlapping, hierarchy and proportion. Practice drawing the still life on the table in your sketchbook with a pencil. DO NOT move the objects. You could move around the table, but don't move anything, they need to be basically the same for each class. Once you have selected a view (I think we did several warm up sketches). Begin drawing it on 12x12 brown craft paper. Try to 'zoom' in on the objects so you don't have as much background to fill in later.
Day 2
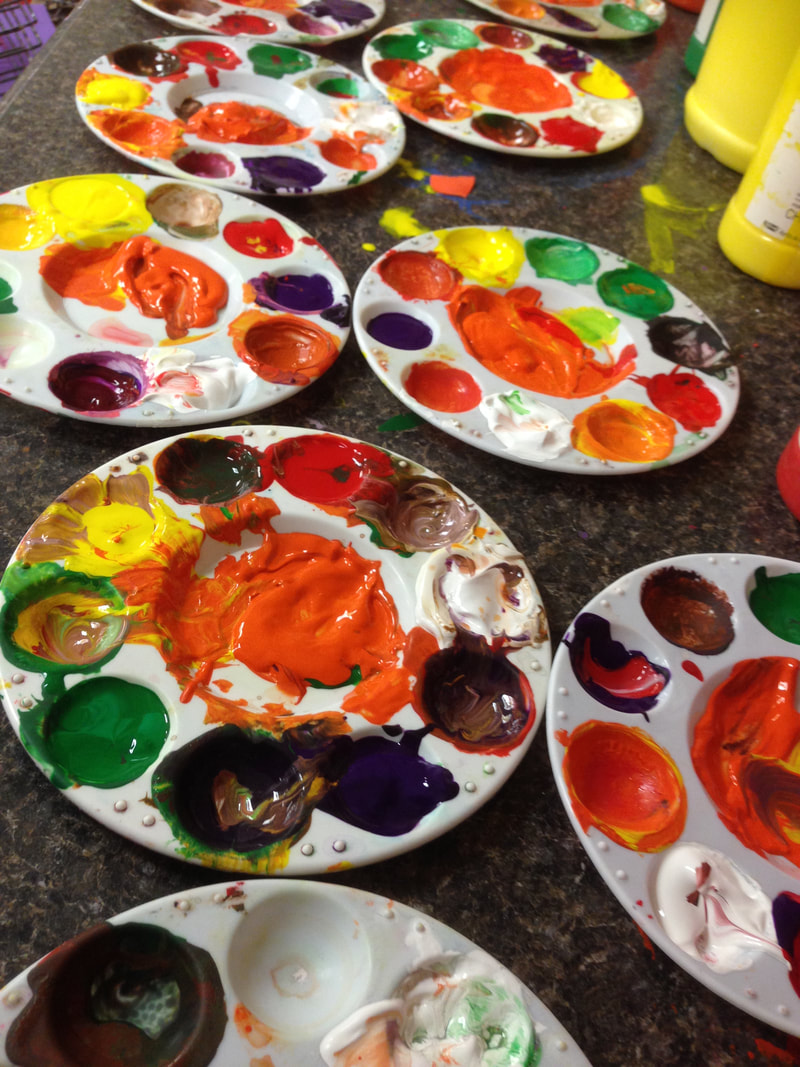
We talked about color mixing to get a variety of tints, shades and types of oranges and greens. Students need to mix enough of the color that they need for the object they are painting, paying attention to shadows and highlights. Also, this is just the first layer, we will go back and add visual texture on top, once this dries.
Day 3-4
Adding shadows and visual texture. Also, finish painting the background. Watch this video on how to finish the still life. Early finishers can use 6X12 brown scraps to paint a fall painting, could be a sign or a free time just for fun since we have all this paint out.
Supplies
pencils and erasers
still life objects
12X12 brown craft paper
palletes
brushes
acrylic paint
water cups and paper towels


 RSS Feed
