Nichole Haun's color scheme bugs were perfect for my students. We had already gone over color schemes pretty extensively so we didn't focus on that too hard for this project, I mentioned color schemes, but I didn't spend a ton of time on the instruction going over color schemes again.
I did use part of her video for the metal tooling steps, which I will share below.
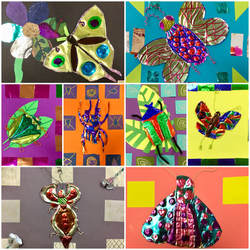
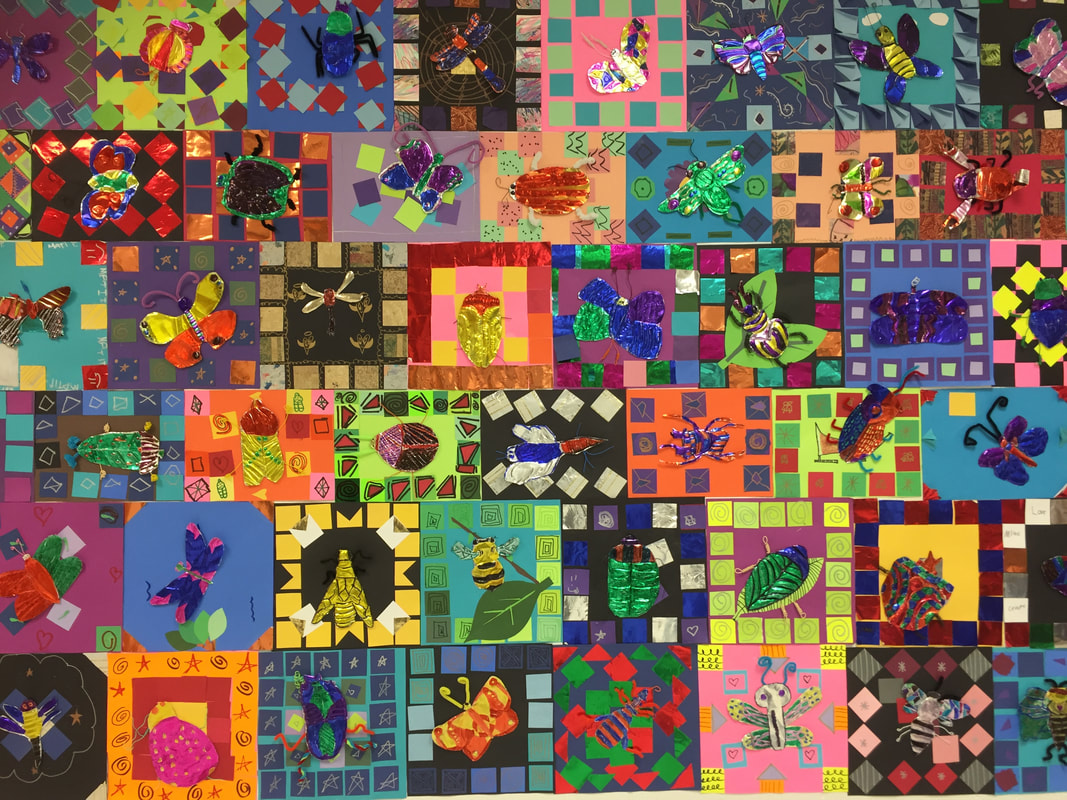
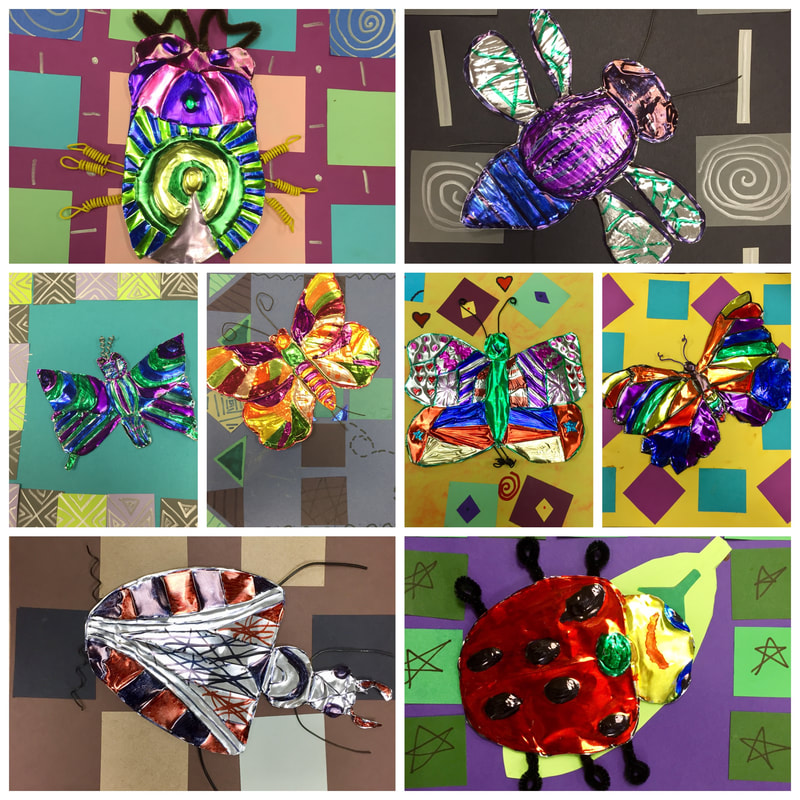
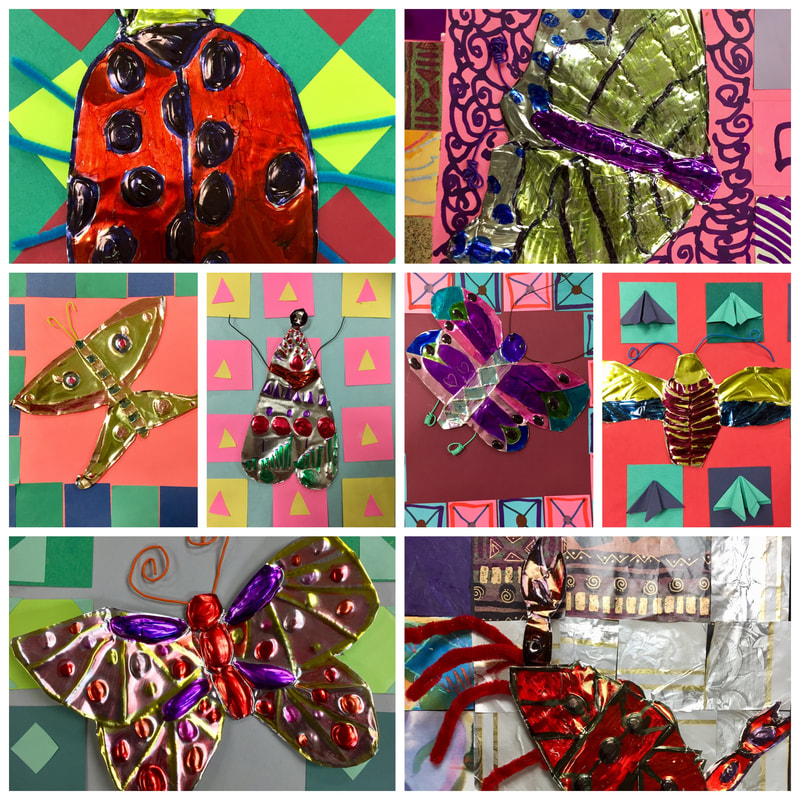
My students really enjoyed this project and I did too because it wasn't crazy messy....and it involved a lot of different media we don't use very often....also, MANY students were highly successful. I was sick throughout the entire process so I didn't take any 'in progress' photos, I only have finished products to share, but I hope you find some inspiration here.
We started by practicing some bug sketches. I made up a packet of visuals for each student (4 packets per table, shared amongst all the classes). Students could pick a bug from the packet, but they needed to choose something a little harder than a lady bug, because some of the bugs are pretty simple. They needed to practice on a dry erase board and then they could start on the real paper which was 6X9.
I had cut the aluminum metal roll into roughly 6X9 sheets. Some were a little bigger, some a little smaller. I encouraged students to draw the insect as big as possible on their paper so they would not waste too much of their aluminum. They did not need to draw thin little antennae or skinny little leg segments, as we would add those later with wire, but they did need to study the bug enough to remember those parts.
Once they had a good sketch, they brought it to me so I could tape their sketch to a piece of metal. I tried to match up the sketch with the right size piece of metal. If they drew their bug too little, I made them try again. A few kids had the idea to draw the body and the wings separately, like with dragon flies and butterflies, and those turned out great.
Some classes were not giving me much detail in their insects so I showed them Austin's butterfly and it helped inspire some kids to try again when I gave them a little more specific feedback.
To transfer the bug to the metal, students followed the directions in Nichole's video. We only watched part of it, as they would not be cutting it out or coloring it today.
Supplies:
6x9 paper
dry erase boards and markers
pencils
colored pencils (to transfer to aluminum)
thick sheets of aluminum (I buy from school specialty)
felt
plastic metal tool (i tried to find a link to this but I can't figure out what to search for)
I was absent for day 2 of this project. So I had to leave a sub plan. Here are the instructions that I left for the sub.
Today’s lesson involves making a paper collage, which will be the frame for the insects we started last time. Students will need to use a color scheme for their frame. The possible color schemes are listed on the board on the west wall and we have been discussing color schemes for a while so they should be able to pick one quickly and easily.
Project Steps
- Explain that students will be making a collage. A collage is a design made by cutting and gluing shapes to a paper.
- Students will use scissors and glue sticks to complete their designs and if they need extra glue sticks, they can get more from the container at the front of the room. If they want to some of the papers, that is fine as I taught them some easy folds at the beginning of the year like the kite, hat and samurai fold.
- As they cut out shapes, they need to put their scraps in the paper pal or in the paper store tub for others to use. The paper store tubs are labeled and the big background papers are spread out on the table at the front.
- Don’t leave the scraps in the table top tubs as those are filled with small ‘good squares’ that we will be using all day. You will need to point out where the paper is for the paper store and send them up 1-2 tables at a time to go shopping for paper for their background. While some are shopping, the others can go through the tubs on their table to pick out colors for the collage. Some of the table top tubs may not have all the colors they need for their collage, it is up to you if you want to let them go to other tables, I would probably let them if they ask but not if they just want to wander around.
- When students have finished their collages, they will put them in the drying wrack, but students need to make sure their NAMES ARE ON THE BACK. I put pencils on the tables for this purpose.
- If their collage is really simple, encourage them to go back and add more small shapes and details so that it will look interesting with their insect on top. They can’t just glue 3 small squares and call it finished. Encourage them to use patterns and they can overlap various shapes if it looks interesting. If they want to cut out a leaf shape, they might want to fold the paper so that it is symmetrical and lightly draw it with a pencil before cutting it out.
- If they finish early, they may get a coloring sheet or a free sheet or origami, but they must stay busy while others are finishing.
- I left a sweet book on my desk if you find that the classes are finishing quickly and you want to read it either at the beginning or the end. Please try to maintain the schedule, there are only 2 minutes between classes so if you get off track it throws the whole day off.
Tips about the drying wrack for the sub:
- Try to only put one class on each side of the drying wracks.
- When the class leaves, put a note on top so that it is labeled with the teachers name or the class code so I will know which class it is when I take them out.
- You will have to turn the drying wrack around after each class leaves so the next class will have an easily accessible side to put their papers in.
- Always start filling the drying wrack from the bottom so that everyone’s paper will fit.
- After two classes, trade out an the full drying wrack by setting it on the floor and put an empty one on that table so it is easy to fill up again with the next two classes.
- All six sides will be completely full by the end of the day and with the biggest classes, you might have to double up some shelves so they will all fit.
Supplies
2X2 squares of construction paper and other specialty paper like scrapbook paper
12X12 and 9X12 background paper
glue sticks
scissors
pencils
After being gone and very sick, I was finally back to finish up the project. Today, I demonstrated how to cut out the insects, how to add wire or pipe cleaners and how I would hot glue their bugs to their background.
Students used skewers and chop sticks to wrap wire, like is shown in the video. They used permanent markers to color their bugs and scissors to cut them out. I had students save their metal scraps by wrapping them up in their old bug sketch, which still had a little tape on the edges, they made a little envelope so save it for later. Then they used glue dots to attach the wire. When they had everything ready, they brought the bugs up to the front where I was waiting with my glue gun to attach their insects.
I was still not feeling great so I made a little video to help explain the process for getting wire and using glue dots. I think I had another video but I can't find it so I think I deleted it.....
Supplies
permanent markers
scissors
glue dots (I needed about 4X this many)
wire (twisteeze, pipe cleaners, stovepipe wire)
hot glue gun and hot glue
chopsticks for wrapping wire


 RSS Feed
