THIS LITTLE CLASS OF MINE
  • Home
  • Contact Me
  • Lesson Plans

Pete the Cat

10/18/2013

0 Comments

 
Picture
I searched and searched the internet for the perfect Pete the Cat lesson. I found TONS of great ideas and put them all together for one fantastic kindergarten unit. I did this in September...and I was a little disappointed at first...but then I took a deep breath...and reminded myself: IT IS ONLY SEPTEMBER, and they turned out pretty cute. However, I know this would've been a supremely successful unit a little later in the year. 

Week 1: We watched the Pete the Cat 'I love my white shoes' video on Youtube. 

I explained that we were going to be painting Pete the Cat and the kids were very excited! They love Pete!

Step 1:
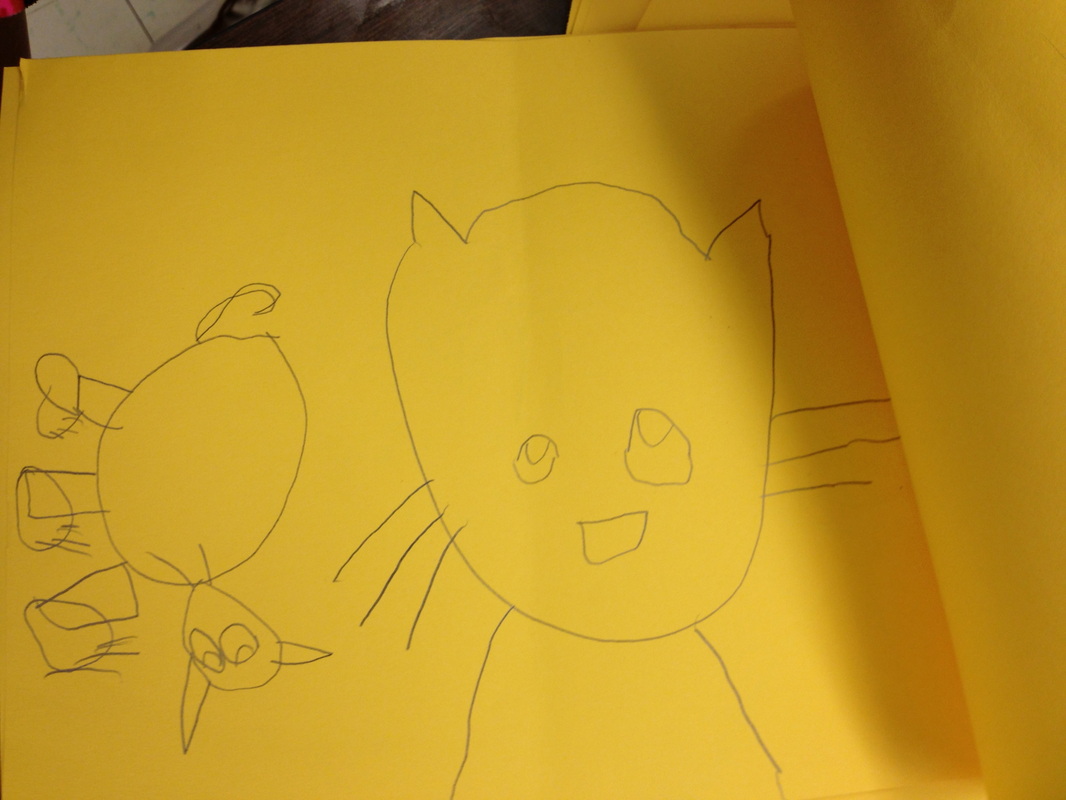
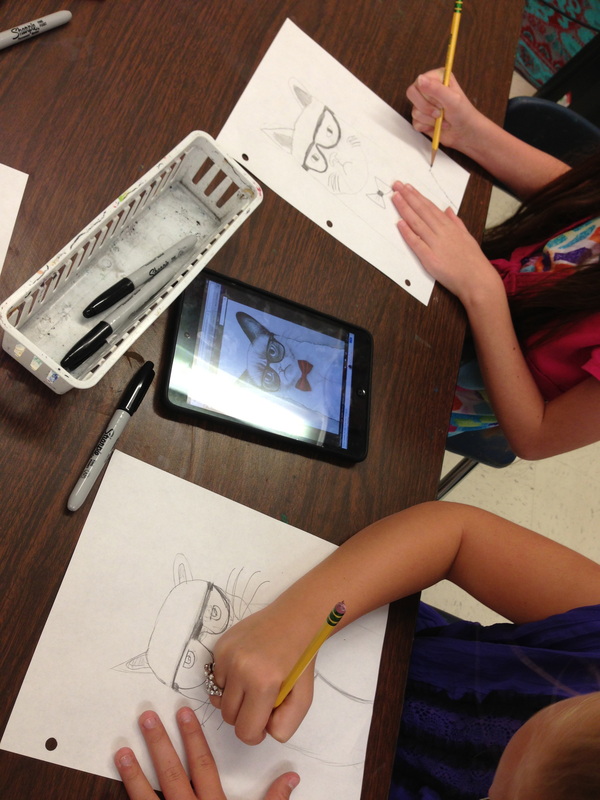
Demonstrate how to draw a 'portrait of Pete' from the 'shoulders up'. I gave everyone a yellow 9X12 paper, that was folded in half like a book. 
Students drew along with me, step-by-step, drawing the head, neck, ears, eyes, nose, etc. On the other 'half' of the fold, we drew Pete's body. I explained that this would be 2 versions, or two different poses. I had a copy of the book, and I pointed out images that showed a close-up portrait, and an 'action' shot of Pete walking in his shoes. 

Students wrote their name down the fold, and slid the drawing into the middle of the table. This yellow paper is the practice paper. Students had to choose their best version for their painting, which we would be doing next. If the action shot was hard, choose the close-up portrait.  I picked up all of the yellow practice books while students put on paint shirts. 

Picture
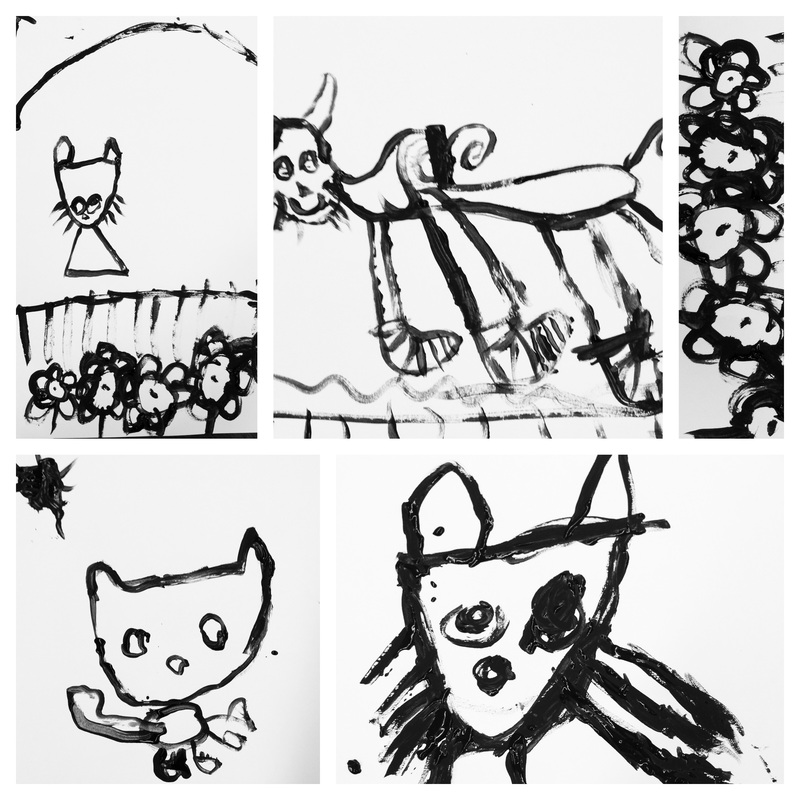
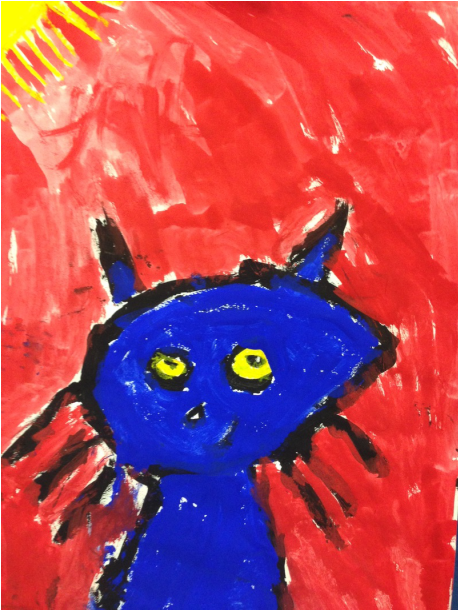
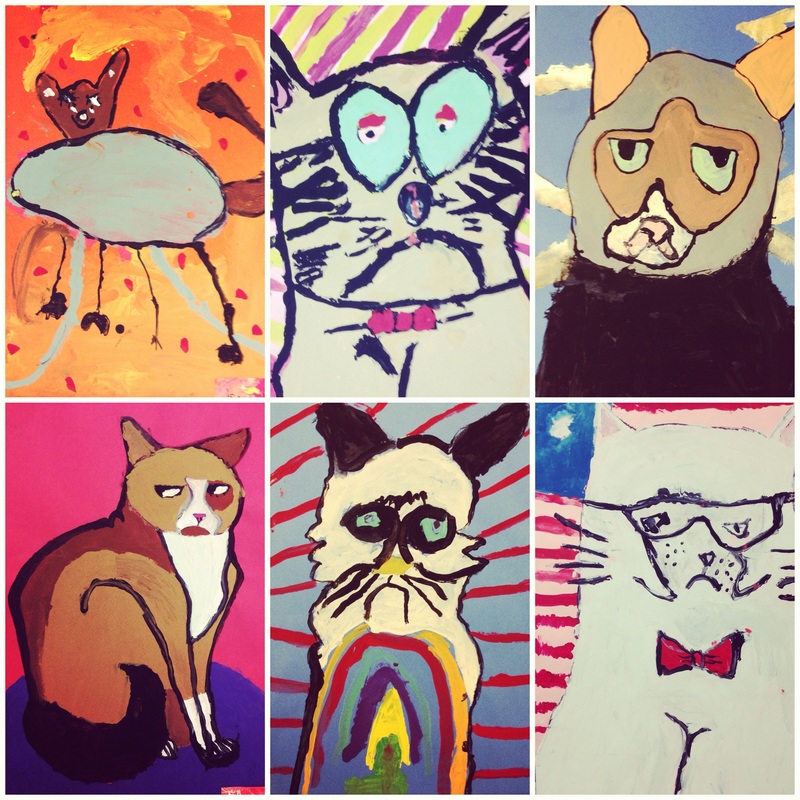
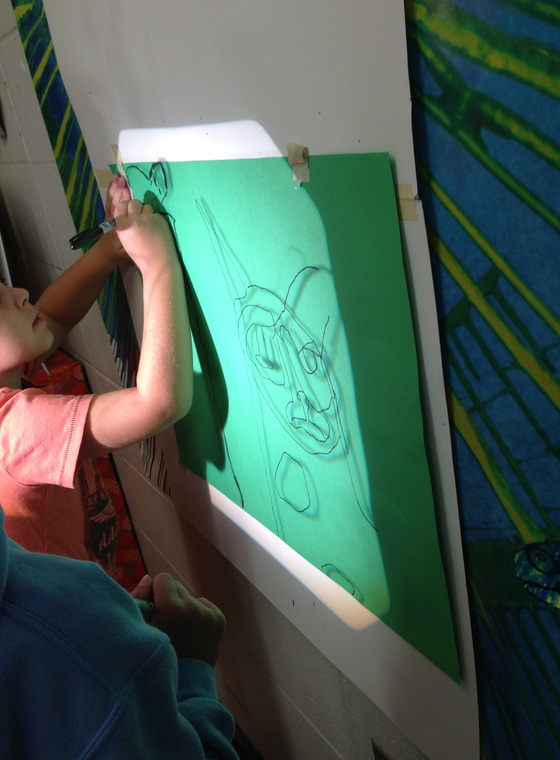
Step 2: On the board, I taped up two sheets of 12X18 white paper. I used a small brush dipped in black paint to paint both versions of Pete: the portrait and the whole body with his shoes. I explained as I demonstrated that students needed to paint each shape large, and if they made a mistake, try to 'make it work' and DON'T paint the whole paper solid black. We can always paint over a little black blob, but if the whole face is solid black, that is harder to fix later. 
Picture
Picture
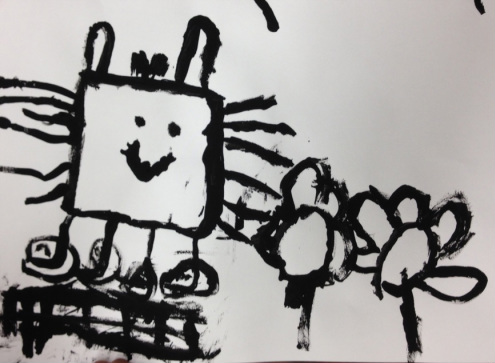
This reminds me of a little 'mine craft' cat...teehee. 
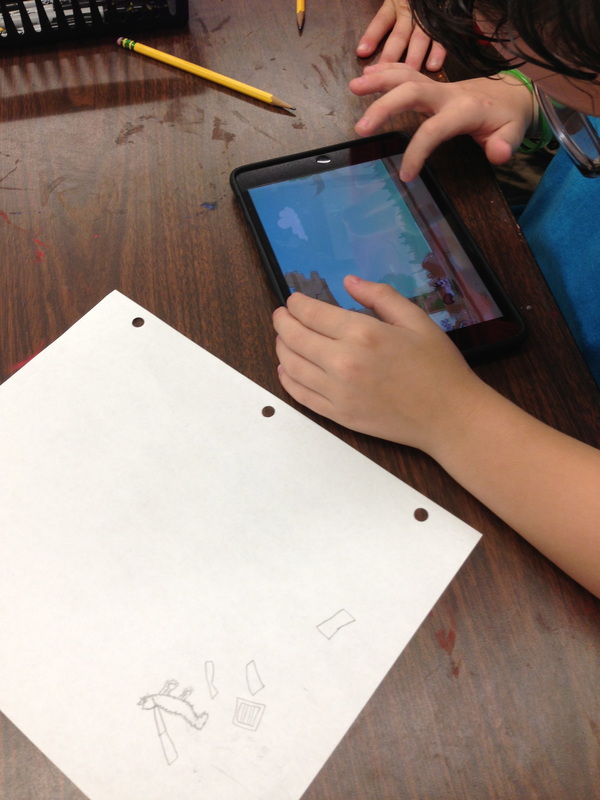
Step 3: At the end of week 1, students could look at other Pete the Cat books or practice drawing him again on a 'free' sheet. I also let some classes watch the '4 Groovy Buttons' video if we had time. 

WEEK 2: Finish painting Pete the Cat, and make a Pete the Cat book to take home. 

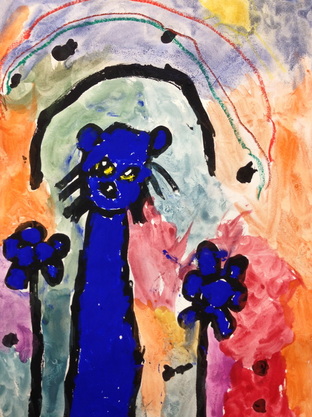
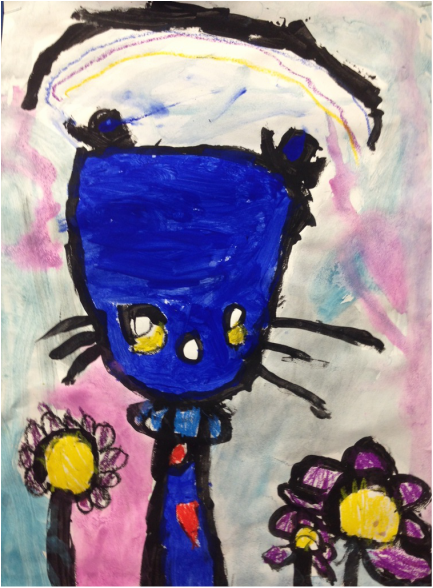
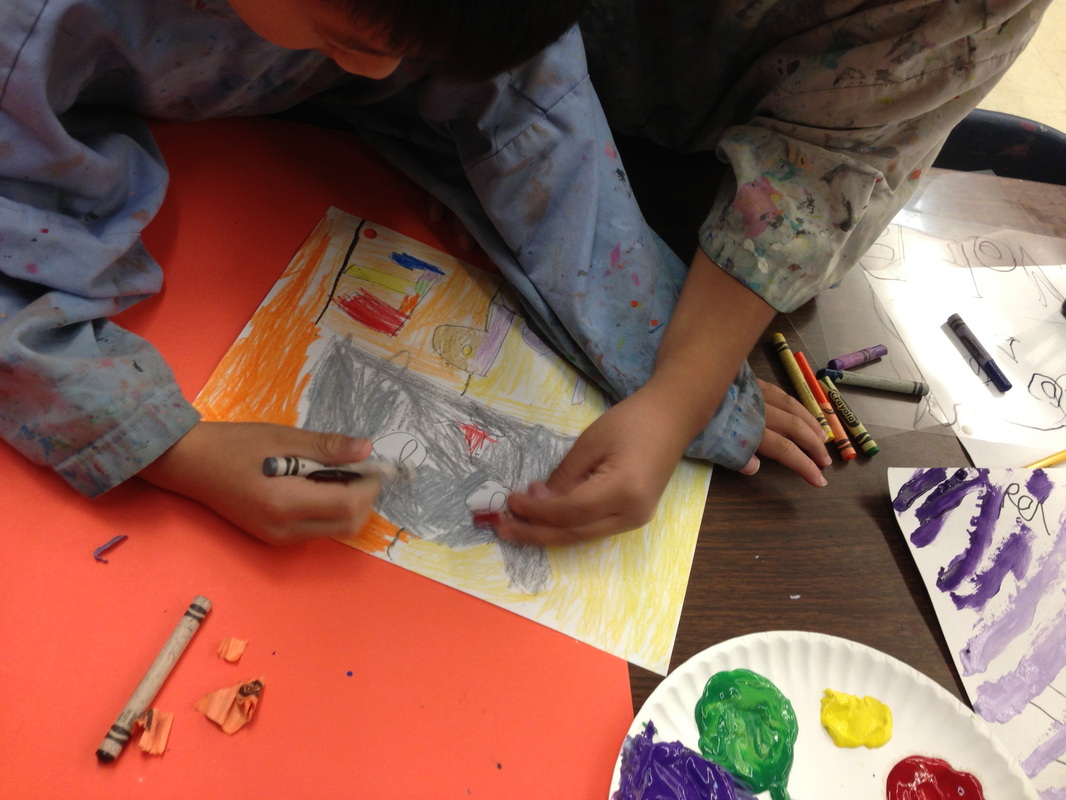
Step 1 Demonstrate how to color Pete's eyes with a yellow oil pastel. I also encouraged students to add any other 'tiny' details with oil pastels BEFORE we painted. If they forgot whiskers, draw them with a black oil pastel, if they wanted flowers or a sun or rainbow, draw those things with oil pastels. If they wanted pink inside the ears or ANYTHING, do it before we paint. 

Step 2 Paint Pete with blue tempera paint. I demonstrated this whole thing in front of the class and explained thoroughly, that the blue tempera was ONLY for Pete's body, not the whole paper. Some still painted the whole paper blue. It happens. 

Step 3: Use tempera cakes (watercolor would've been better), to color the sky, ground, etc. I demonstrated how to do a wash, getting the paper wet with water before putting the color on. It worked out OK, but some of the black smeared a tiny bit...that was frustrating. Watercolor would've been a little more vibrant. 
Picture
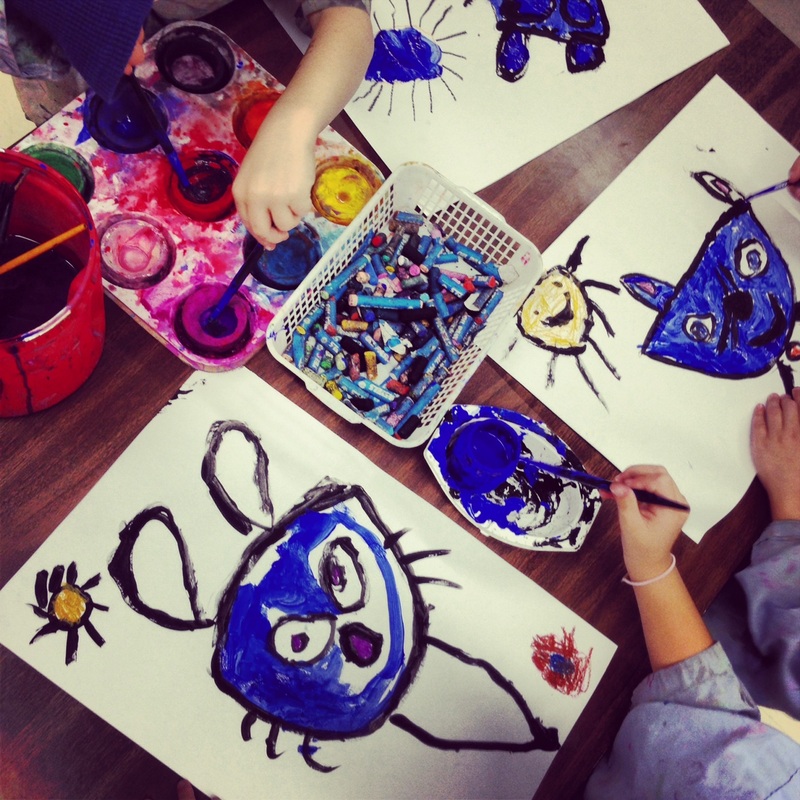
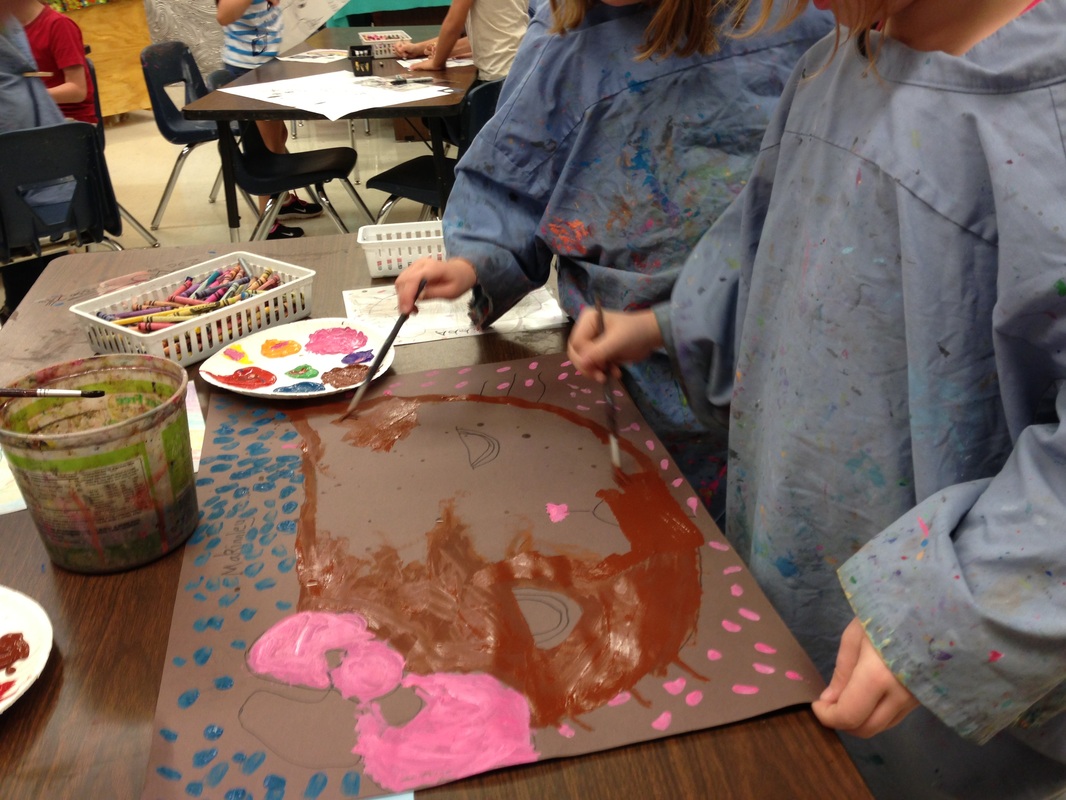
This was a LOT of supplies on the tables for the students to manage. Two kinds of brushes, oil pastels, two kinds of paint. I could've used regular blue watercolor, or blue oil pastels...but the SAX Versatemp Ultramarine blue was just too perfect for Pete. 

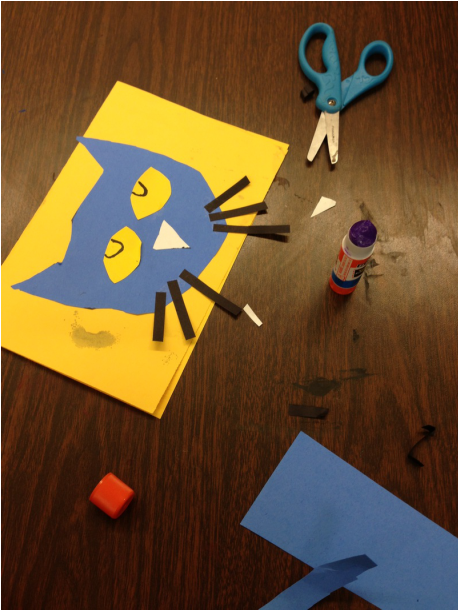
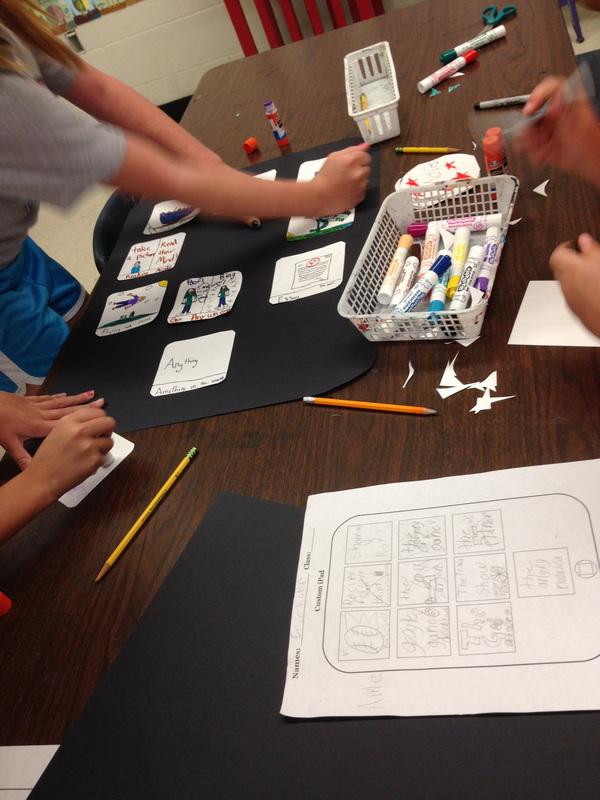
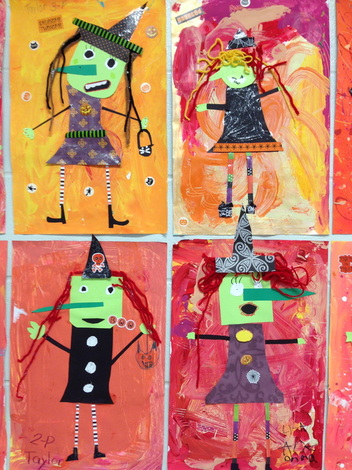
Step 4: When students were finished, they had a chance to make a little Pete Collage to take home the same day. YAY!

After trying to explain how to make a collage cat head, right before painting, and failing miserably to convey that the tan 'head' shape in the supply bucket was a "TRACER", mean to trace around to make a blue 'copy'....many, many, many of my 'tracers' were covered with whiskers and eyes....

I gave up trying to 'tell' and decided to 'show'....I made a poster, that I pointed to, while I demonstrated every step of this little cat head. Students could much more easily grab the supplies and complete this on their own after we were finished painting, once I had modeled HOW to do it. 

Did I mention that I have kindergarten for 50 minutes?....and in September, it seems like I need multiple activities to keep them busy. 

Once they had started the cat heads, I went around the room, and dropped off the yellow practice 'books' from the week before...students could glue the cat head to the front, and color the pictures and even write a sentence inside: I like my blue shoes. 

Picture
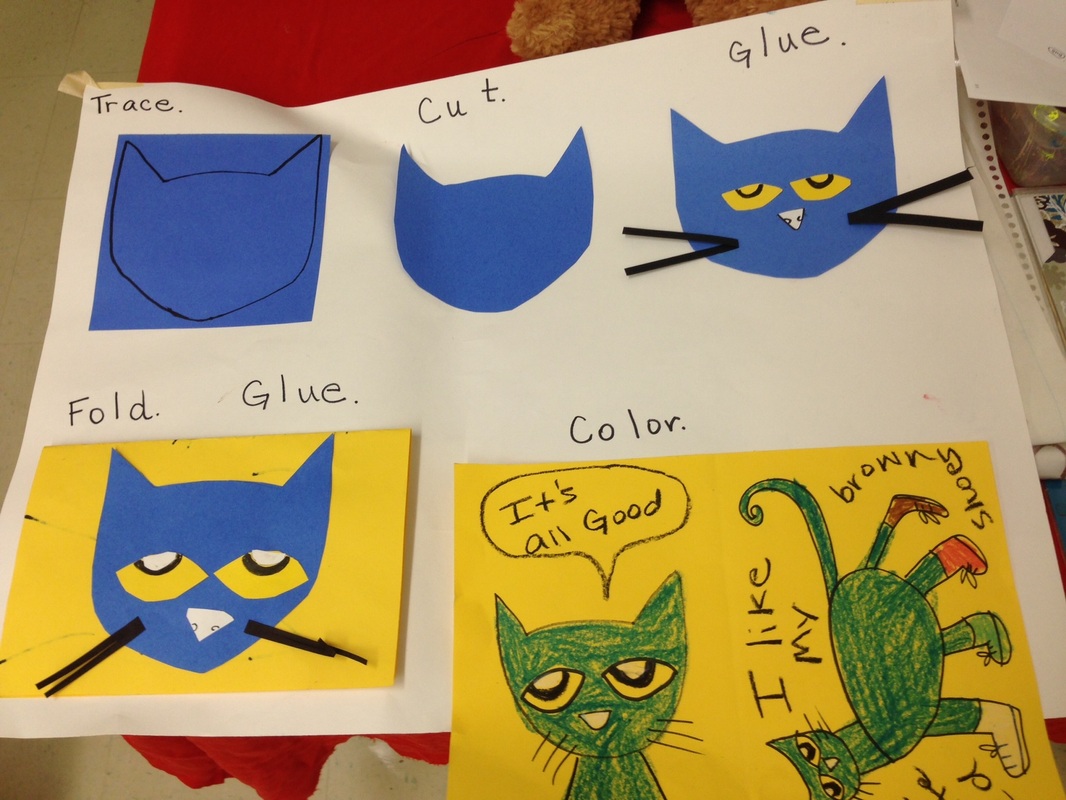
This poster had to be very simple for my kinders to follow....but only after I modeled each step, could they really do it. 
Picture
Picture
Picture
0 Comments

Design your own 'Custom' iPad

10/4/2013

0 Comments

 
Picture
Picture
Working collaboratively is such an important skill for students. Recently, I had my 2nd-4th graders work with a partner on two large-scale projects back-to-back. Usually, the question is, 'who gets to take it home?'. I had them complete two projects together so that they can make that decision later on down the road, after I have had a chance to display the artwork for a few weeks. (Hopefully there won't be any major battles over who gets what!). 

Students worked together to design icons for ten apps. If found this iPod printable on teachers-pay-teachers, and modified it to say iPad at the top. 

They were to plan out each icon, and then draw it on a 4X4 white square. After outlining with a fine point sharpie, and coloring with markers, they laid the squares out onto a 24X36 black piece of paper, and used a glue stick to adhere. White colored pencils were used to add the iPad home button and other symbols. 

Picture
I used recitethis.com to compose a text to my students. I printed this sign in color, and hung it on the board, so that students could refer back to it throughout the lesson. 

They were excited to get a 'text' from me...even though it was just a list of the steps...normally, I write those on the board...but this was a cool way to get the information to them. 

I was amazed at the creativity that some students exhibited in this project. Their 'app' ideas blew me away! There were apps for all sorts of things: towing service, sewing, dentist, homework, and one boy even made an app that would activate his iPad from his phone an allow spider legs to pop out so it could crawl to him. WOW!

If I do this again, I will spend 3 weeks on this project, instead of 2....I allowed time at the end for students to stand up and share some of their best apps with the class and I wish I would've spent a little more time showing them really cool icons, and encouraging them to color the entire square....This would be a great project for older students....mine had some trouble with spelling, but its sort of charming so I don't have too many issues with a few misspelled words. 

Check out the slideshow below for more examples of the finished product!

Picture
0 Comments

Elementary Art Grumpy Cat Unit

10/4/2013

1 Comment

 
Picture

I'm currently in the midst of a two-project stretch of collaboration. On the first day of art, I told my students to select someone they could work well with, and sit side-by-side. I explained that we would be doing some group projects this year and they needed to find someone who would be a good partner.

After the 'getting to know you' activity from the first week, and painted paper the 2nd week, we were finally finished learning the procedures, and ready to jump right into a brand new unit. 

This year, I really wanted to incorporate min 12 iPad minis right away. So I downloaded a couple of apps and created a gallery of images devoted to our very first project: Grumpy Cat. Students were introduced to this internet sensation via a youtube video of him looking absolutely grump-tastic. 

I explained that I wanted them to work together to design a painting based on his now-famous image. I provided them with an image of the step-by-step drawing (I loaded it into the camera roll on each ipad), and I created a folder on the iPad with a couple of grumpy cat games, and a link to a Flickr Gallery of images that they could view for inspiration. 

As a team, they should both share their ideas....but be willing to compromise....

Students could spend as much time on each activity as they wanted, just as long as they had a sketch by the end of the hour. The boys were especially attached to one of the games: A Grumpy Cat Escape From Mayan Temple. If that was too hard, the easier game was Smiles for Grumpy Cat. (Beware, the GrumpyBom Grumpy Cat photo booth is not appropriate for elementary students.)

My initial intent behind providing the games was to allow them to take turns using the iPad in between drawing and looking at images for inspiration, and also to help get them excited about the new unit. 
*Note: In retrospect, I remember thinking that the games were engaging on a surface level, but they didn't really challenge students to higher levels of thinking...it was frustrating that they weren't 'discovering' anything new...just pushing some buttons around to make a little cat jump and twist over obstacles...it didn't really give them any new art skills...and I was a little frustrated that I had chosen the games that I had. I really want to encourage my students to delve deeper into art concepts, and none of these apps really did that. 

I did like having the flickr gallery available and a screen shot of HOW TO DRAW GRUMPY CAT was on the camera roll for students to use if they wanted...and I didn't waste any copy paper providing these visuals for students. 

WEEK 1
Basic steps of the project:
1. Sketch idea for a new grumpy cat painting. Discuss with your partner. Talk about the design.
2. Transfer drawing to clear acetate using a sharpie. 
3. Enlarge drawing on 24X36 paper using an overhead projector. BIG PAPER!!
4. Color the small drawing on 
 paper, so that you will know what paint colors are needed. If you have a plan, both teammates will know where to put the colors. 
Picture
Picture
Picture
WEEK 2
When it was time to paint, I had students bring their small colorful drawing over to a paint center to 'order' their paint colors. I squirted the colors needed onto a paper plate (as if I was serving them a bit of food, little of this, little of that). I had everyone put on paint shirts, get a paper towel, and their own brushes of various sizes. I also put a water container on each table so that they could rinse their brushes between colors.

Steps for painting: 
1. Paint the background first (even if you are just doing stripes or a pattern).
2. Paint the fur.
3. Save the small details and outlining for next week!

Week 3
1. Finish small details, touch up any drips or mistakes. 
2. Step back from your work to see what you need to fix/finish/improve.
3. Outline things with a small tiny brush or a sharpie. (Eyelashes, teeth, add texture)
Picture
Picture
We spent the last two art sessions painting. I encouraged them to save small details for the 2nd week of painting. I knew that some teams would finish painting pretty quickly during the 2nd week, so I showed them a couple of new apps. These are apps that I wanted them to try out, so that we can incorporate them into projects later. I even used one of them to explain the final steps of the project. 

You can see my animated 'grumpy cat' on VIMEO HERE. 
Picture
The funny movie maker app. 

I encouraged students to take a photo of someone or something in the room and record a short clip of it using their own mouth to make it talk.

I also introduced them to the ColAR App for the first time. They were really impressed!

At the very end of art, students had an opportunity to plan out their own apps for a custom iPad, the 2nd collaborative project of the unit.

Collaborative art is no cake walk. There were plenty of tears and frustrated students who wanted everything THEIR way! But there were also plenty of students who created to most lovely, beautiful, original art that would never have been created if they hadn't worked together in the design. It was very fun to work at such a large scale. The finished products are very stunning. 

Have you ever had elementary students work collaboratively? Any tips on how to help them work together?
1 Comment

Wacky Witch Collages

10/4/2013

2 Comments

 
Picture
Picture
Back in the day....I was an avid scrapbooker. I still occasionally dabble in cards and memory albums...but my former obsession has me OVER stocked with pretty papers and embellishments that I will most likely never use. I decided to purge some of these items by donating them to my art room. I had a large amount of Halloween stickers, ribbon, and papers so I decided to design a craft project to incorporate them.

Since I really only have enough of these materials for one or two classes, I decided to spoil my after school art club. I know they are the ones who truly appreciate all the 'extras' on a collage like this one. 

I had found a really cute witch on Pinterest and put it on my 'art ideas' board. This sweet little witch was the perfect project! I totally stalked this artist's Flicker page for TONS of cute collage ideas. She is one of my new favorites.

For the background, we used 'painted paper' that had been created during the 1st month of school. I had 25 'orange' pieces in my collection so I allowed them to choose one for the background...some are more pink or yellow, but it works. My students had made elf shoes last year, so they were able to make the boots pretty easily.

I gave a short demo on how to cut the dress, head, and explained how to make arms and legs. I had a parent volunteer in charge of cutting yarn for hair, and ribbon for trim on the bottom of the dress or around the hat. 

As a finishing touch, I allowed them to paint glitter glue on to some spots with a small brush, and add a few halloween stickers to act as buttons. I encouraged some students to draw bats or spiders in the background if they wanted it a little more spooky. If they were going for glam, I told them to color the lips/blush with crayons. 


Picture
SOURCE: http://www.flickr.com/photos/kelbugstudio/3566609077/in/set-72157620989053642/
If you decide to try this project, I would love to see! Please post a link in the comments. 
2 Comments
    PictureWelcome!

    Mrs. Mitchell

    Art teacher from Missouri. 

    Instagram
    Add to Flipboard Magazine.

    Archives

    March 2021
    April 2020
    November 2019
    July 2019
    April 2019
    January 2019
    October 2018
    July 2018
    June 2018
    May 2018
    April 2018
    March 2018
    January 2018
    September 2017
    May 2017
    April 2017
    March 2017
    January 2017
    December 2016
    November 2016
    October 2016
    September 2016
    March 2016
    December 2015
    October 2015
    August 2015
    May 2015
    April 2015
    March 2015
    February 2015
    November 2014
    October 2014
    September 2014
    August 2014
    June 2014
    May 2014
    April 2014
    March 2014
    February 2014
    January 2014
    December 2013
    November 2013
    October 2013
    September 2013
    August 2013
    July 2013
    June 2013
    May 2013

    Categories

    All
    1st Day Of School
    1st Grade
    3d
    Abstract Art
    Alcohol Ink Tiles
    Alpacas
    Animal Art
    Animation
    Architecture
    Art Centers
    Art For Kids Hub
    Art History
    Art Hub For Kids
    Art Room
    Art Show
    Art Teacher Conference
    Bell Ringer
    Birds
    Blending
    Bunnies
    Cardboard
    Chalk Pastels
    Chalk Stencil
    Charcoal
    Choice Based
    Christmas
    Chuck Close
    Classroom
    Clay
    Club Day
    Collage
    Color Diffusing Paper
    Colored Pencil
    Colored Pencils
    Construction Paper Crayons
    Contest Art
    Creatures
    Crystal Bridges
    Design
    Dice Games
    Document Camera
    Dot Day
    Drawing
    Early Finishers
    Easter
    Emojis
    Fall
    Field Trip
    Food Art
    Foxes
    Green Screen
    Grid Drawing
    Group Challenge
    Halloween
    Haunted Houses
    Hearts
    Hermit Crab
    High School
    Human Form
    Ice Breaker
    Inspirational Posters
    Ipads
    Jim Dine
    Justand
    Killer Whales
    Kindergarten
    Landscape
    Lesson Plans
    Lettering
    Llamas
    Magazines
    Mandala
    Maori
    Markers
    Masks
    Matisse
    Metal
    Model Magic
    Mona Lisa
    Monster Trucks
    Mother's Day
    Mother's Day Card
    Mummies
    Mural
    Newspaper
    New Zealand
    Notan
    Observational Drawing
    Ocean Art
    Oil Pastel
    Oil Pastels
    Optical Illusions
    Origami
    Owls
    Painting
    Paper Weaving
    Pd
    Pencil Topper
    Perspective
    Pete The Cat
    Picasso
    Polar Bears
    Pop Art
    Portraits
    Printmaking
    Product Review
    Professional Development
    Quiver
    Reflection
    Reflective Teaching
    Room Tour
    Rooster
    Sea Horse
    Seals
    Sea Turtle
    Self Portrait
    Shading
    Shaving Cream Prints
    Shoes
    Sketchbooks
    Sloth
    Solar Eclipse
    Spinners
    Spring Conference
    Star Wars
    Statue Of Liberty
    Step-by-step
    Step By Step Drawing
    Step-by-step Drawing
    Still Life
    Stop Motion
    Story Board
    Sub Plans
    Summer School
    Symmetry
    Tab
    Teacher Appreciation Cards
    Technology
    Tempera Paint
    Tiny Food
    Tissue Paper
    Trees
    Tumbling Blocks
    Valentine's Day
    Warm Ups
    Watercolor
    Wax Resist
    Word Art
    Yellow Submarine
    Zentangle

    RSS Feed

Powered by Create your own unique website with customizable templates.