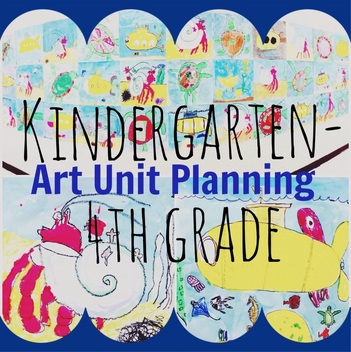
When I wasn't impressed by any of my old lessons, I started to search Pinterest for something to help me figure out a plan for my K-4 classes. I would never condone planning an entire unit for 5 grade levels on such short notice, but between my master's classes, a spring break wedding, and getting caught up from snow days, prepping for art shows and other stuff going on at school, the lesson planning took a backseat. Fortunately, I was able to wave my creative wand and prep an amazing unit--I channeled the pressure to develop something great as my muse. I didn't over think the lessons, I just kept them very basic and it was a very successful unit. I narrowed down the topics and objectives that we have already covered this year, and I was able to hone in on the needs of individual grade levels. Planning for 5 grades requires a lot of prep, especially if every grade is using a different media. This can be a real headache if you are setting up special supplies for each group that comes through the door.
Basically, I selected a different subject matter for each grade, but the process was relatively the same for each. I added a little more emphasis on 'cool colors vs. warm colors' for some grades, while others were introduced to adding salt to the water, or focusing on texture or craftsmanship. The process involved a guided drawing lesson, followed by some painting, and then the following week, we colored and outlined with oil pastels and then used a little more watery paint for the water.
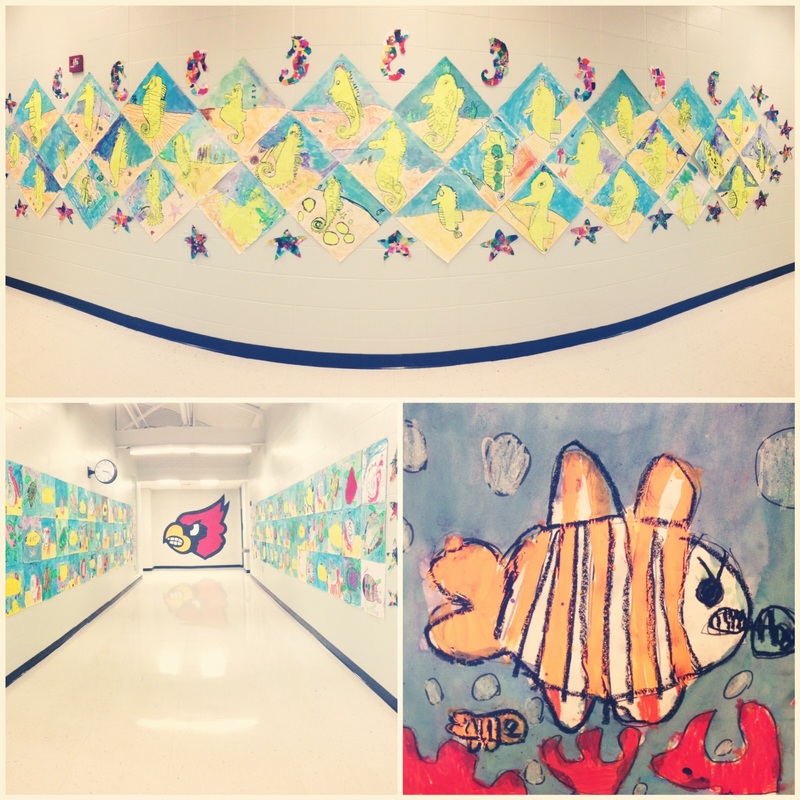
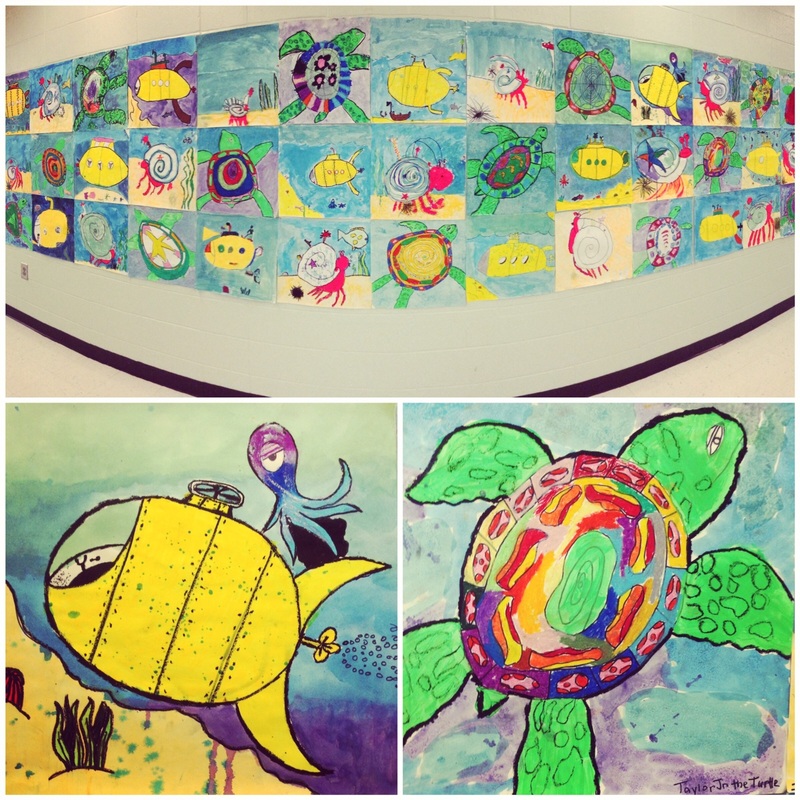
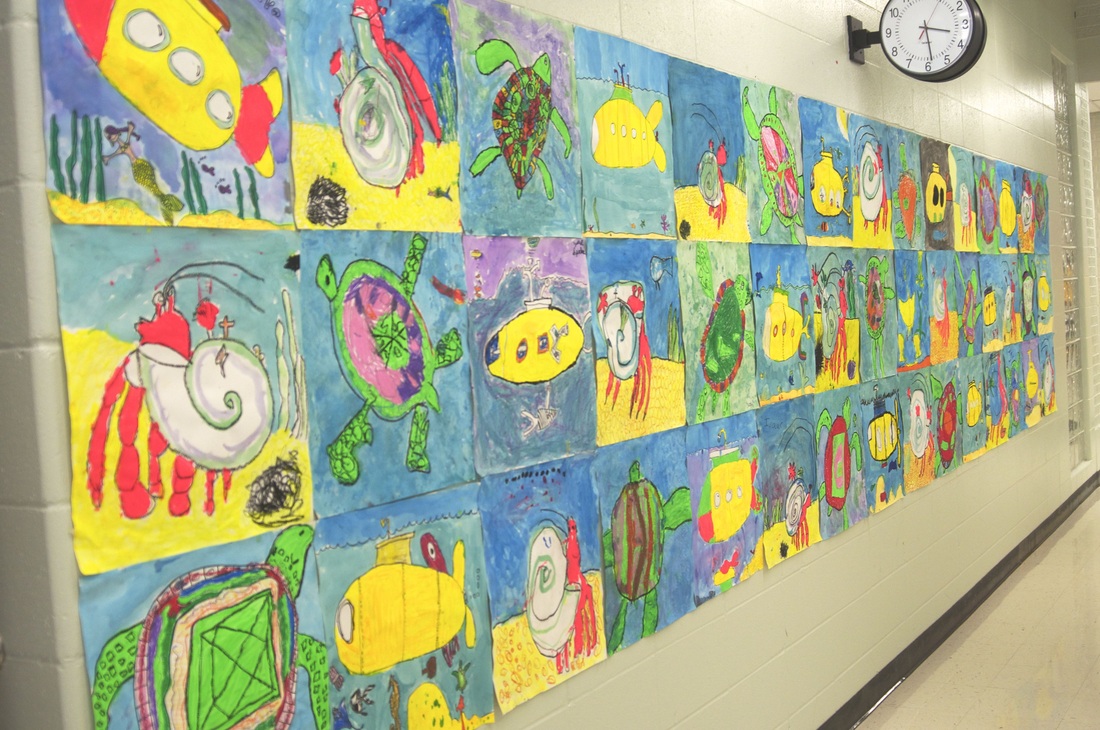
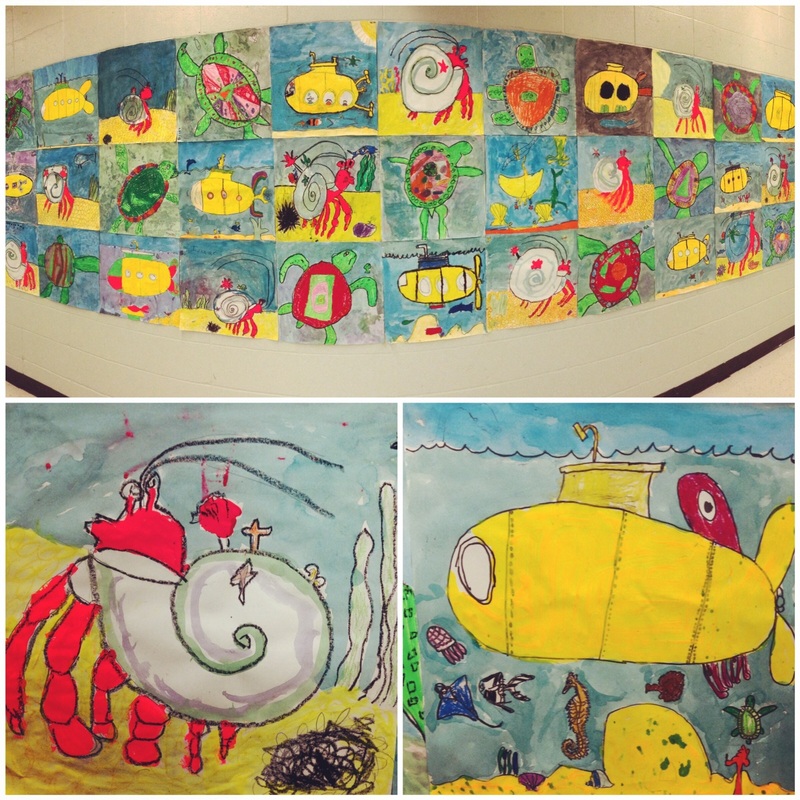
I hung everyone's artwork in the hall, because the entire unit was so successful. Working with 18X18 paper made for a very large colorful installation which makes the entire building look cheerful and happy.
You may have gotten a sneak peak at this unit on my instagram: @nelliemaeii
Week 2
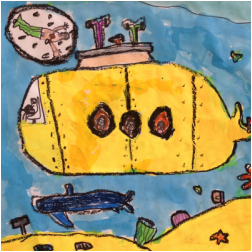
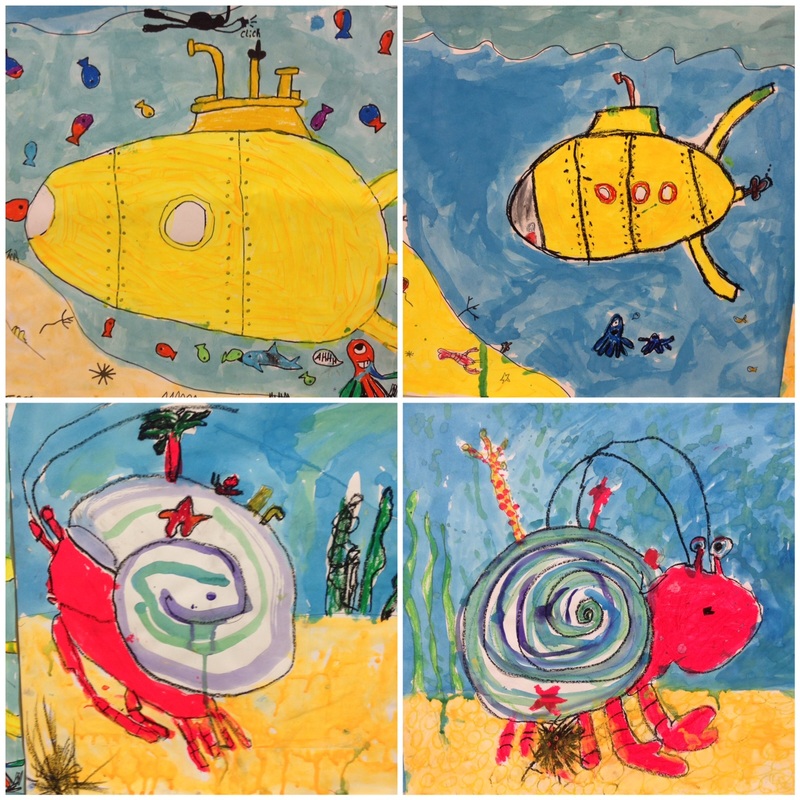
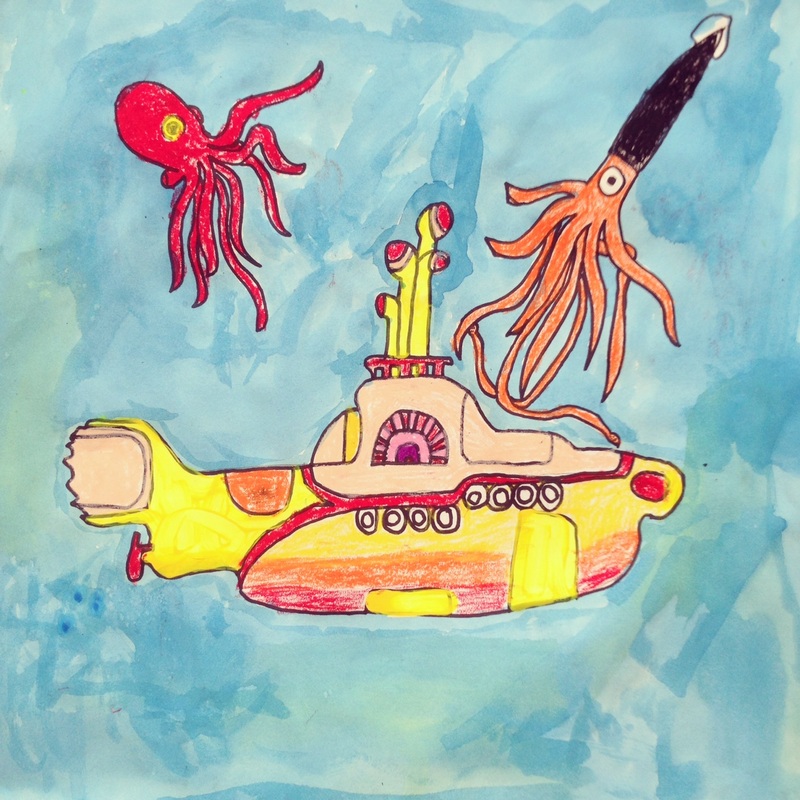
Color small details (fish, seaweed, shells, sharks, etc.) with oil pastels. Outline the big stuff (painted sub and sand at least) with black oil pastel. Paint the water with watered down tempera paint in cool colors: turquoise, purple, blue and green. I also had a watered-down version of the neon-yellow-orange mixture for students who wanted to paint their sand.
Week 2
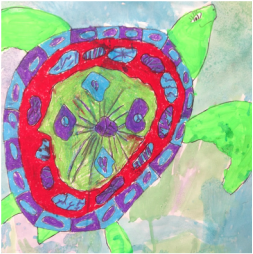
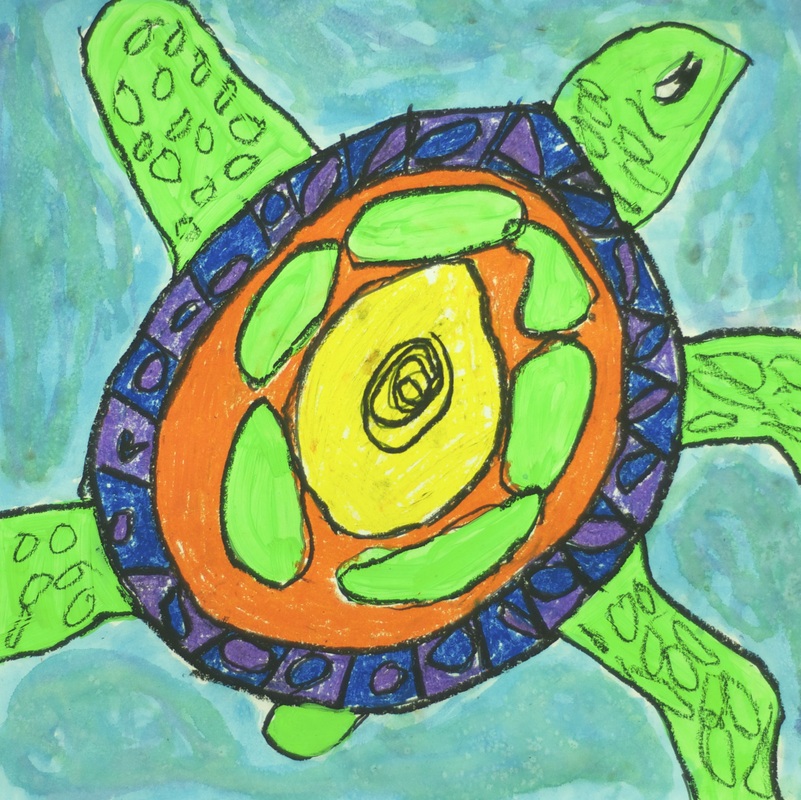
Use oil pastels to color the shell. I encouraged mostly 'hot' colors, but some used browns and neutrals which looked nice too. I encouraged lots of patterns when coloring, also reminded them to press down hard. Outline the neon green paint with black oil pastel and draw texture on the 'skin' of the turtle. Paint the water with the same watered down turquoise, purple, blue and green, but add salt in the watery areas for a neat texture. I demonstrated this salt technique at each table.
Week 2
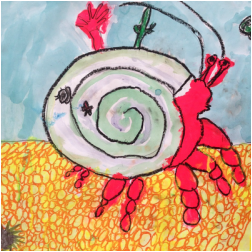
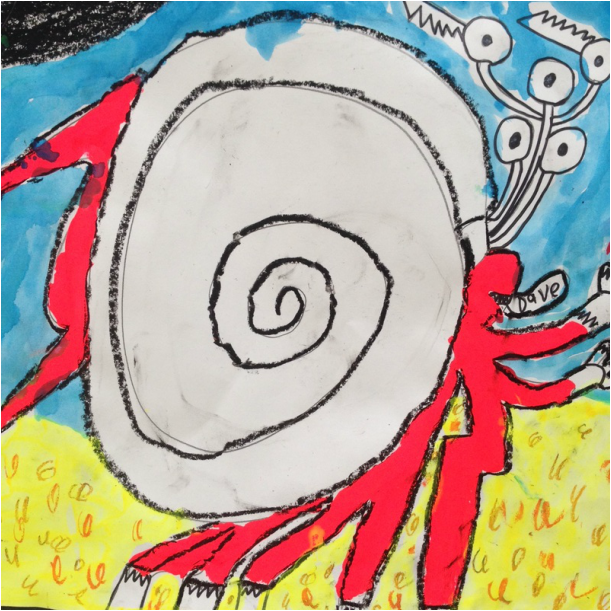
Find a yellow or orange oil pastel and add texture to the sand. Use oil pastels to color the details of the hermit crab's shell decorations: star fish, anemone, urchin, etc. Outline in black oil pastel (BE CAREFUL NOT TO SMEAR THE BLACK), make sure to trace the leg segments of the crab and the shell. I set up some watered down 'sand' neon paint for the sand at a painting center, and students could go over at any time and paint the sand. On each table, I put a container of watered down purple, blue, green and turquoise paint for them to paint the water and add a little color to the shell.
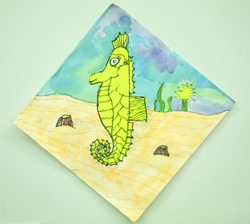
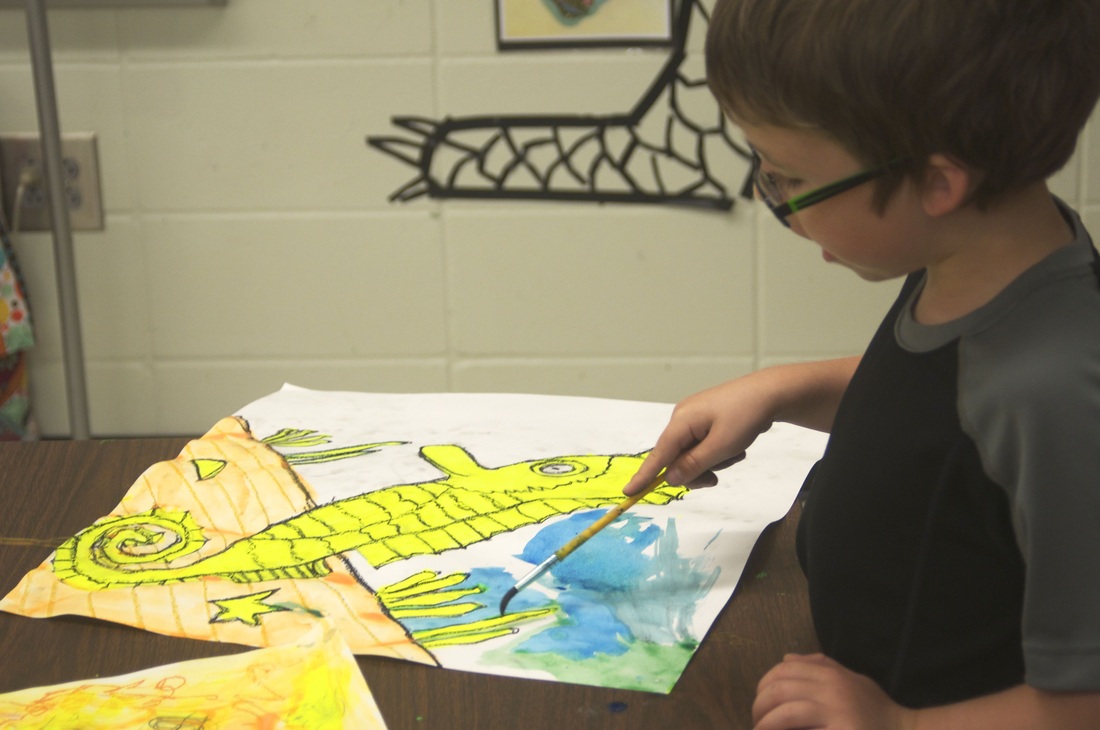
Week 2 Use oil pastels: add texture to the sand at the bottom with an orange or yellow oil pastel, trace around seahorse with black oil pastel: re-draw the mouth and eye and some texture if it isn't showing up after painting. Be careful NOT TO SMEAR the oil pastel. I set up some watered down 'sand' yellow/orange combo neon paint at a painting center, and students could go over at any time and paint the sand. On each table, I put a container of watered down purple, blue, green and turquoise paint for them to paint the water, I had to remind them to be careful not to let the 'water' drip onto the neon yellow of the seahorse.
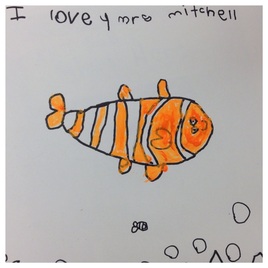
Watch a YouTube Clip from finding Nemo. (In retrospect, this would've been a great clip to show the the 3rd grade!) I showed them a book cover with a clown fish and we discussed how clown fish live in an anemone. Draw the clown fish step-by-step. Add the anemone, and outline in sharpie. Use neon orange paint to paint the stripes on the fish: DON'T PAINT THE WHOLE FISH!
Week 2
Since we only had a little bit to do to finish the fish, I had them cut out some starfish from a tissue paper covered paper that we had created earlier this semester and add some sequins. Once that was done, we used oil pastels to color the anemone, then we outlined the fish with black oil pastel, thickening the edges of the fins a little, and re-drawing the eye and mouth if it was covered last week with paint. Finally, we painted using the turquoise, blue, green and purple that the other classes used.


 RSS Feed
