Last year I ordered several boxes of plater of paris. I've never used it with students before, but I like the fact that it sets up quickly. After finding the Paper Mache bluebird project online, I knew that multiple classes could create a bird fairly easily and I had all the supplies (except for her recipe for paper mache paste--which looks amazing to use!).
This project took some time to plan. I decided to try it out with 4 classes so that I could see how far the plaster would go and how much of everything would be used up...also I needed to stagger the lessons so that each class would be on a different phase each day, so that I would have space on the shelves to let stuff dry.
First, I had a parent helper cut newspaper, wire, and cardboard into usable sizes. Thank goodness for my parent helper! She also cut a couple of packages of paper towels into strips, so we could use them like paper mache.
The MO GLEs that are addressed with this project include: PP2A6a Create a relief artwork by joining two or more surfaces (e.g. natural or manufactured clays, paper pulp, cardboard, found materials). PP1B6a: Using opaque paint, overlap brush strokes to create a smooth and even area of color.
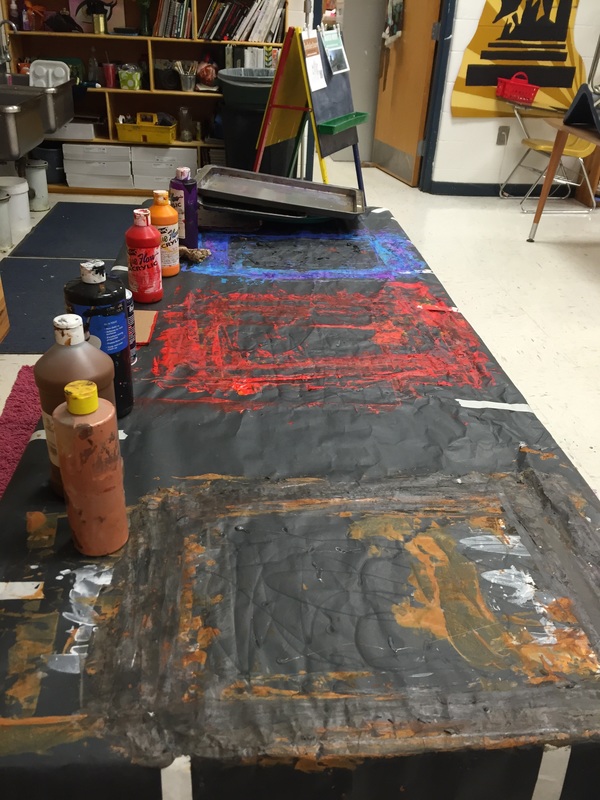
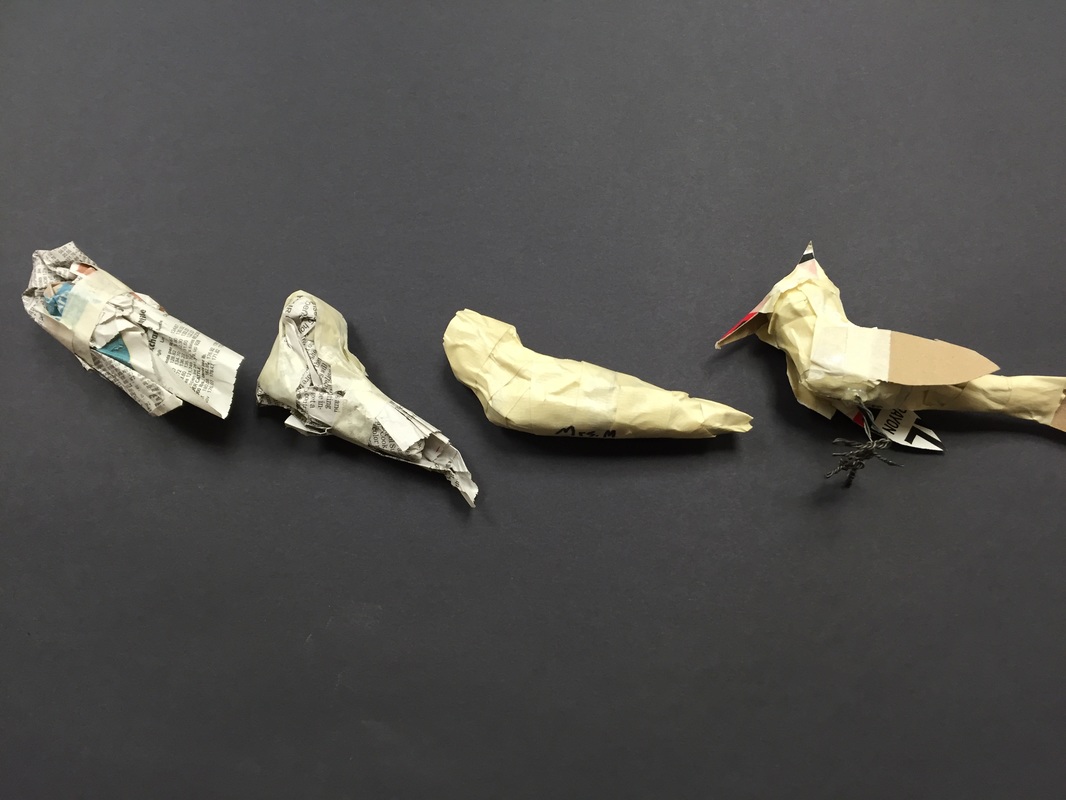 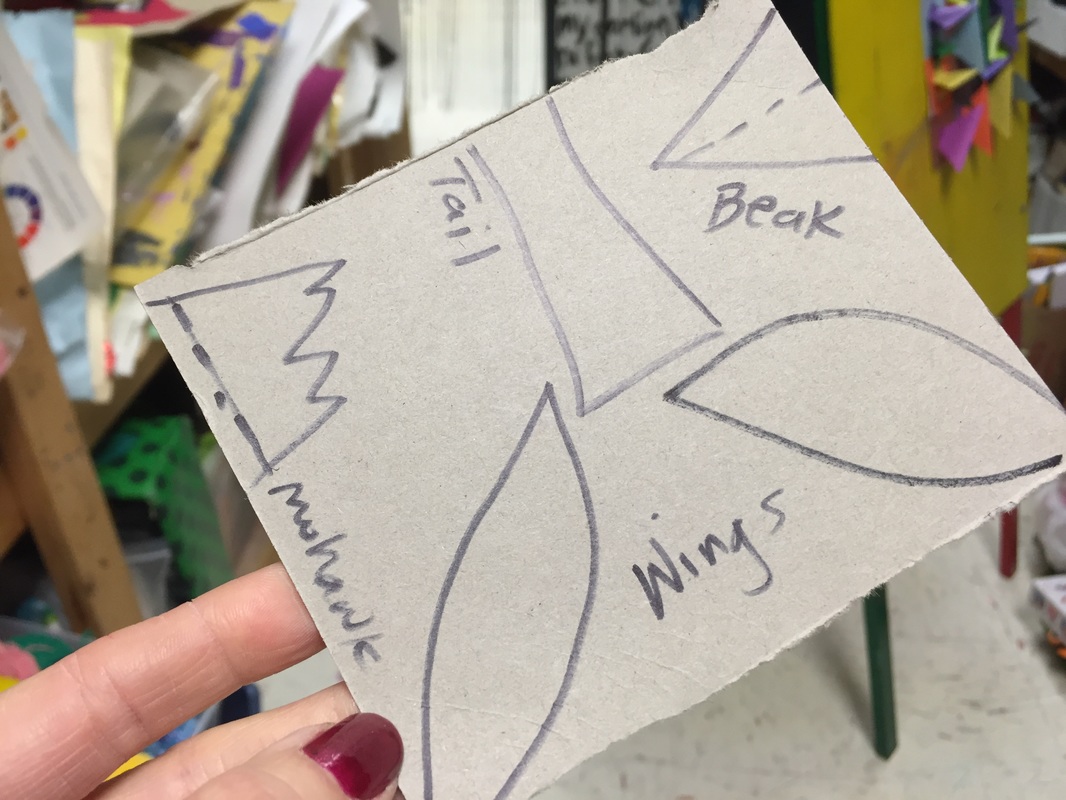         | Day 1 Students looked at a few pictures of cardinals and sketched out a cardinal. I demonstrated how to form the body using a wadded up (don't squish it too much) 1/2 sheet of newspaper. Then, they used 1/4th of a sheet, wadding it into a ball to form the head. We taped everything together---some of my tape was not suitable for this project, it was the cheap stuff! Students used scraps of cereal boxes and the cardboard from sharpie boxes I've been hoarding to cut out a beak, wings, a tail and if they wanted, a little feather for the top of the head, the 'mohawk'. Those things were taped on, and the student's name was written in sharpie on the belly. Day 2 This was my favorite lesson of the project. Today, I put a strip of colored Twisteez wire out for each student. Without cutting the wire, I challenged them to make a bird's leg---since we would be using wire for the Cardinal's legs, I wanted to see how they approached the challenge and if they could figure it out without my direct instruction. Most of them had never worked with wire. After 10 minutes or so, I collected the wire and started a demonstration. I had a pair of pliers for each table (didn't the first day, big mistake!) to help them bend the actual wire, which was much harder to use than the Twisteez. I demonstrated how to fold the length of wire in half and twist it onto itself. I told about how I had to make a sculpture using wire in college and I had no clue what I was doing! I set up my iPad like a document camera and projected my demonstration on the TV so they could watch closely. Students were really engaged in the lesson--they were really 'awed' by the demo, more than with other demonstrations where their dead eyes watch me but tune out my voice, they were paying close attention, for the most part. And I felt like I was really teaching them something too. Then I explained that they should bend it like a long 'L' making the top sharp end the part that pokes into the cardinal....and fold the long part of the L into a sort of W, winding the wire onto itself to strengthen the toes. *I wish the wire would've been cut a TAD longer, some students didn't quite have enough wire. The goal was to make 2 legs by the end of class. Students wrote their name on a piece of tape, and wrapped it around their wire to save for next time. Day 3 Some students needed this day to finish making the cardboard wings, (or make the legs or body entirely if they had been absent on one of the previous sessions), they also needed to stab the legs into the cardinals, tape things down really well and basically make sure the cardinals were put together well before we added the plaster. This only took about half of one full art time, so I had an extra activity---something that we were working on, that they could pull out if they got done early, and it gave me a little time to get those caught up that were really struggling with the wire. I also encouraged everyone to use a little glue gun to help secure the legs if they were jiggly and ready to fall out. Day 4 Plaster. Day of reckoning. Wear old shoes, or make shoe covers out of plastic wrap. One of my classes is 34 students. I only have 32 chairs---so it is always a little more chaotic when we are working on messy projects. It is hard to get everyone back to the sinks....the lazy kids use the clean up time to play around, instead of pitching in and I'm running around like a maniac trying to make sure everything is ready and cleaned up for my next class. I demonstrated how to apply the plaster using the iPad as a camera, but it was hard to really convey to them the intricacies of how to work with plaster, how to smooth it out, etc. In one class, a boy spilled the plaster on his pants (after I STRESSED that they should wear paint smocks and he did not), he spent 3-4 minutes at the sink, wiping his pants off, and by the time he got back to the table, his plaster had hardened so much that he couldn't coat the paper towel strips. Ugh. It was difficult to get around to all of the students who really needed a one-on-one helper or demonstration. This project would've been 10000% more successful if I would've had ONE other person in the room to help for this part. It was just too much for me to do alone with such large classes. Once the plaster was done, the students needed the last 5 minutes to crumble the dried plaster off their fingers over the trash can, wash their hands, and clean up the tables. Which meant I spent that whole time running around the room, transporting the heavy, messy sculptures to the shelves, picking up discarded bags of hardening plaster, moving cover sheets, smoothing and helping finish the straggling sculptures. Since I was so busy, the sink area wasn't being monitored, I couldn't help kids who got plaster in their hair, there was no way to yell over the chaos----it was stressful and it wasn't fun for me. Worse, I had to move everything out of the way for the next hour, which wasn't necessarily even doing the same project. And I only had 2 minutes between classes. Forget a restroom break. |
Day 5
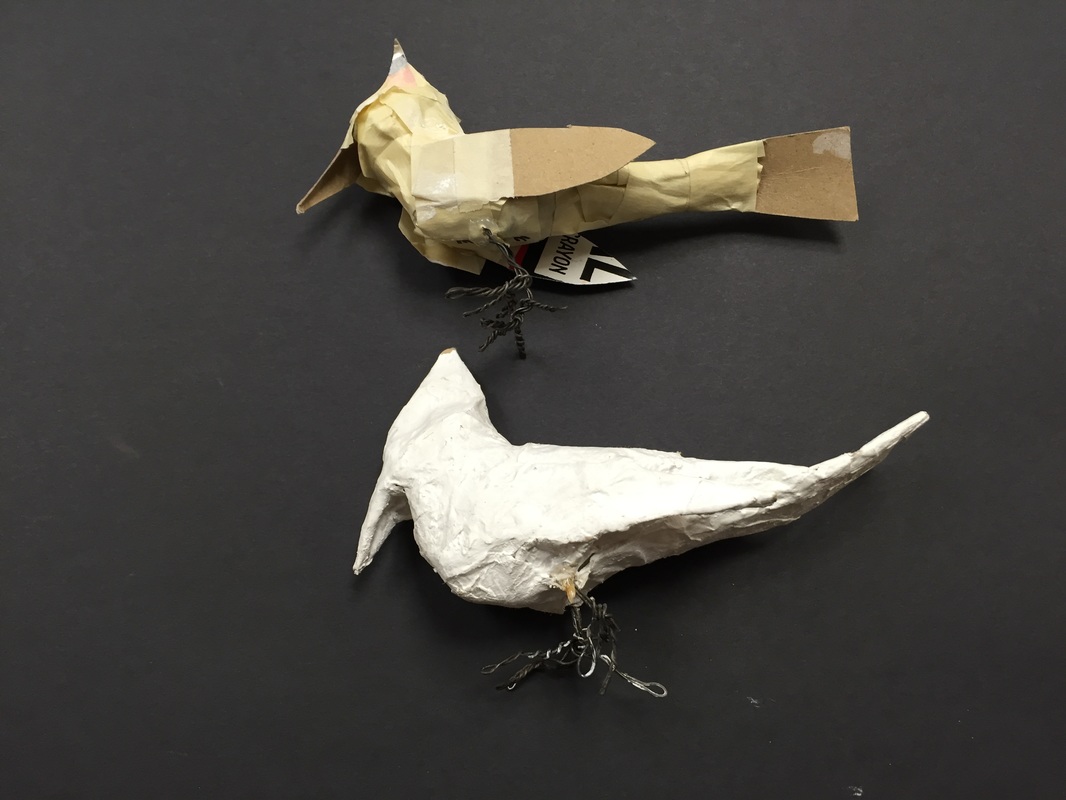
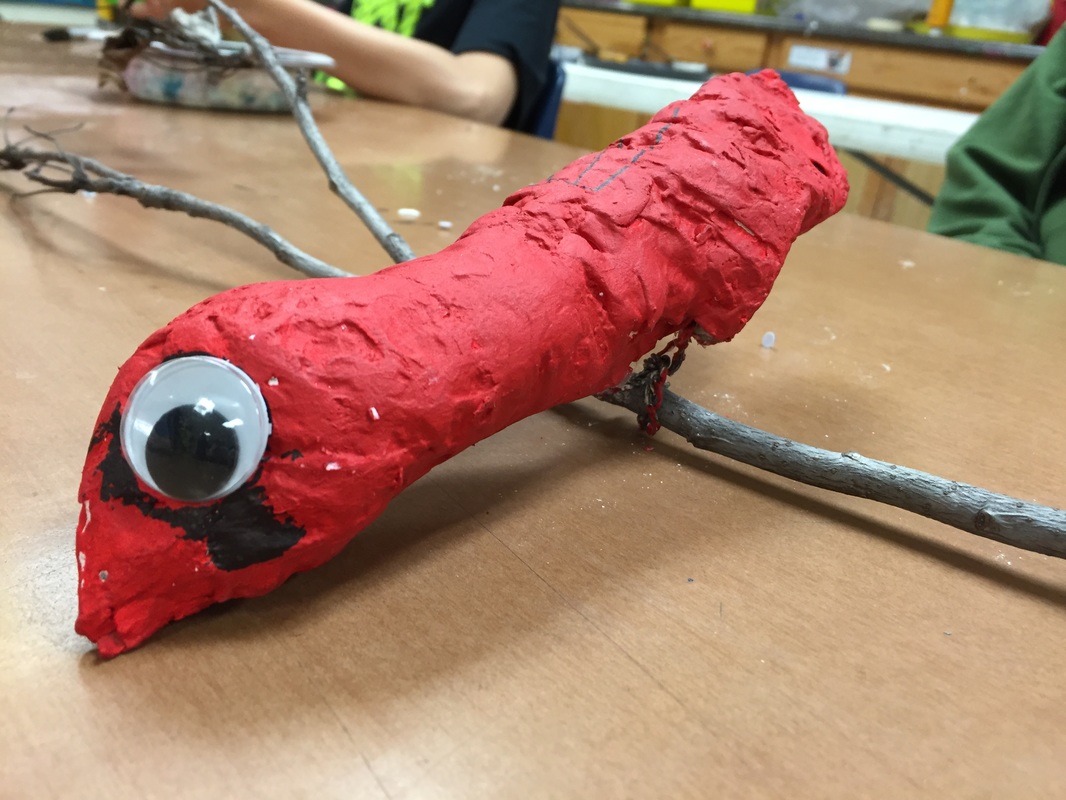
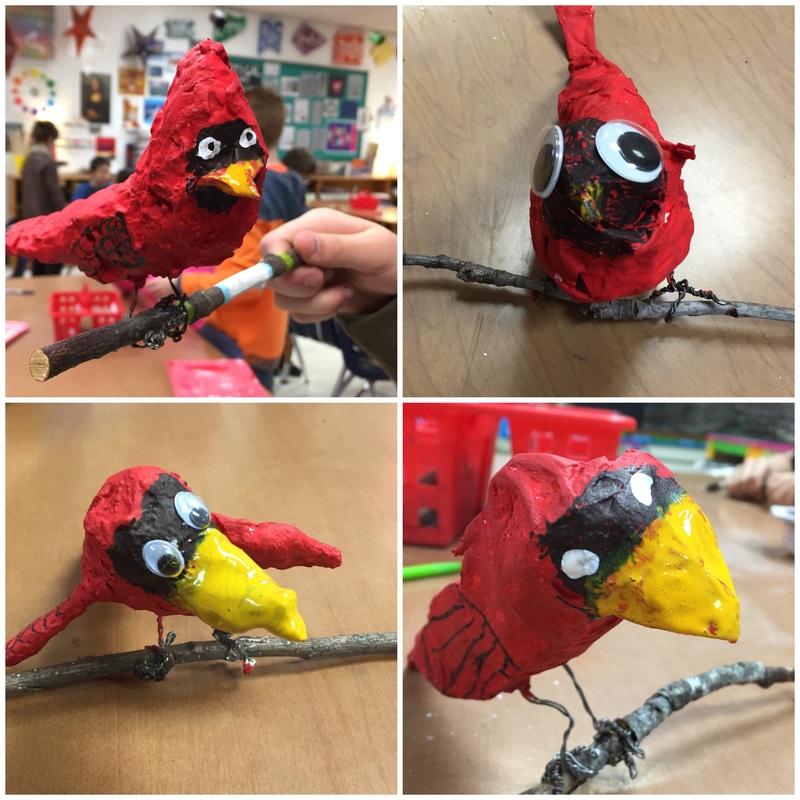
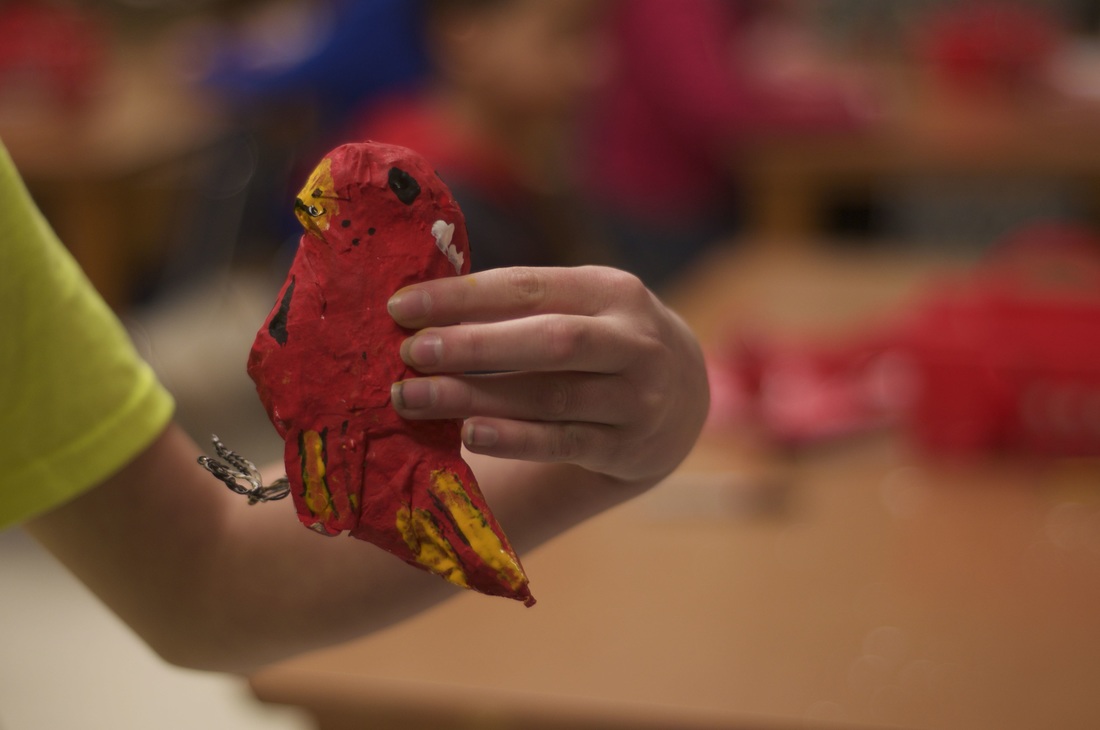
Students stood over trash cans, sanding off the crumbly bits of dried plaster. Then, everyone painted the cardinals red. The entire cardinal was painted red. We let the red dry. Next time, give them some thing to put the cardinal ON, while it dries because the foam trays we used for the plaster process were still coated in chalky dried plaster which sometimes stuck to the fresh paint and left white crumbs.
--Some students would've rather changed their cardinals into blue jays or other birds...I'm not sure I would let them, as this painting process when relatively smoothly, and I don't know how we could've added a lot of painted details without adding an additional day.
Day 6
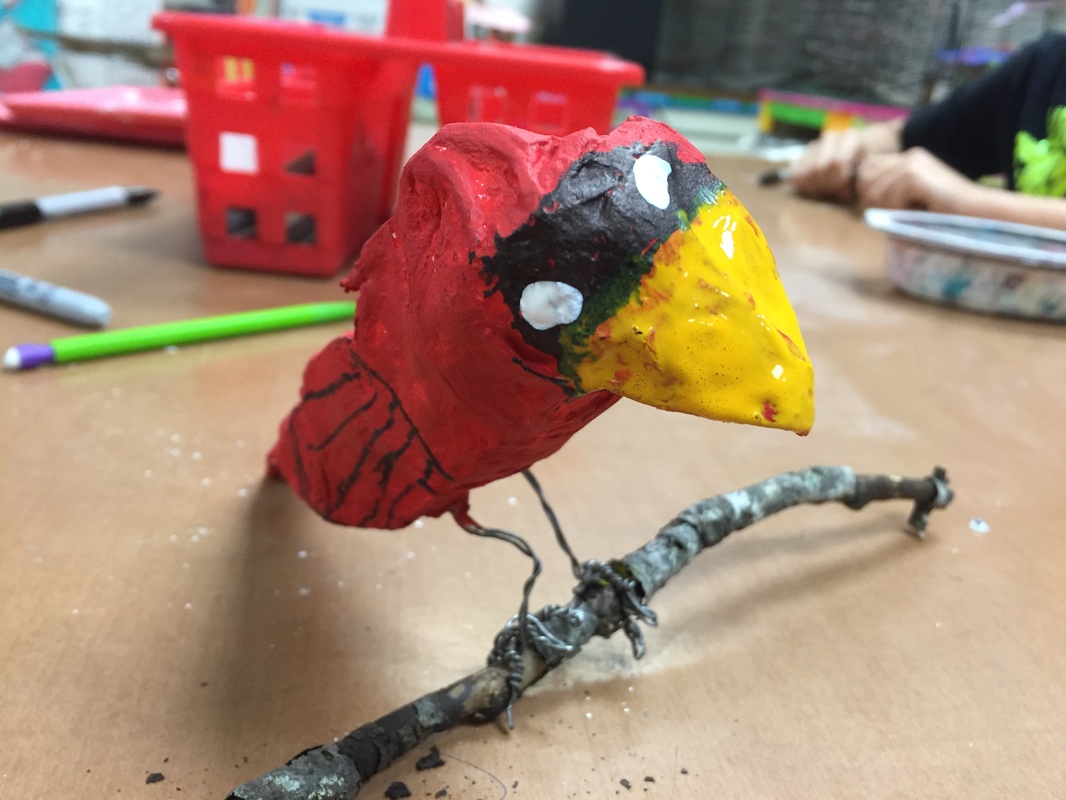
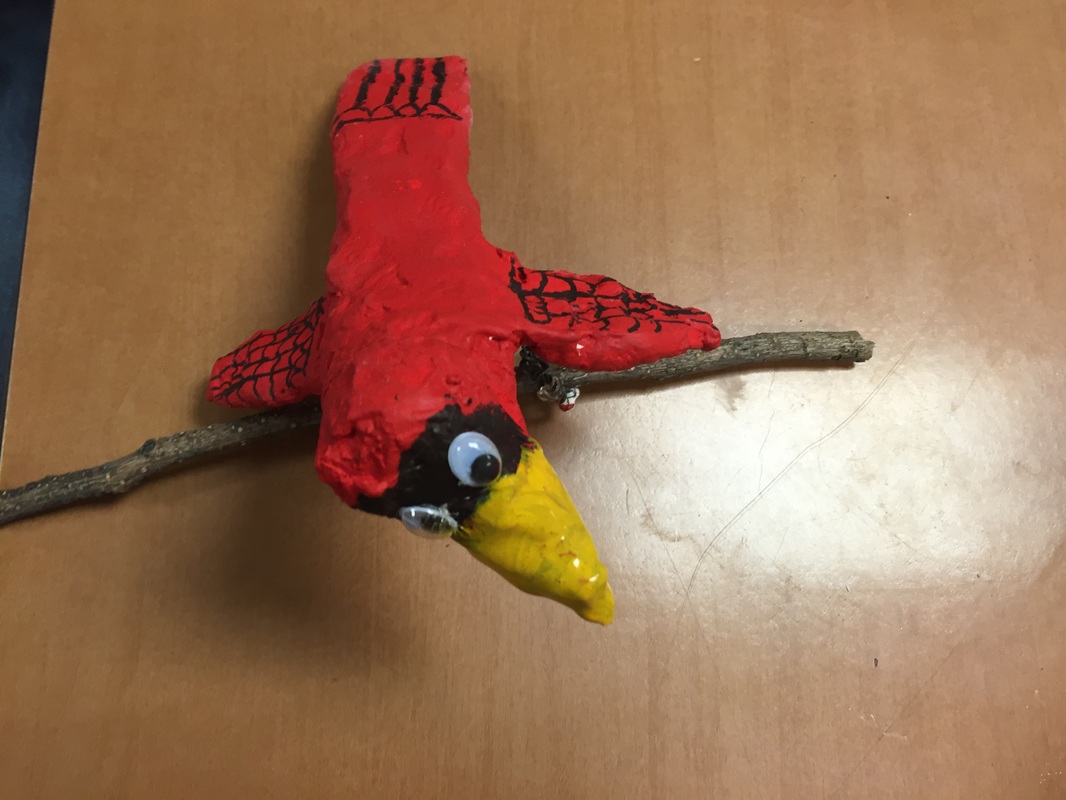
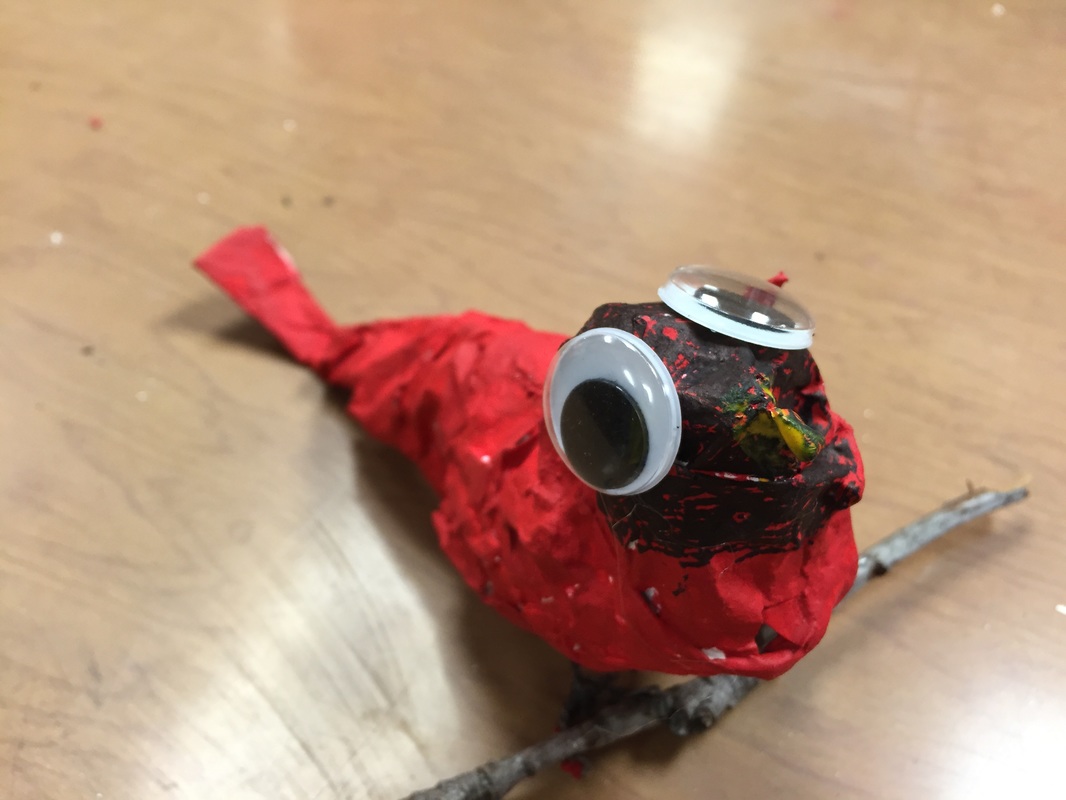
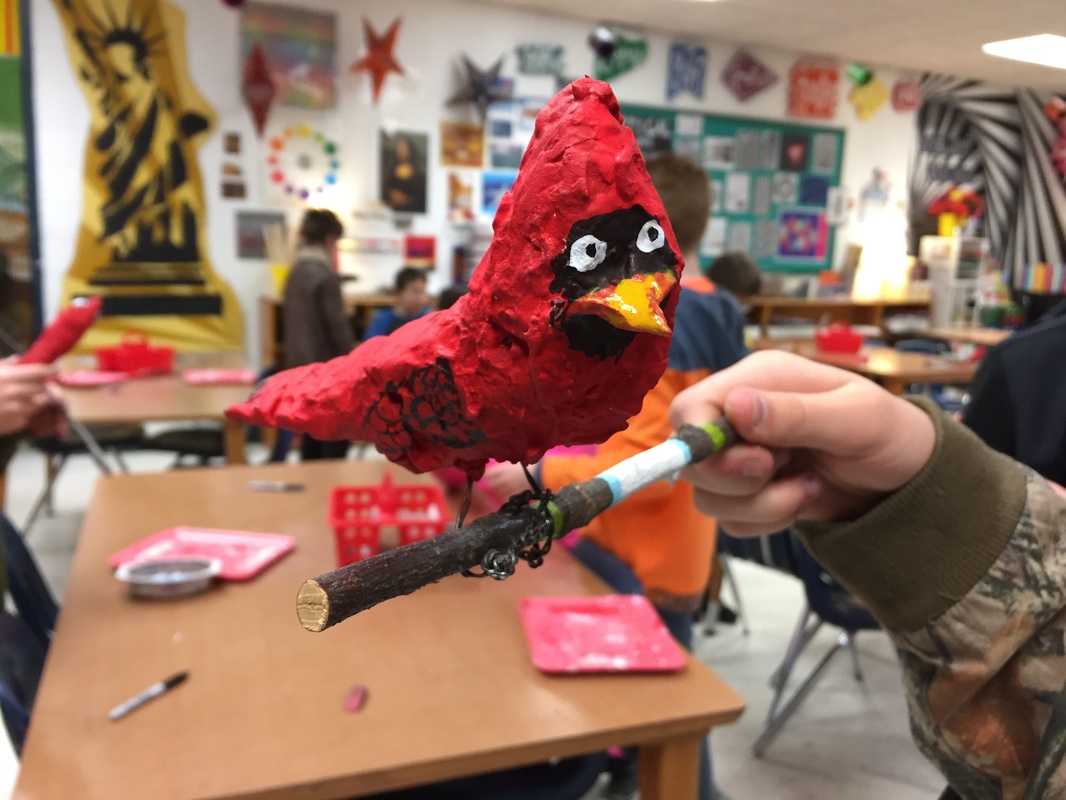
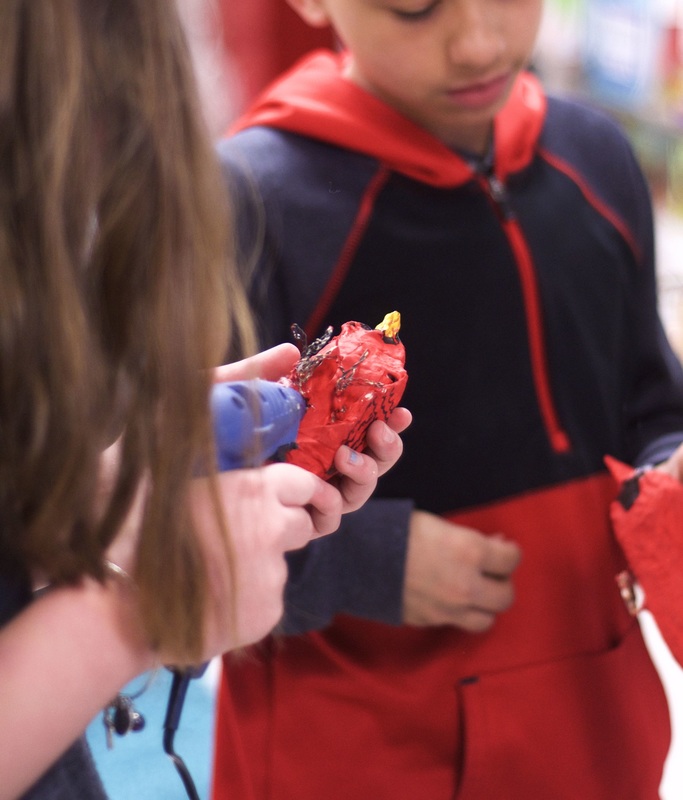
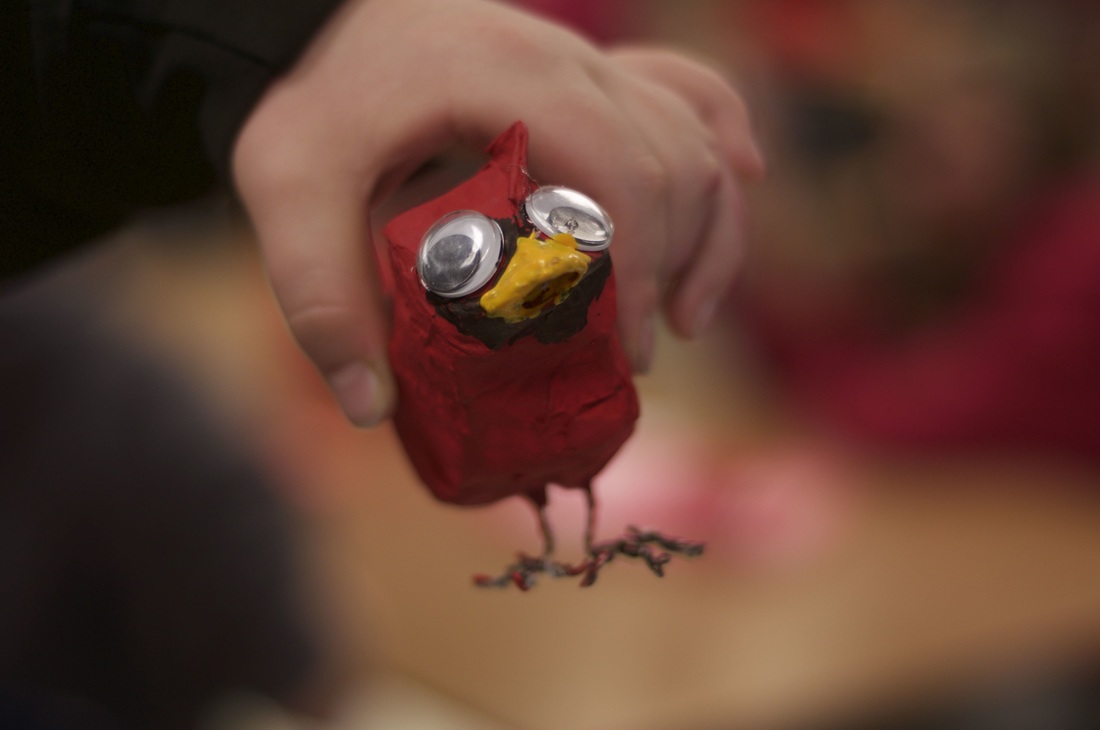
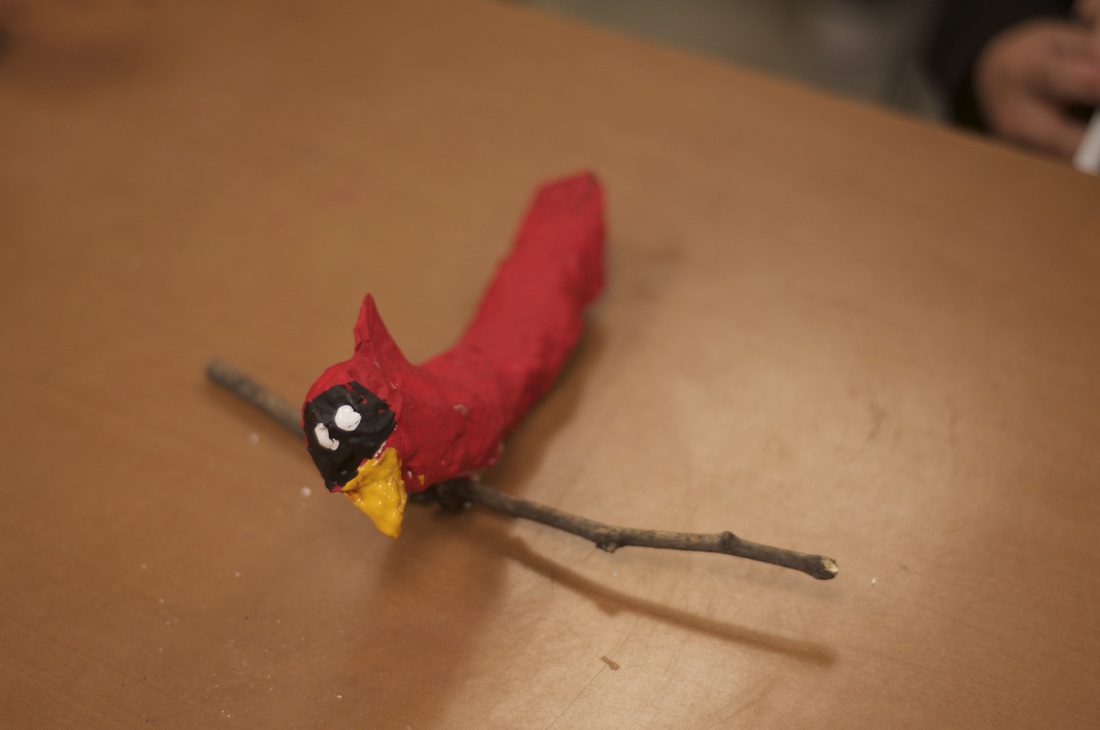
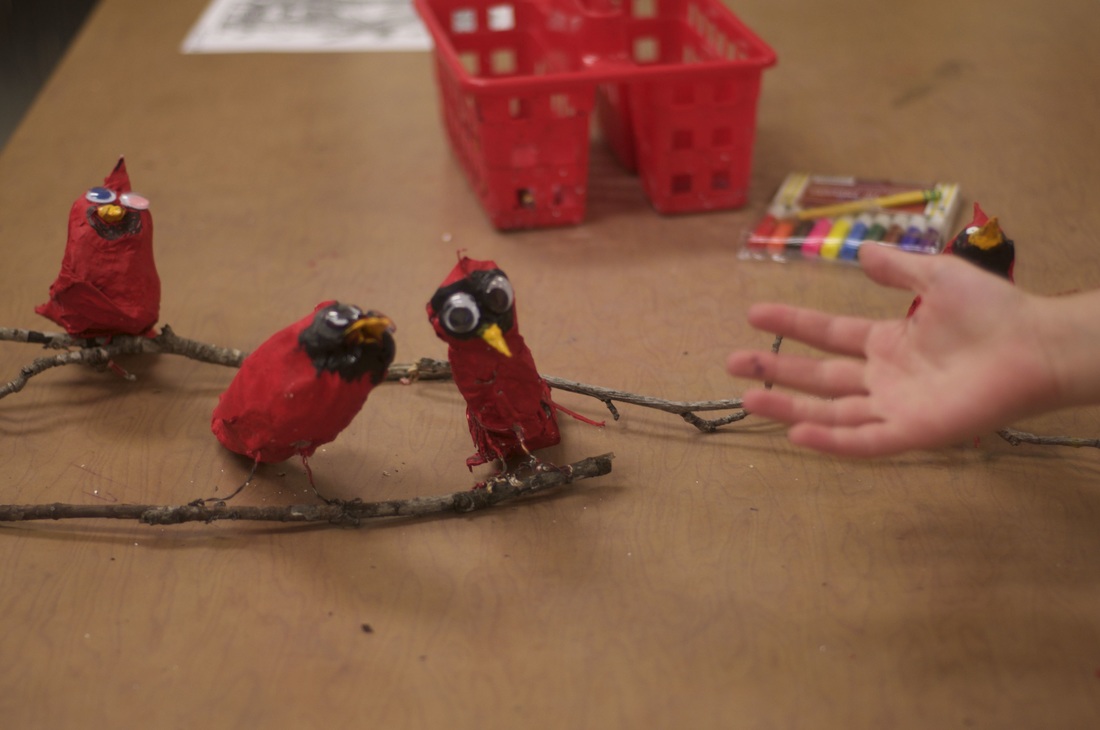
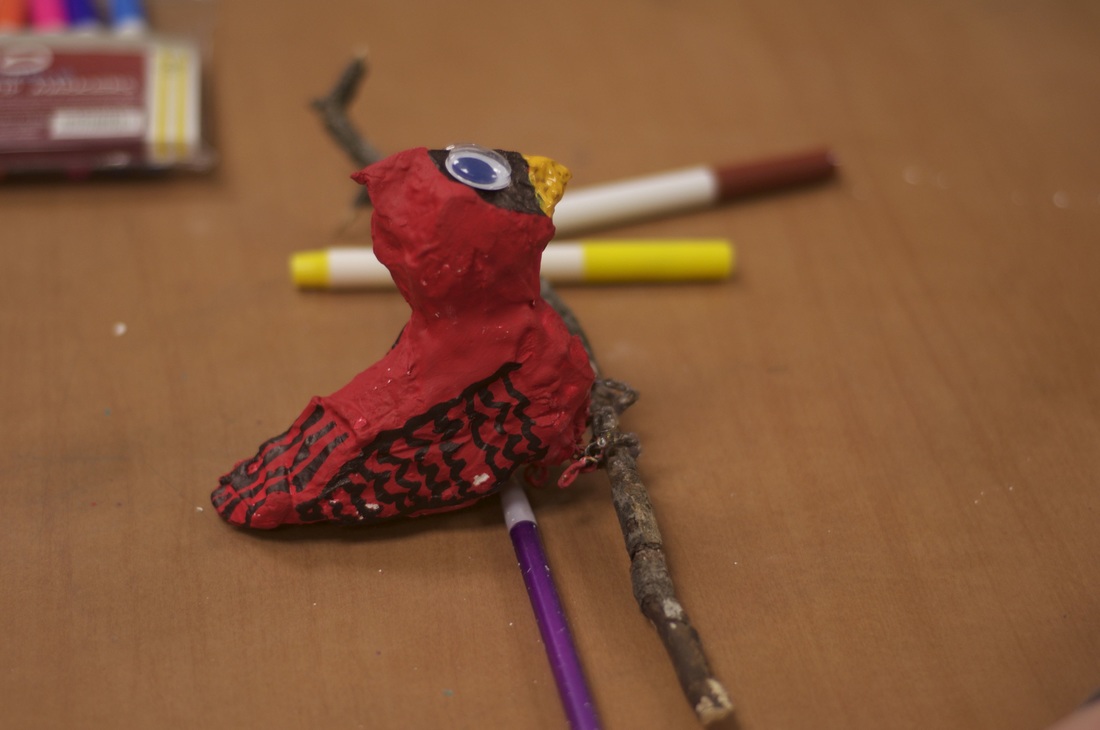
Students used a black permanent marker to draw on the 'mask' around the cardinal's face. They colored it in black, and drew texture on the wings and tail, if they wanted to. Some students felt that their cardinals were not very realistic so I encouraged them to make it silly---I pulled out the googlie eyes and mini hot glue guns. OR they could paint the eyes with a dot of white at a painting station. I also had a yellow-orange paint for the beak, which was pretty close to a cardinal's beak color when applied over the red paint, that they could apply. I gathered a bundle of sticks from my yard, and let students choose a stick, they could perch the cardinal on the stick, but some were too heavy and spun around it like a bird in a cage----and some didn't have long enough toes to grasp the stick enough to clutch it. They tried to hot glue the feet to the stick, but that didn't work...most kids just wanted me to put the cardinal on the stick for them---but I tried to encourage them to figure it out, because I really couldn't do them all--not enough time. The sticks left bark and crumbs all over the room which was a pain. I let students take the cardinals right out the door, even with wet beaks, since I knew it would dry within an hour after class.
Students stood over trash cans, sanding off the crumbly bits of dried plaster. Then, everyone painted the cardinals red. The entire cardinal was painted red. We let the red dry. Next time, give them some thing to put the cardinal ON, while it dries because the foam trays we used for the plaster process were still coated in chalky dried plaster which sometimes stuck to the fresh paint and left white crumbs.
--Some students would've rather changed their cardinals into blue jays or other birds...I'm not sure I would let them, as this painting process when relatively smoothly, and I don't know how we could've added a lot of painted details without adding an additional day.
Day 6
Students used a black permanent marker to draw on the 'mask' around the cardinal's face. They colored it in black, and drew texture on the wings and tail, if they wanted to. Some students felt that their cardinals were not very realistic so I encouraged them to make it silly---I pulled out the googlie eyes and mini hot glue guns. OR they could paint the eyes with a dot of white at a painting station. I also had a yellow-orange paint for the beak, which was pretty close to a cardinal's beak color when applied over the red paint, that they could apply. I gathered a bundle of sticks from my yard, and let students choose a stick, they could perch the cardinal on the stick, but some were too heavy and spun around it like a bird in a cage----and some didn't have long enough toes to grasp the stick enough to clutch it. They tried to hot glue the feet to the stick, but that didn't work...most kids just wanted me to put the cardinal on the stick for them---but I tried to encourage them to figure it out, because I really couldn't do them all--not enough time. The sticks left bark and crumbs all over the room which was a pain. I let students take the cardinals right out the door, even with wet beaks, since I knew it would dry within an hour after class.
Conclusion
I was disheartened to hear that several students walked right down the hall and dumped their cardinals into the trash can in the next class. How frustrating to spend so much time prepping a project that I thought they would be so proud of and enjoy, just for them to not care and be disappointed.
I also had a student exclaim, 'That project sucked. It was boring and took way too long.' I thought his cardinal turned out well, and I had no idea that he was so annoyed by the project until after he said that.
After the first class told me that several had trashed their projects, I gave a sob story to the other classes about how broken hearted I was to hear that---and I encouraged them to save their cardinals for family members, especially old half-blind grandma's, who will appreciate the effort and the fact that they made it, even if they can't see the flaws, someone will love it! DON"T THROW IT AWAY!!!!
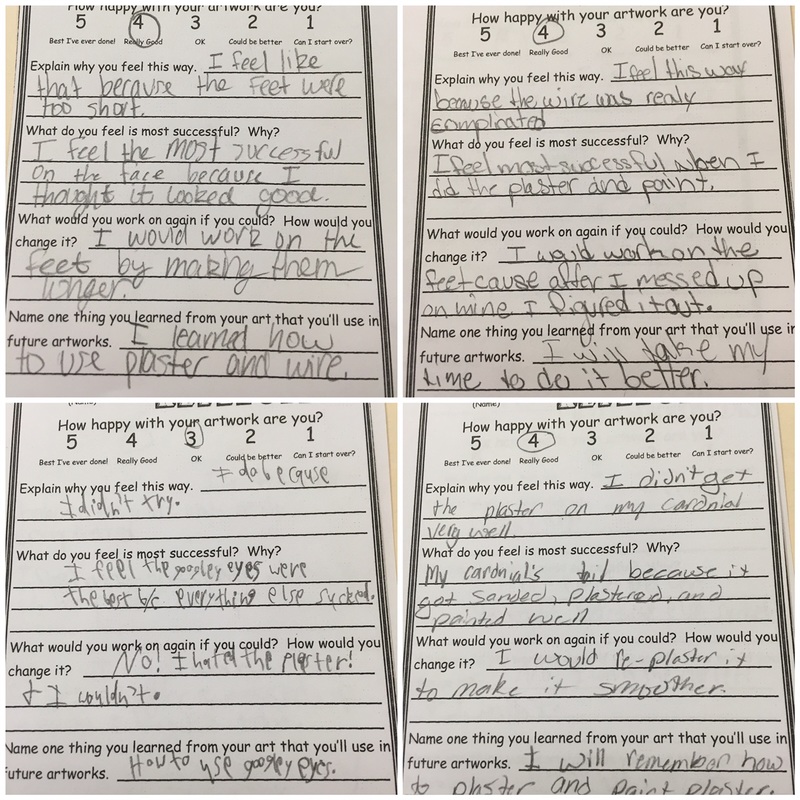
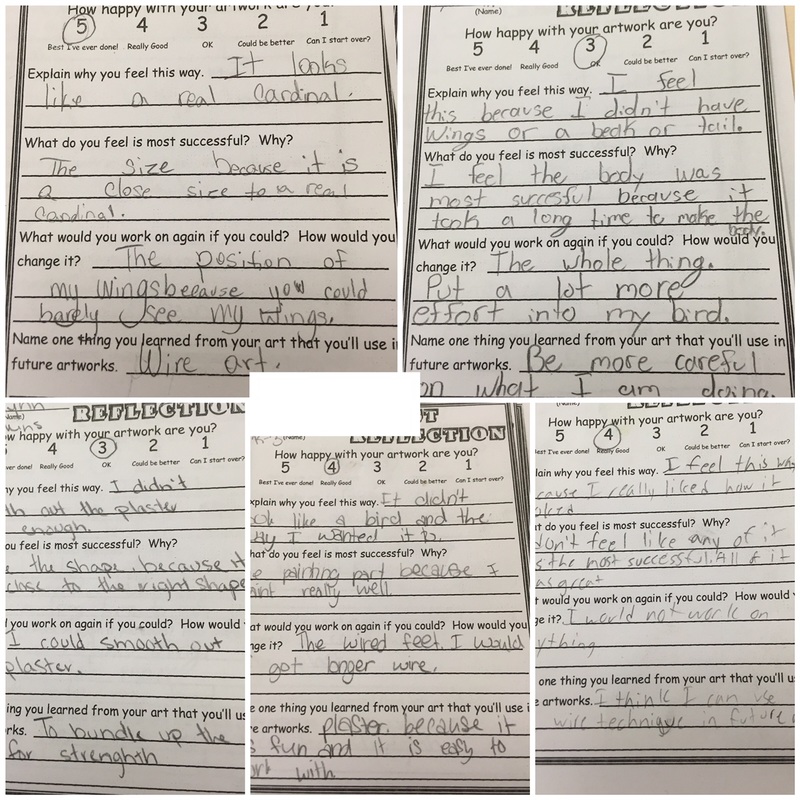
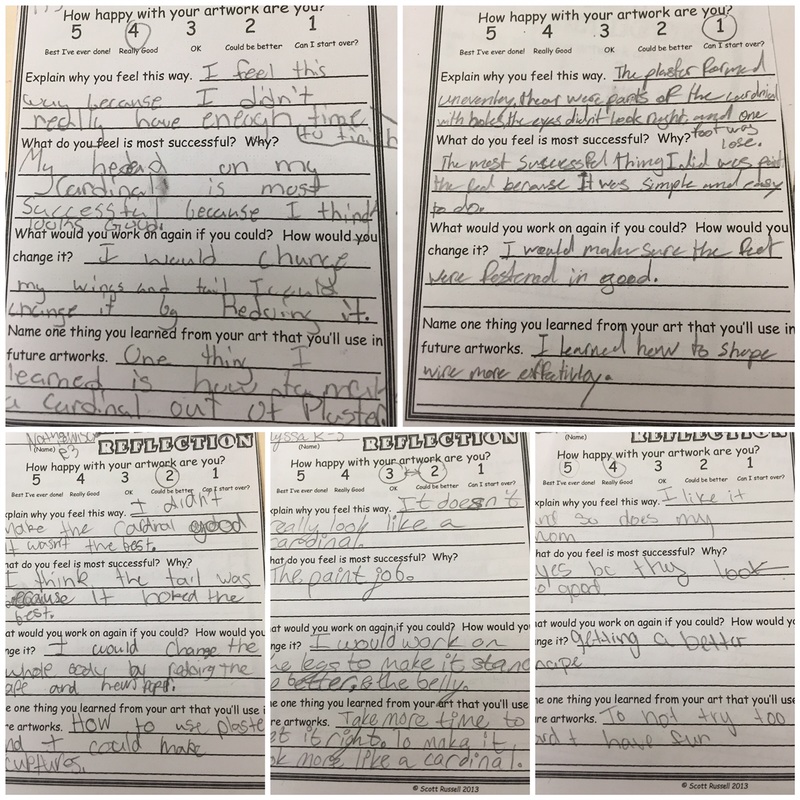
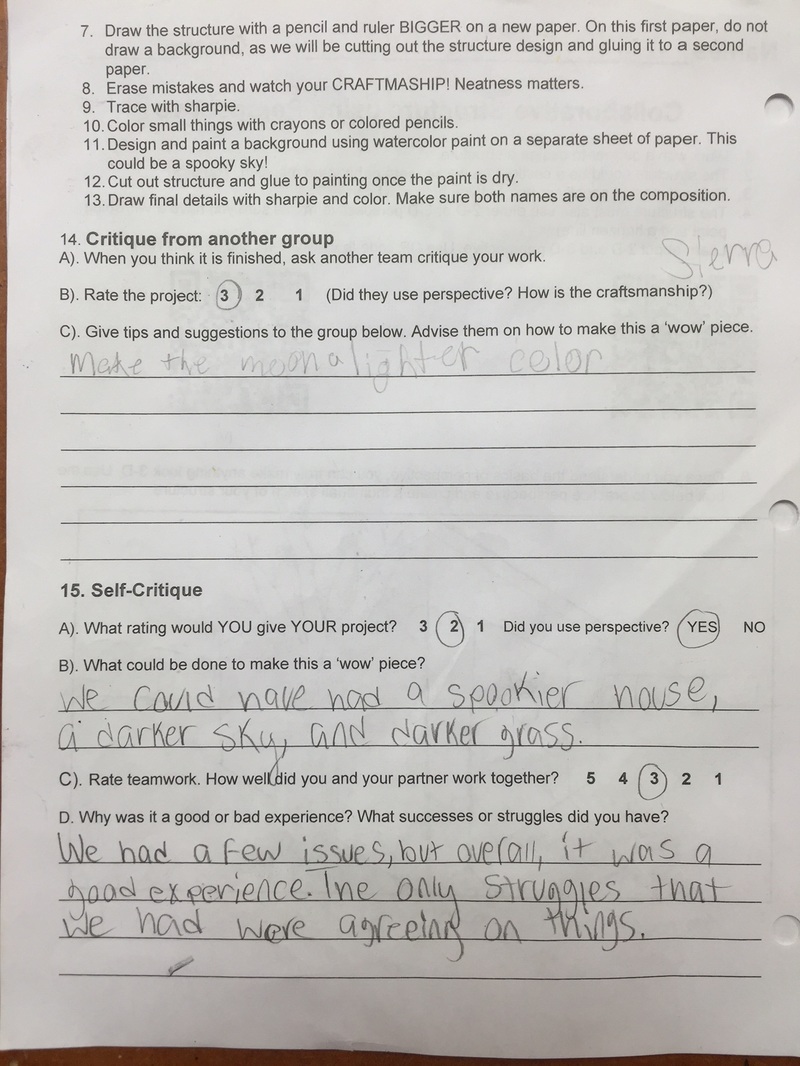
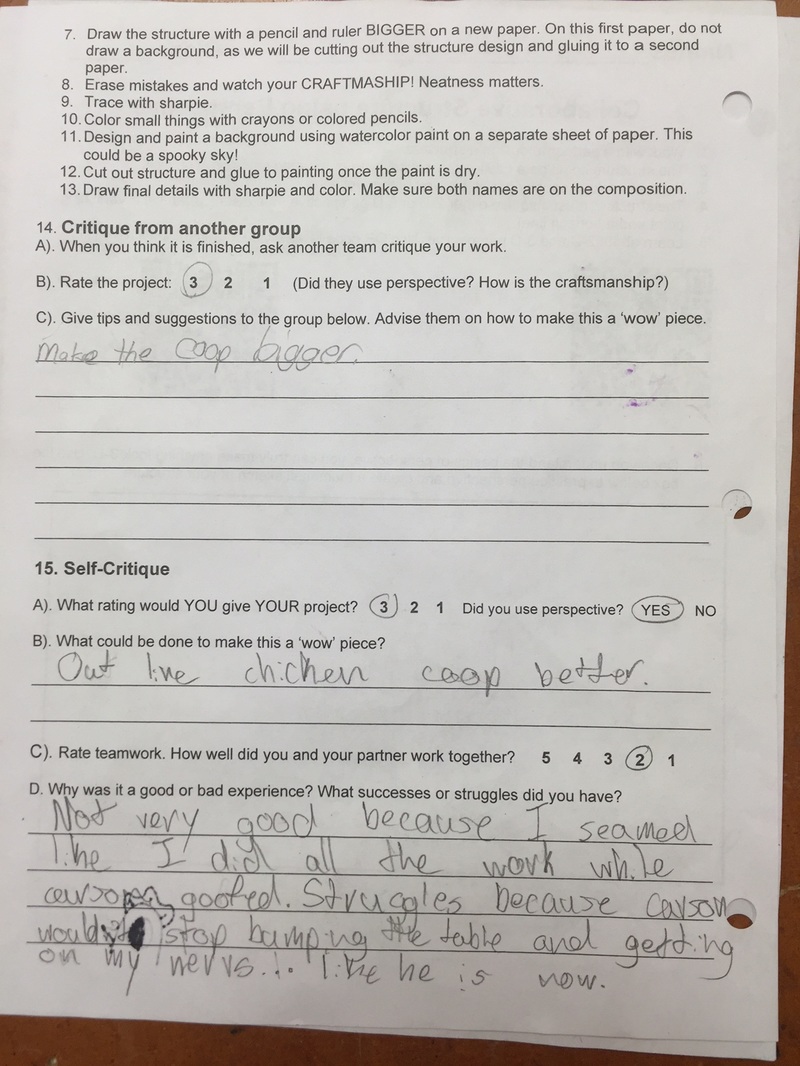
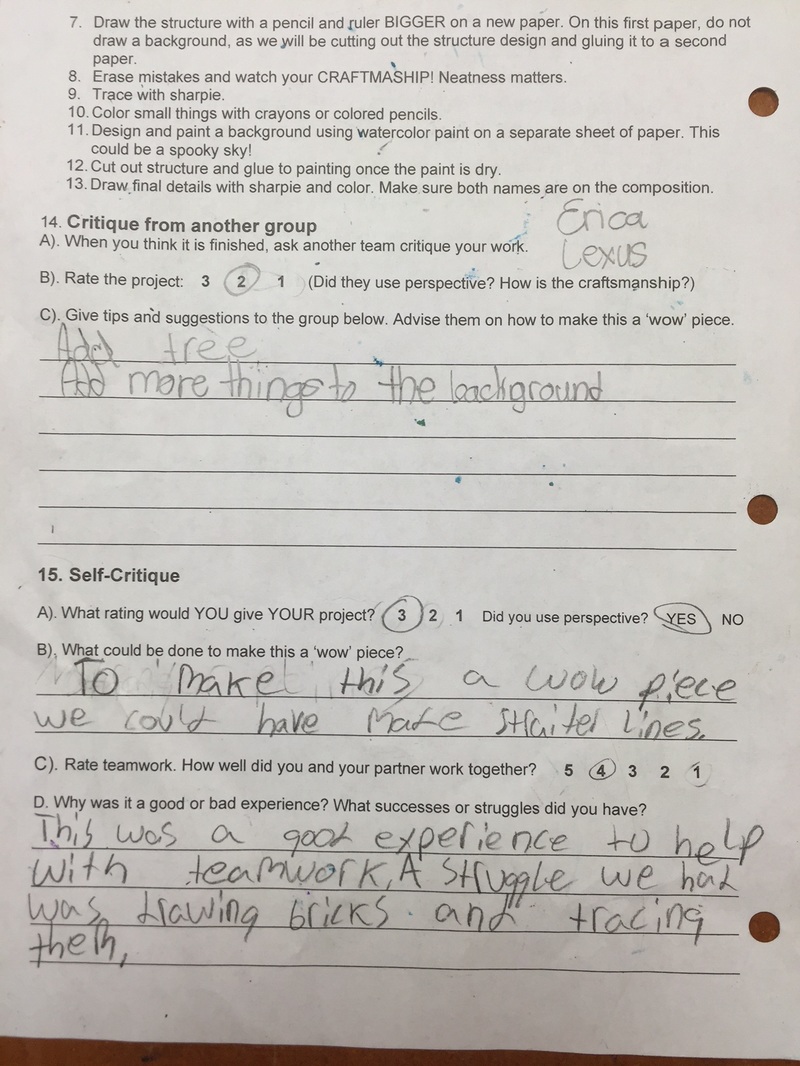
One of my professional development goals this year is to try to use more effective reflections and evaluations with my students. It is hard to find the class time to fill these out for every project. How do I know that students are being authentic, and not just writing down answers like 'nothing' or 'I don't know'. Do I give them a grade for quality responses? Do I have them re-do them if they don't give quality responses? How? When?
I found this great form on teachers pay teachers, and had it copied. Each form hold 4 self-reflections.
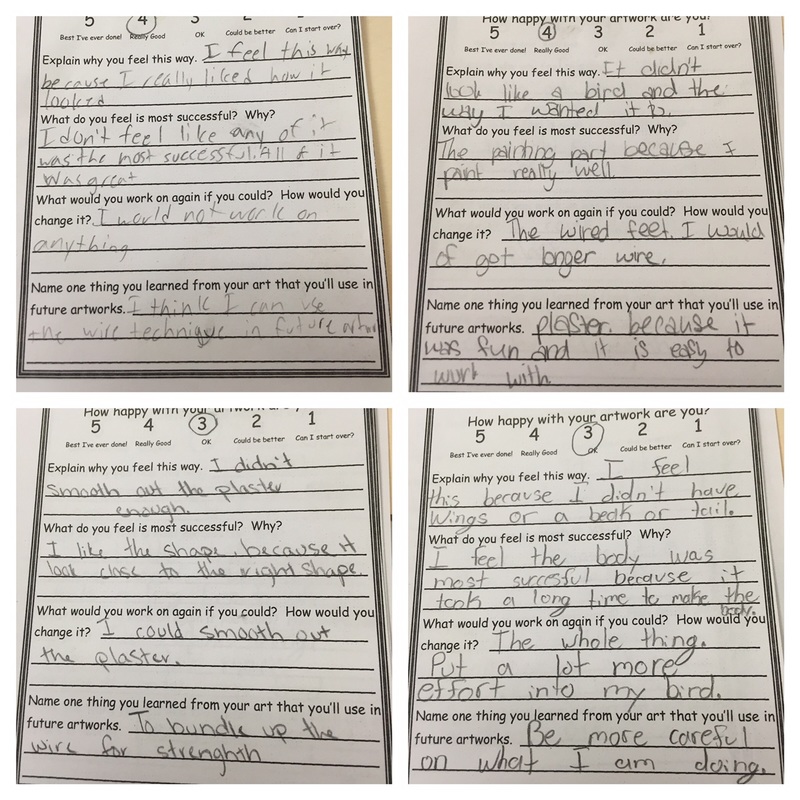
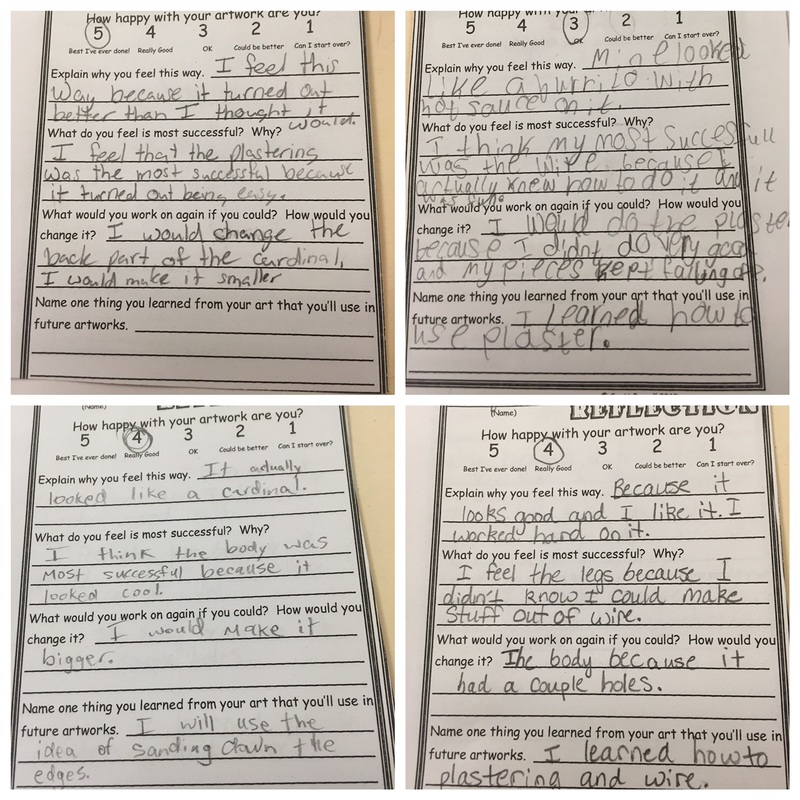
I have had 3 classes fill out the reflections so far, and the feedback has been so-so. I wish the questions were a little more specific to the actual project, because several students didn't tell me anything to help me improve this project or the plaster process for the future. Overall, students were proud of what they had made, and I guess that is what matters in a project like this.
After this project, I have general sense of how much space and organization something like this takes. It is a little disheartening that the Cardinals are almost impossible to display in our school without a display case, I sent them all home, without any evidence of our month and a half spent on one project.
Now that I have completed this project with multiple classes, I can develop a rubric based on the student reflections below, if I choose to do a project that involves plaster, paper mache, birds or 3-D because I have a baseline for my expectations and I can gauge student success on this baseline understanding of what is possible.


 RSS Feed
