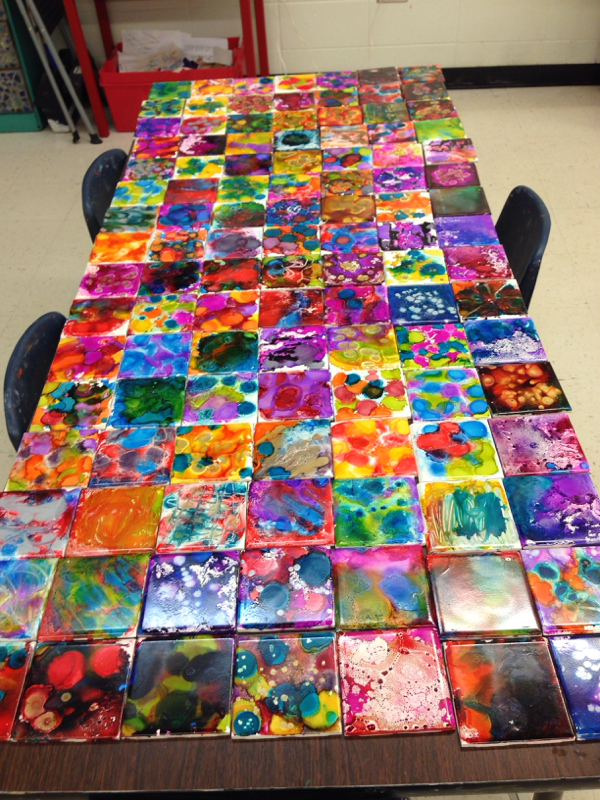
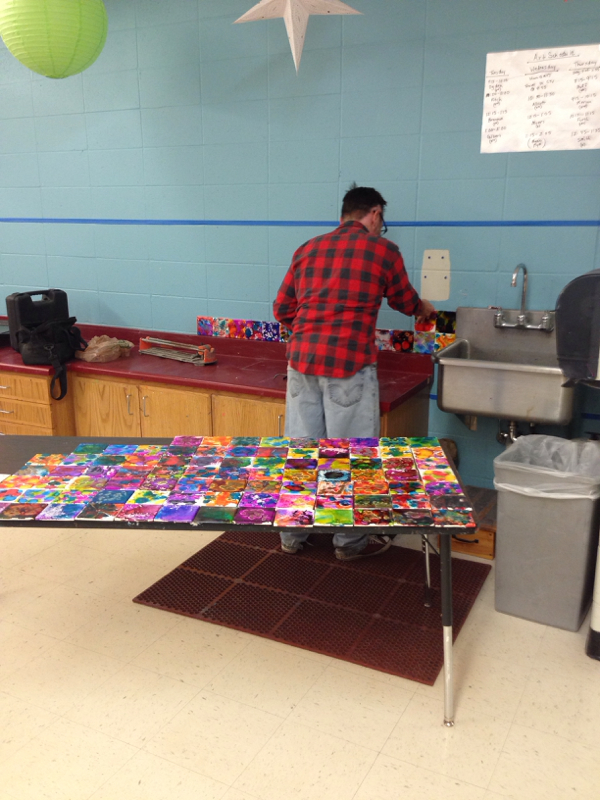
The students used Adirondack Ranger Inks at a little art center I had set up in the corner of my classroom. (I purchased the inks one package at a time, for several weeks using up my Michaels and Hobby Lobby 40% and 50% off coupons). The inks can be a little pricy, but they are so colorful that they are worth it! I limited the kids to 3 colors because I was afraid of running out.
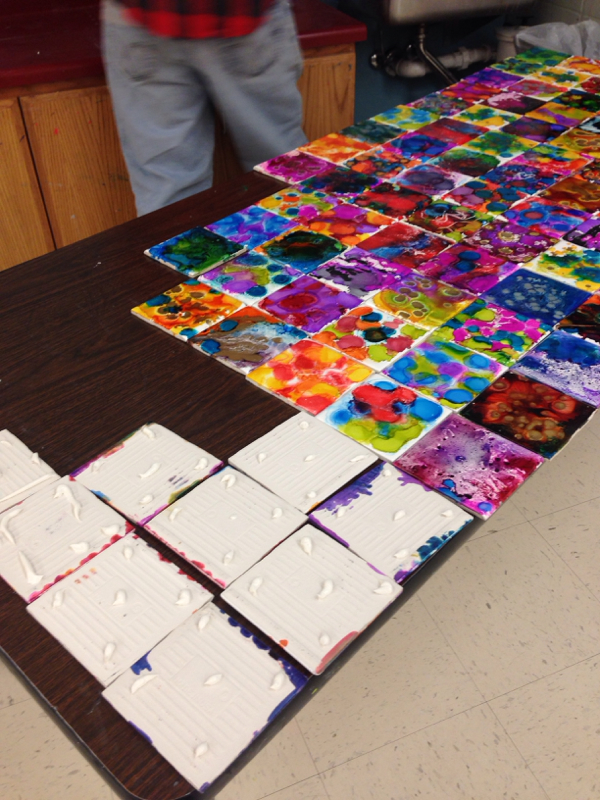
After the ink dried, I sprayed the tiles with Krylon's Triple-Thick Crystal Clear Acrylic Glaze.
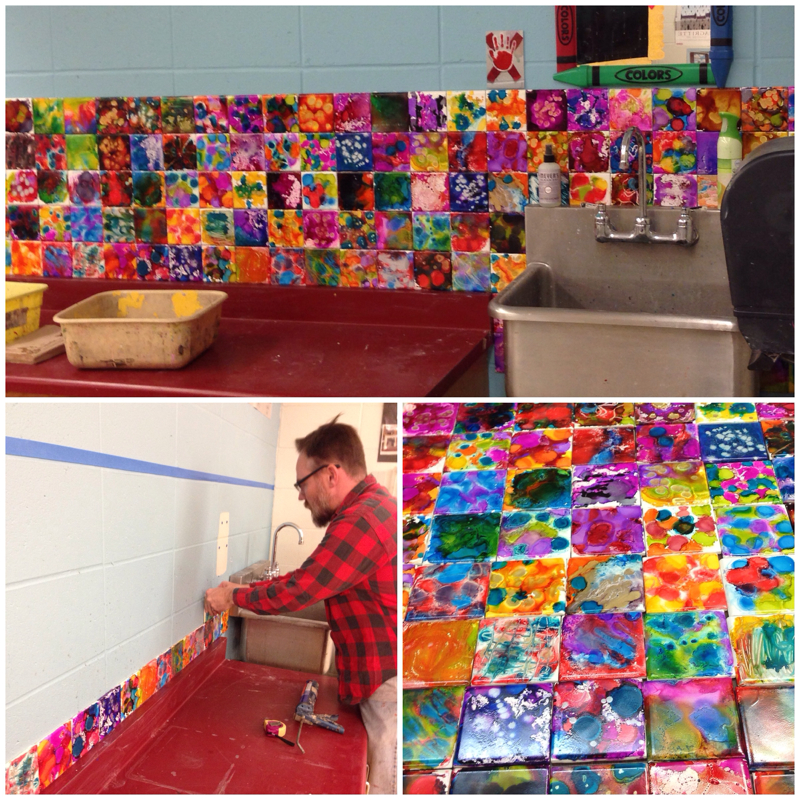
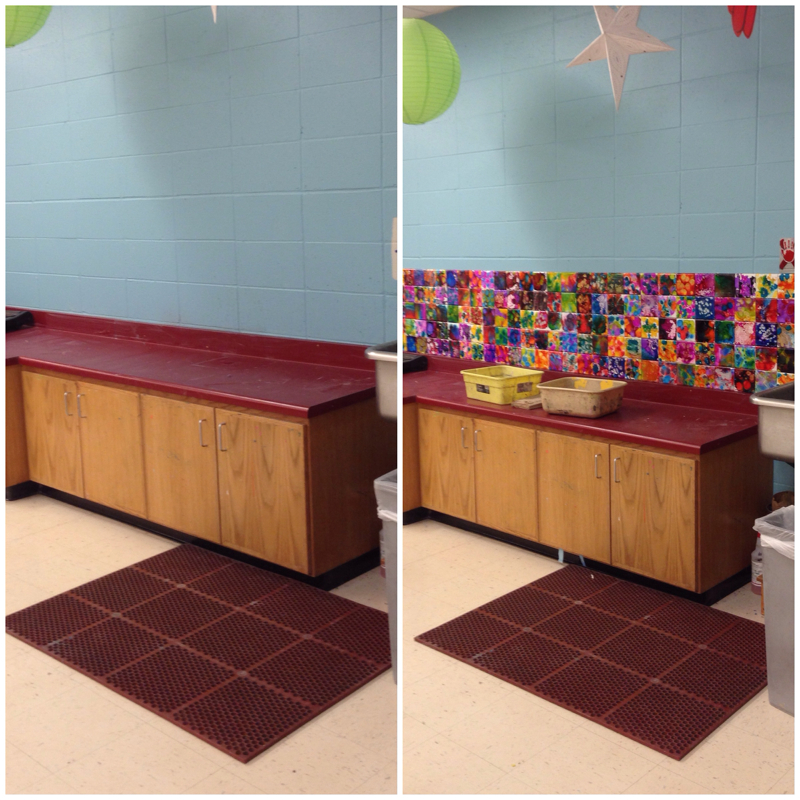
During parent teacher conferences, I had a station set up to allow any parents who stopped by to visit my room to make a tile. Not very many stopped in, so I had plenty of time to install the tiles--it only took about an hour and a half to do this whole wall. We used liquid nails to adhere the tiles to the wall and placed the tiles very close together. We did not use grout, we thought that it looked really cool without grout, but you could definitely grout yours if you decide to try this.
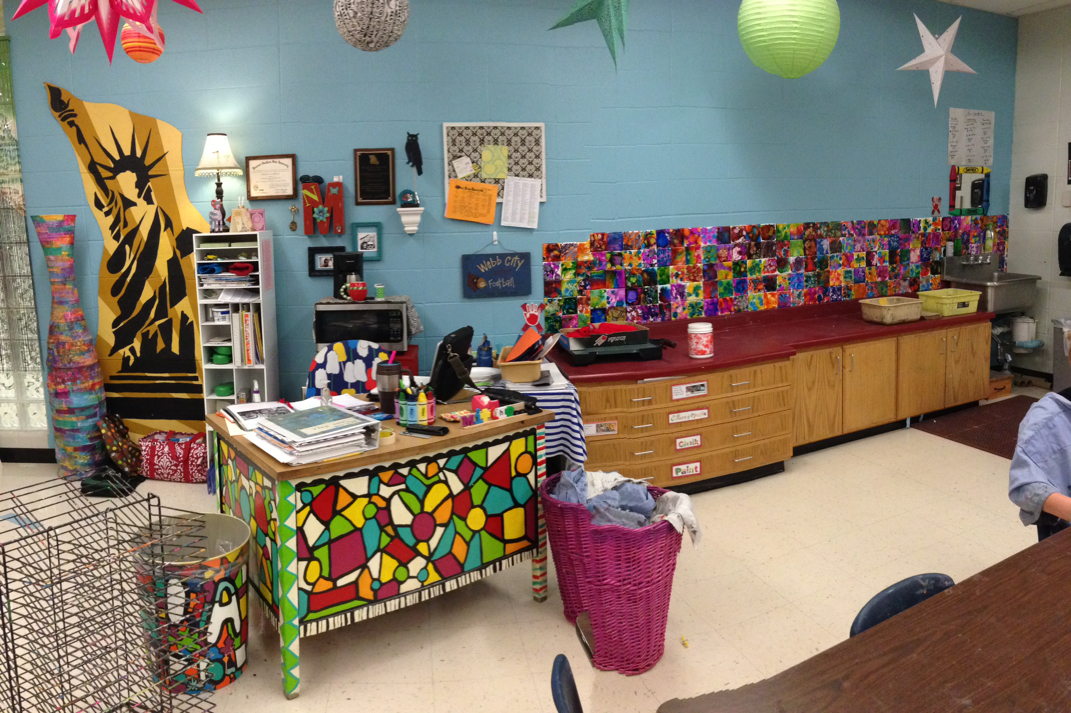
This colorful addition to my classroom will hide splatters of dirty water. It will be easier to wipe off. Best of all, this whole project was relatively inexpensive. If you decide to try this, it would be worth asking PTO to purchase the tiles and ink.
Adirondack Ranger Inks
Rubbing alcohol
Sponge brushes (to apply the alcohol evenly to the surface of the tiles)
White ceramic tile
Krylon's Triple-Thick Crystal Clear Acrylic Glaze
Liquid Nails
Dry tile cutter
(Grout: optional)
Step 1: Watch this video on how to make alcohol ink tiles. (It says to use a blending solution...I just used rubbing alcohol)
Step 2: Spray tiles with an acrylic glaze. Let dry for 4 or more hours.
Step 3: Install your tile wall using liquid nails. Just squirt it out on the back of the tiles and stick it on the wall. We also had a dry tile cutter to custom fit tiles around the wall and sink.


 RSS Feed
