For some reason, I decided this would be the year that I finally teach my students how to make things (besides spheres) how to appear 3-D.
We started by drawing 3-D cubes in our sketchbooks. Some groups struggled with this----5th graders aren't ready in October. 6th graders did okay.
Then, I had them get into pairs.....they loved working with a partner!
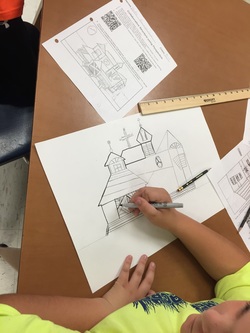
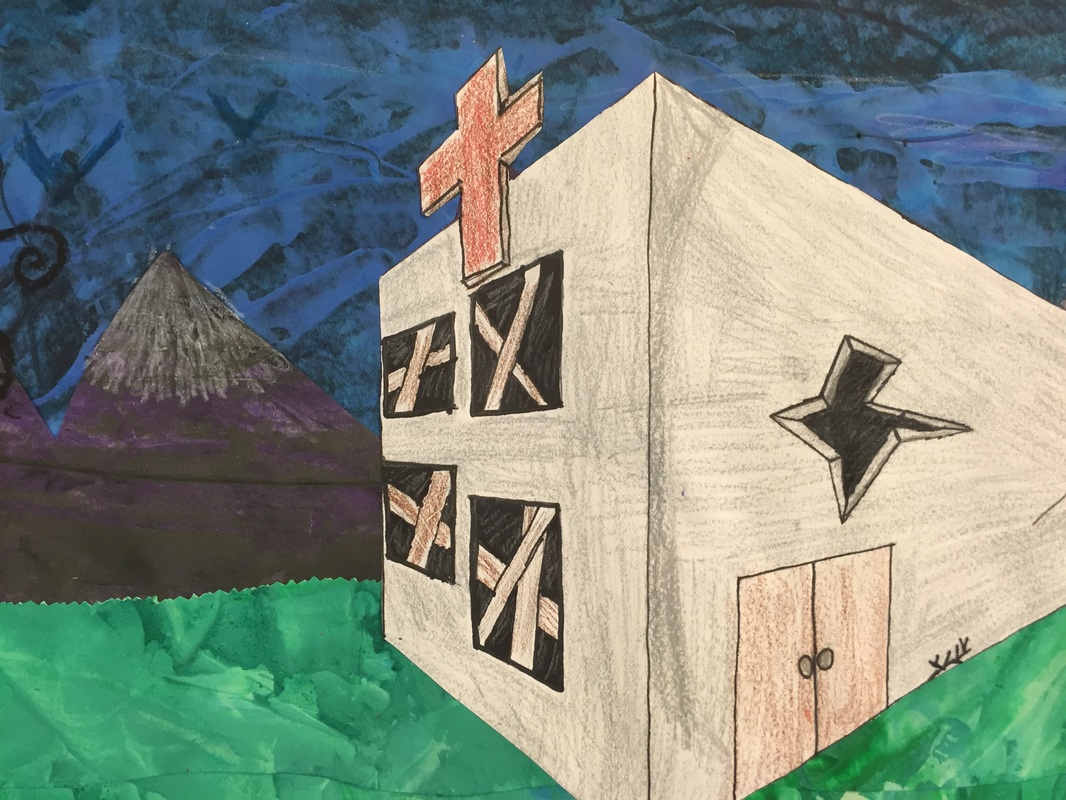
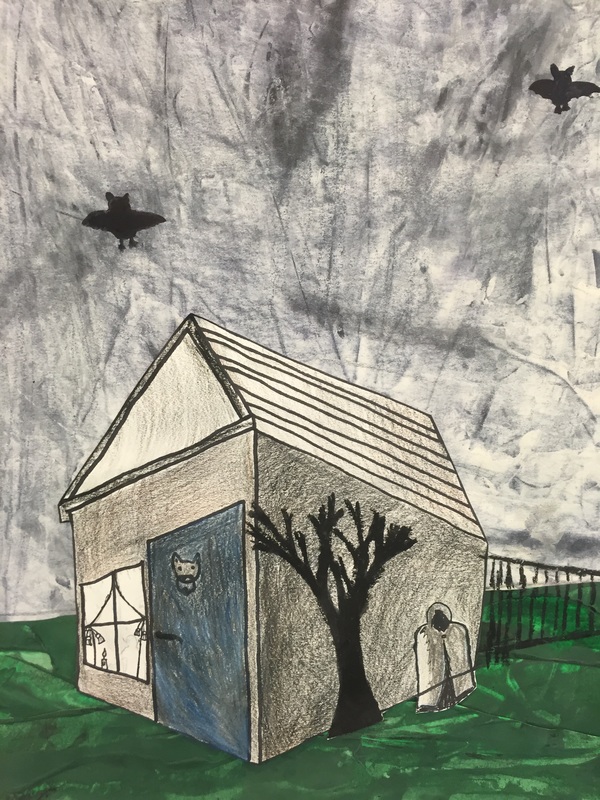
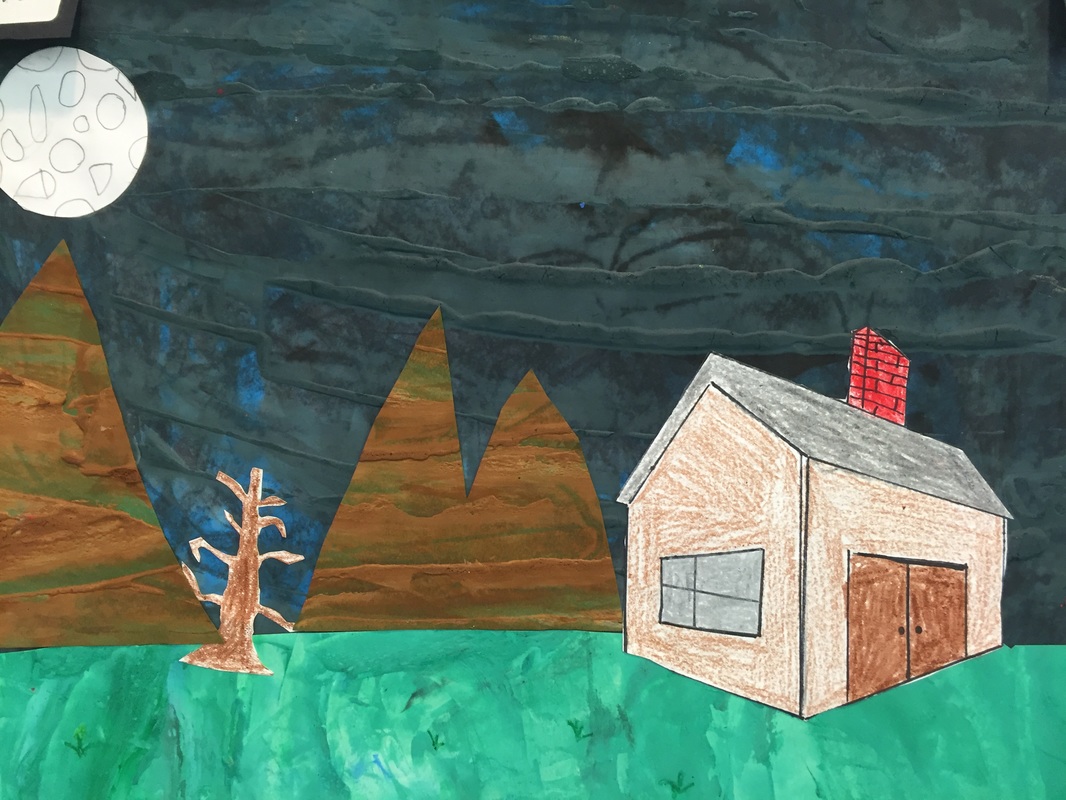
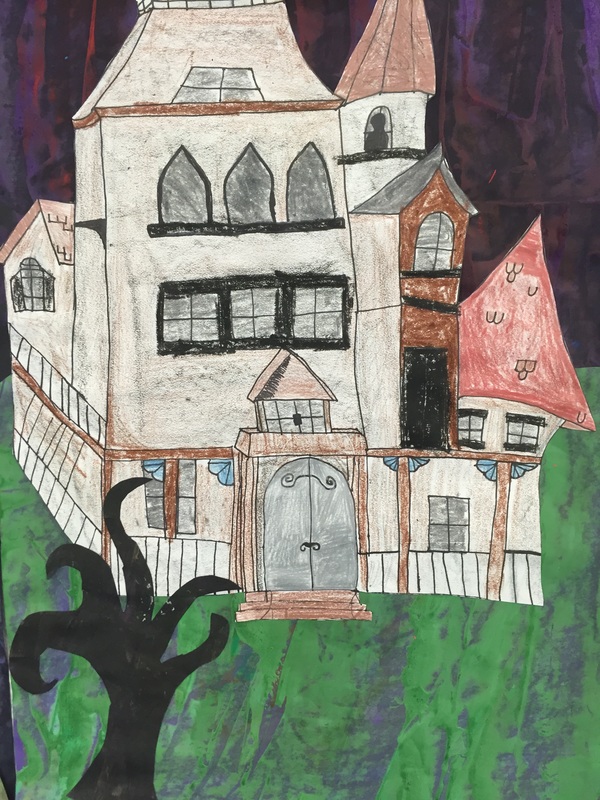
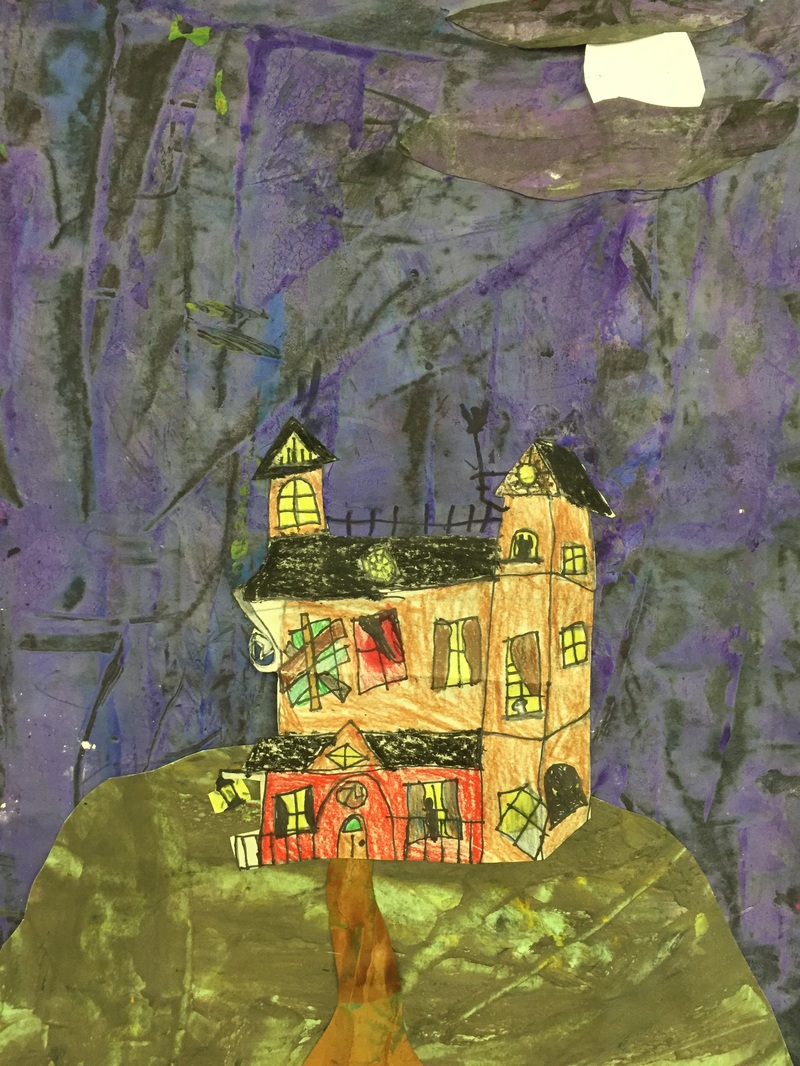
With their partner, they used the planning sheet to design a structure using perspective. They could use 1 point or 2 point perspective, and it could be spooky or not...since it was close to Halloween, I always like to do something with spooky architecture if I can. I have many visuals of Victorian houses, barns, pagodas, etc. for reference. Some of them are on this Smore flyer and I let my students access them digitally for this project. I also put 2 QR codes on the sheet, and let them watch the perspective videos we watched in class again, if they really struggled with the concept. (Flyer on Haunted houses and on Perspective)
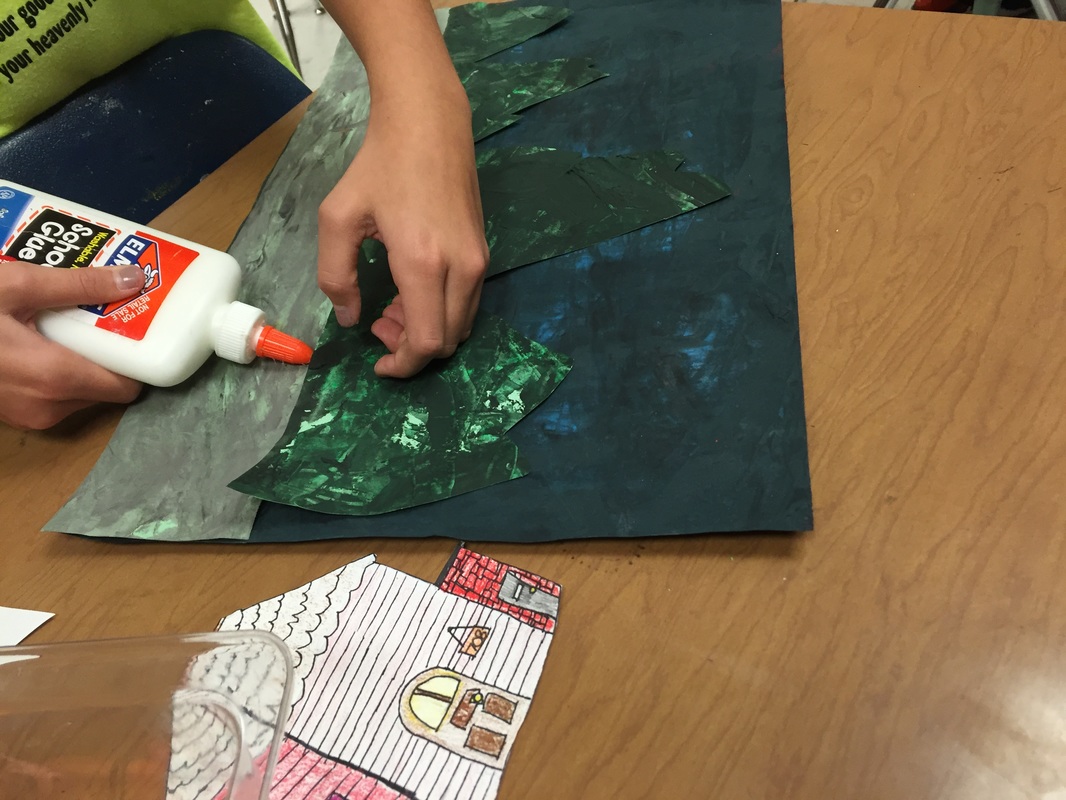
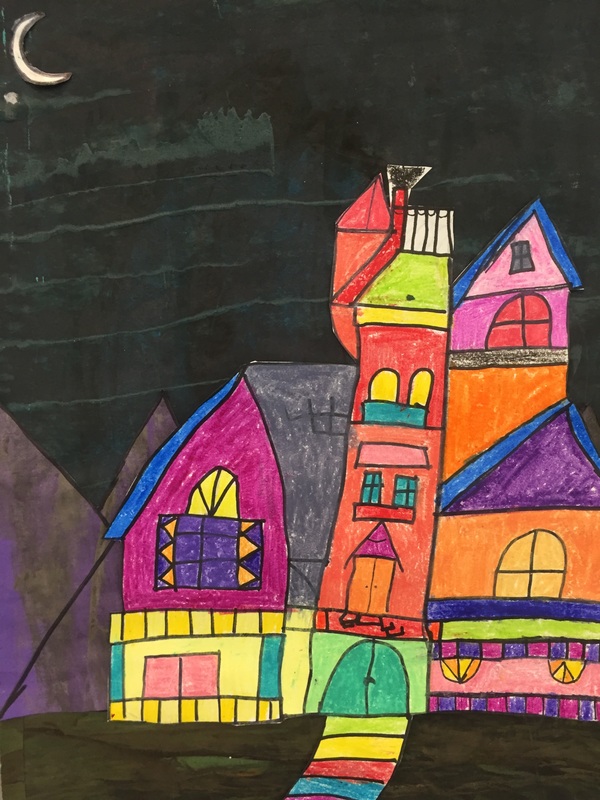
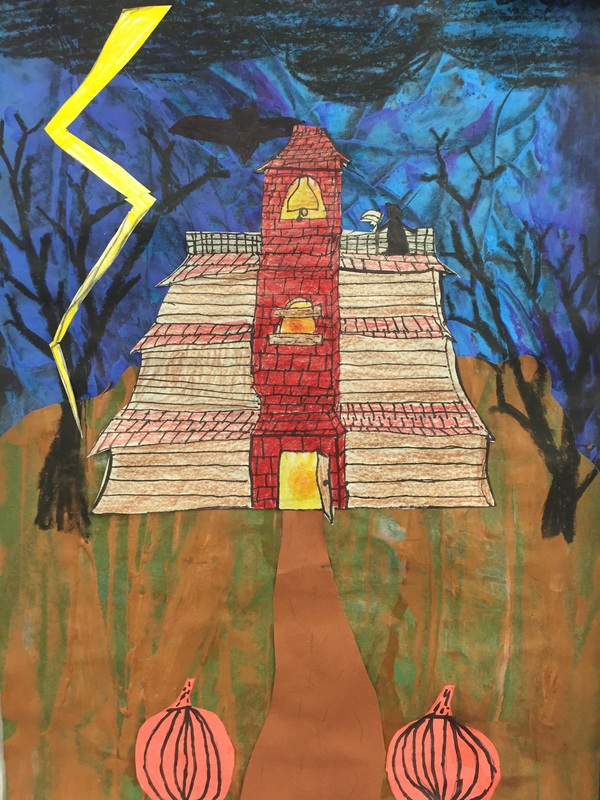
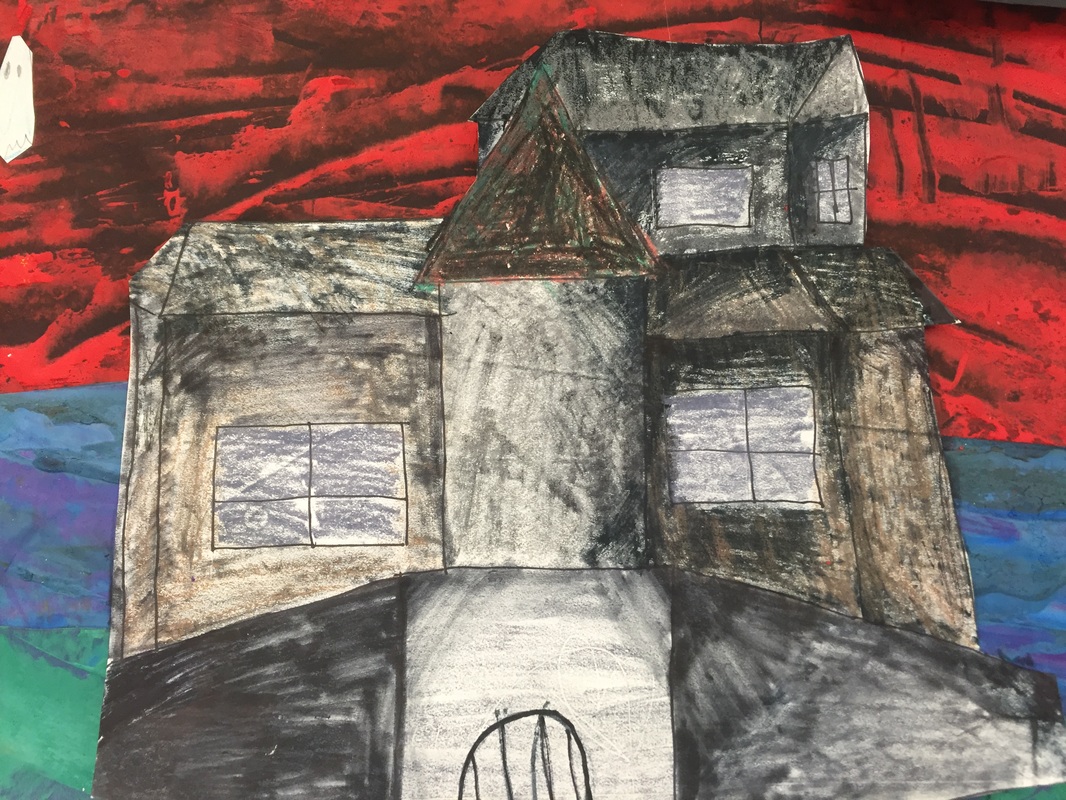
After they had a plan, they drew the structure on bigger paper---brown, gray or white paper. They outlined with a sharpie and could color with either colored pencils or construction paper crayons.
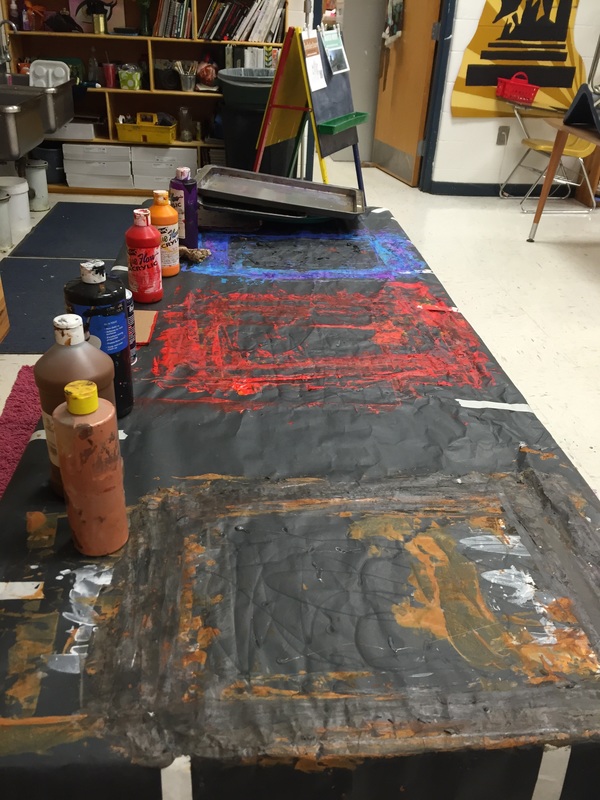
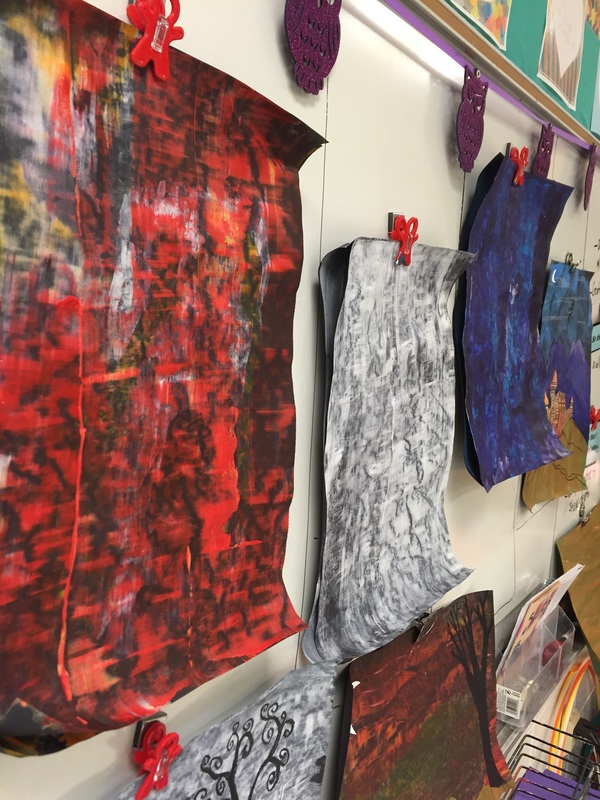
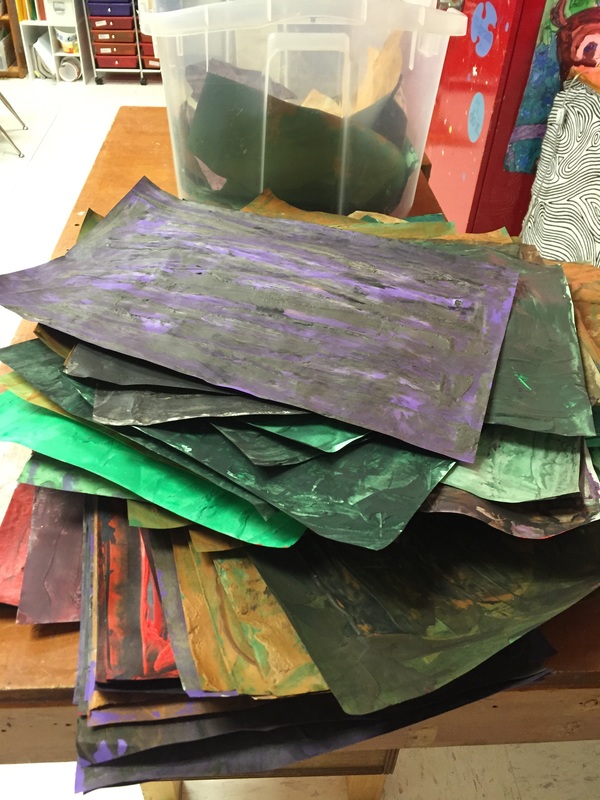
While they were working on drawing and coloring, I called them over to a special art station to make painted paper. It took 2 art times to get every over to the center---which is about what it took for them to finish drawing/coloring.
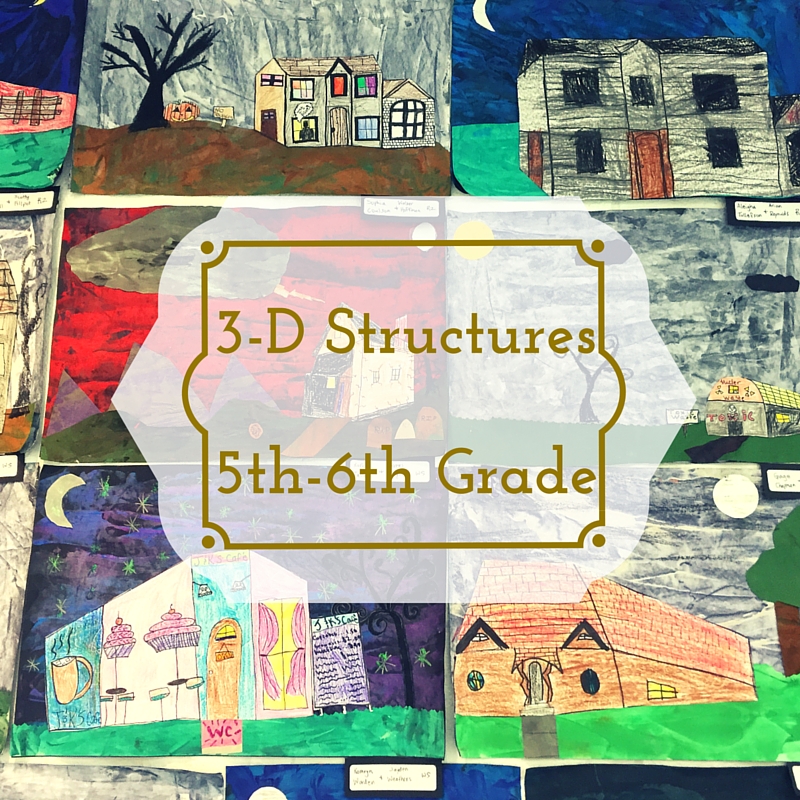
All of the 'sky' pages were created on black construction paper. The combination of the acrylic and the shaving foam gave the paint a thickness that we don't normally find in school grade paint. The pallet knife technique was very fun for some of the students, I stood right by as they created the textured papers. The other colors were made on dark green, purple, grey and light green construction paper. I don't have a photo of the station with students using the plastic palette knives and shaving foam, but we scraped the excess off the knife and onto a cookie sheet, so that it could be reused over and over. I let the students spray the shaving cream and squirted the paint. It was sort of like an assembly line.
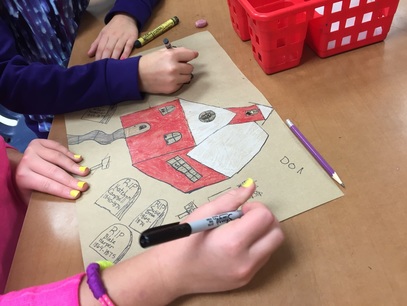
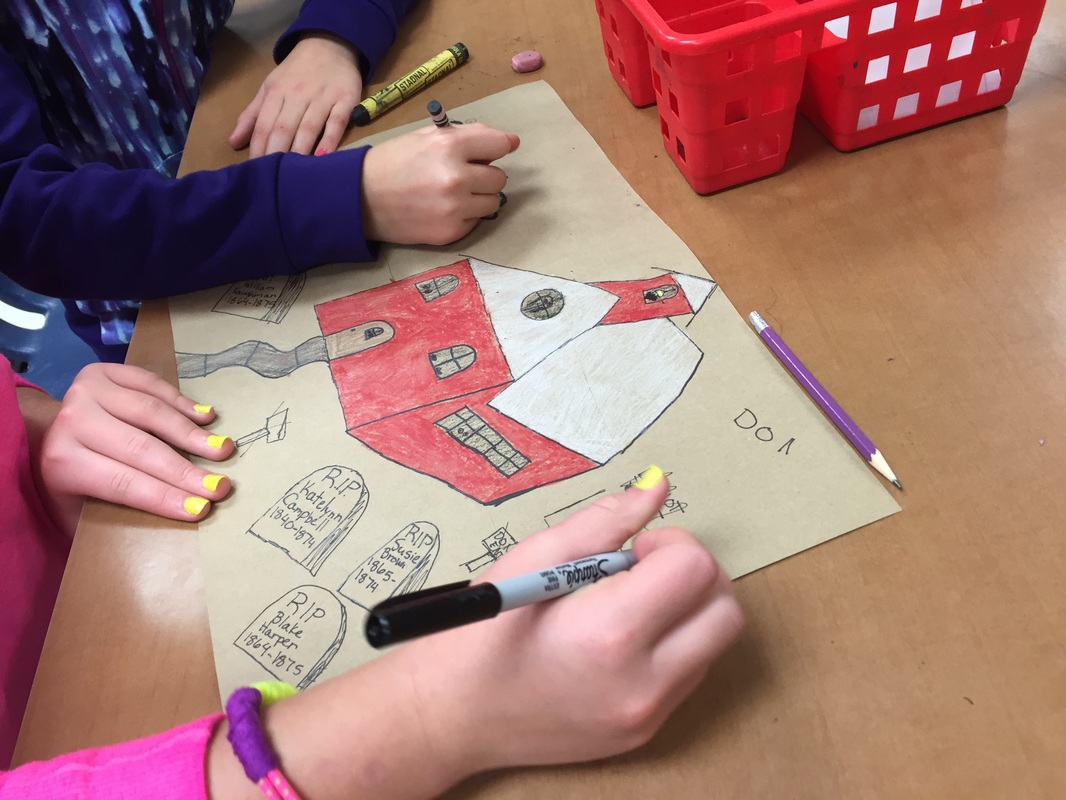
Small details could either be drawn with black crayons (sharpies would not work on the texture paper) onto the background, or they could be drawn/colored around the edges of their structures, since we were planning to cut those out and adhere them to the sky paper.
I also had to stress to them, DON'T cut the the 'sky' paper that is the 'canvas' we will be gluing everything to!
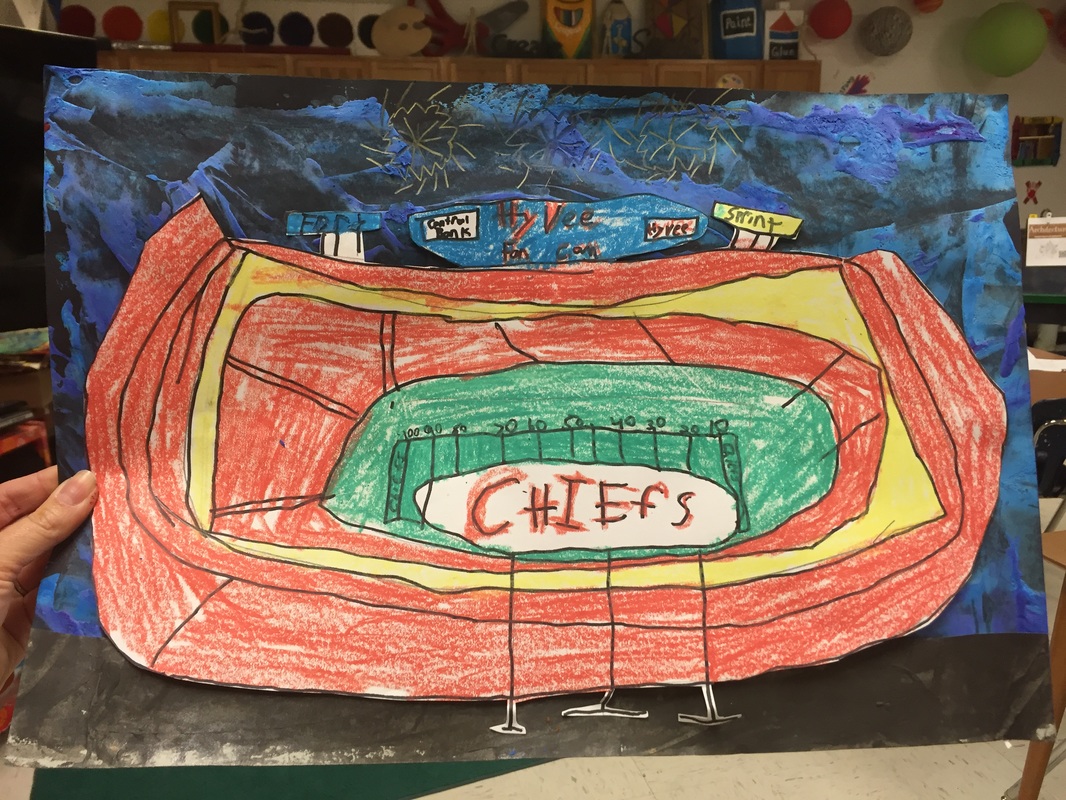
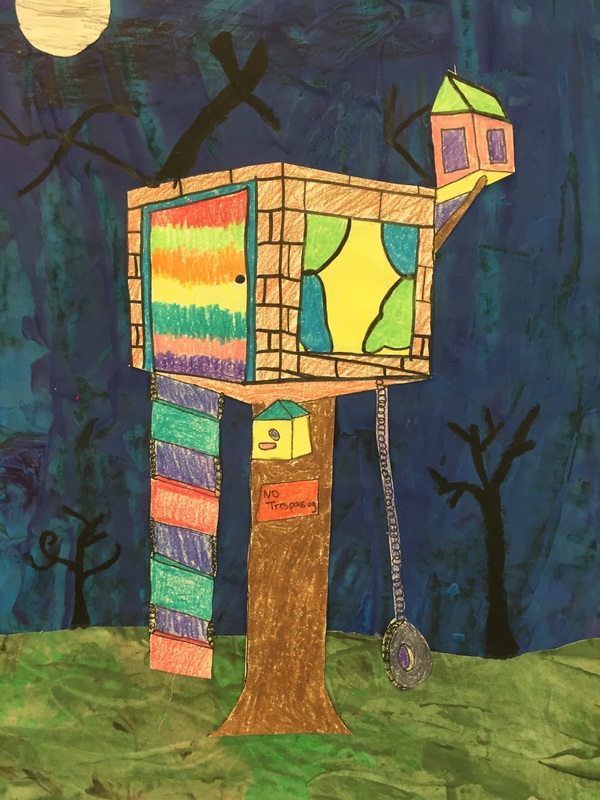
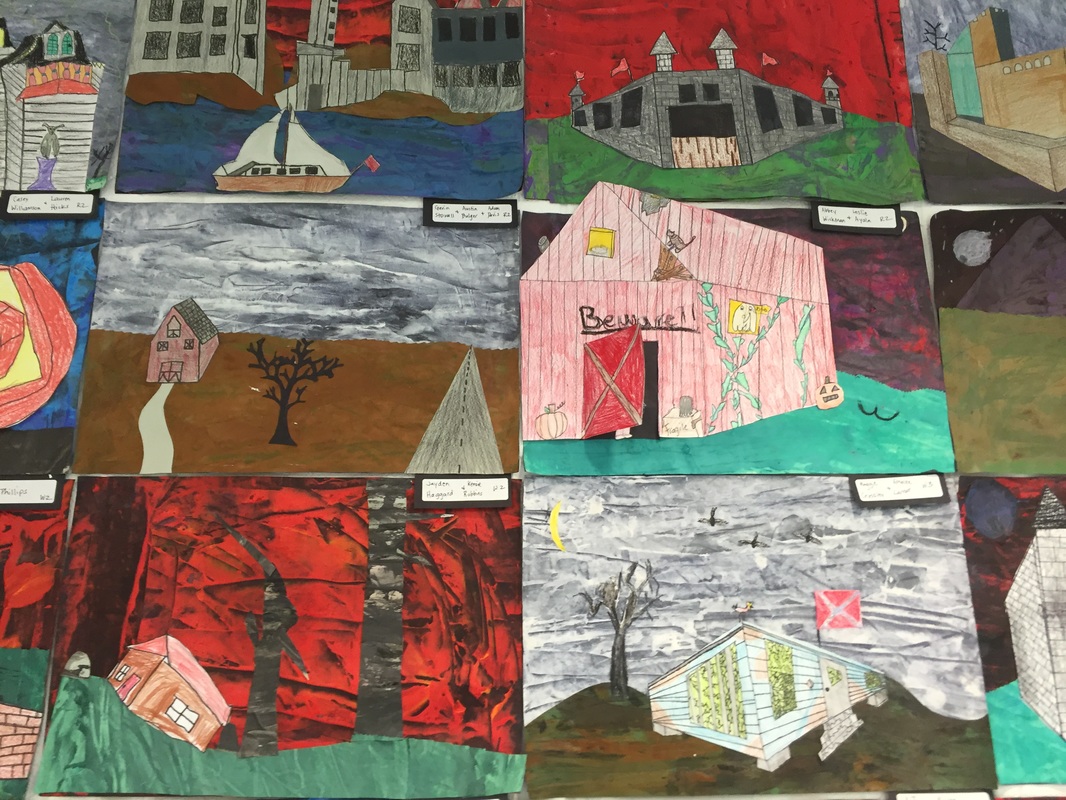
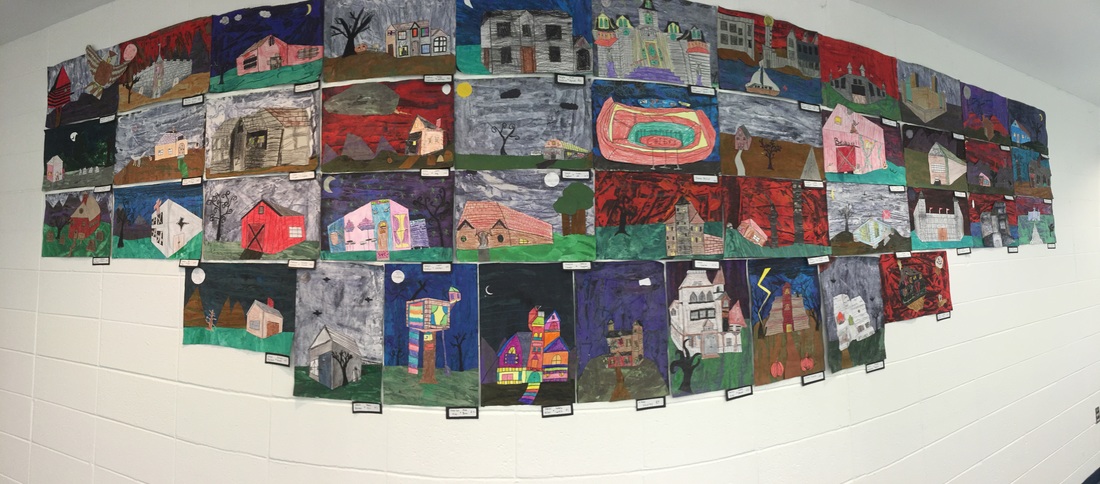
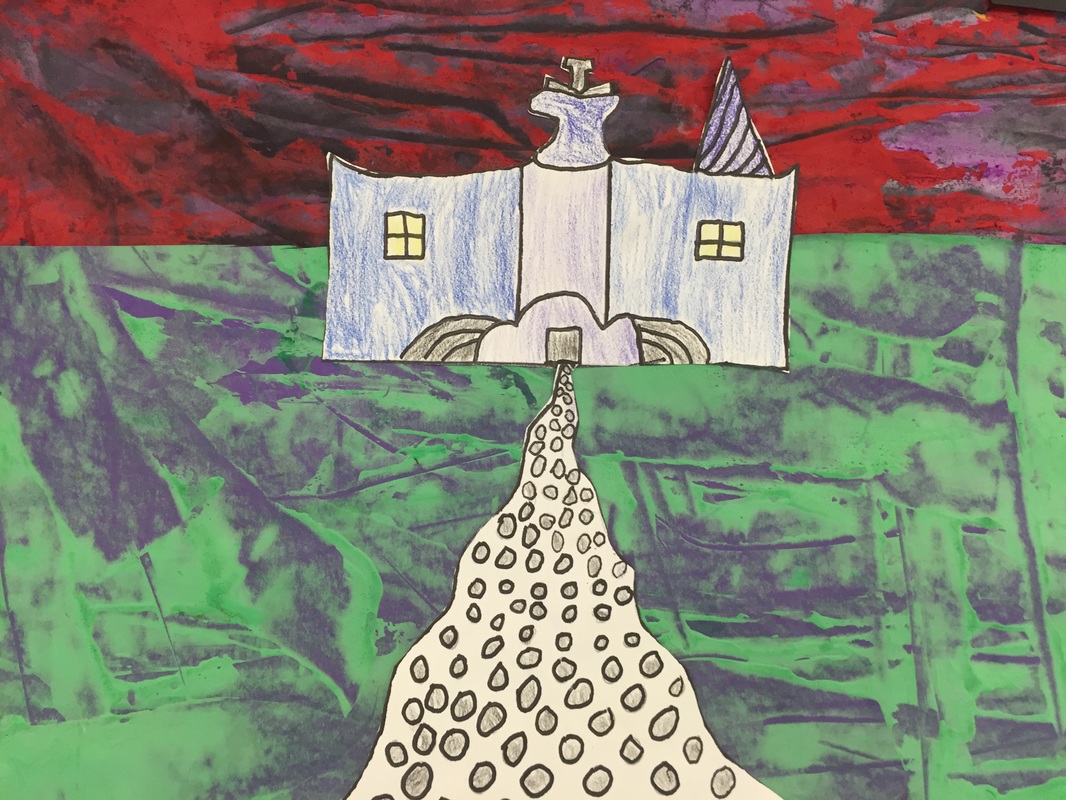
I was very proud of the variety of structures----there were tree houses, bird houses, stadiums, churches, schools, mansions, pagodas, and one group even re-created Alcatraz!
We did spend at least one day practicing trees, before the final day of the project--it really helped them to get the hang of creating realistic looking branches.
The research-based strategy to help me accomplish my goal:
MDQ 2.13 The teacher engages students in activities that help them reflect on their learning and the learning process.
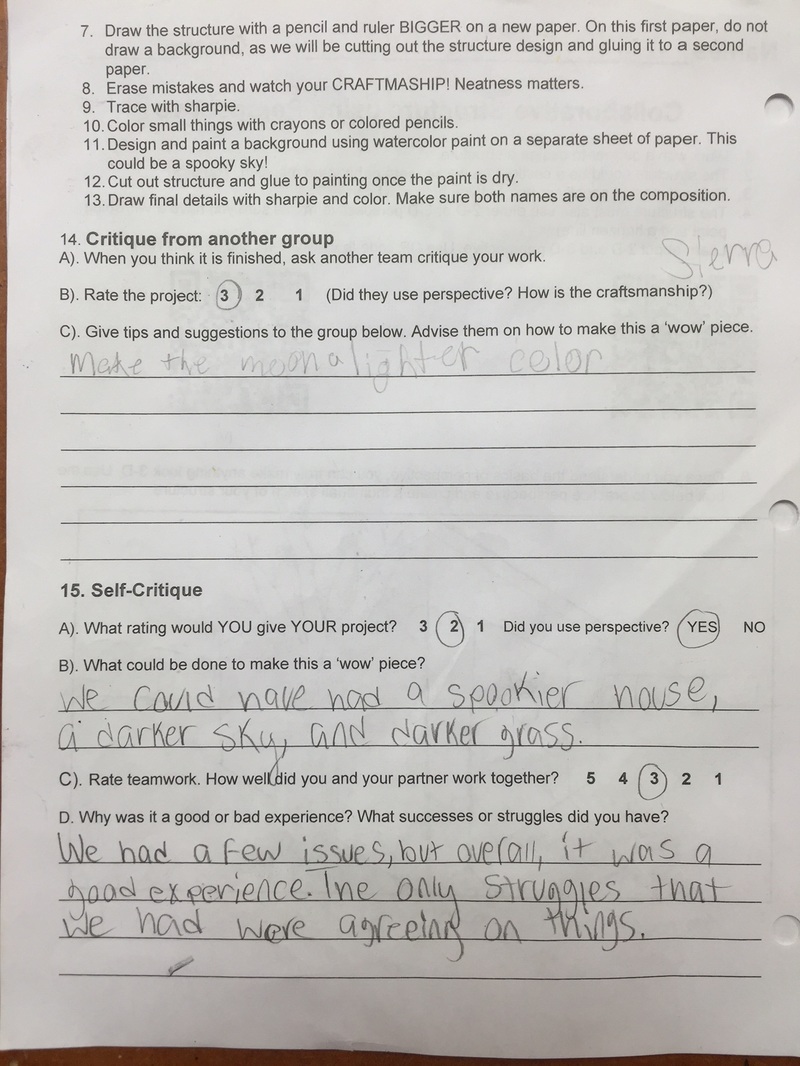
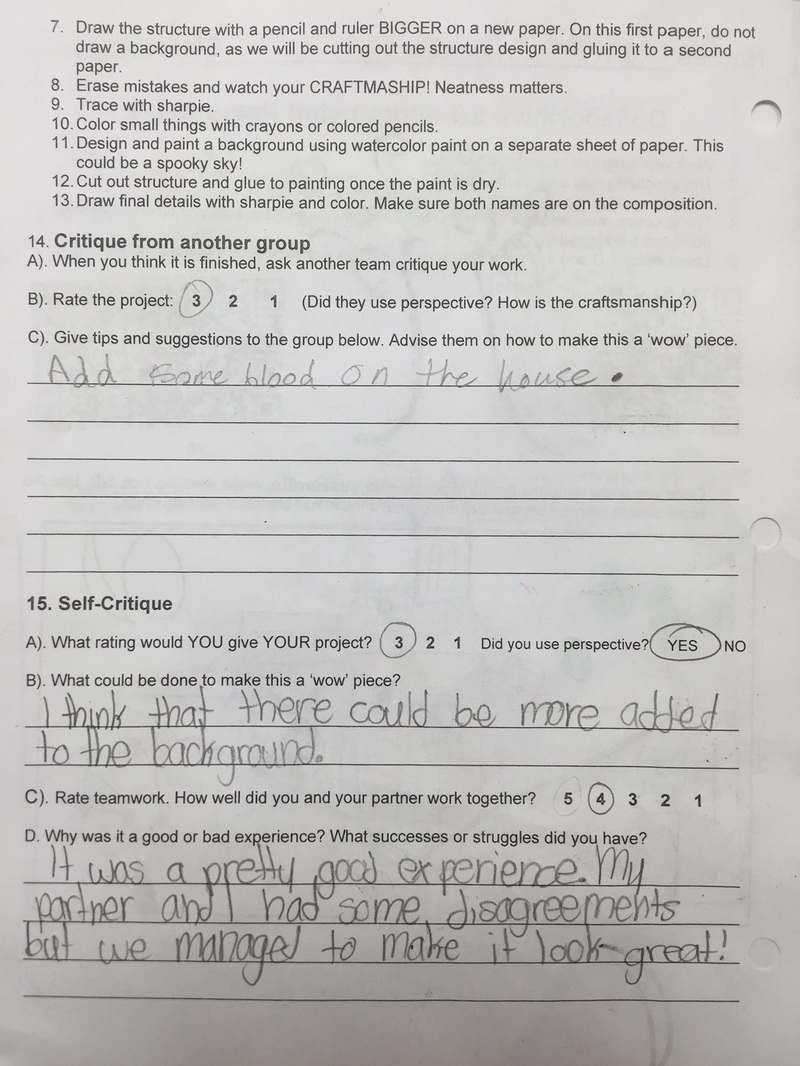
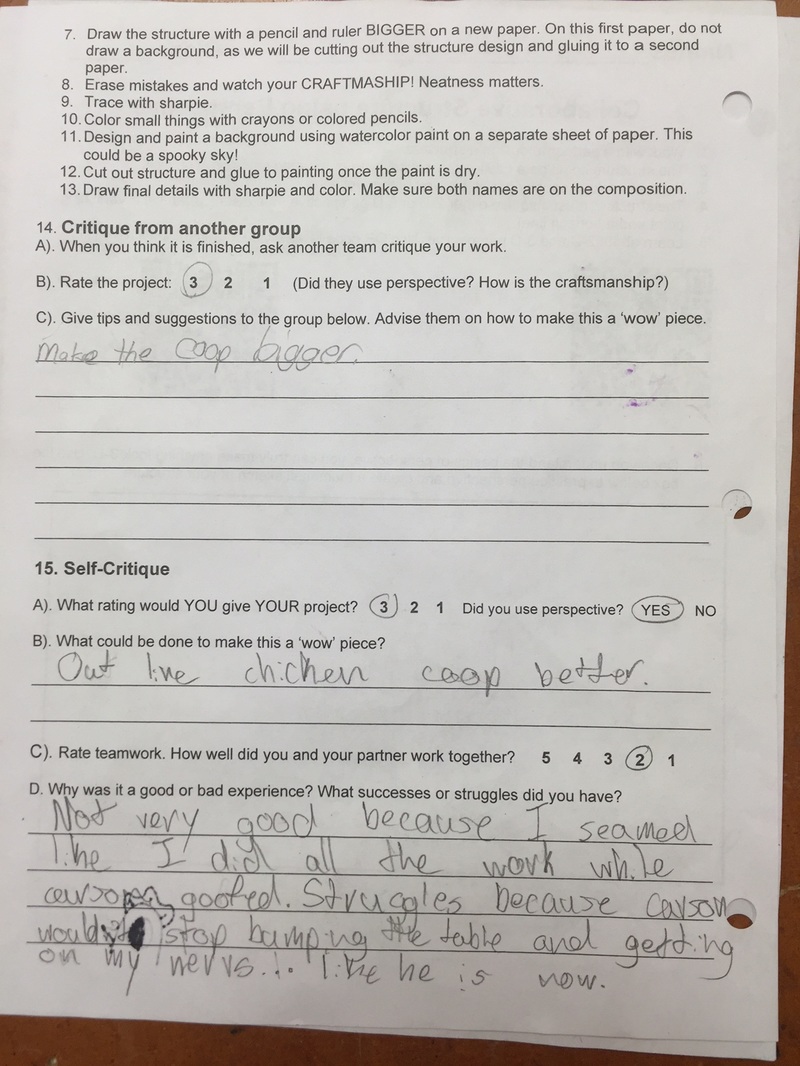
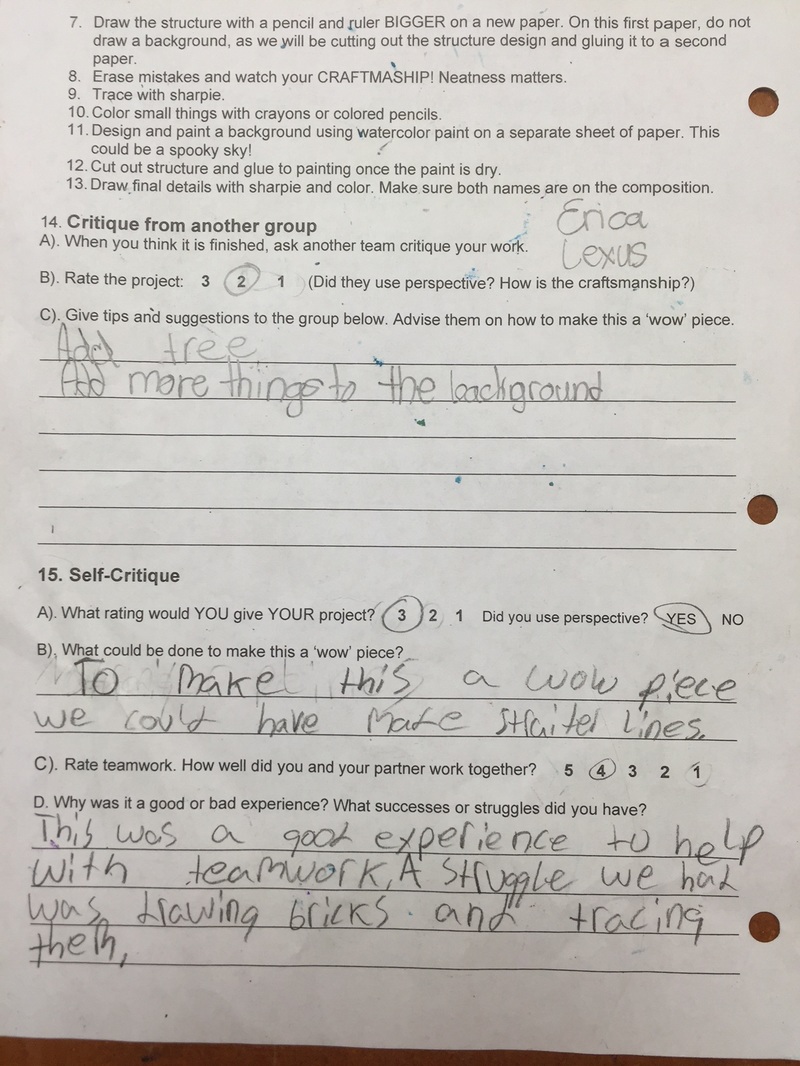
This activity added rigor by providing reflective thinking, adding a writing element, and also a peer critique.
Students collaborated on this project and they reflected on their collaborative experience---some struggled to compromise with each other, which is a very good life skill.
By critiquing another group, and their own group's work, students actually had to get opinions from someone other than myself. It is good for students at this age to reflect on their own work.
Also, the opinions from peers hold a lot more value than what I say so sometimes they get really strong feedback and critiques from each other because other students tend to tell the truth in harsher terms and their words are more powerful coming from each other.
Below, I have included a few samples of the student reflections.


 RSS Feed
