THIS LITTLE CLASS OF MINE
  • Home
  • Contact Me
  • Lesson Plans

3D Tumbling Block Mural Challenge

1/14/2018

0 Comments

 
Picture
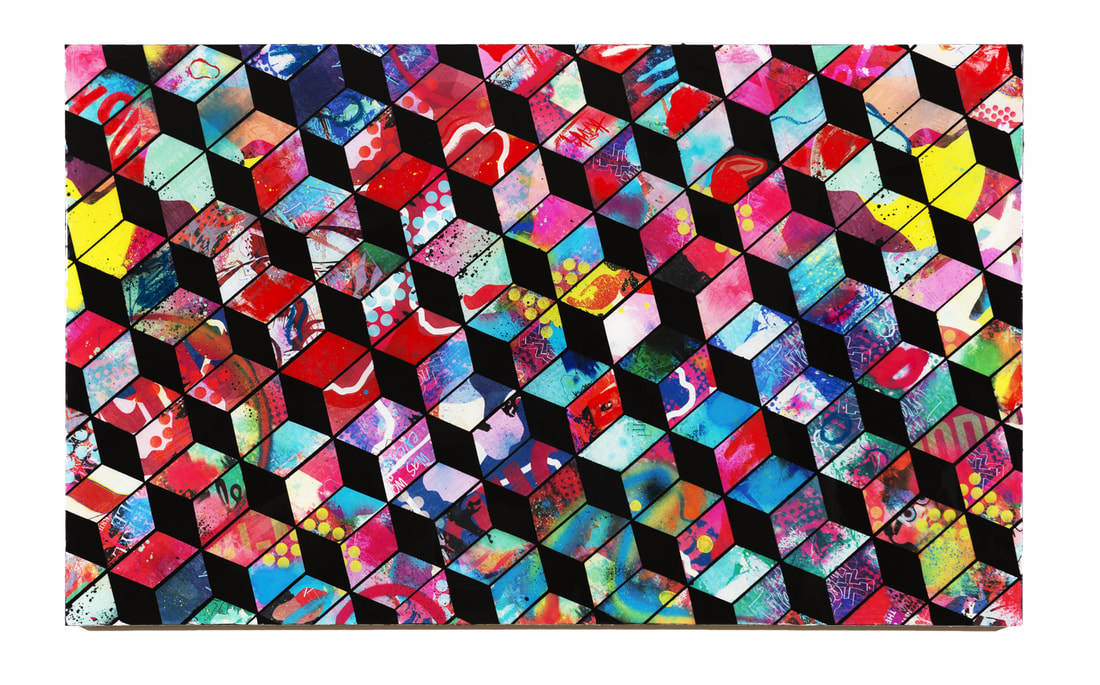
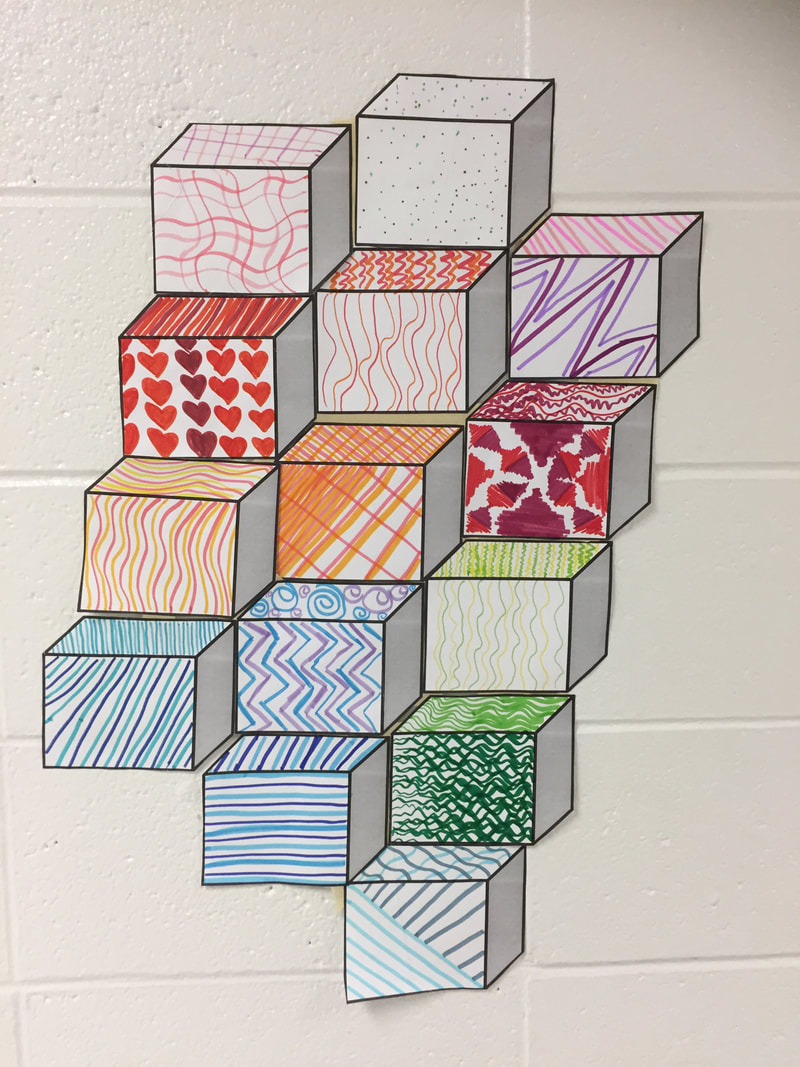
After seeing someone post about ThankYouX on Pinterest via Artsonia, I knew I really wanted to develop a project that would allow my students to make some murals, but I didn't want to have to do all the assembly work myself. We had just finished optical illusions and we needed a one-day challenge that wasn't too messy. 

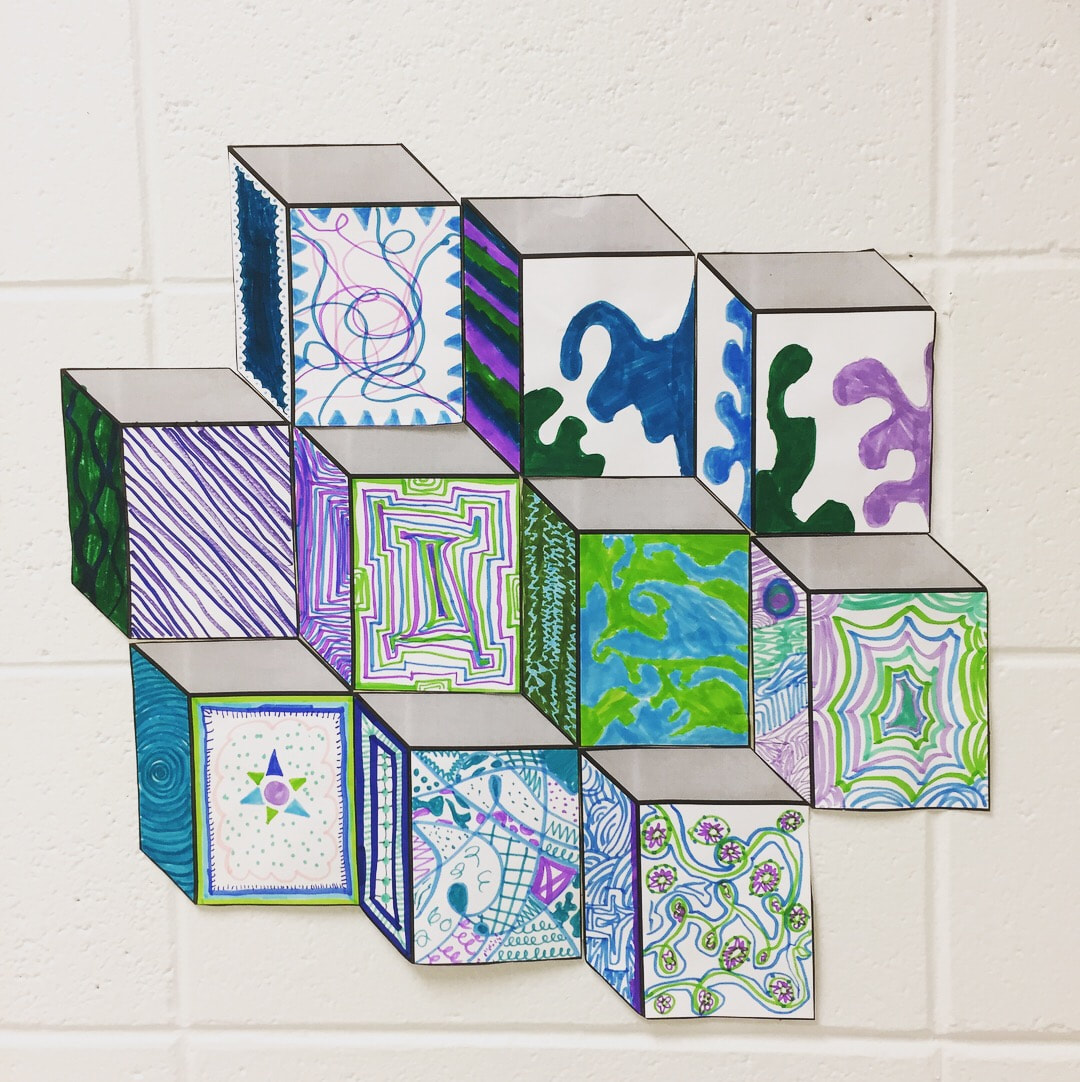
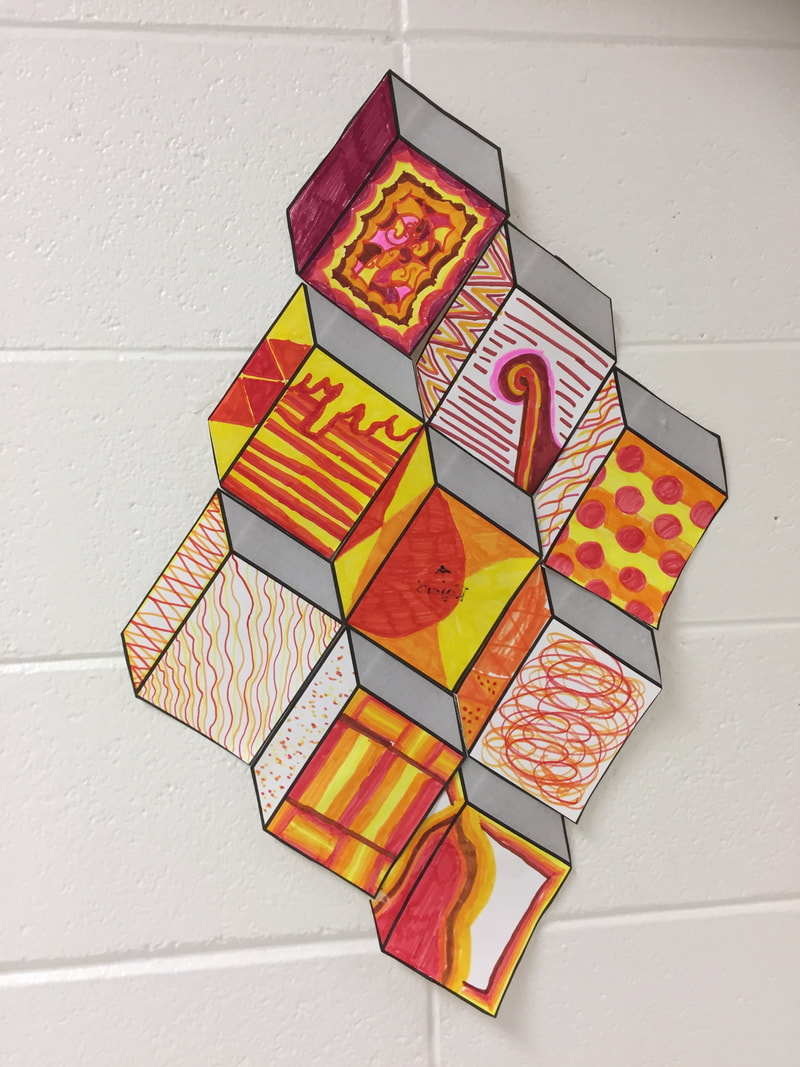
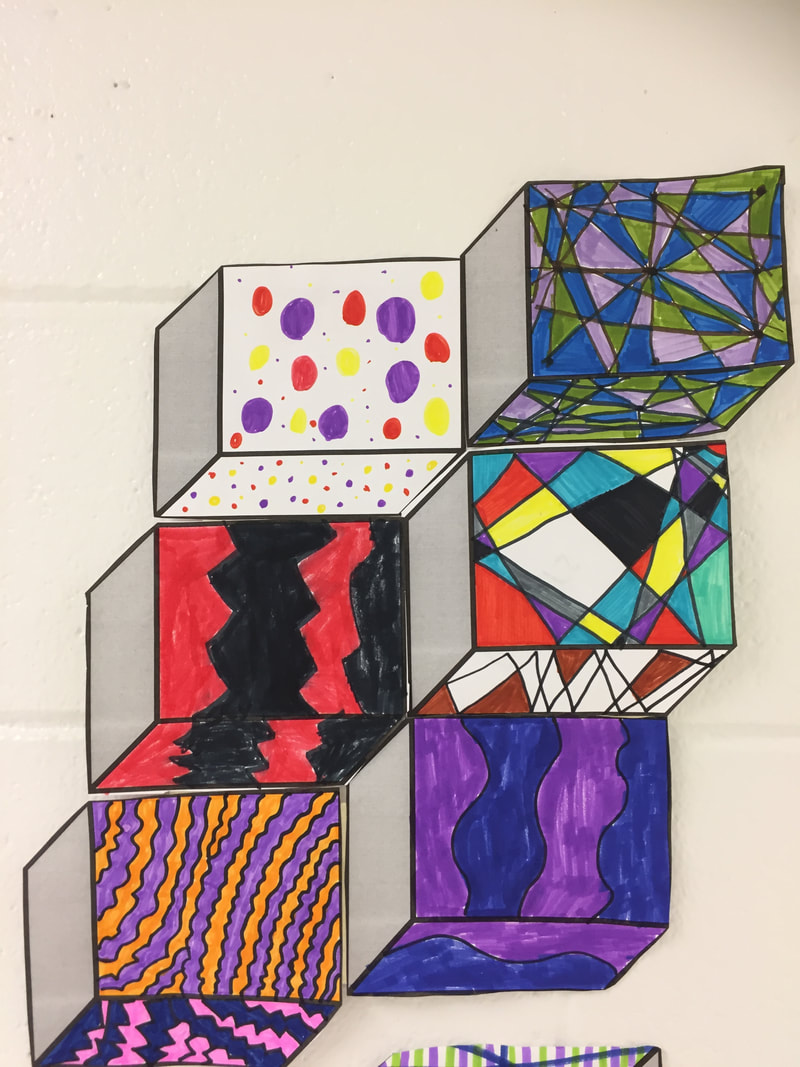
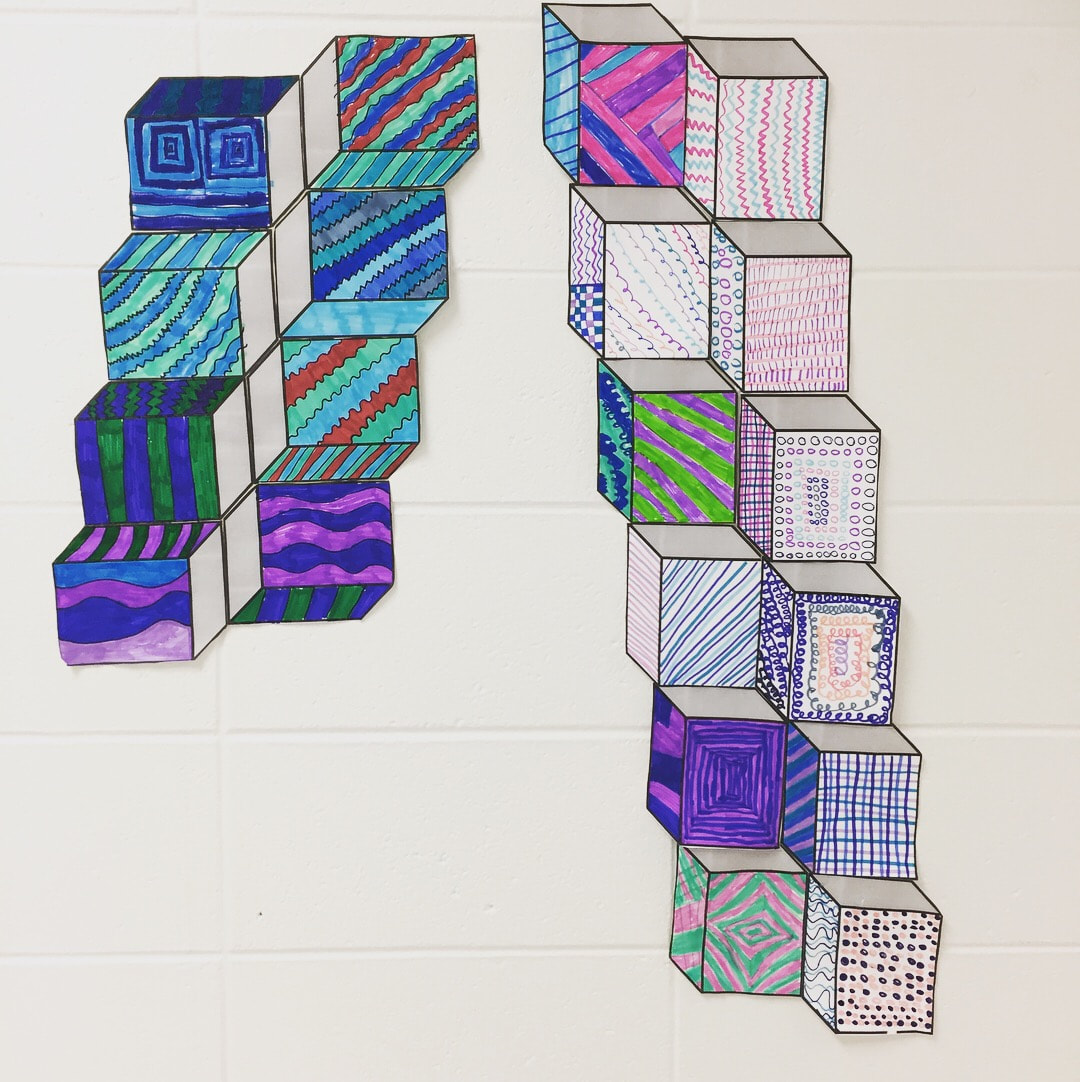
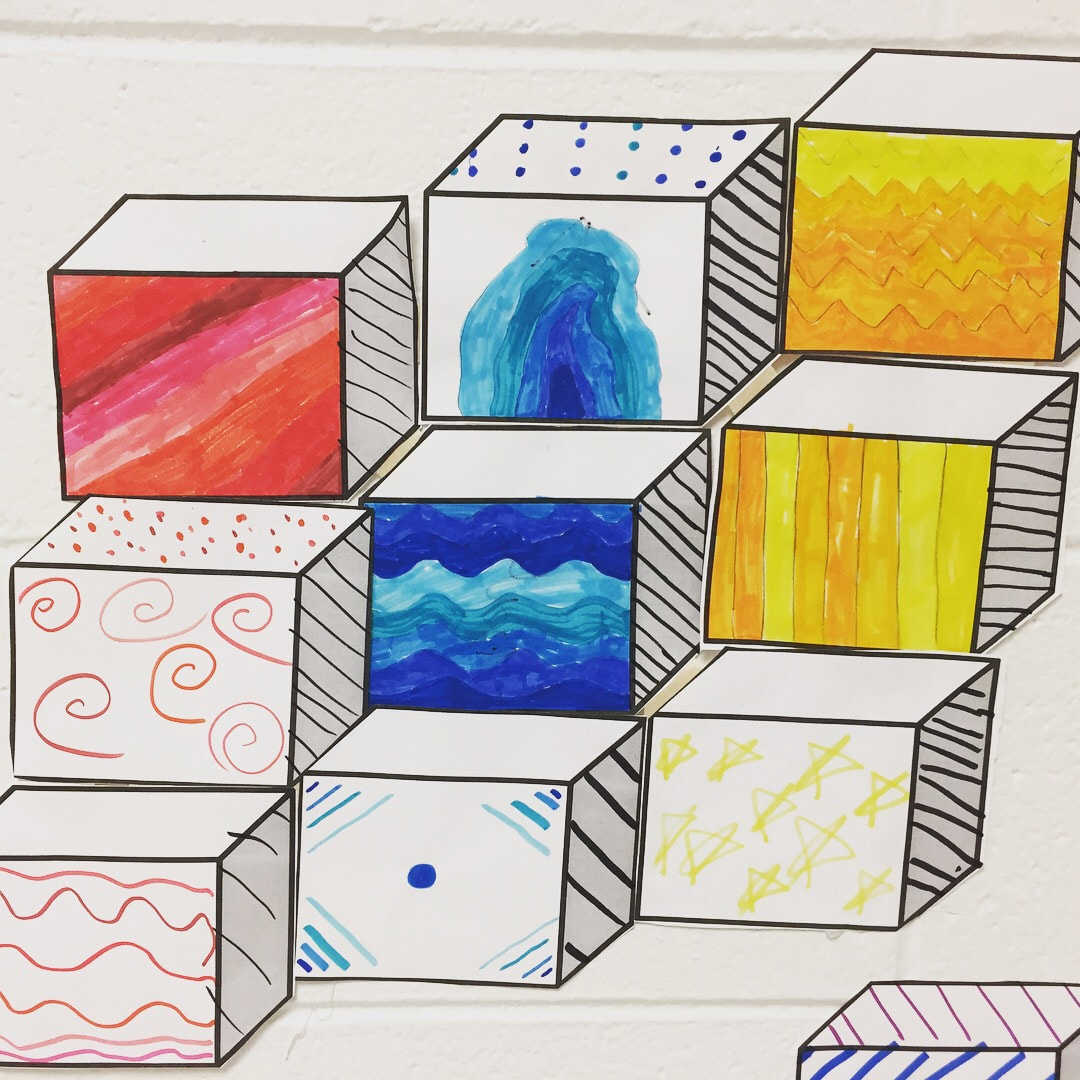
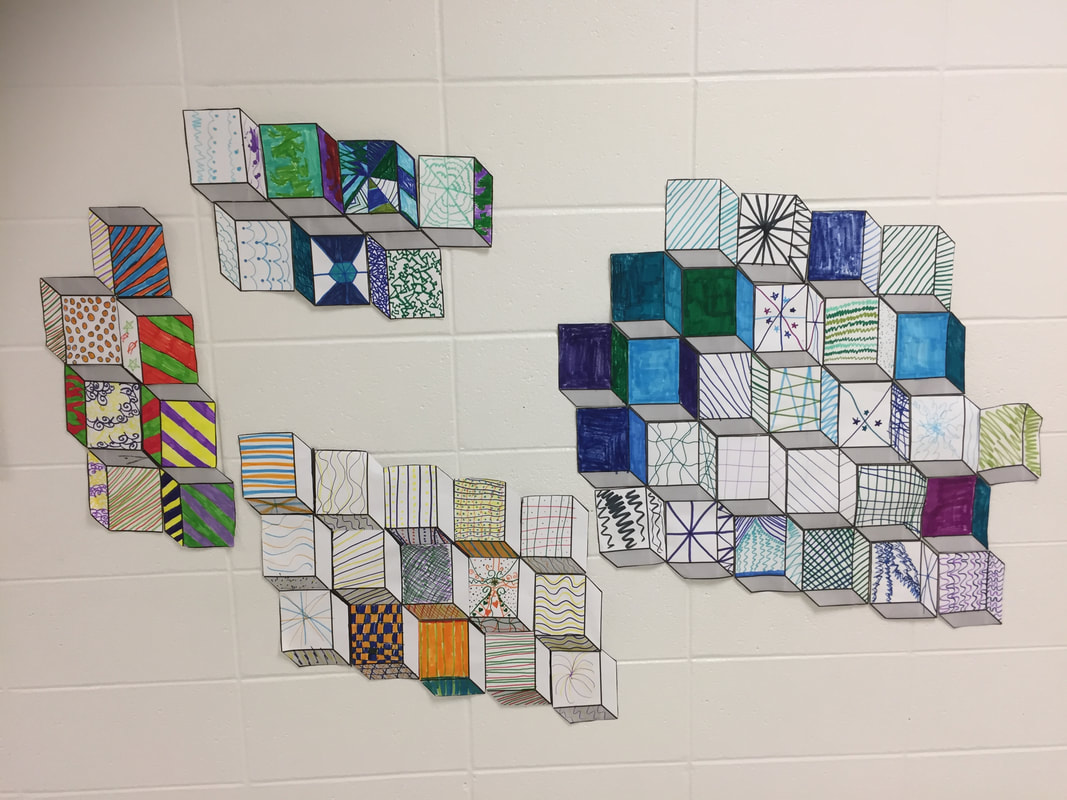
We used Crayola Supertip makers to add designs to our murals. Each block was individually colored based on a color scheme and then assembled with tape on the back. I had a tape dispenser at each table for each group, some groups using clear tape, and others using masking tape. My students had to work in groups which is always challenging, but a FANTASTIC experience for them. 
Picture
Picture
For this project, I copied about 400 (but quickly realized I needed about 800 for my 370ish students) 3-D squares on regular copy paper. When each class arrived, I numbered them off. As they walked into the room, each table had a number 1-6. Each group was comprised of 4-6 students.

​The students had to work as a team to select a color scheme and design their mural. ​Because I let the teams have some autonomy, all of the murals ended up quite different. Each student had to create at least one block, but then they could take over the job of cutting or taping if someone else really wanted to color more. I wish I would've made them do more intricate designs, but it was a one-day challenge so I was happy with the overall finished product. I posted a couple of design idea sheets in the room to inspire those 'design' challenged kids. 

I have a problem with students who grab one piece of paper, mess up a tiny bit and then want to throw it away. I did not let students throw away their squares. If they had an 'oops' then I would try to pawn it off on a really motivated kid later in the day to finish or fix. 
​
TEAM Collage Optical Illusion
This team challenge MUST involve everyone in the group. As a team you will need to decide on a color scheme. Everyone MUST color ONE piece, but some people may color more than one.

Assign a job to each member of the team: pick up trash, organize supplies, taping shapes together, cutting out shapes, team leader--this person helps everyone else and oversees the design

  1. As a team decide on a color scheme: cool, warm, primary, secondary.
  2. Decide which side will remain uncolored with markers. Everyone must abide by the plan and leave ONE side blank.
  3. Use markers to design two sides of the 3-D cube shape.
  4. Cut out shape, leave the black lines attached.
  5. Lay all the pieces out to make a cool design.
  6. Assemble with tape on the BACK of the shapes.
  7. Write teacher's name on the back of mural in pencil.
  8. Draw an arrow on the back that points to the top of the mural in pencil. 
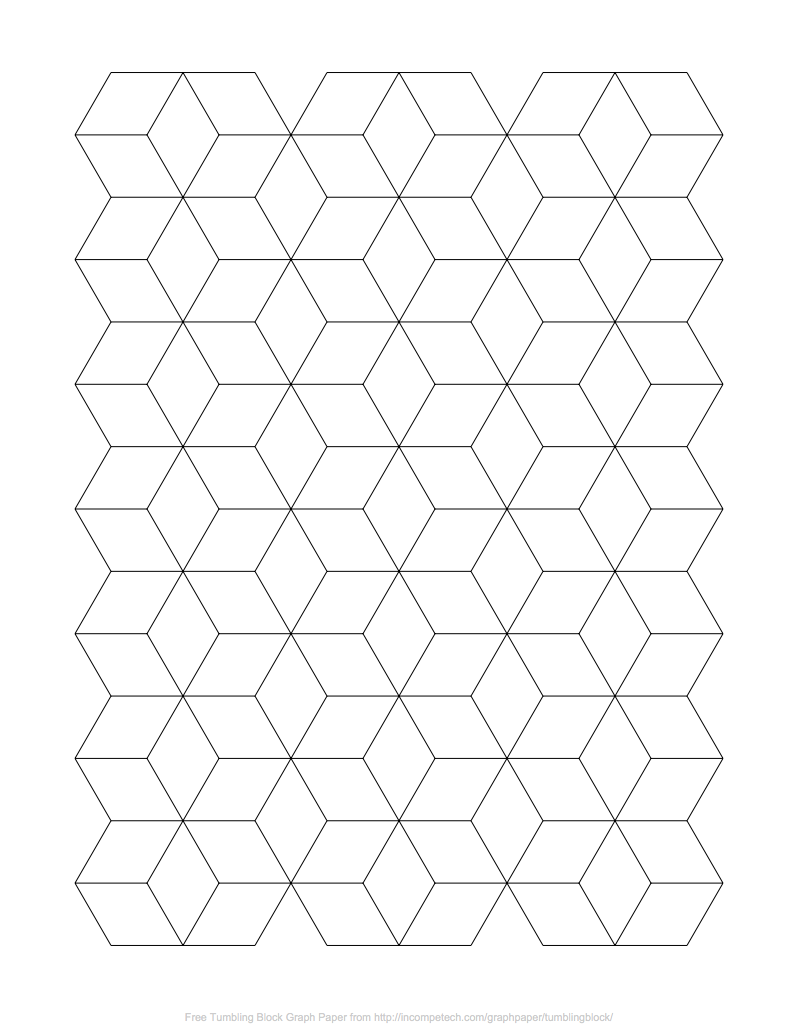
PictureThe students loved the 'tumbling block' design, so I printed off some coloring sheets from this site for them to have their own to color.


​

​


Picture
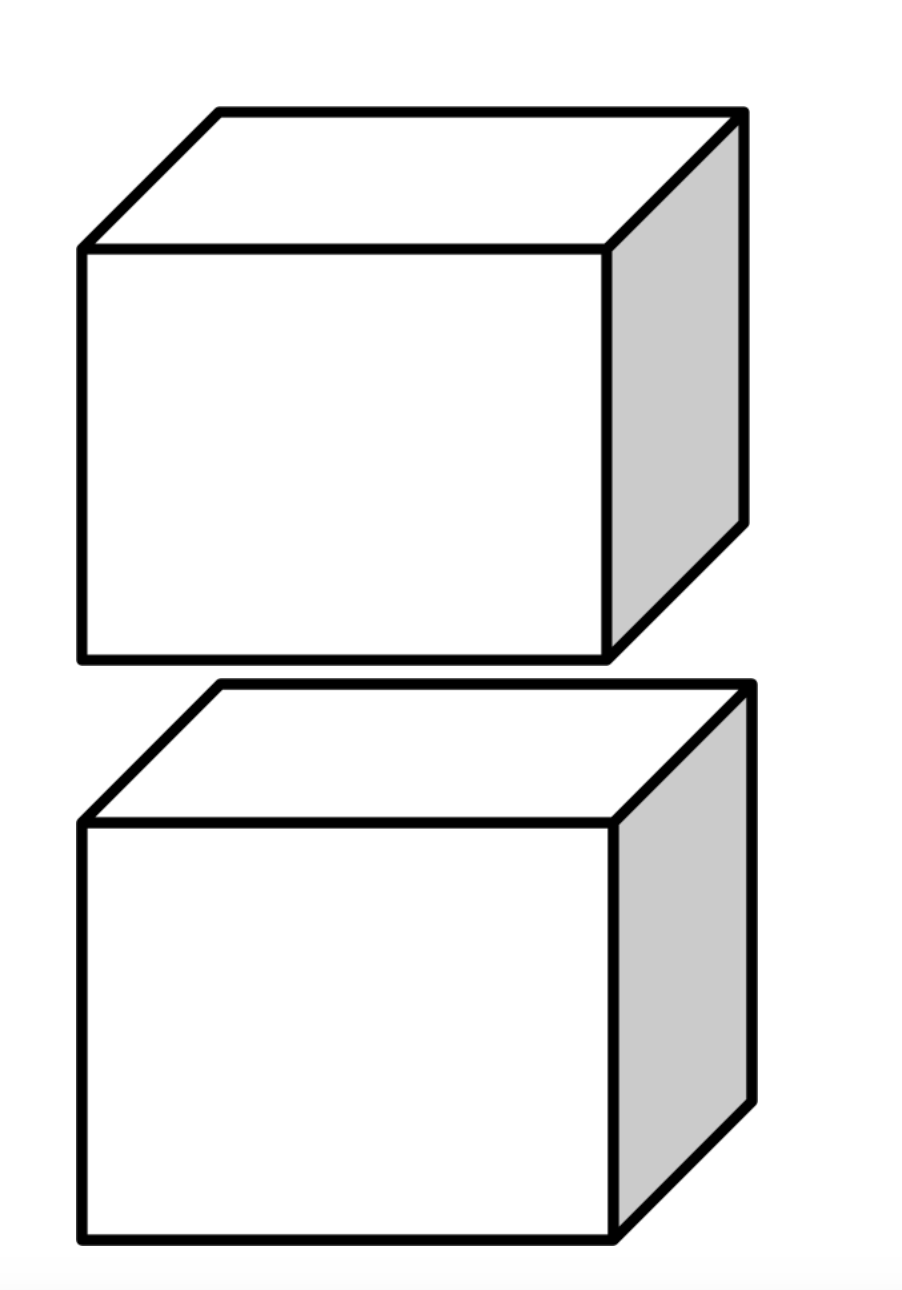
I reconfigured the cubes to fit 2 per page this semester so that I don't use up quite as much paper.
Link to tumbling block coloring sheet.
​Link to 3-D Cube printable. 
Picture
Picture
Picture

​Overall, this was a fun one-day challenge for my 5th and 6th graders. We have about 47 minutes for art. 

Supplies:
Copies of 3-D cube (at least 1 per kid, plus many extras for motivated groups
Markers (we used Crayola Super Tips so that there would be tons of options for color schemes)
Scissors
Tape
Design idea sheets
Trash bins at each table (optional)
Pencils (for names on the back)


BONUS: Paintbrush rocket's Tints and Shades tumbling block paintings
​
Picture
Picture
0 Comments

Newspaper Shoes

5/23/2017

19 Comments

 
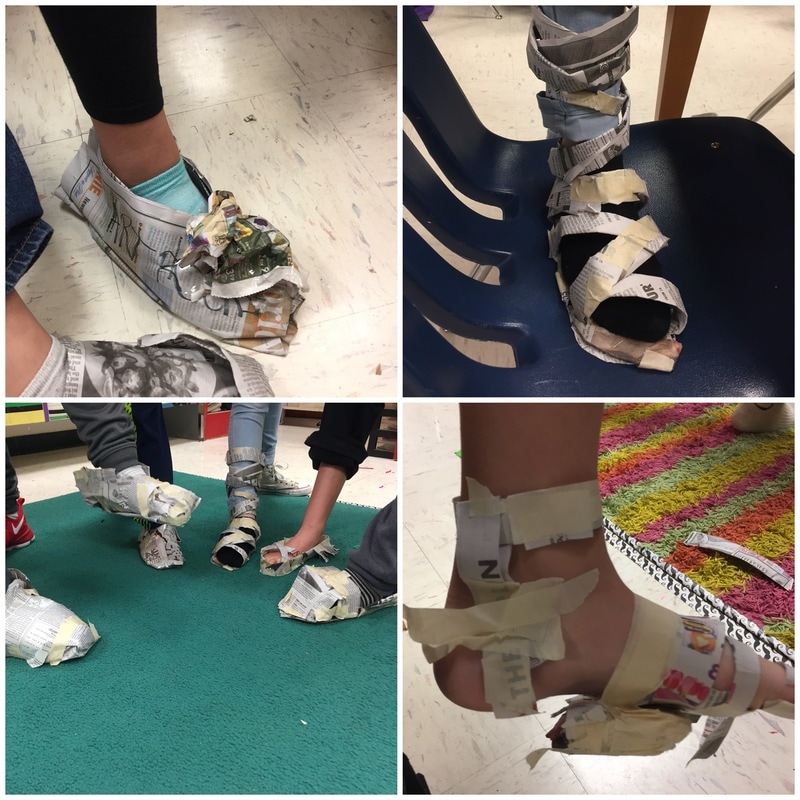
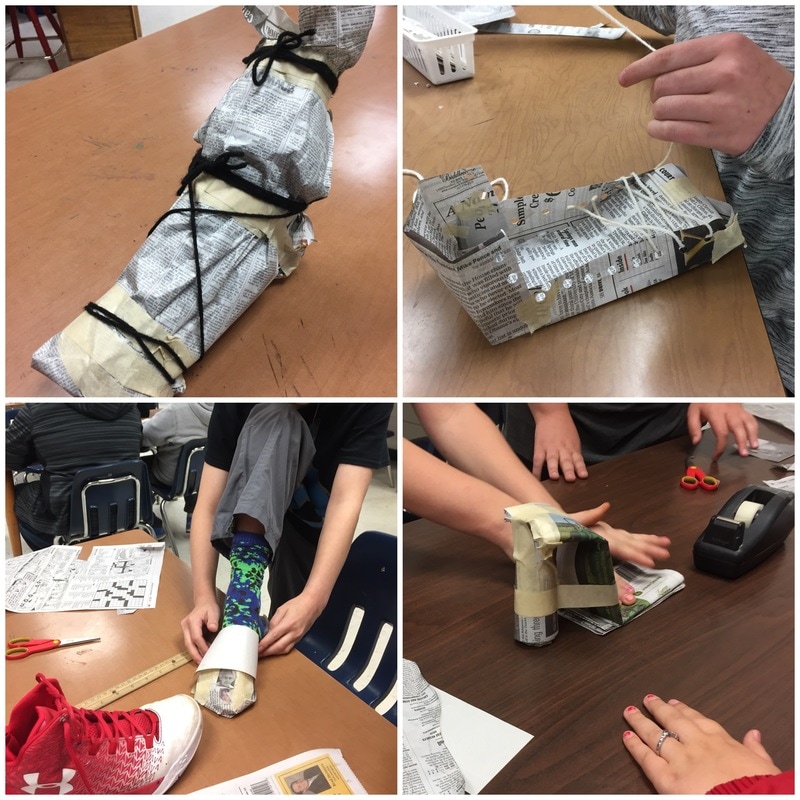
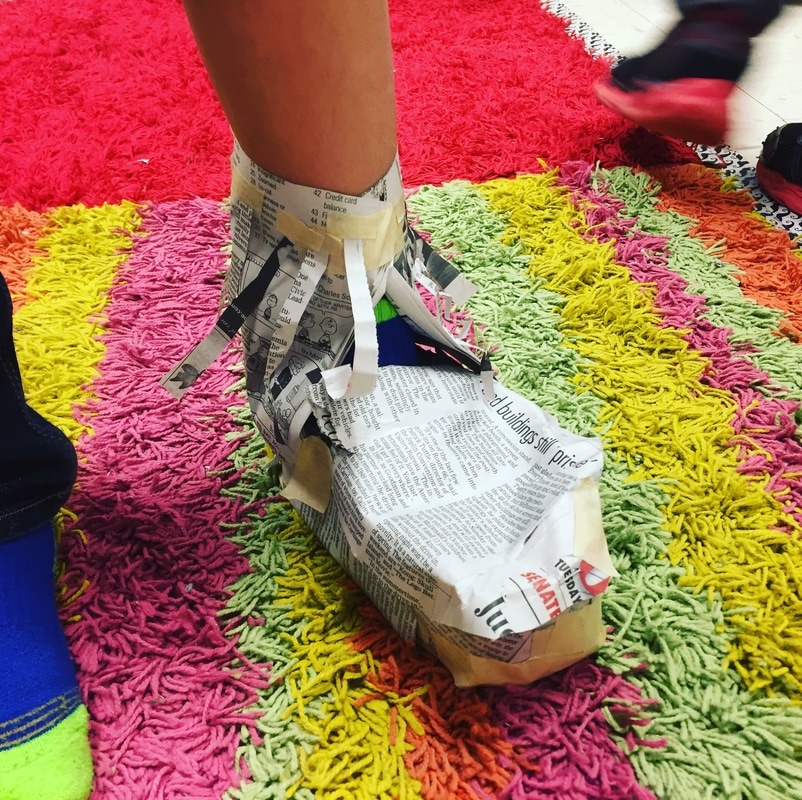
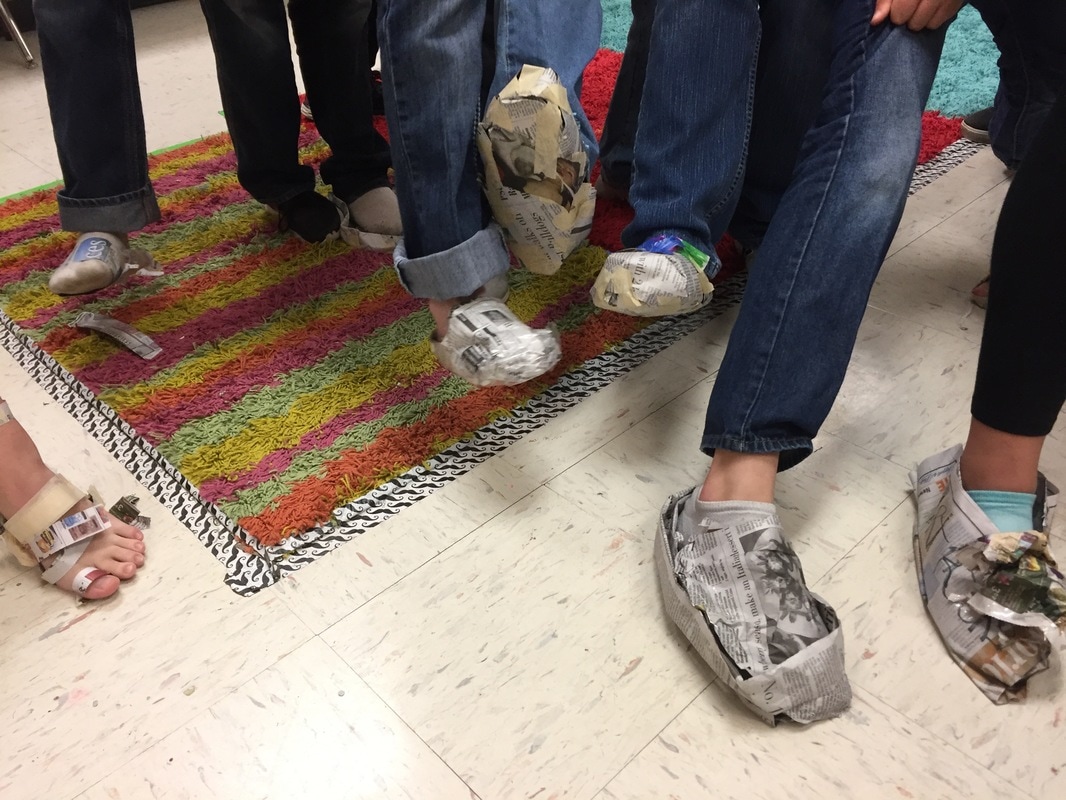
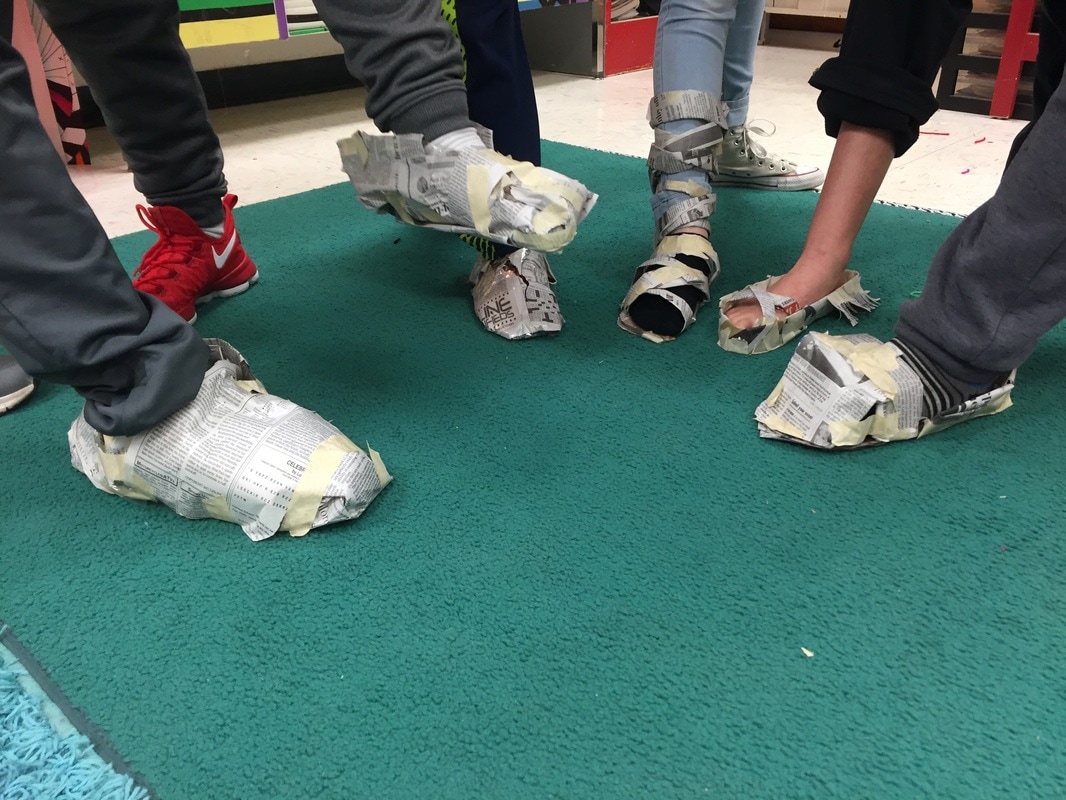
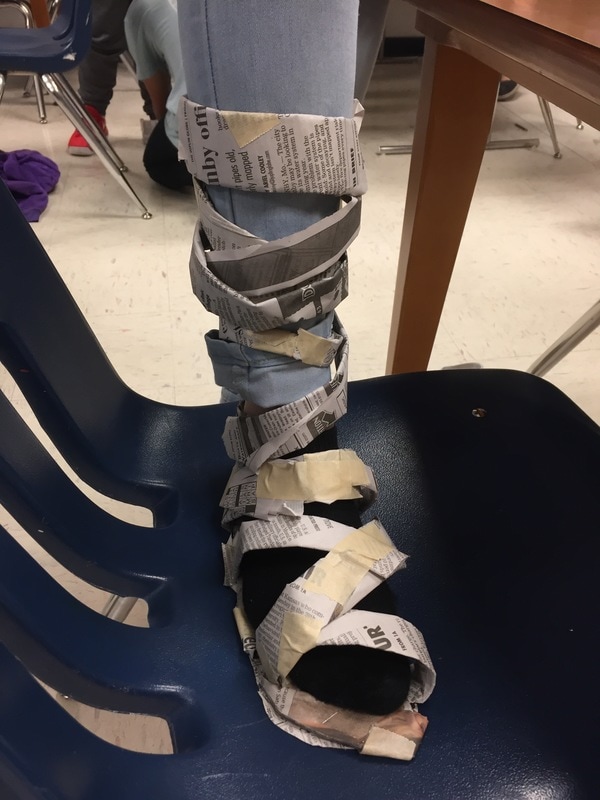
I randomly stumbled across this post about a newspaper shoe challenge and realized it was the perfect way to use up some extra newspaper I had accumulated at the end of the year. I numbered off each student and placed them into random groups of 3-4 and told them that they had one class period to design a shoe that fit on one person on the team, using only newspaper and tape (eventually allowed a little yarn and staples too). I gave them a little sketch paper, scissors and pencils.

Each year, I try to implement some sort of group activity. I had a poster of paper folding techniques, most did not utilize it. So I started demonstrating at least how to roll one big sheet into a cylinder, and then use that to form the main parts of the shoe, that helped. I also mentioned that if they were making a high-heel, they should build up the heel so it would hold up in the fashion shoe. Also, they could make 2 shoes if they had time.

They had to figure the rest out for themselves. This was a great team-building activity!

I allowed them to work until the last ten minutes, when we had  fashion show and I awarded the winning team with art trophies (mini pencils spray painted gold). The fashion show consisted of me playing Call Me Maybe into my bull horn (via my iPhone) while kids walked the runway (a couple of rugs) in front of the class to show off their shoe. I picked the winner based partly in design and partly on teamwork. 
Picture
Picture
Picture
Picture
Picture
Picture
19 Comments

Collaborative Circle MuralĀ 

9/22/2016

0 Comments

 
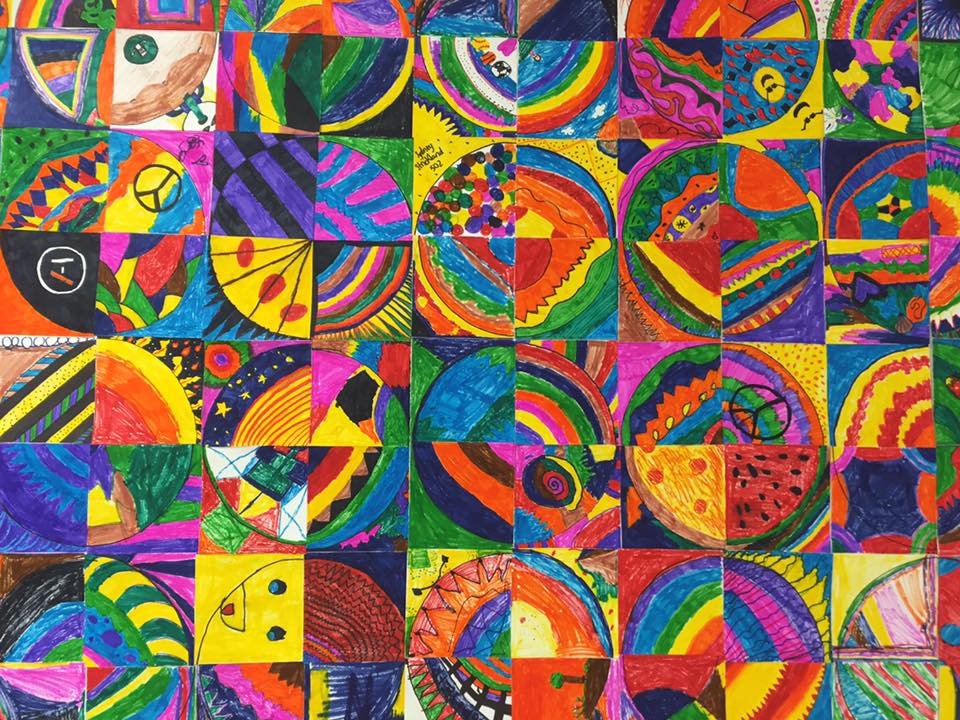
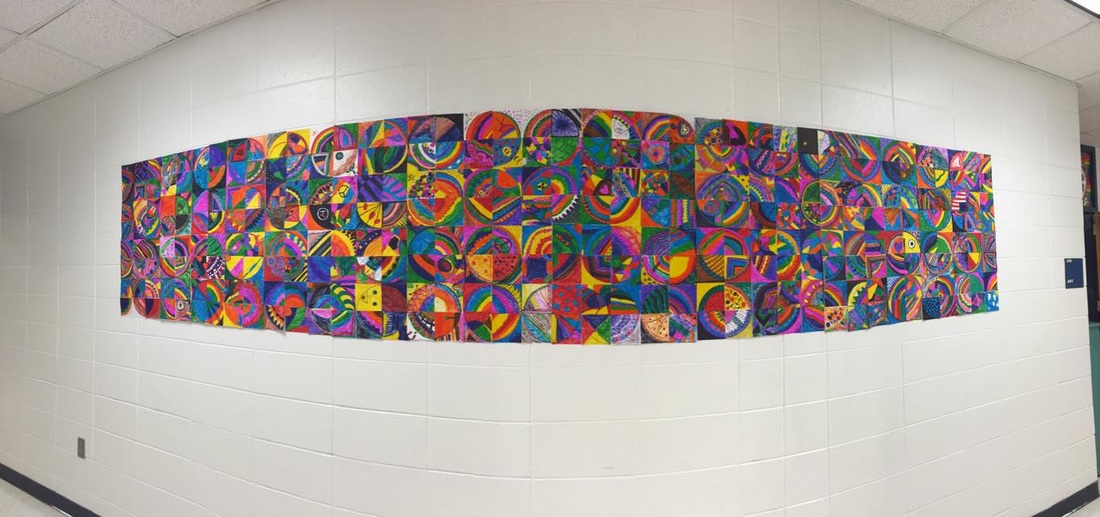
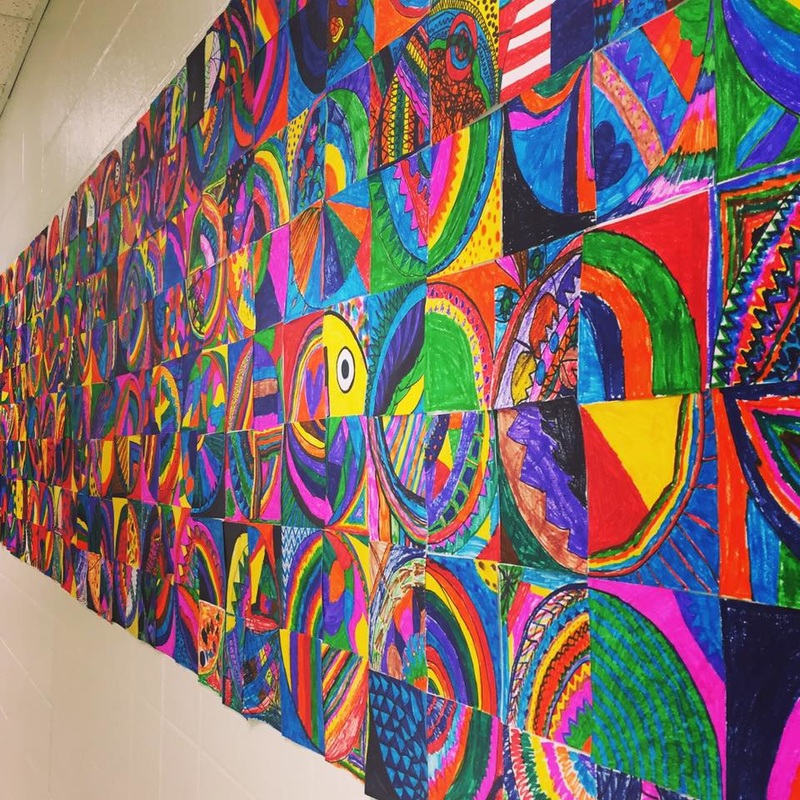
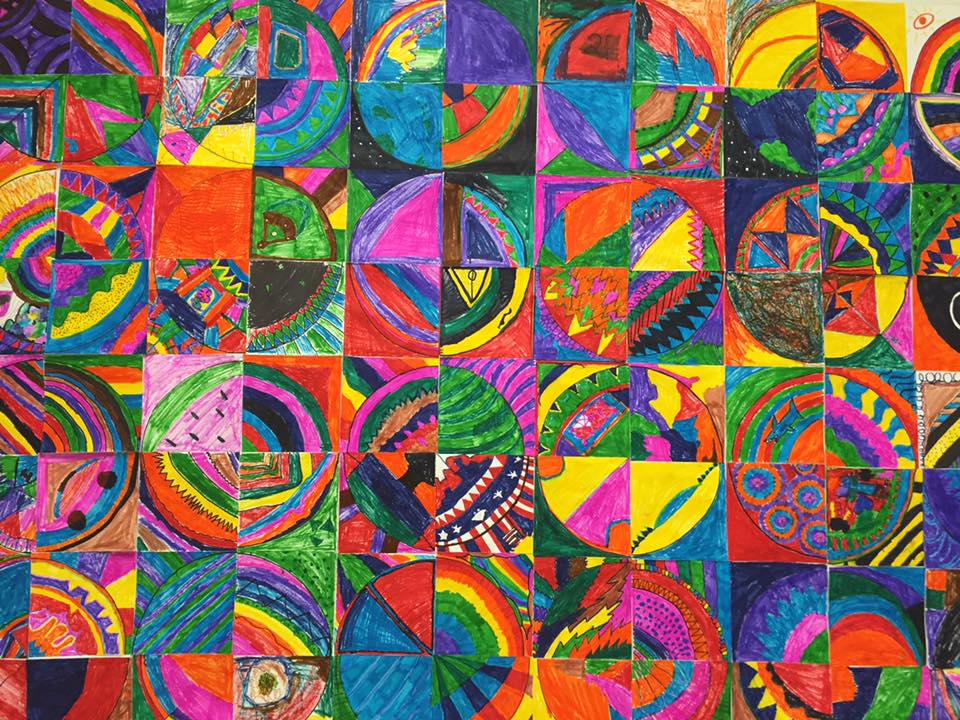
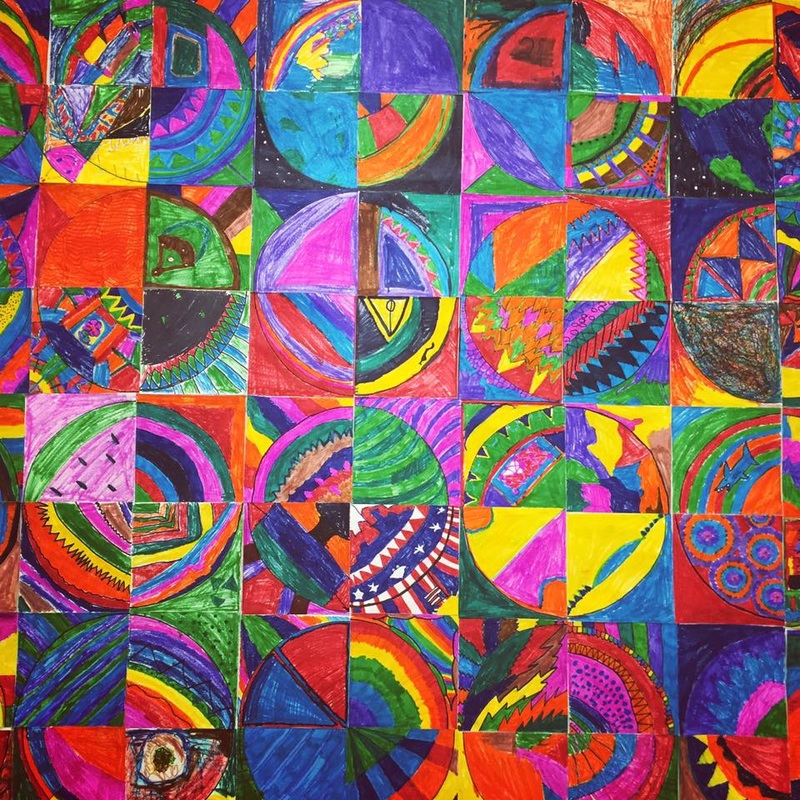
For our first endeavor at art making this year, we dived in with a collaborative project. 

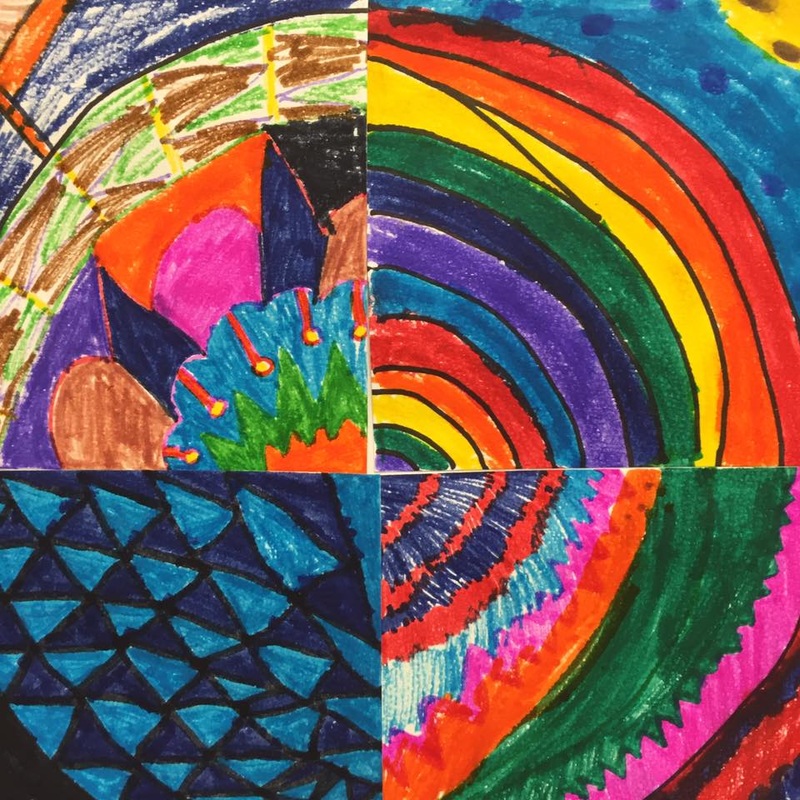
One of my 6th graders said is 'that is so cheesy Mrs. Mitchell'. He said it was 'so cheesy' because when they were finishing their 4X4 squares, I might've reminded them that each student had a square, and even if several of use the same colors or have a similar idea, that they will all create something different and unique because they all have something special to bring to our school. ❄️❄️❄️ like snowflakes--no two are exactly alike. He totally called me on the cheese. Guilty as charged

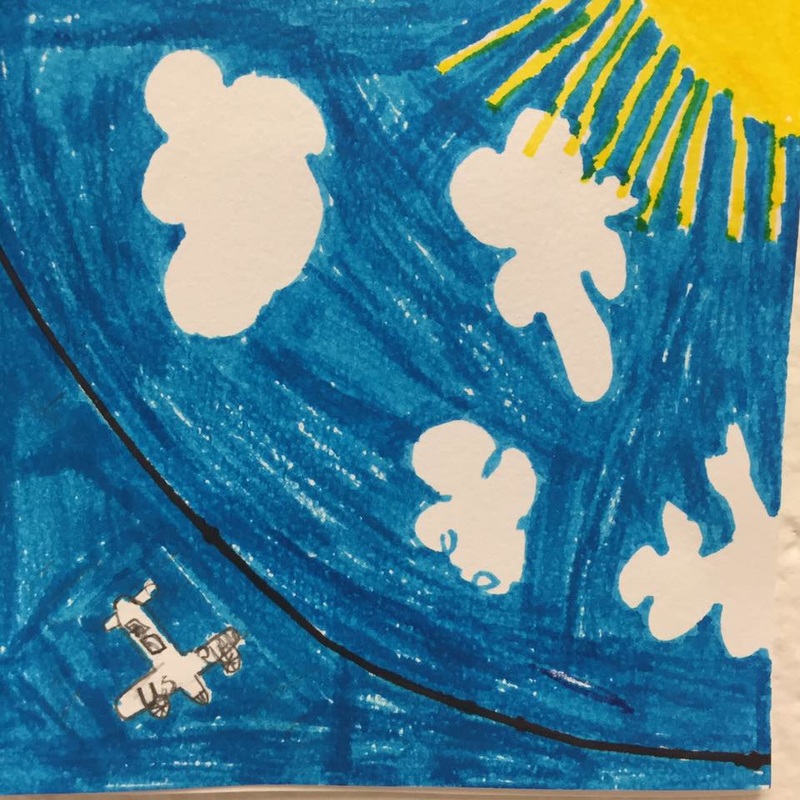
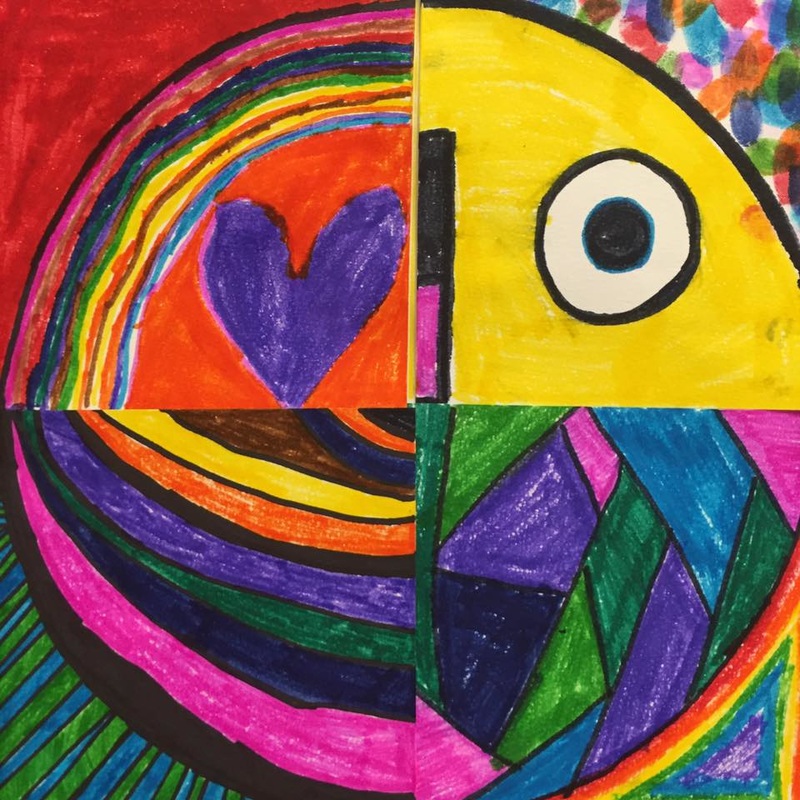
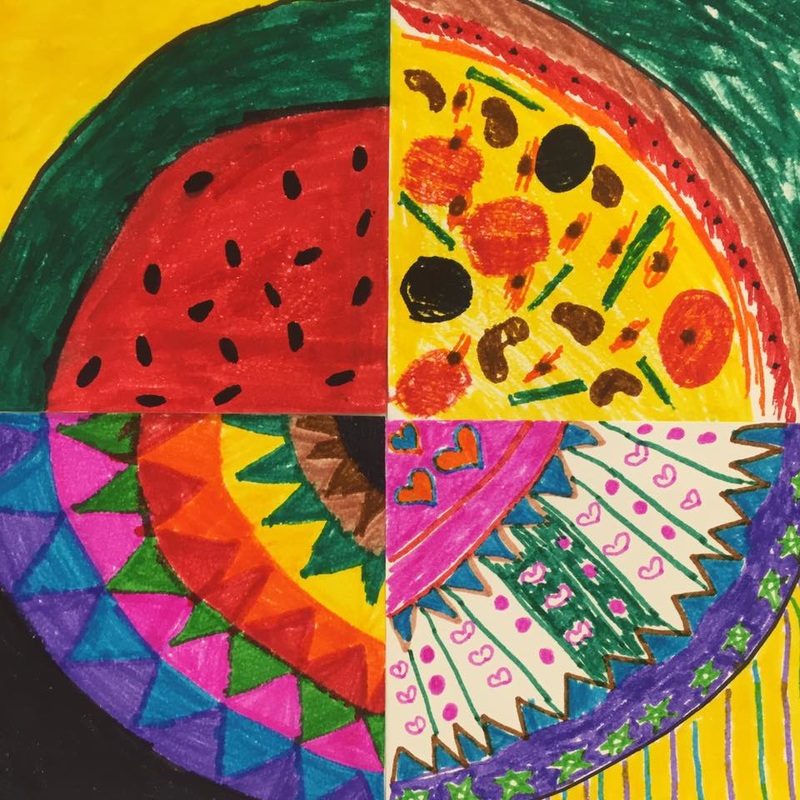
Each table had to trace a circle onto a square piece of watercolor paper. Then they brought it to me, and I chopped it into squares. Then, they used Mr. Sketch unscented markers to color them. 

Picture
Picture
Picture
Picture
Picture
Picture
Picture
Picture
Picture
I warned them in advance that they probably would not be getting their squares back. I mounted them with white glue onto sheets of butcher paper. I pre-cut the paper into sections that will easily fit in the mini bulletin boards above the doors in our building. When I take down this mural, it will come apart in sections that I will transfer into the doorways above doors that are currently blank. I also wasn't super careful to pair them up with their table's matching circles....which makes it hard for them to find their own, but I just glued them down as they finished them....which gave the ones that needed one more day a little more time to finish and it allowed me to start making the mural right away since I wasn't waiting on a few from each class to finish. 

Thanks for the idea Michelle!
0 Comments

3-D Structures with Painted Paper

12/7/2015

1 Comment

 
Picture
Picture
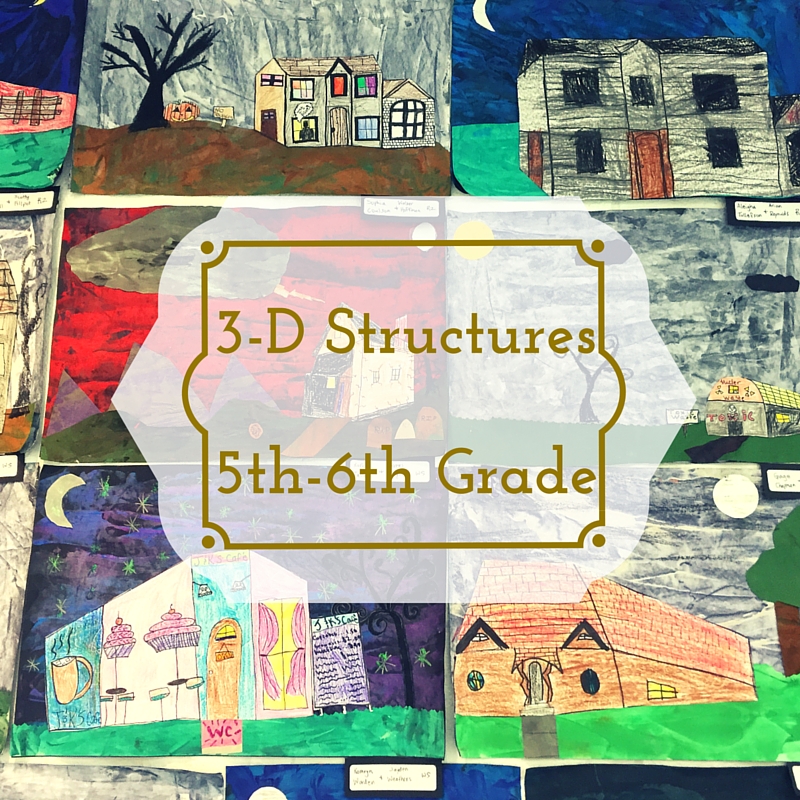
Full disclosure. I've never actually taught anyone how to use perspective. I rarely use perspective. By teaching 300+ students how to use perspective, I've gotten a lot better at it myself and I can now figure out what they are getting or not getting and I've also learned how to show it one-on-one with some of them, when the whole group instruction wasn't making sense. I watched several youtube videos on how to do it, and it really helped me to simplify the instructions for my demonstration. 

For some reason, I decided this would be the year that I finally teach my students how to make things (besides spheres) how to appear 3-D. 
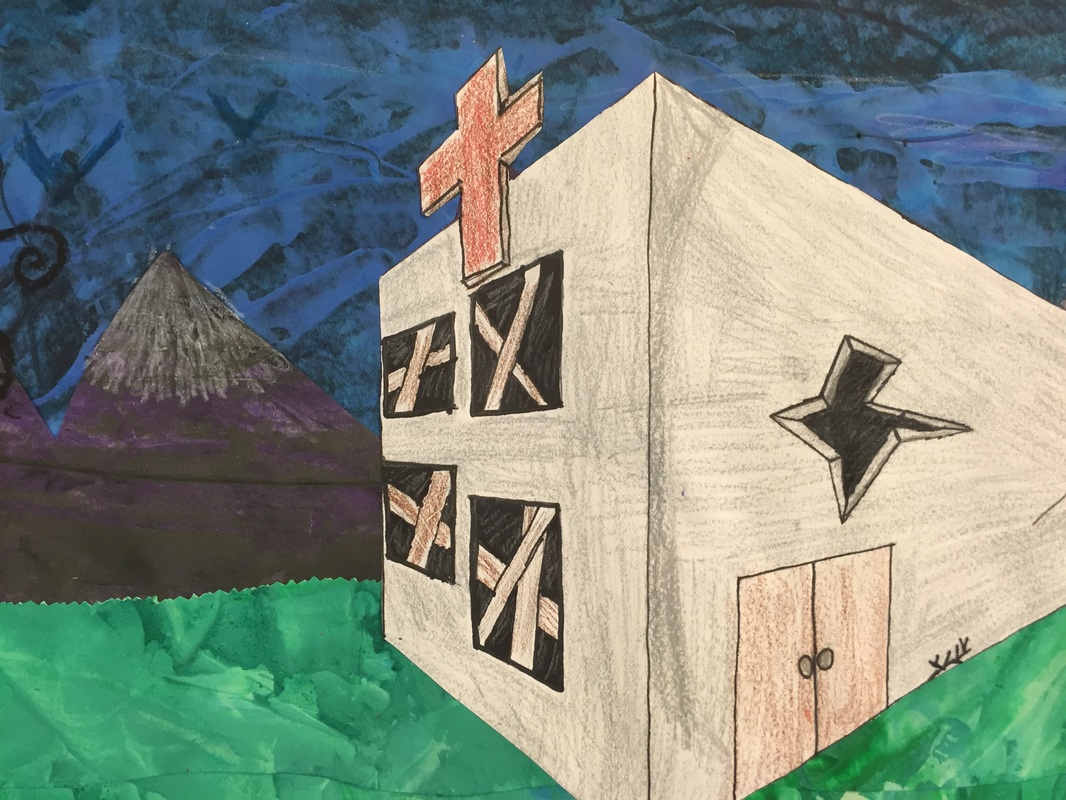
We started by drawing 3-D cubes in our sketchbooks. Some groups struggled with this----5th graders aren't ready in October. 6th graders did okay. 

Then, I had them get into pairs.....they loved working with a partner!

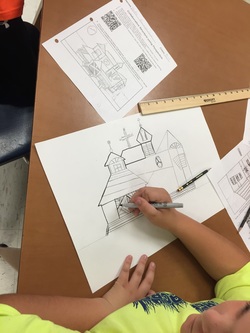
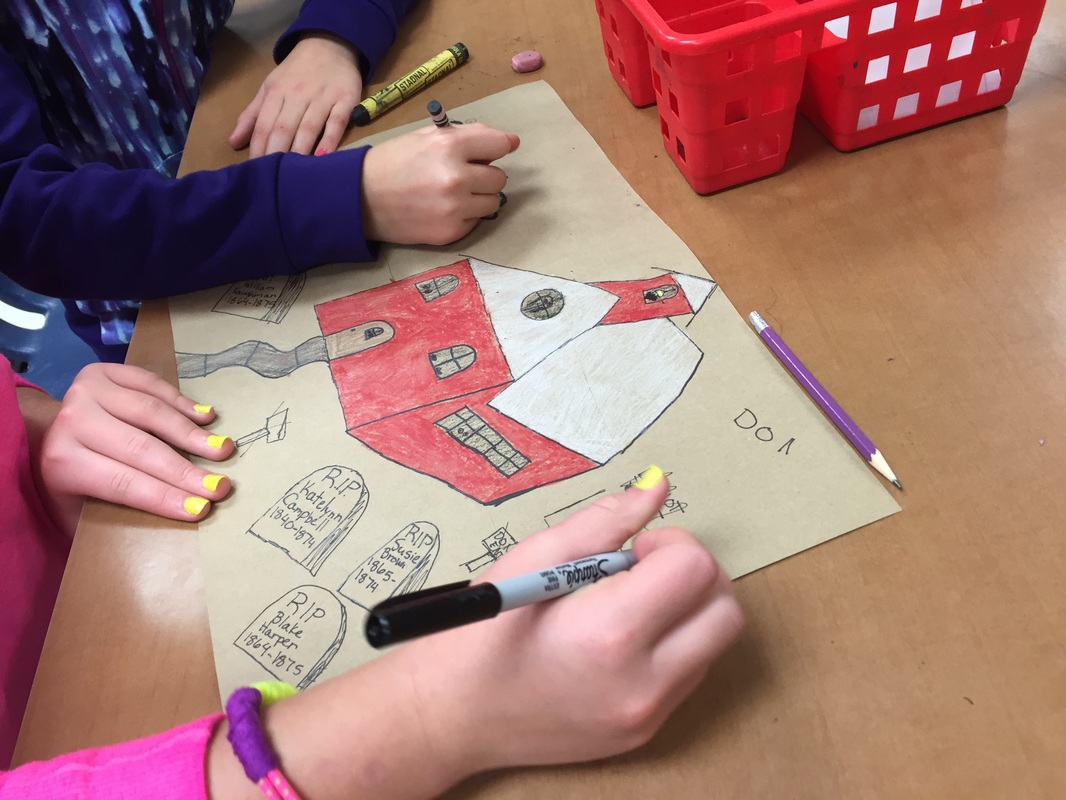
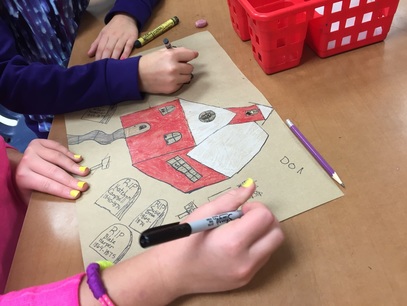
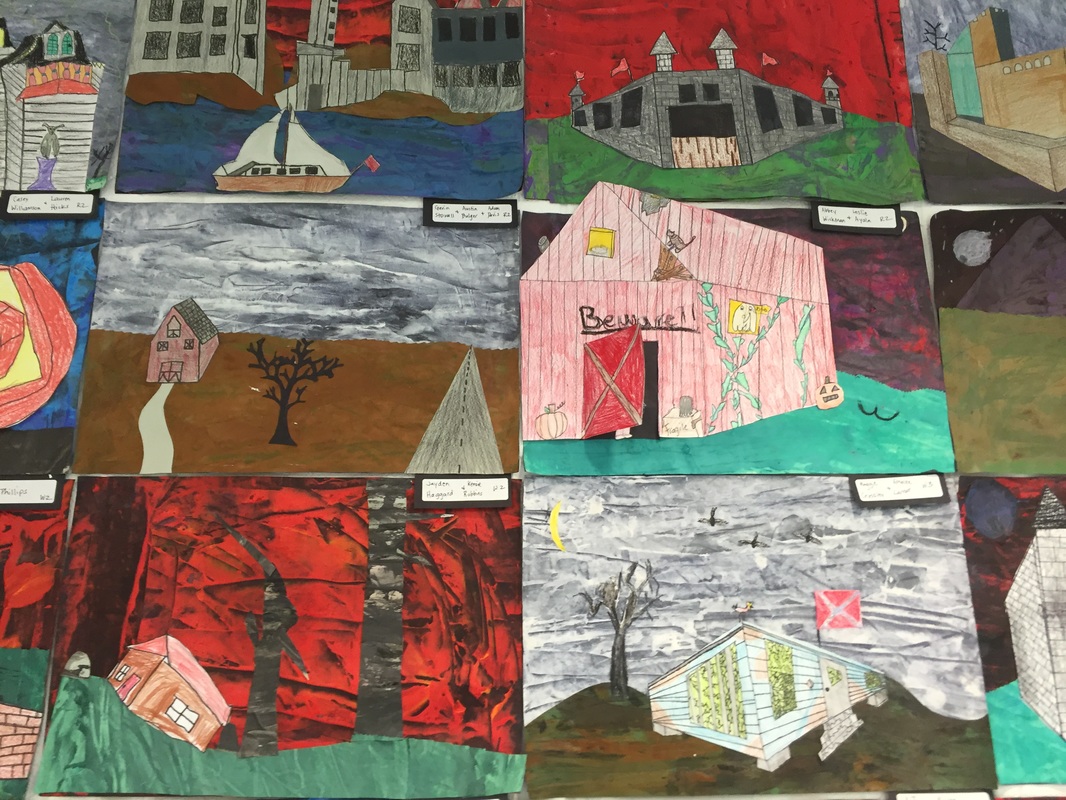
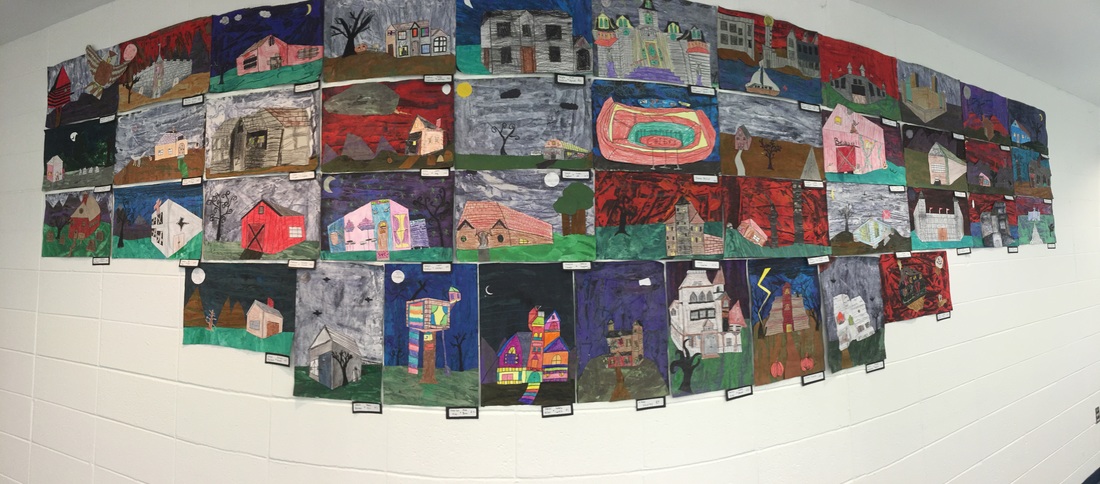
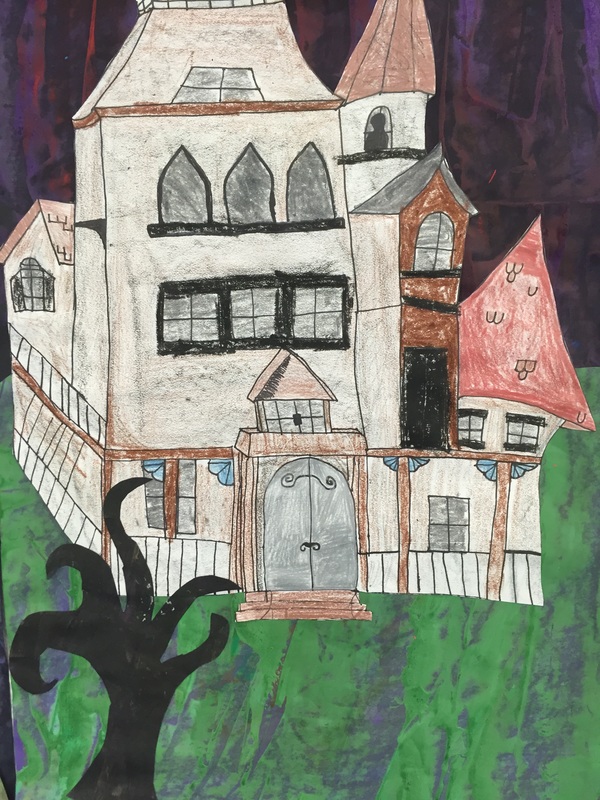
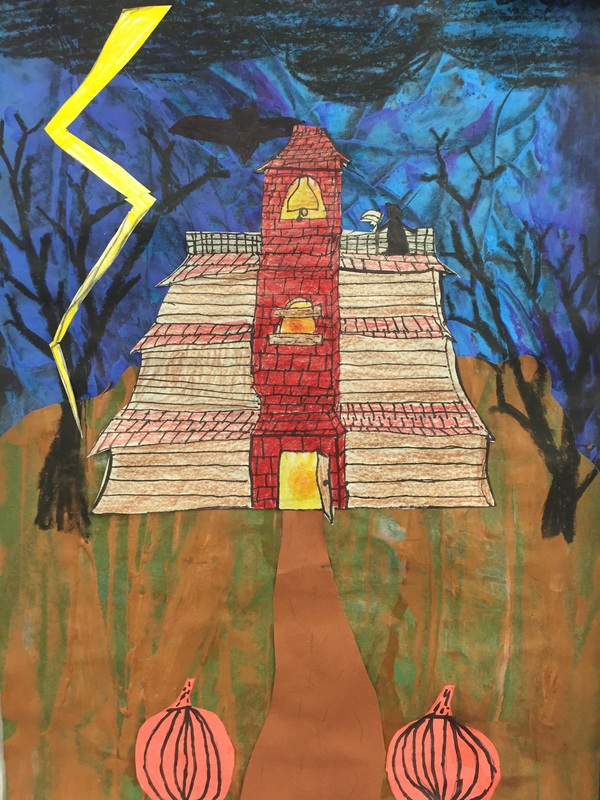
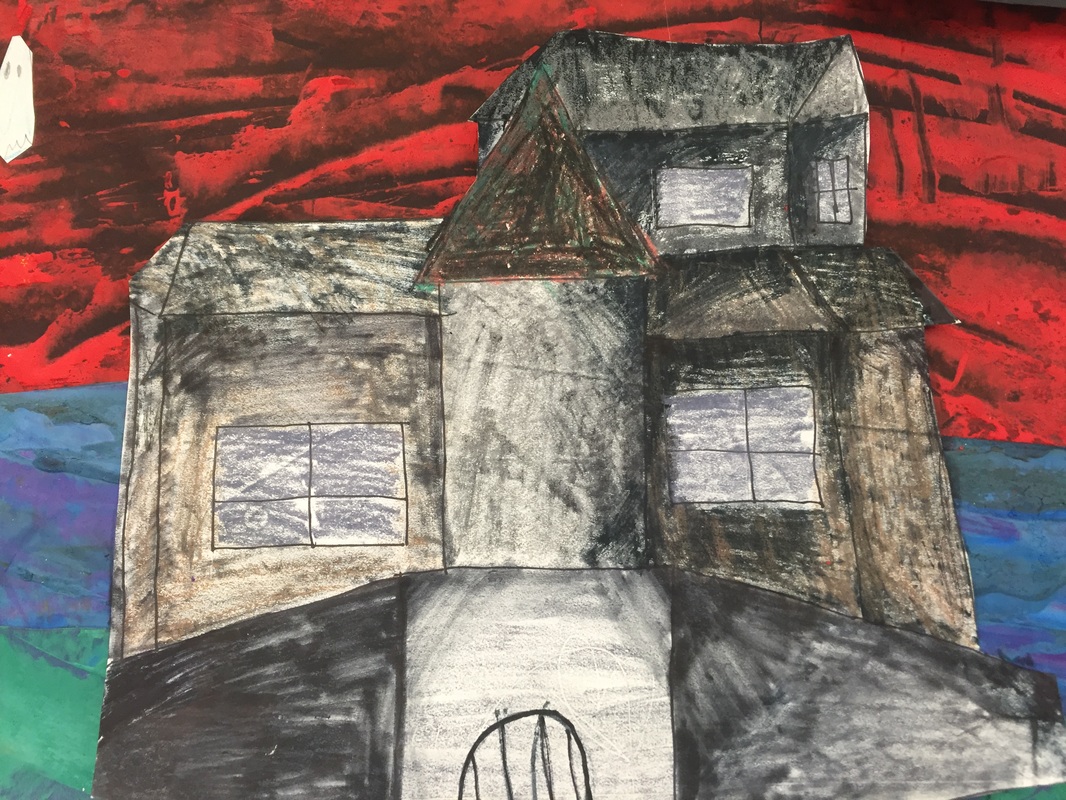
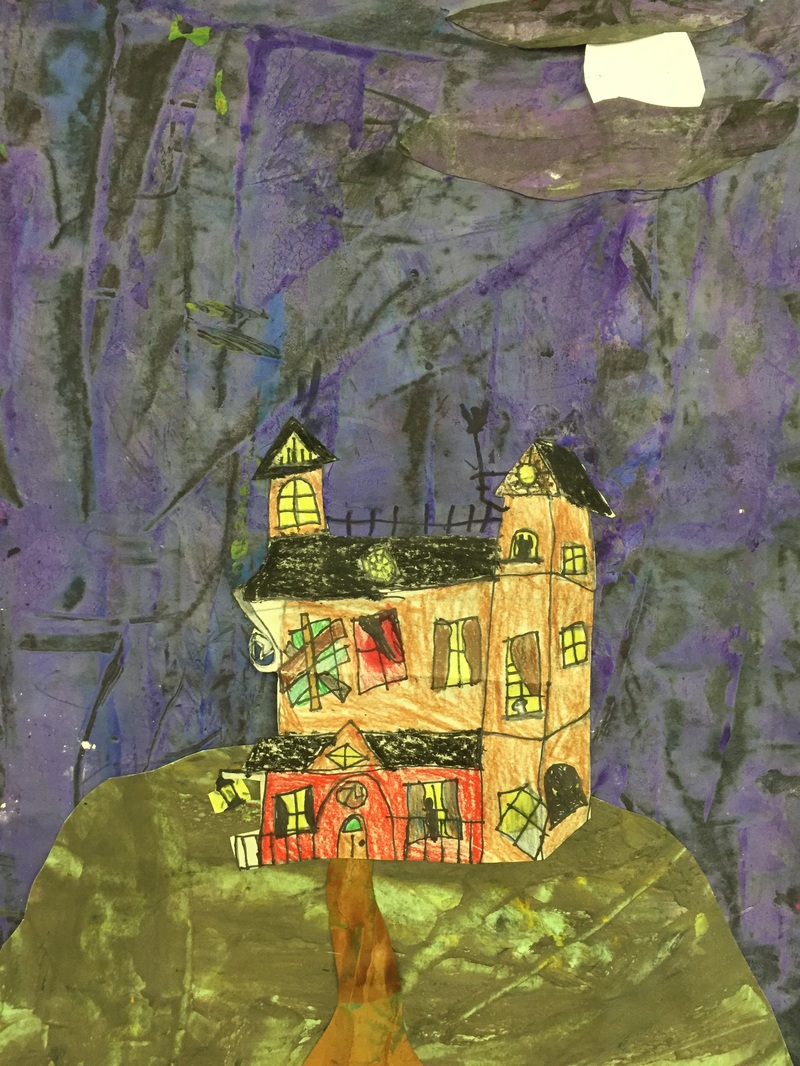
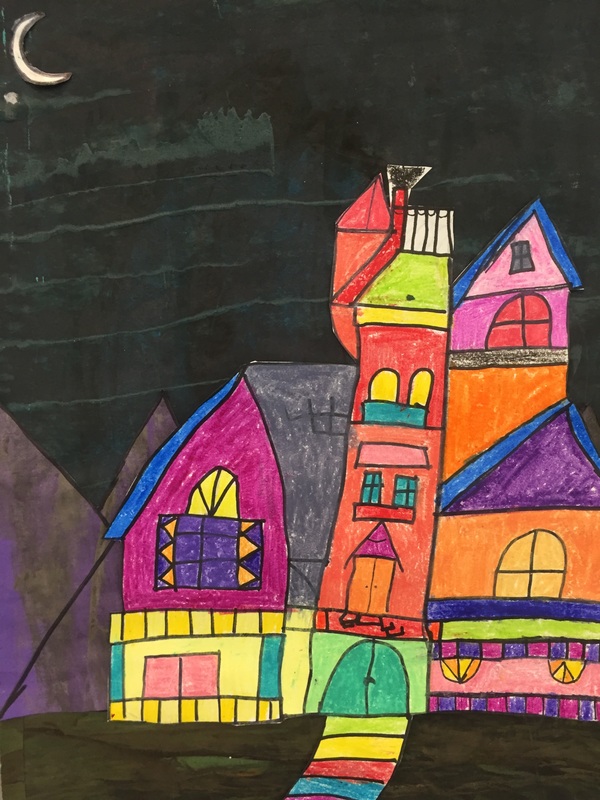
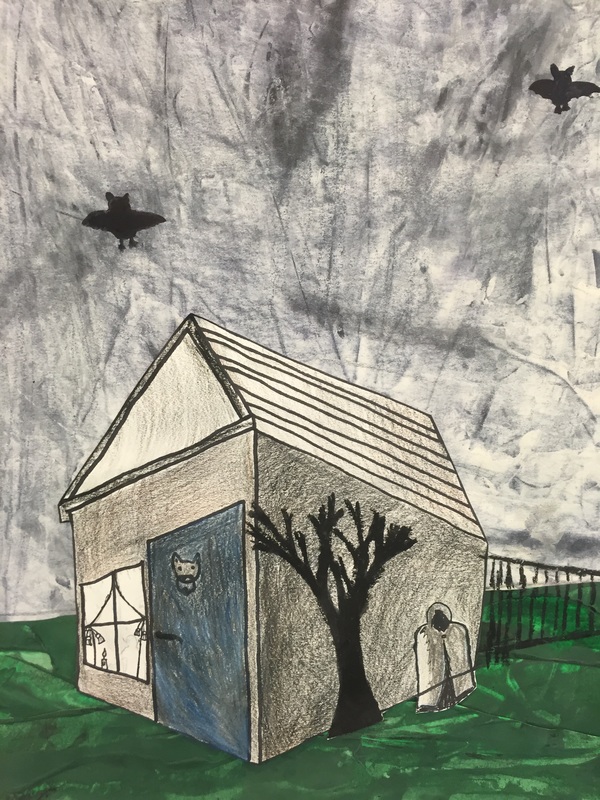
With their partner, they used the planning sheet to design a structure using perspective. They could use 1 point or 2 point perspective, and it could be spooky or not...since it was close to Halloween, I always like to do something with spooky architecture if I can. I have many visuals of Victorian houses, barns, pagodas, etc. for reference. Some of them are on this Smore flyer and I let my students access them digitally for this project. I also put 2 QR codes on the sheet, and let them watch the perspective videos we watched in class again, if they really struggled with the concept. (Flyer on Haunted houses and on Perspective)

After they had a plan, they drew the structure on bigger paper---brown, gray or white paper. They outlined with a sharpie and could color with either colored pencils or construction paper crayons. 

While they were working on drawing and coloring, I called them over to a special art station to make painted paper. It took 2 art times to get every over to the center---which is about what it took for them to finish drawing/coloring. 

Picture
Picture
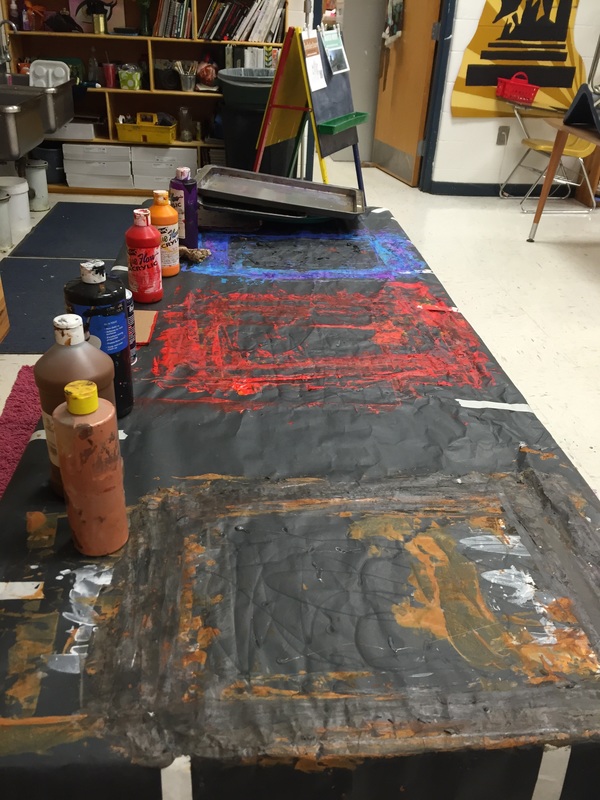
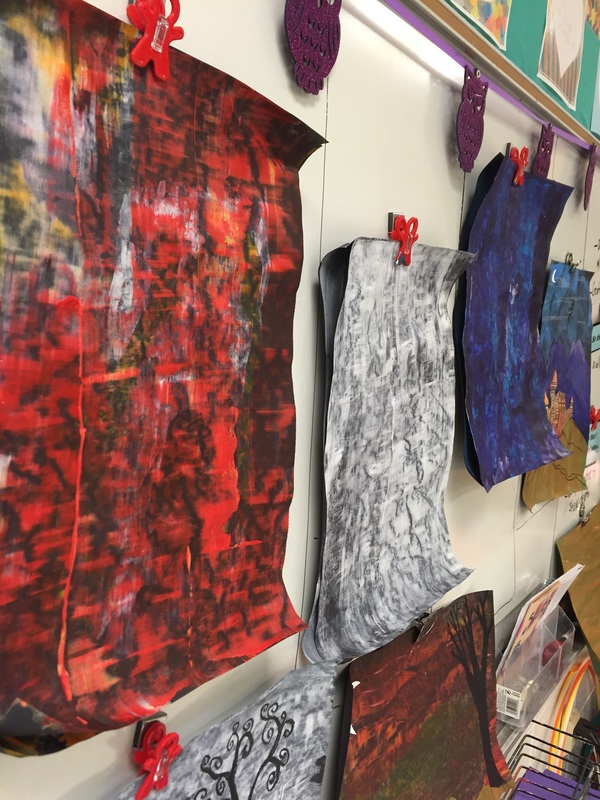
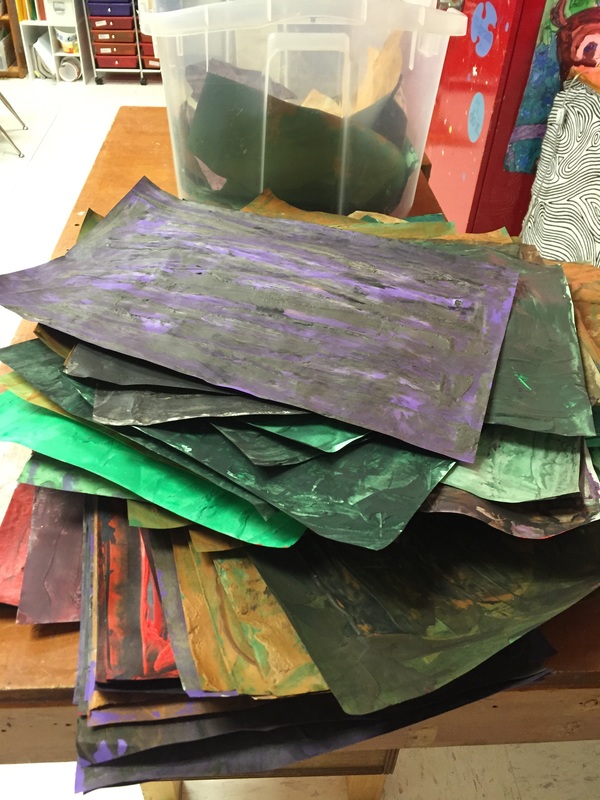
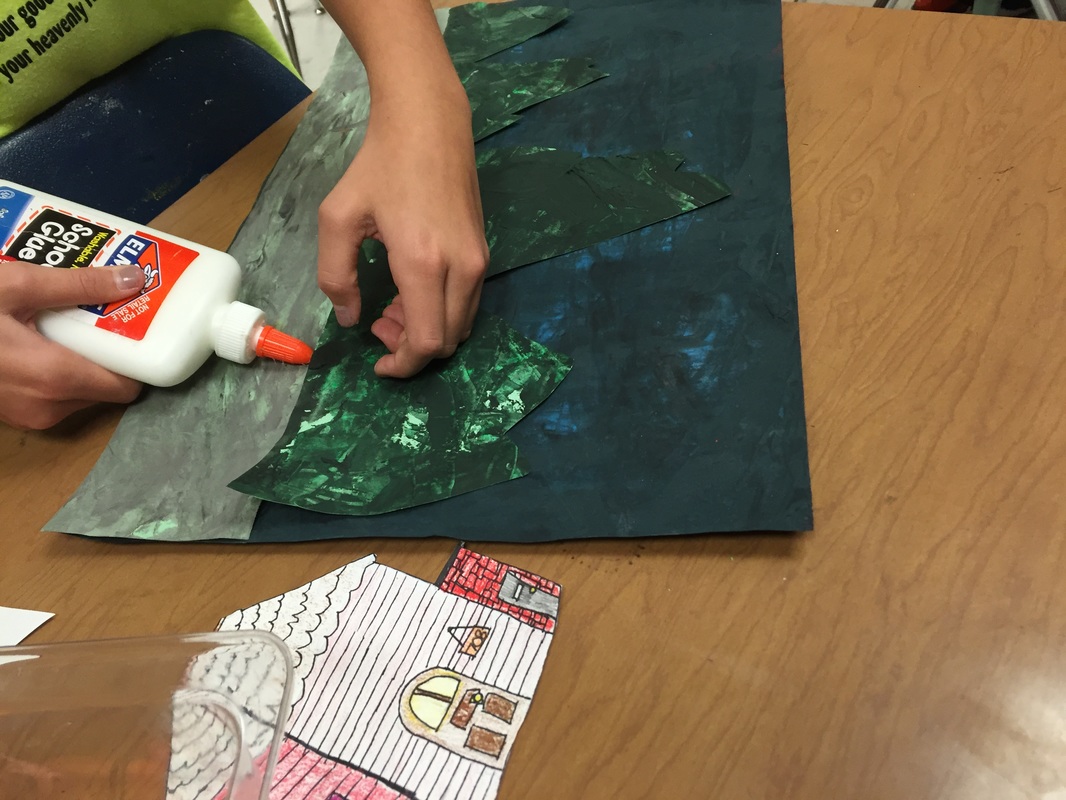
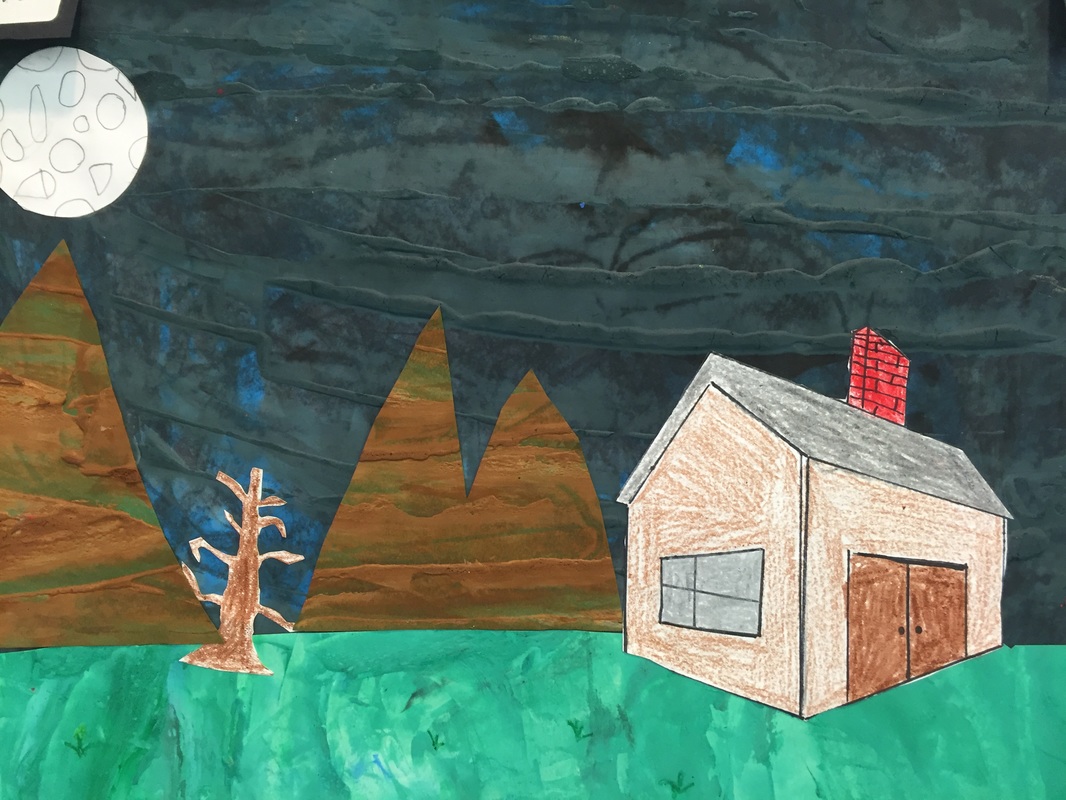
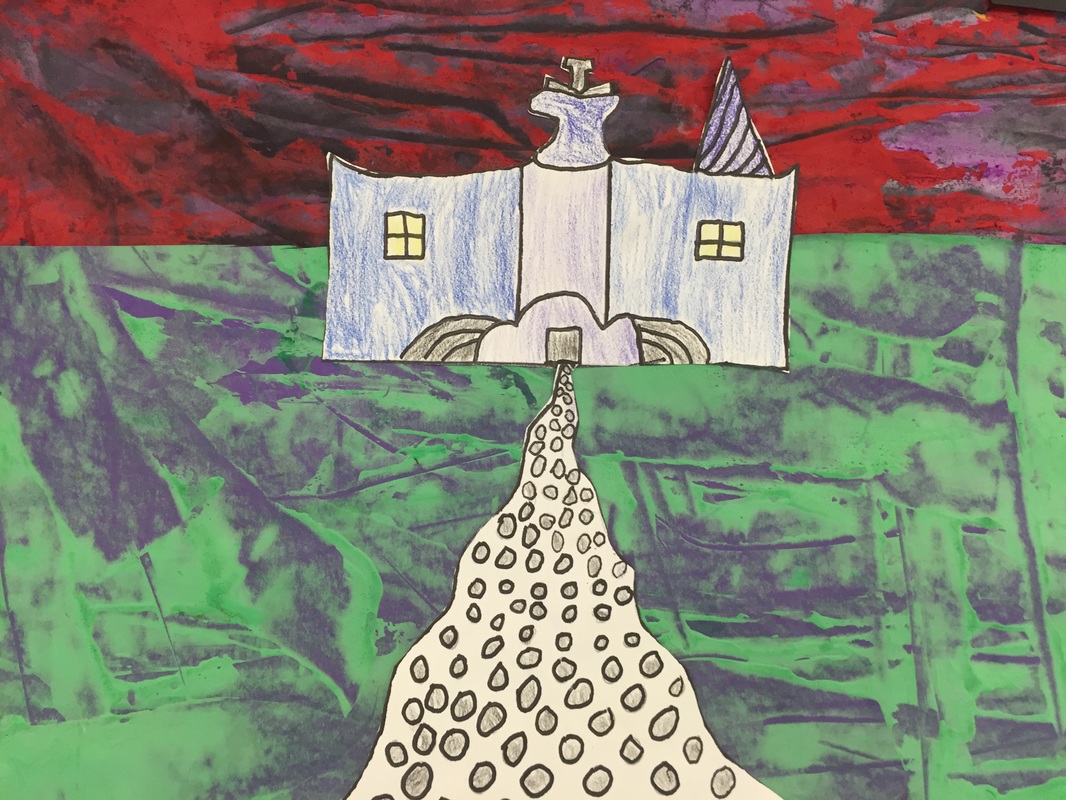
At the special art station, students smeared shaving cream+acrylic paint onto paper with a pallete knife. One student in each group did a paper for them to use as their sky (had to pick between red+yellow OR blue+purple OR white, for a hazy smoky sky). The other person in the group created a textured paper using the same process, but their paper went into a community pile for everyone to use. The community pile had lots of shades of green, blue, purple, grey, brown, and tan. I did different variations for each class depending on what I thought we might need for the finished collages. 

All of the 'sky' pages were created on black construction paper. The combination of the acrylic and the shaving foam gave the paint a thickness that we don't normally find in school grade paint. The pallet knife technique was very fun for some of the students, I stood right by as they created the textured papers. The other colors were made on dark green, purple, grey and light green construction paper. I don't have a photo of the station with students using the plastic palette knives and shaving foam, but we scraped the excess off the knife and onto a cookie sheet, so that it could be reused over and over. I let the students spray the shaving cream and squirted the paint. It was sort of like an assembly line. 
Picture
Picture
Picture
Once all of the textured papers were created, it was time to put everything together. I encouraged students to think about the foreground, as well as the middle ground and the background for their collages.

​Small details could either be drawn with black crayons (sharpies would not work on the texture paper) onto the background, or they could be drawn/colored around the edges of their structures, since we were planning to cut those out and adhere them to the sky paper. 

I also had to stress to them, DON'T cut the the 'sky' paper that is the 'canvas' we will be gluing everything to! 

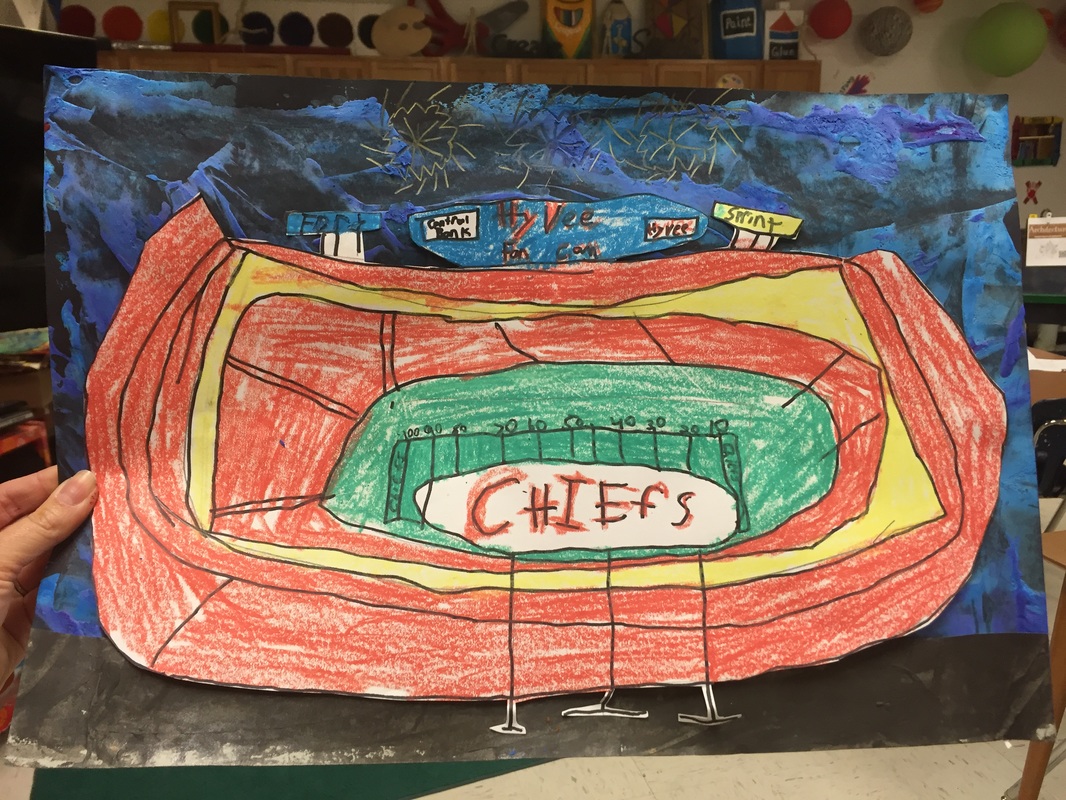
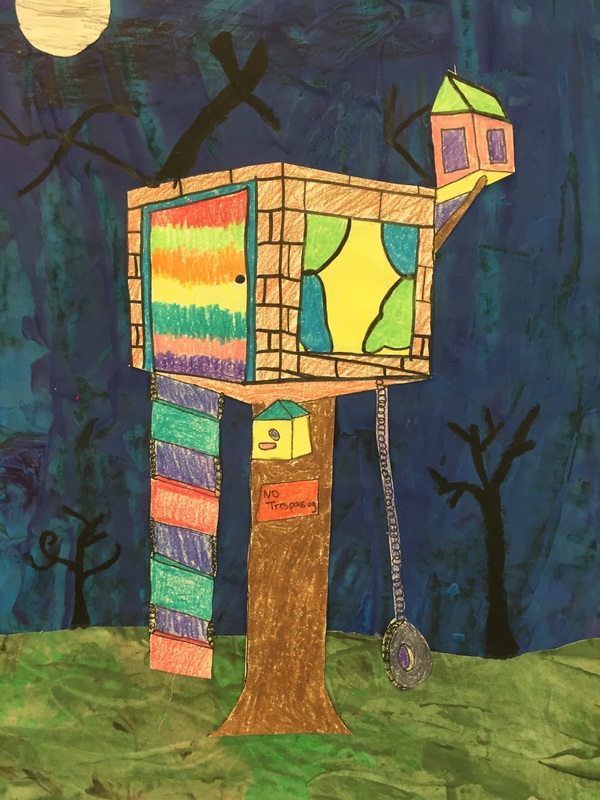
I was very proud of the variety of structures----there were tree houses, bird houses, stadiums, churches, schools, mansions, pagodas, and one group even re-created Alcatraz! 

Picture
Picture
Picture
Picture
Picture
Picture
Picture
Picture
Picture
Picture
Picture
Picture
Picture
The spooky texture on the house above was made with a slightly dried out marker---a cool idea from one of my students!! 

We did spend at least one day practicing trees, before the final day of the project--it really helped them to get the hang of creating realistic looking branches. 
Picture
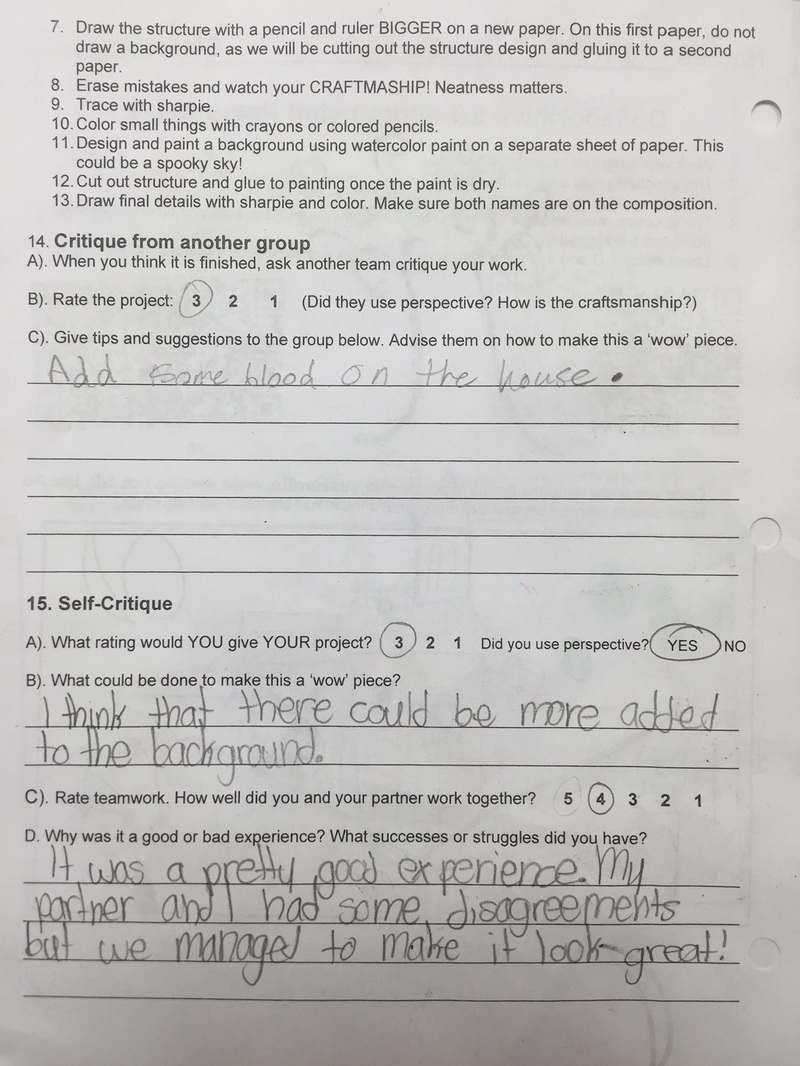
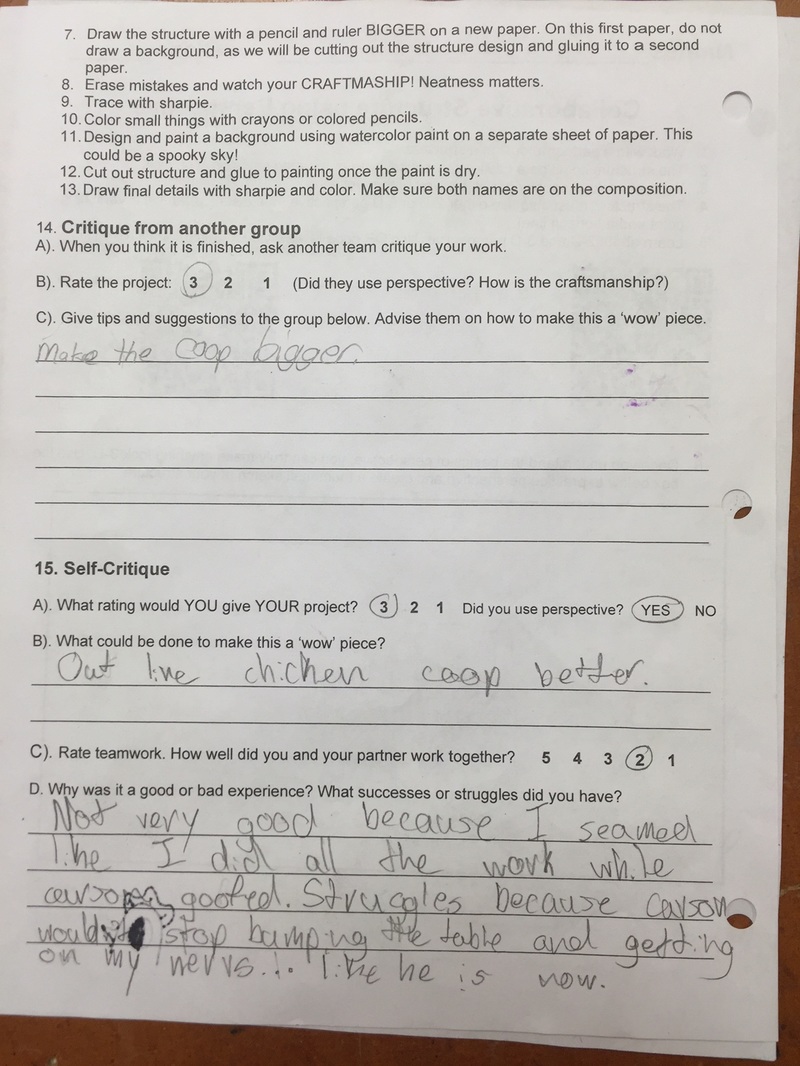
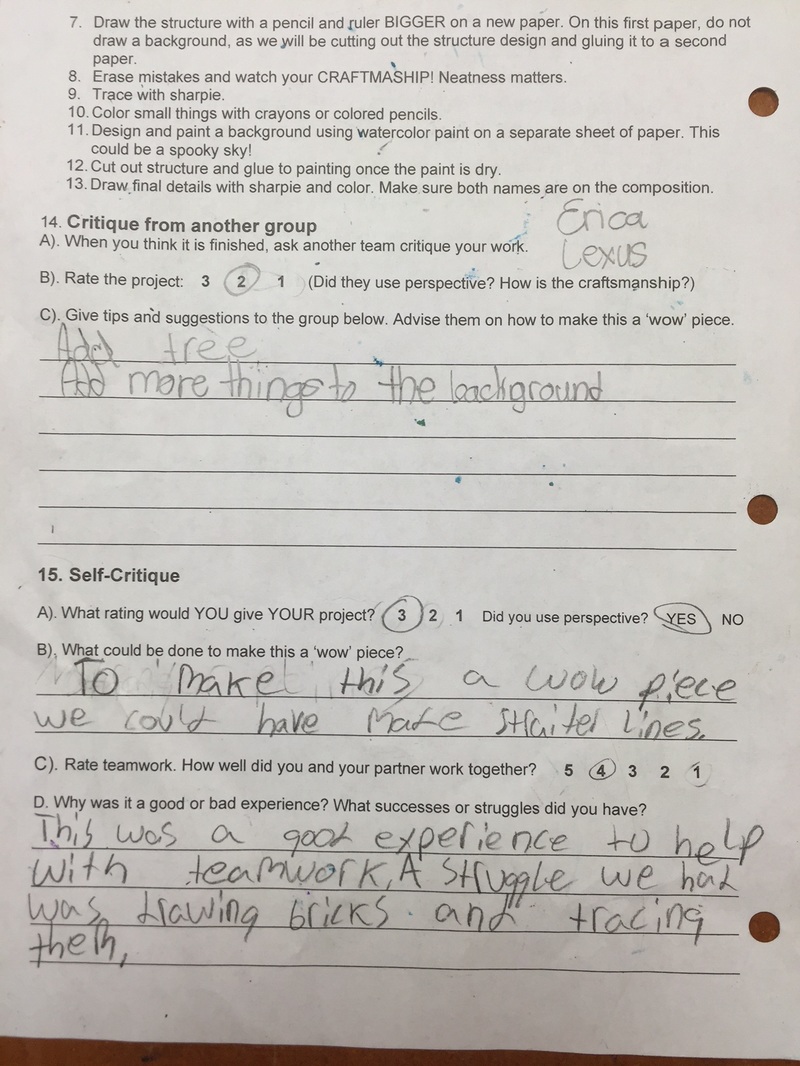
For my professional growth plan this year, I am trying to improve my use of student reflections in order to build rigor in the classroom. In our building the focus is on Quality Indicator 2.5 (Prior experiences, multiple intelligences, strengths and needs).

The research-based strategy to help me accomplish my goal: 

MDQ 2.13 The teacher engages students in activities that help them reflect on their learning and the learning process. 

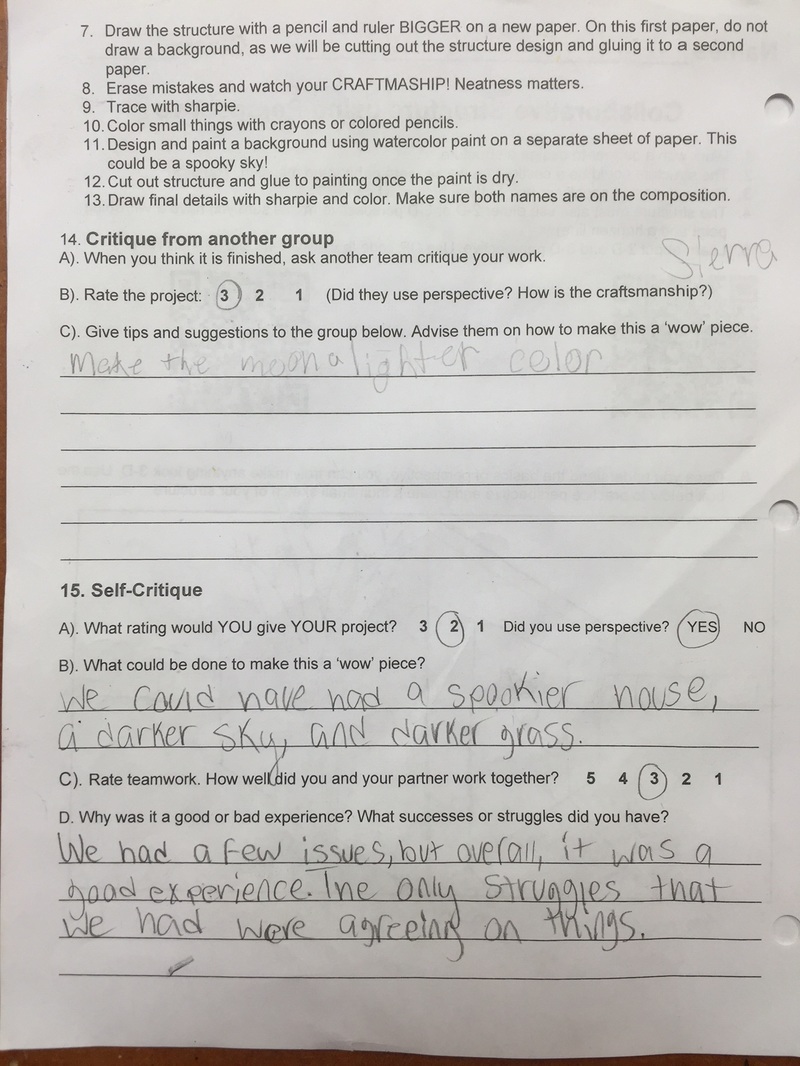
This activity added rigor by providing reflective thinking, adding a writing element, and also a peer critique.

Students collaborated on this project and they reflected on their collaborative experience---some struggled to compromise with each other, which is a very good life skill. 

By critiquing another group, and their own group's work, students actually had to get opinions from someone other than myself. It is good for students at this age to reflect on their own work.


Also, the opinions from peers hold a lot more value than what I say so sometimes they get really strong feedback and critiques from each other because other students tend to tell the truth in harsher terms and their words are more powerful coming from each other. 
​
Below, I have included a few samples of the student reflections. 


Picture
Picture
Picture
Picture
1 Comment

How do you curate student work?

9/20/2014

0 Comments

 
Curating student work is a big job.

Between art shows and building displays, the act of setting up all of the displays is an incredible undertaking. Just the act of selecting a few pieces for a show can be really difficult.

Generally I don't really work on-on one with my students to determine what will be displayed. I usually just sit down and
sort through pile after pile of artwork, taking in to consideration themes, color choices, paper orientation, size of my bulletin board, and how many pieces I have selected from that student in the past. I make selections methodically, with an idea in my mind for the final layout of the display.


Picture
Picture
Recently, I collaborated with a professor friend to organize some student work for a show at her university. The deadline sort of snuck up on me and I had to squeeze the project into the middle of a big unit. The lesson plan was ready-made, it was just a matter of cutting the paper and getting the supplies organized.

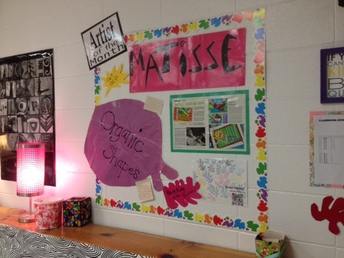
It worked out great because I had the chance to introduce my students to the artist of the month: Henri Matisse. (Students read and view the information on a S'more flyer that is accessed via QR code).

I was also able to try out Emaze. Instead of creating a Powerpoint, I created a slideshow on Emaze. I synced my apple tv to my computer with air parrot, so that I could use the cool flash-only template: gallery. I had the slideshow on repeat throughout the entire lesson so students could read and see about the artwork continuously.

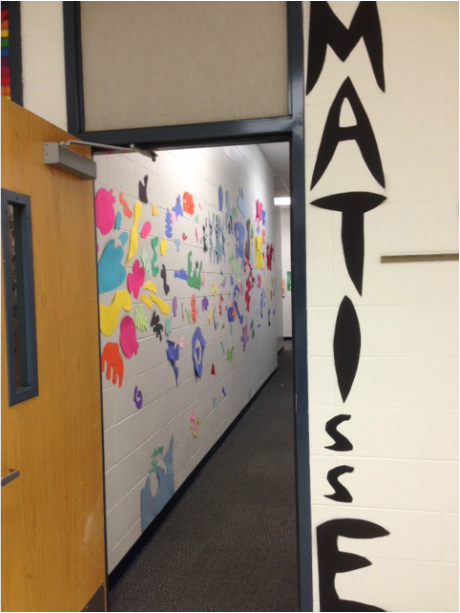
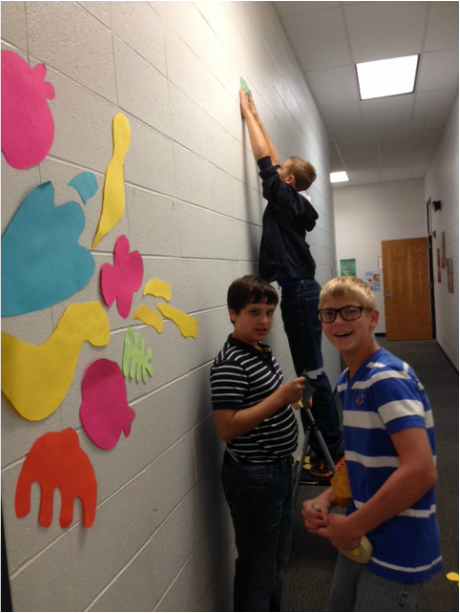
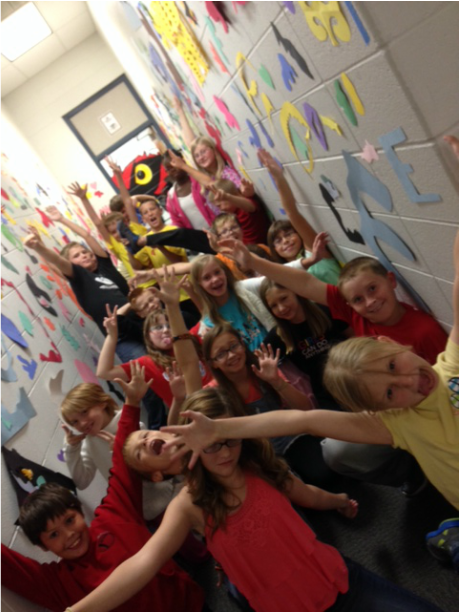
I followed the lesson plan pretty closely, demonstrating how to cut out an organic shape, using that free 'painting with scissors' sort of style that Matisse is famous for. While students were working, I allowed them to 'jazz' up the adjoining hallway with organic shapes taped to the walls. They really enjoyed installing their piece to the collaboration. It was a fun experience. When I asked the teachers who work down that hallway if I could use the two walls for my installation, I'm not sure what they were expecting....but I think they are a little creeped out at the results...art people get it....others kind of don't.....but that is okay. It was especially cool that the music teacher down the hall had jazz music playing while we were installing the installation....again, only an art teacher would appreciate the perfection of that sound while we were taping paper scraps to a wall.

Picture
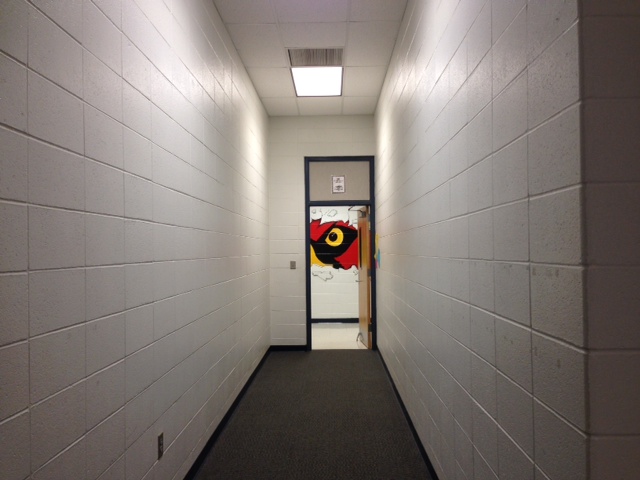
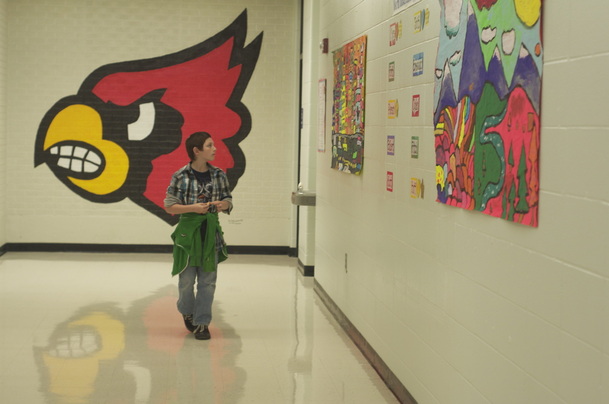
Here is the hallway 'before'. I chose this hallway because it doesn't get a ton of traffic, and students who use the busier hallway (with the creepy Cardinal eye peeping out), can get a peek at the installation.
Picture
Picture
Picture
From the collages that were created during class, I selected around 30, out of 330 to go to the exhibit at PSU. When I told students whose I had selected, some of them were bummed that theirs was not selected...so that always make it harder!

How do you curate student work?


This post is part of the Reflective Teaching Blog Challenge from TeachThought.
0 Comments

Christmas Joy!

12/20/2013

0 Comments

 
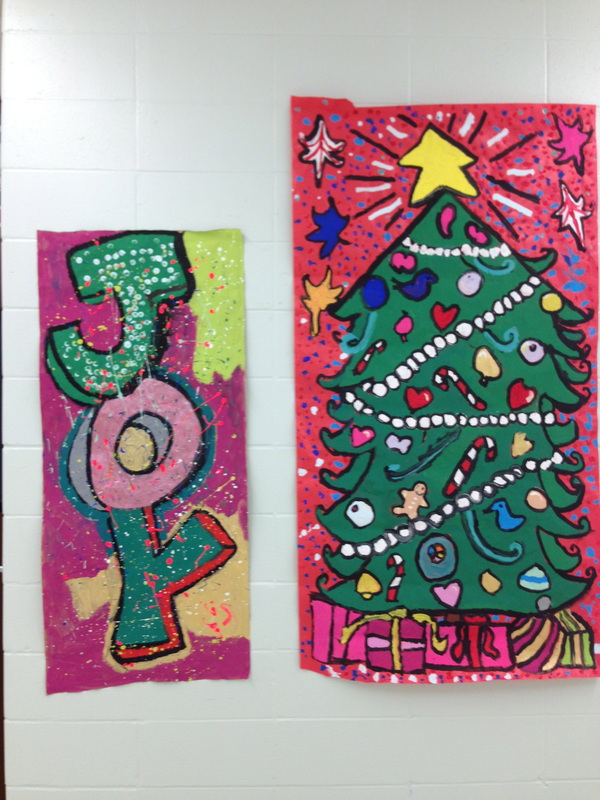
I love to throw in a little Christmas joy at the end of the 1st semester with each class. Here is a random sample for you.
Picture
Collaborative murals, painted in art club.
Picture
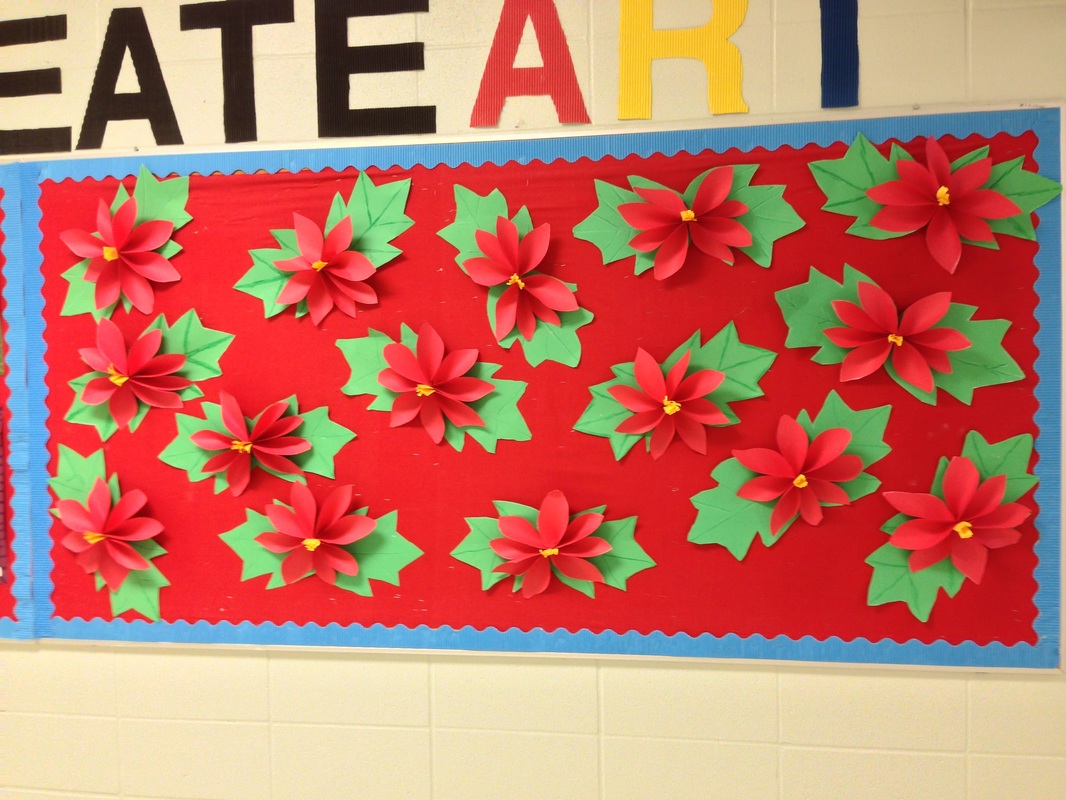
2nd grade paper poinsettias.
Picture
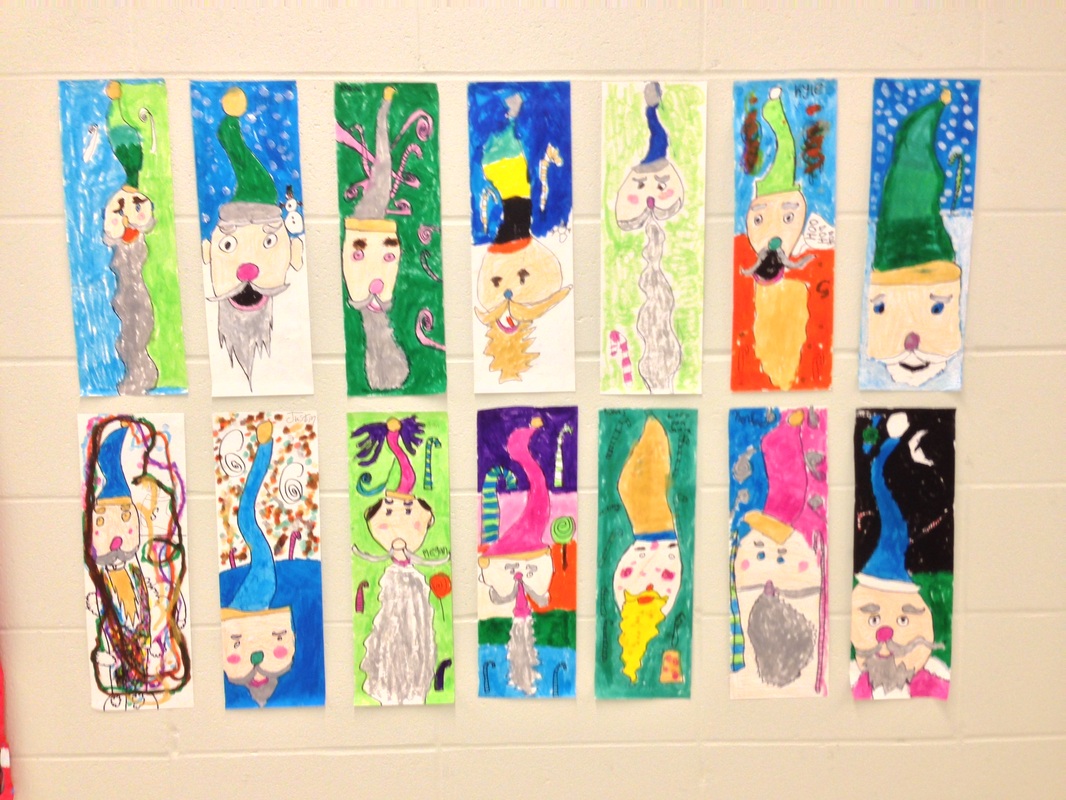
Draw santa without using RED! Color with play color paint markers.
Picture
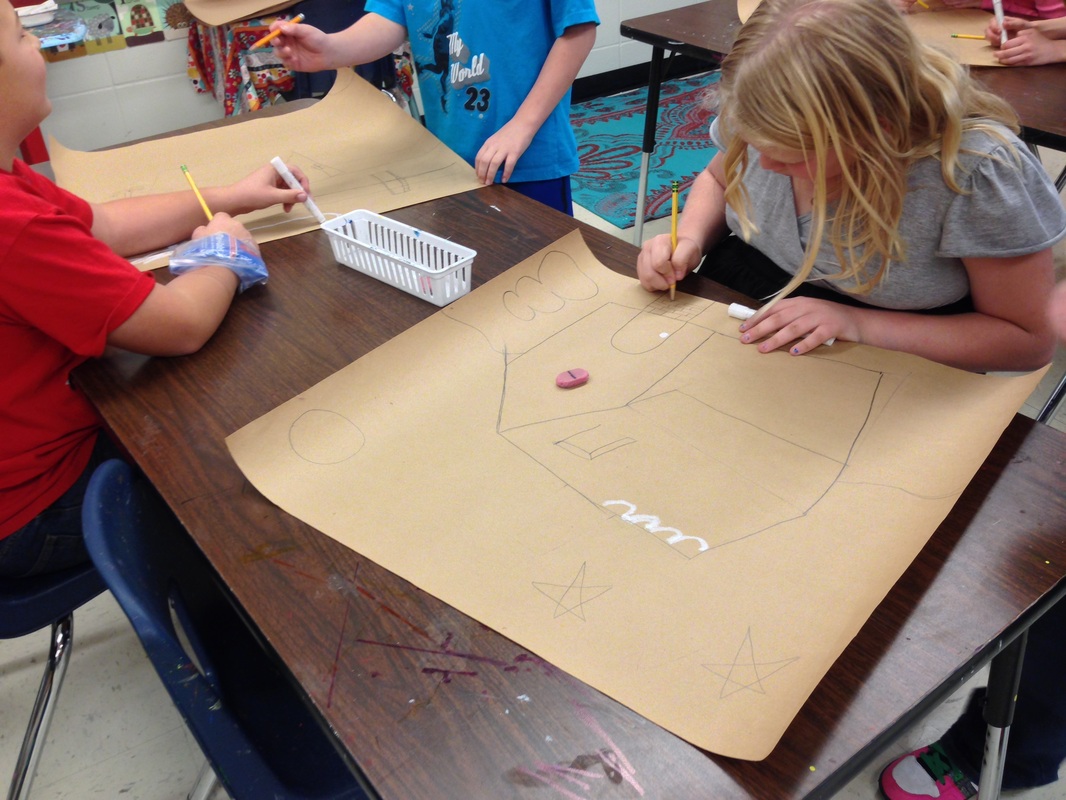
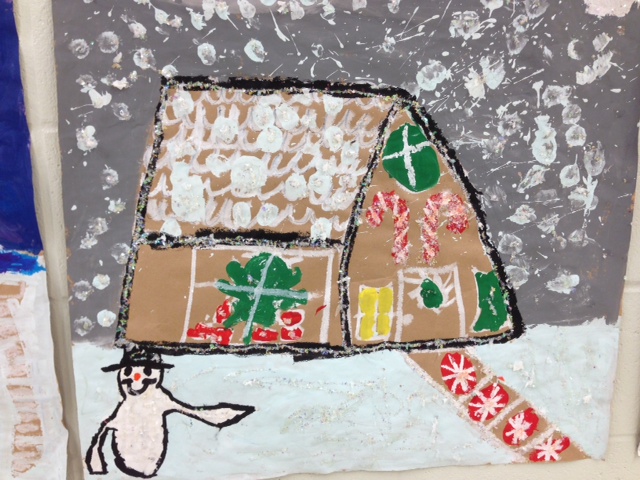
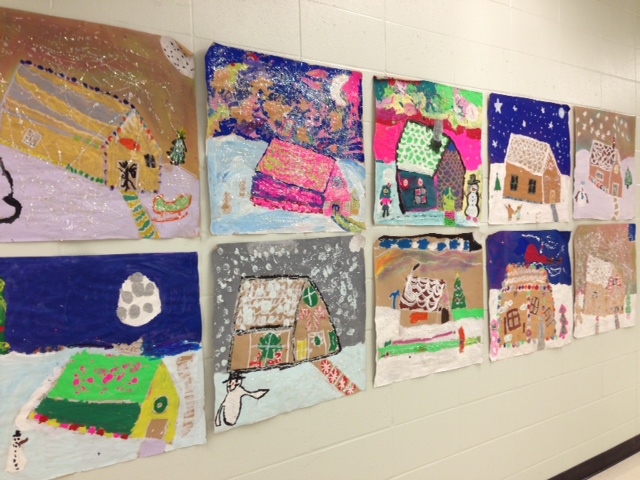
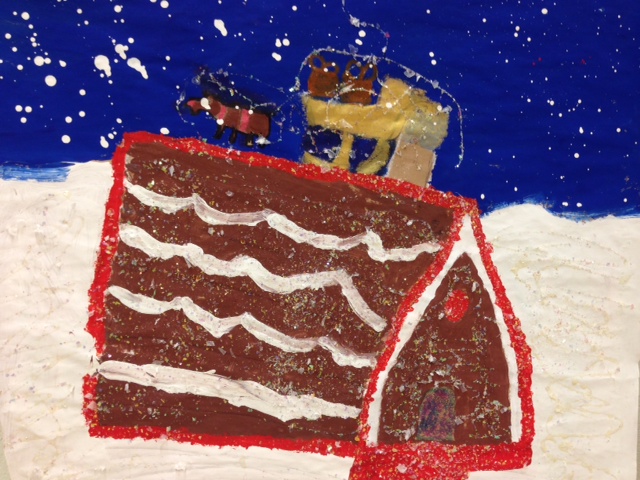
Collaborative gingerbread houses. Two students per house. A 3/4 view of the house. Paint, chalk, glitter, OH MY!
Picture
Picture
Picture
Have a Merry Christmas!
0 Comments

Design your own 'Custom' iPad

10/4/2013

0 Comments

 
Picture
Picture
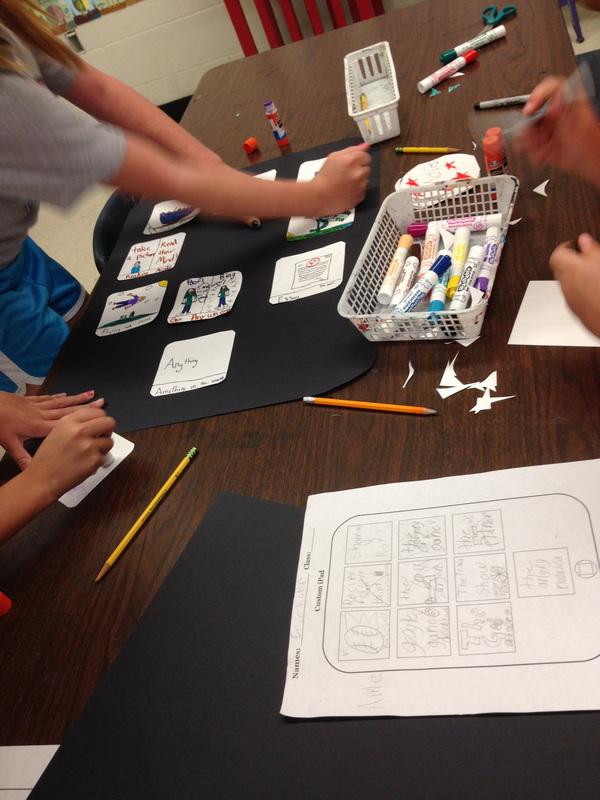
Working collaboratively is such an important skill for students. Recently, I had my 2nd-4th graders work with a partner on two large-scale projects back-to-back. Usually, the question is, 'who gets to take it home?'. I had them complete two projects together so that they can make that decision later on down the road, after I have had a chance to display the artwork for a few weeks. (Hopefully there won't be any major battles over who gets what!). 

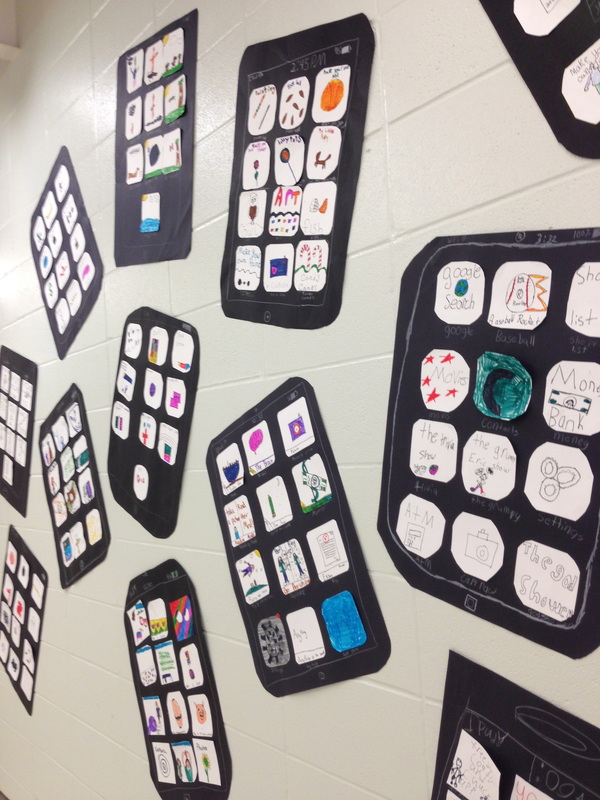
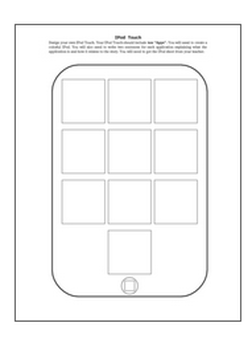
Students worked together to design icons for ten apps. If found this iPod printable on teachers-pay-teachers, and modified it to say iPad at the top. 

They were to plan out each icon, and then draw it on a 4X4 white square. After outlining with a fine point sharpie, and coloring with markers, they laid the squares out onto a 24X36 black piece of paper, and used a glue stick to adhere. White colored pencils were used to add the iPad home button and other symbols. 

Picture
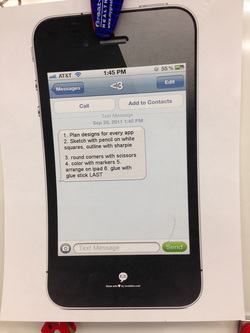
I used recitethis.com to compose a text to my students. I printed this sign in color, and hung it on the board, so that students could refer back to it throughout the lesson. 

They were excited to get a 'text' from me...even though it was just a list of the steps...normally, I write those on the board...but this was a cool way to get the information to them. 

I was amazed at the creativity that some students exhibited in this project. Their 'app' ideas blew me away! There were apps for all sorts of things: towing service, sewing, dentist, homework, and one boy even made an app that would activate his iPad from his phone an allow spider legs to pop out so it could crawl to him. WOW!

If I do this again, I will spend 3 weeks on this project, instead of 2....I allowed time at the end for students to stand up and share some of their best apps with the class and I wish I would've spent a little more time showing them really cool icons, and encouraging them to color the entire square....This would be a great project for older students....mine had some trouble with spelling, but its sort of charming so I don't have too many issues with a few misspelled words. 

Check out the slideshow below for more examples of the finished product!

Picture
0 Comments

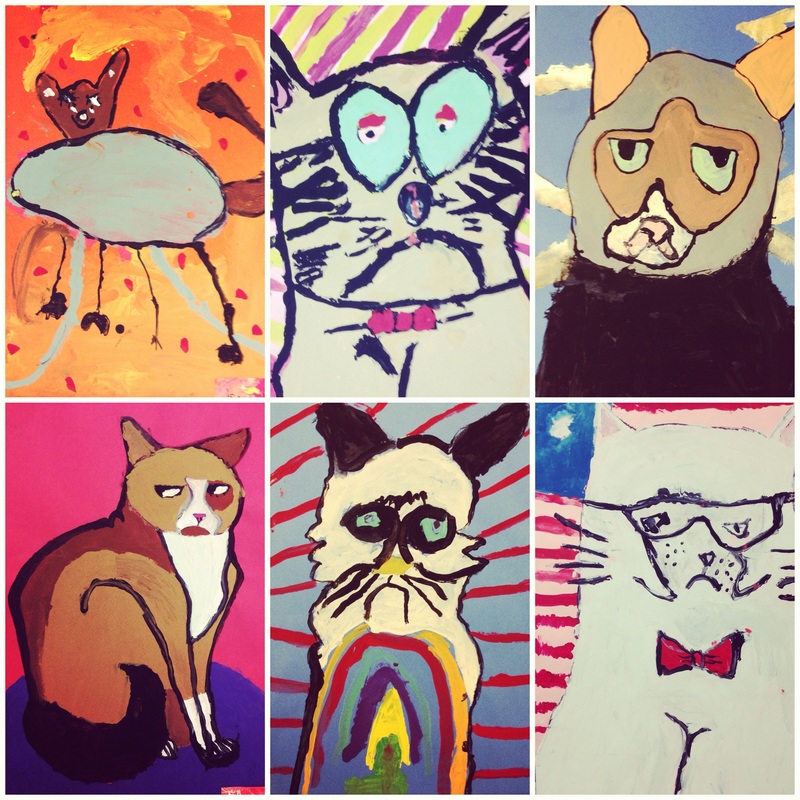
Elementary Art Grumpy Cat Unit

10/4/2013

1 Comment

 
Picture

I'm currently in the midst of a two-project stretch of collaboration. On the first day of art, I told my students to select someone they could work well with, and sit side-by-side. I explained that we would be doing some group projects this year and they needed to find someone who would be a good partner.

After the 'getting to know you' activity from the first week, and painted paper the 2nd week, we were finally finished learning the procedures, and ready to jump right into a brand new unit. 

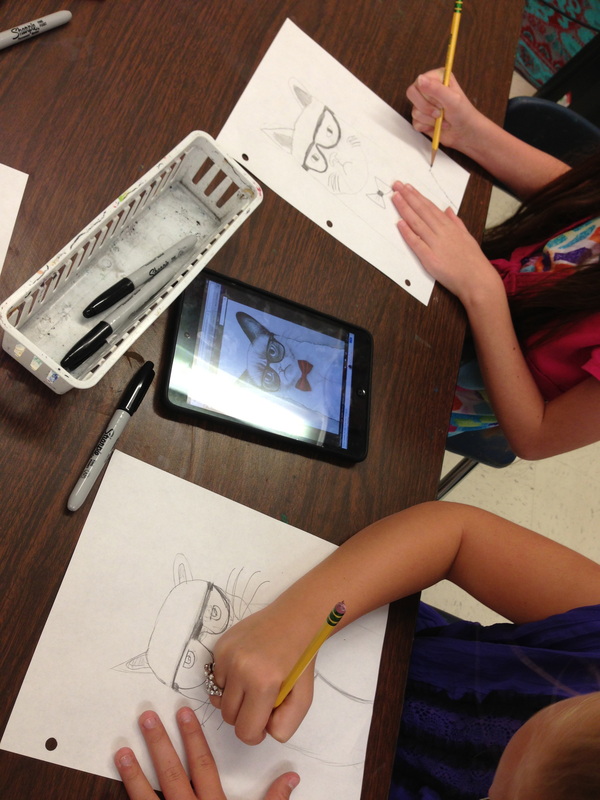
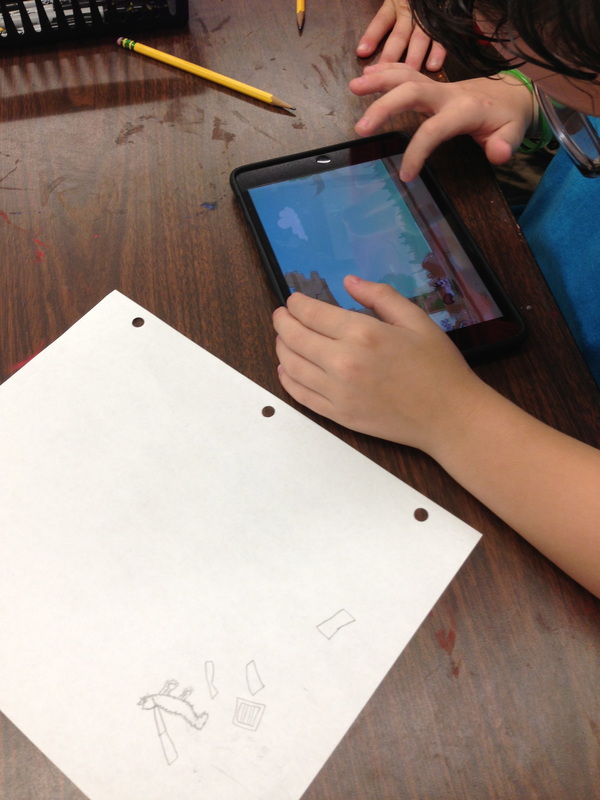
This year, I really wanted to incorporate min 12 iPad minis right away. So I downloaded a couple of apps and created a gallery of images devoted to our very first project: Grumpy Cat. Students were introduced to this internet sensation via a youtube video of him looking absolutely grump-tastic. 

I explained that I wanted them to work together to design a painting based on his now-famous image. I provided them with an image of the step-by-step drawing (I loaded it into the camera roll on each ipad), and I created a folder on the iPad with a couple of grumpy cat games, and a link to a Flickr Gallery of images that they could view for inspiration. 

As a team, they should both share their ideas....but be willing to compromise....

Students could spend as much time on each activity as they wanted, just as long as they had a sketch by the end of the hour. The boys were especially attached to one of the games: A Grumpy Cat Escape From Mayan Temple. If that was too hard, the easier game was Smiles for Grumpy Cat. (Beware, the GrumpyBom Grumpy Cat photo booth is not appropriate for elementary students.)

My initial intent behind providing the games was to allow them to take turns using the iPad in between drawing and looking at images for inspiration, and also to help get them excited about the new unit. 
*Note: In retrospect, I remember thinking that the games were engaging on a surface level, but they didn't really challenge students to higher levels of thinking...it was frustrating that they weren't 'discovering' anything new...just pushing some buttons around to make a little cat jump and twist over obstacles...it didn't really give them any new art skills...and I was a little frustrated that I had chosen the games that I had. I really want to encourage my students to delve deeper into art concepts, and none of these apps really did that. 

I did like having the flickr gallery available and a screen shot of HOW TO DRAW GRUMPY CAT was on the camera roll for students to use if they wanted...and I didn't waste any copy paper providing these visuals for students. 

WEEK 1
Basic steps of the project:
1. Sketch idea for a new grumpy cat painting. Discuss with your partner. Talk about the design.
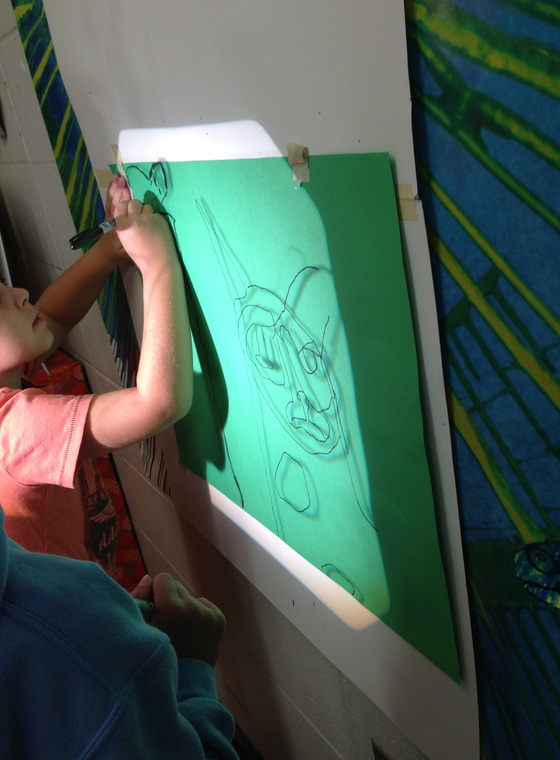
2. Transfer drawing to clear acetate using a sharpie. 
3. Enlarge drawing on 24X36 paper using an overhead projector. BIG PAPER!!
4. Color the small drawing on 
 paper, so that you will know what paint colors are needed. If you have a plan, both teammates will know where to put the colors. 
Picture
Picture
Picture
WEEK 2
When it was time to paint, I had students bring their small colorful drawing over to a paint center to 'order' their paint colors. I squirted the colors needed onto a paper plate (as if I was serving them a bit of food, little of this, little of that). I had everyone put on paint shirts, get a paper towel, and their own brushes of various sizes. I also put a water container on each table so that they could rinse their brushes between colors.

Steps for painting: 
1. Paint the background first (even if you are just doing stripes or a pattern).
2. Paint the fur.
3. Save the small details and outlining for next week!

Week 3
1. Finish small details, touch up any drips or mistakes. 
2. Step back from your work to see what you need to fix/finish/improve.
3. Outline things with a small tiny brush or a sharpie. (Eyelashes, teeth, add texture)
Picture
Picture
We spent the last two art sessions painting. I encouraged them to save small details for the 2nd week of painting. I knew that some teams would finish painting pretty quickly during the 2nd week, so I showed them a couple of new apps. These are apps that I wanted them to try out, so that we can incorporate them into projects later. I even used one of them to explain the final steps of the project. 

You can see my animated 'grumpy cat' on VIMEO HERE. 
Picture
The funny movie maker app. 

I encouraged students to take a photo of someone or something in the room and record a short clip of it using their own mouth to make it talk.

I also introduced them to the ColAR App for the first time. They were really impressed!

At the very end of art, students had an opportunity to plan out their own apps for a custom iPad, the 2nd collaborative project of the unit.

Collaborative art is no cake walk. There were plenty of tears and frustrated students who wanted everything THEIR way! But there were also plenty of students who created to most lovely, beautiful, original art that would never have been created if they hadn't worked together in the design. It was very fun to work at such a large scale. The finished products are very stunning. 

Have you ever had elementary students work collaboratively? Any tips on how to help them work together?
1 Comment

Collaborative Murals

5/14/2013

1 Comment

 
Picture
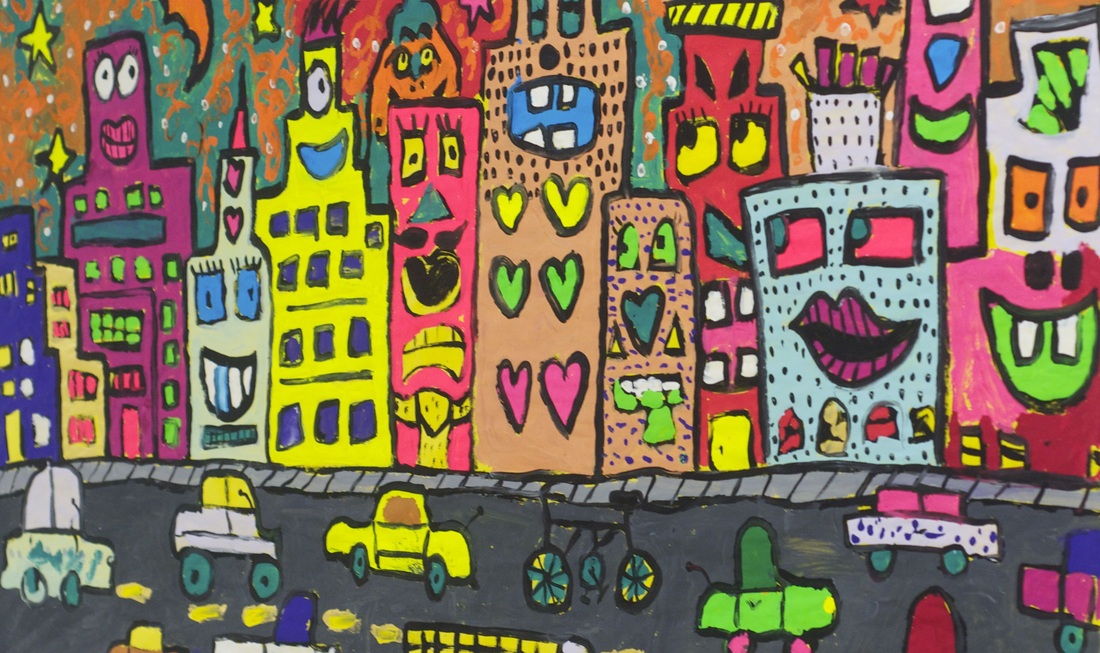
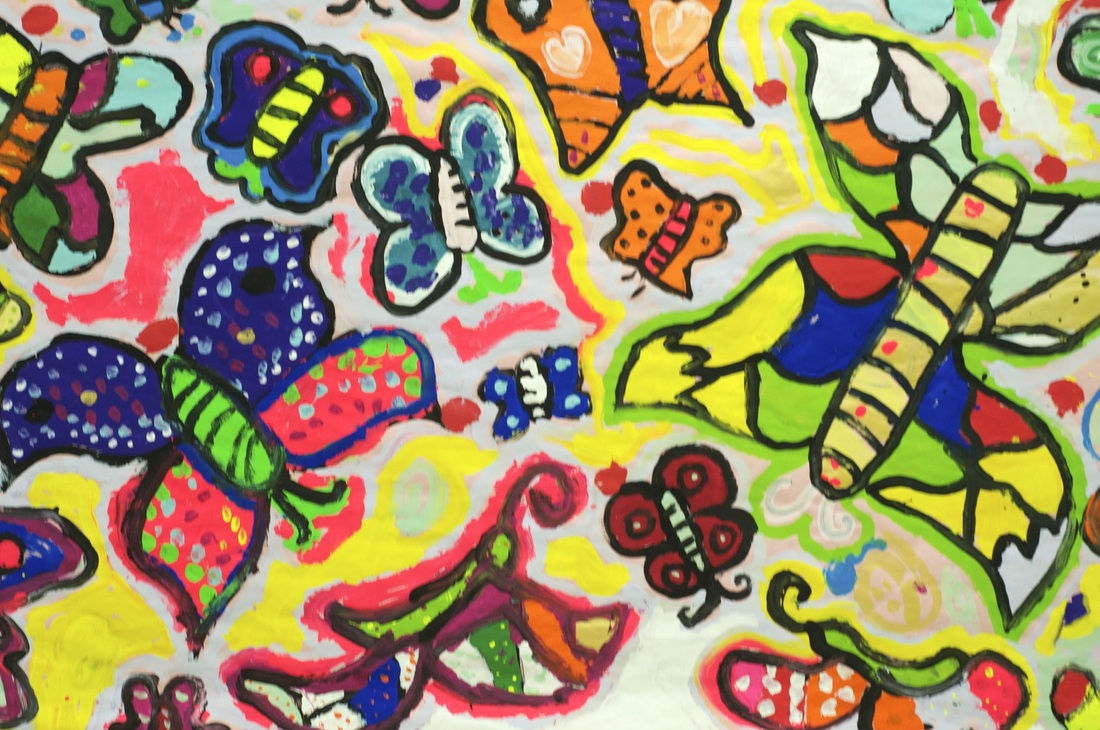
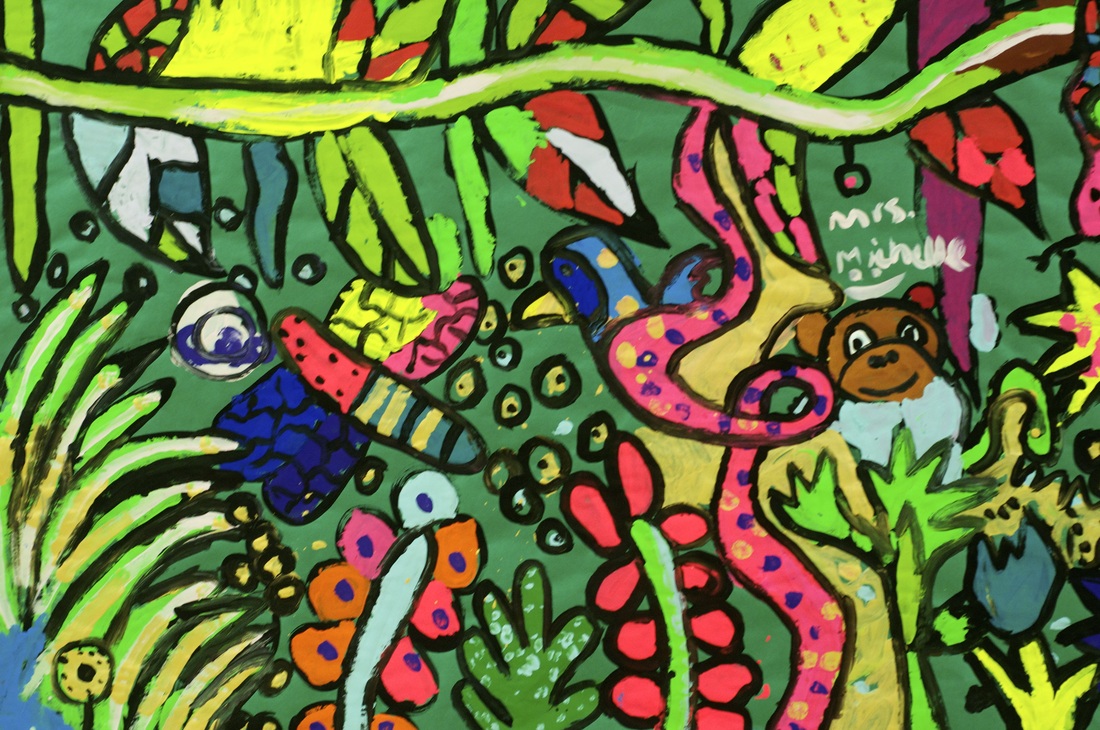
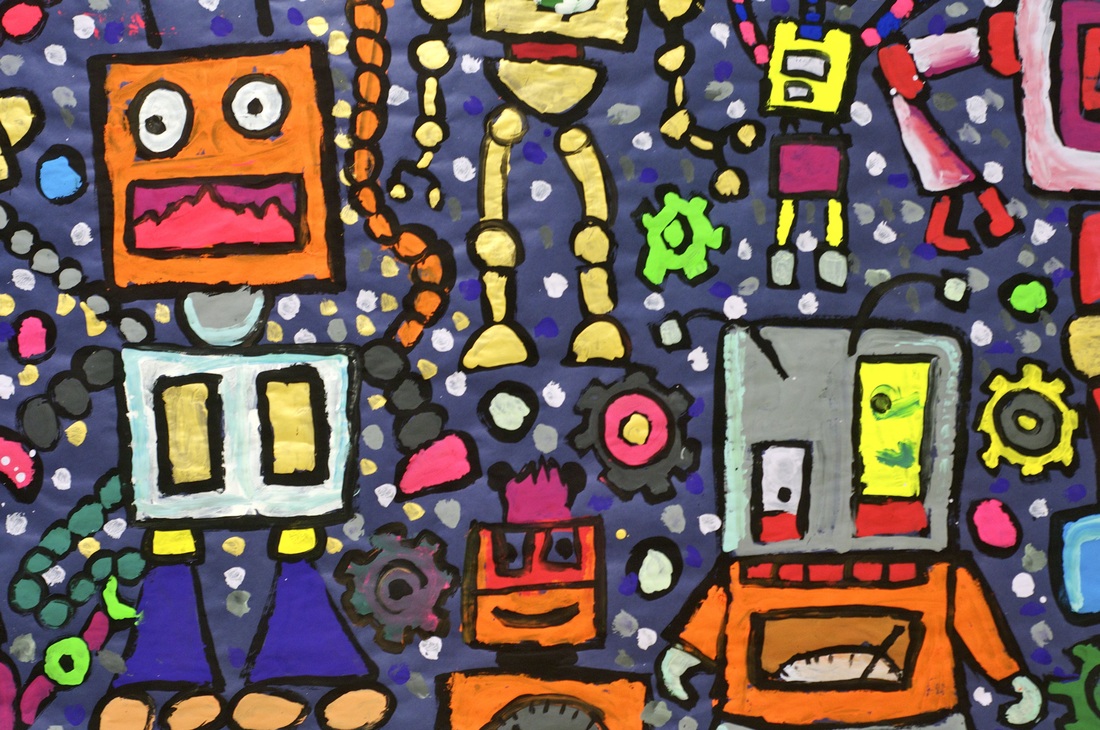
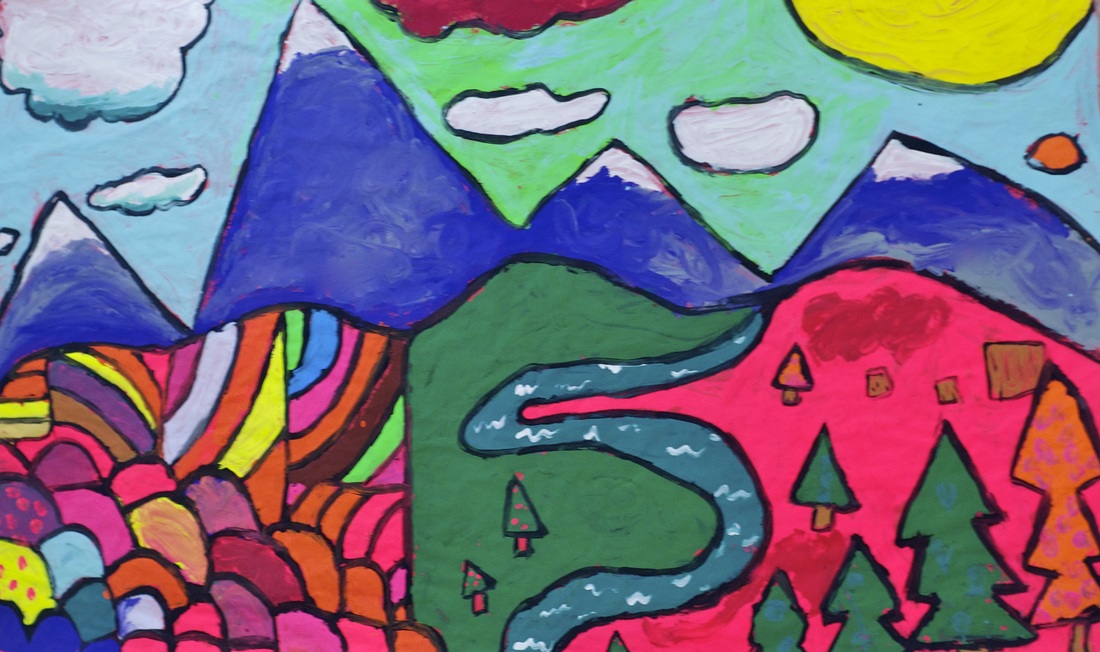
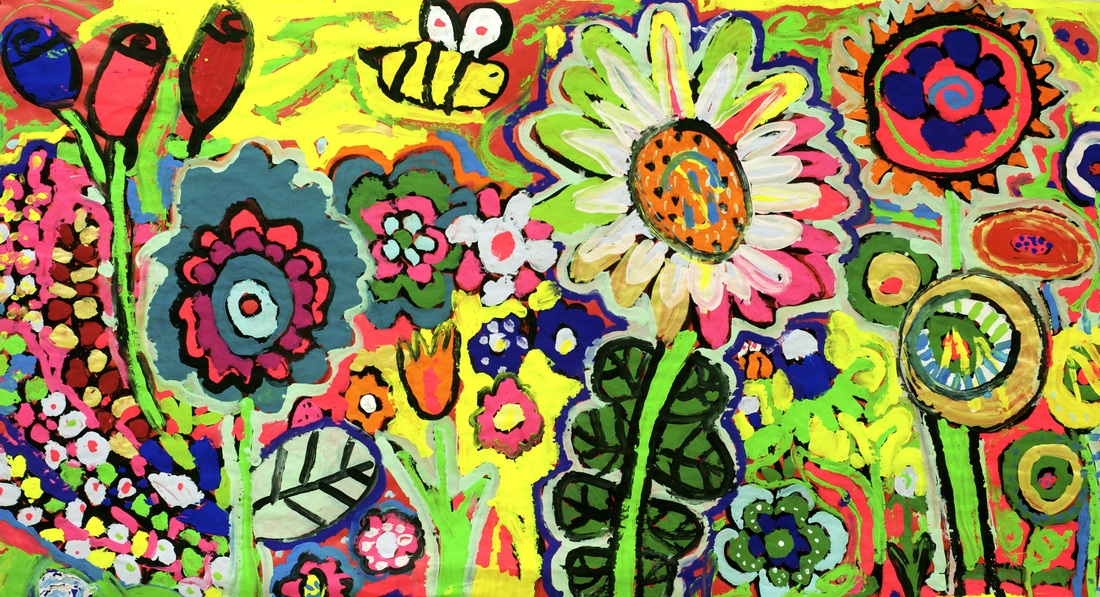
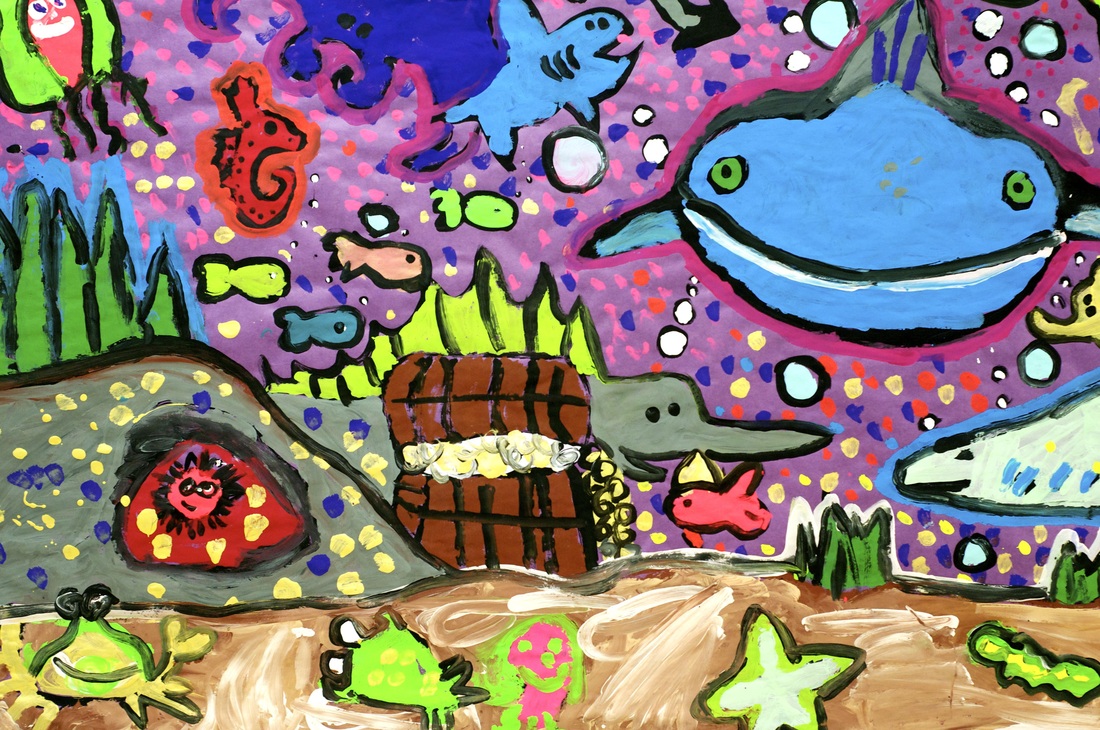
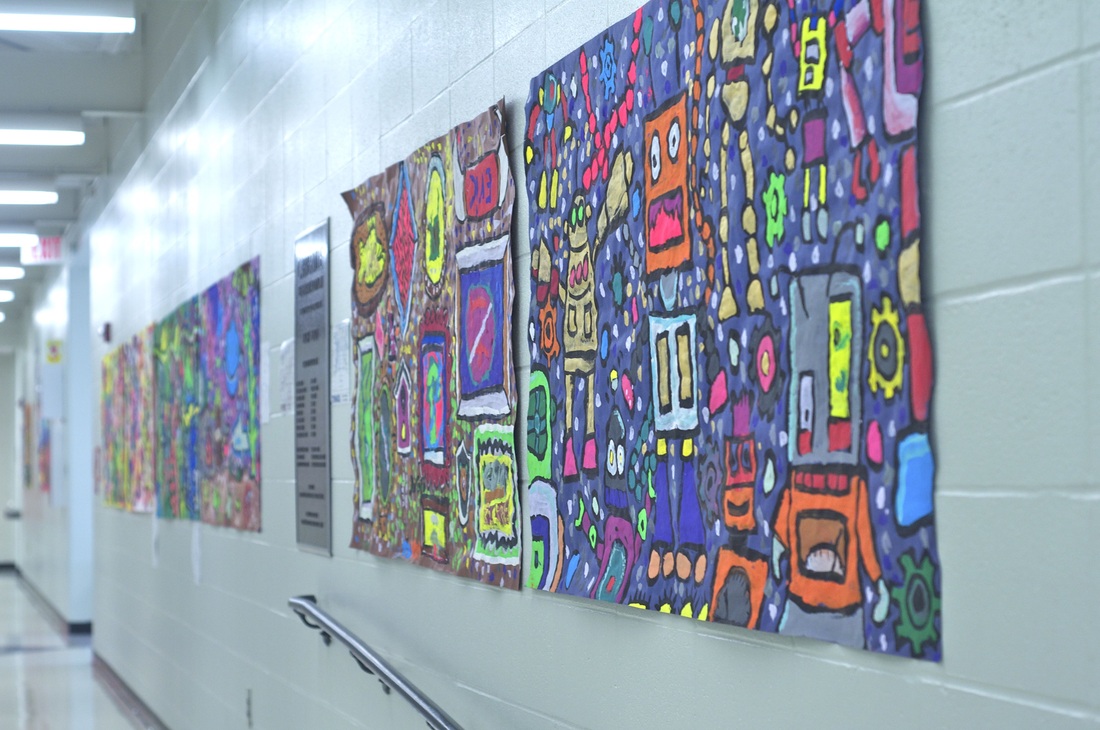
With my after school art club, I decided to attempt a collaborative mural. Since I have anywhere from 15-22 students in grades 1st-4th, and it is only one hour....I decided to create some line drawings on bulletin board paper for the students to paint. Had I spent more than one session on this, I would've had students design the murals, but it was one final hoo-rah for the year with each group, so I figured they wouldn't mind a little glorified 'coloring'. These murals turned out really awesome. I had some fabric designs and other inspiring images scrolling across my SmartBoard so that the students could look up for inspiration at any time. The murals look amazing hanging in the hallways.
I had pre-mixed 25+ colors.....students carried one jar of paint around the room and added their color to each mural a little at a time. Some of the older students went around helping me touch up the black outlines as the paint dried. I did have to spend a little time after the session to touch up the black, but it was worth it. Each one-hour session completed 5 murals....that is 10 large art displays in the hallways! The cityscape below was inspired by James Rizzi!

Picture
Picture
Picture
Picture
Picture
Picture
Picture
Picture
Picture
Picture
1 Comment
    PictureWelcome!

    Mrs. Mitchell

    Art teacher from Missouri. 

    Instagram
    Add to Flipboard Magazine.

    Archives

    March 2021
    April 2020
    November 2019
    July 2019
    April 2019
    January 2019
    October 2018
    July 2018
    June 2018
    May 2018
    April 2018
    March 2018
    January 2018
    September 2017
    May 2017
    April 2017
    March 2017
    January 2017
    December 2016
    November 2016
    October 2016
    September 2016
    March 2016
    December 2015
    October 2015
    August 2015
    May 2015
    April 2015
    March 2015
    February 2015
    November 2014
    October 2014
    September 2014
    August 2014
    June 2014
    May 2014
    April 2014
    March 2014
    February 2014
    January 2014
    December 2013
    November 2013
    October 2013
    September 2013
    August 2013
    July 2013
    June 2013
    May 2013

    Categories

    All
    1st Day Of School
    1st Grade
    3d
    Abstract Art
    Alcohol Ink Tiles
    Alpacas
    Animal Art
    Animation
    Architecture
    Art Centers
    Art For Kids Hub
    Art History
    Art Hub For Kids
    Art Room
    Art Show
    Art Teacher Conference
    Bell Ringer
    Birds
    Blending
    Bunnies
    Cardboard
    Chalk Pastels
    Chalk Stencil
    Charcoal
    Choice Based
    Christmas
    Chuck Close
    Classroom
    Clay
    Club Day
    Collage
    Color Diffusing Paper
    Colored Pencil
    Colored Pencils
    Construction Paper Crayons
    Contest Art
    Creatures
    Crystal Bridges
    Design
    Dice Games
    Document Camera
    Dot Day
    Drawing
    Early Finishers
    Easter
    Emojis
    Fall
    Field Trip
    Food Art
    Foxes
    Green Screen
    Grid Drawing
    Group Challenge
    Halloween
    Haunted Houses
    Hearts
    Hermit Crab
    High School
    Human Form
    Ice Breaker
    Inspirational Posters
    Ipads
    Jim Dine
    Justand
    Killer Whales
    Kindergarten
    Landscape
    Lesson Plans
    Lettering
    Llamas
    Magazines
    Mandala
    Maori
    Markers
    Masks
    Matisse
    Metal
    Model Magic
    Mona Lisa
    Monster Trucks
    Mother's Day
    Mother's Day Card
    Mummies
    Mural
    Newspaper
    New Zealand
    Notan
    Observational Drawing
    Ocean Art
    Oil Pastel
    Oil Pastels
    Optical Illusions
    Origami
    Owls
    Painting
    Paper Weaving
    Pd
    Pencil Topper
    Perspective
    Pete The Cat
    Picasso
    Polar Bears
    Pop Art
    Portraits
    Printmaking
    Product Review
    Professional Development
    Quiver
    Reflection
    Reflective Teaching
    Room Tour
    Rooster
    Sea Horse
    Seals
    Sea Turtle
    Self Portrait
    Shading
    Shaving Cream Prints
    Shoes
    Sketchbooks
    Sloth
    Solar Eclipse
    Spinners
    Spring Conference
    Star Wars
    Statue Of Liberty
    Step-by-step
    Step By Step Drawing
    Step-by-step Drawing
    Still Life
    Stop Motion
    Story Board
    Sub Plans
    Summer School
    Symmetry
    Tab
    Teacher Appreciation Cards
    Technology
    Tempera Paint
    Tiny Food
    Tissue Paper
    Trees
    Tumbling Blocks
    Valentine's Day
    Warm Ups
    Watercolor
    Wax Resist
    Word Art
    Yellow Submarine
    Zentangle

    RSS Feed

Powered by Create your own unique website with customizable templates.