|
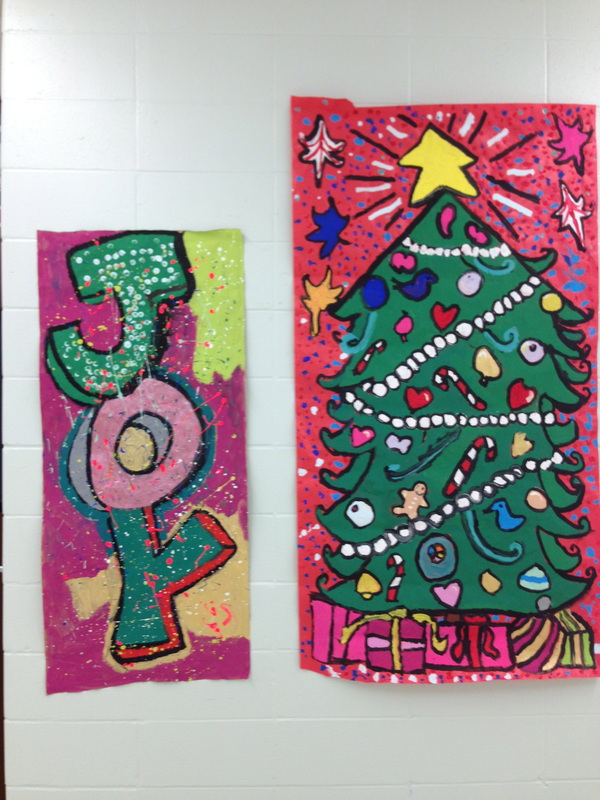
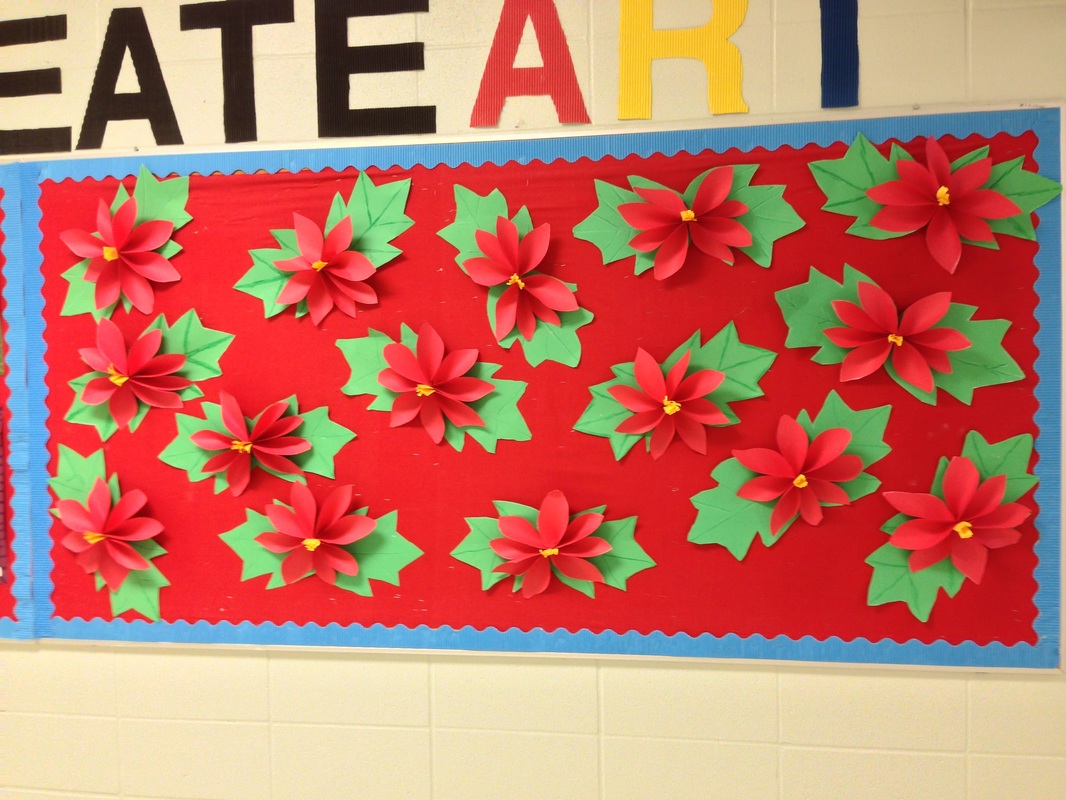
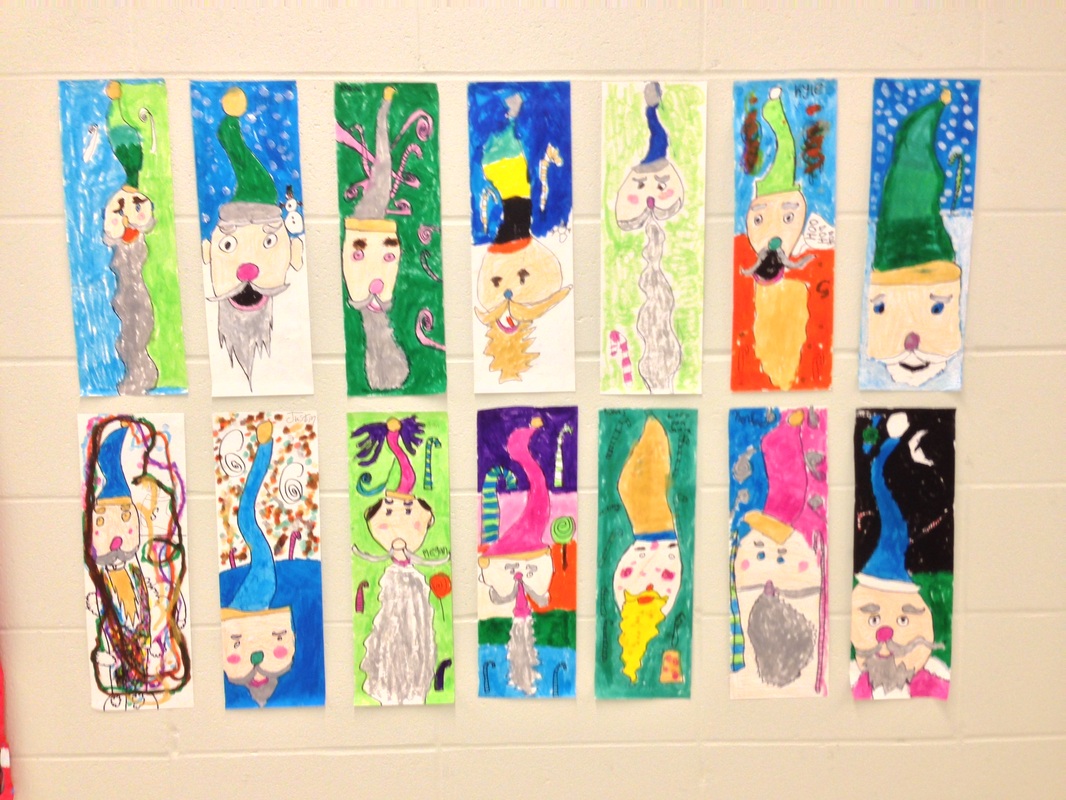
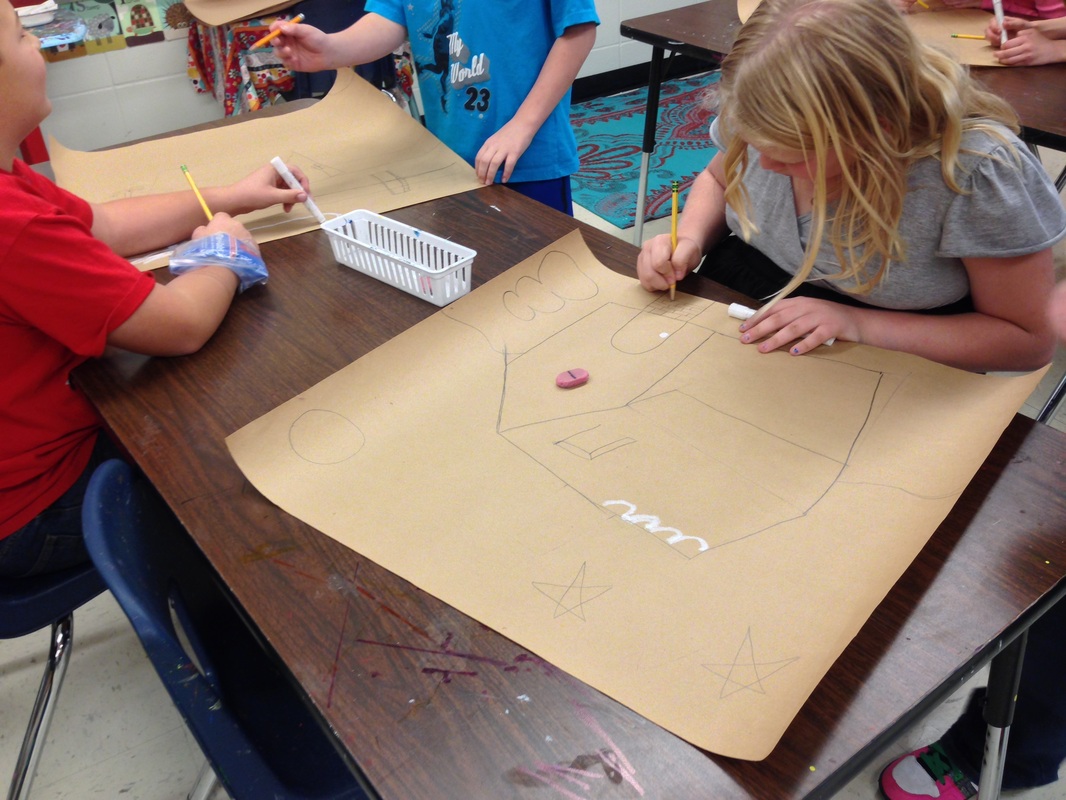
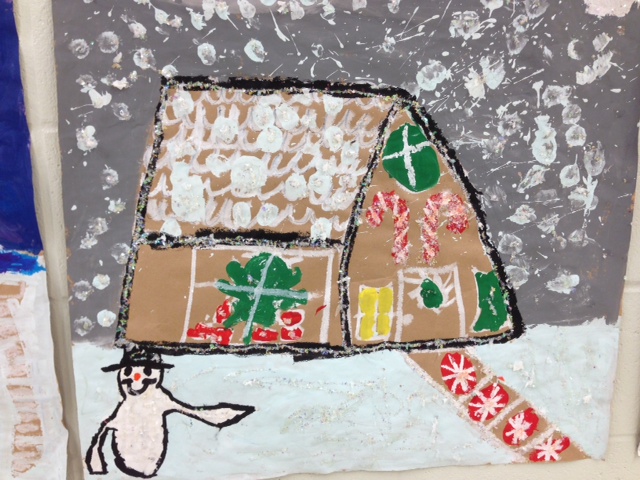
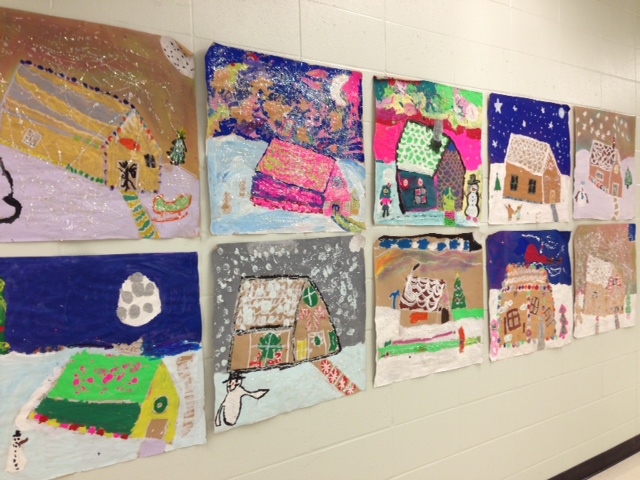
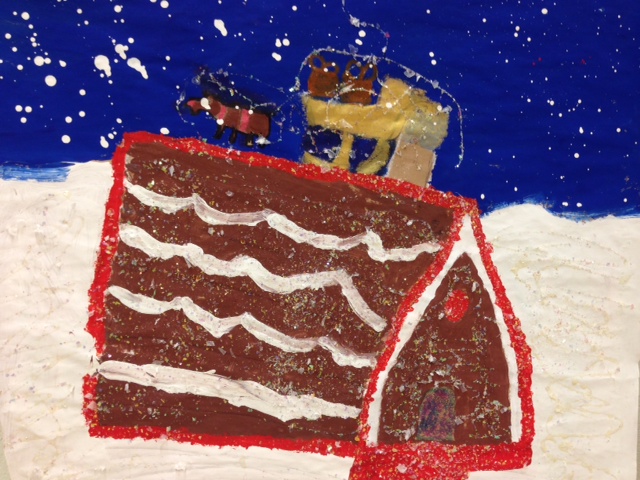
I love to throw in a little Christmas joy at the end of the 1st semester with each class. Here is a random sample for you. Collaborative murals, painted in art club. 2nd grade paper poinsettias. Draw santa without using RED! Color with play color paint markers. Collaborative gingerbread houses. Two students per house. A 3/4 view of the house. Paint, chalk, glitter, OH MY! Have a Merry Christmas!
0 Comments
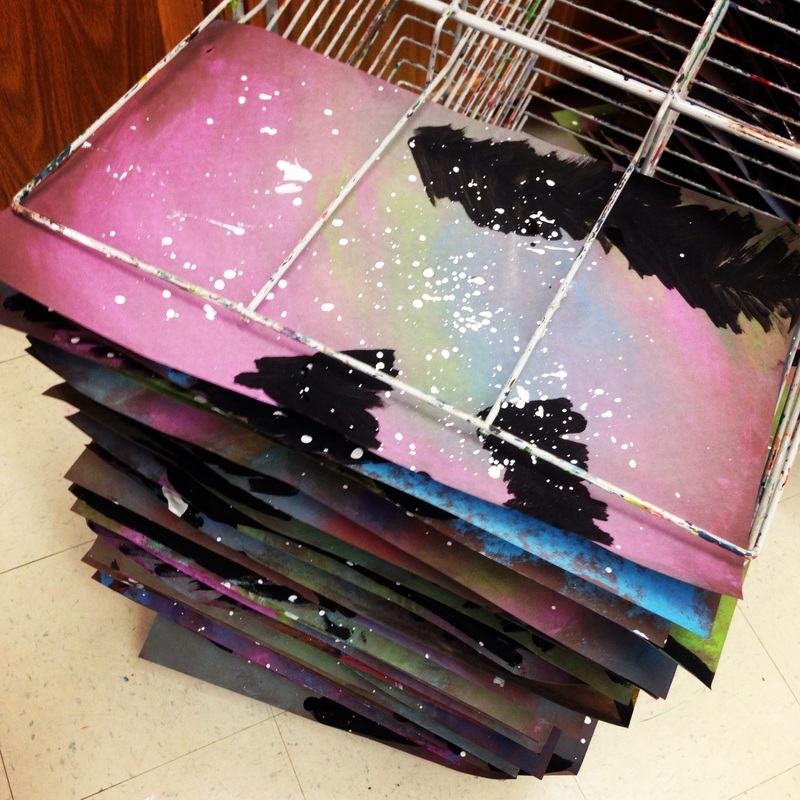
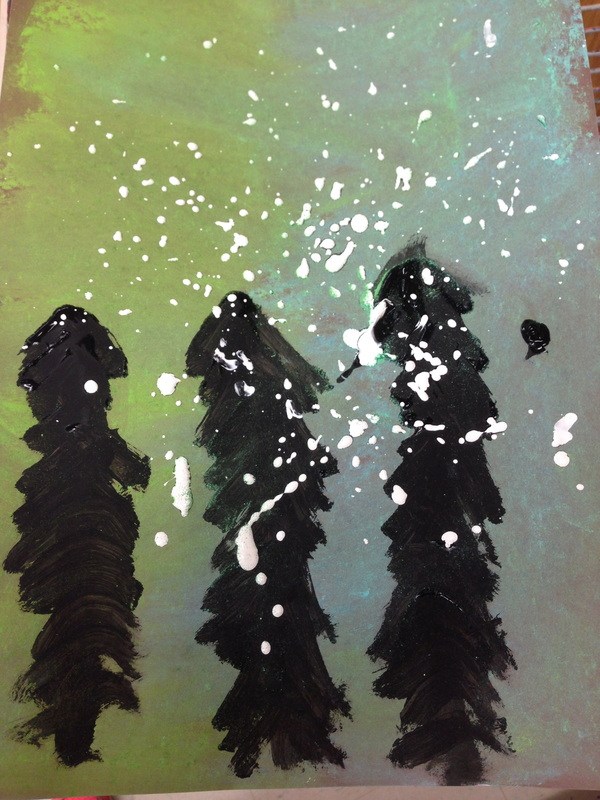
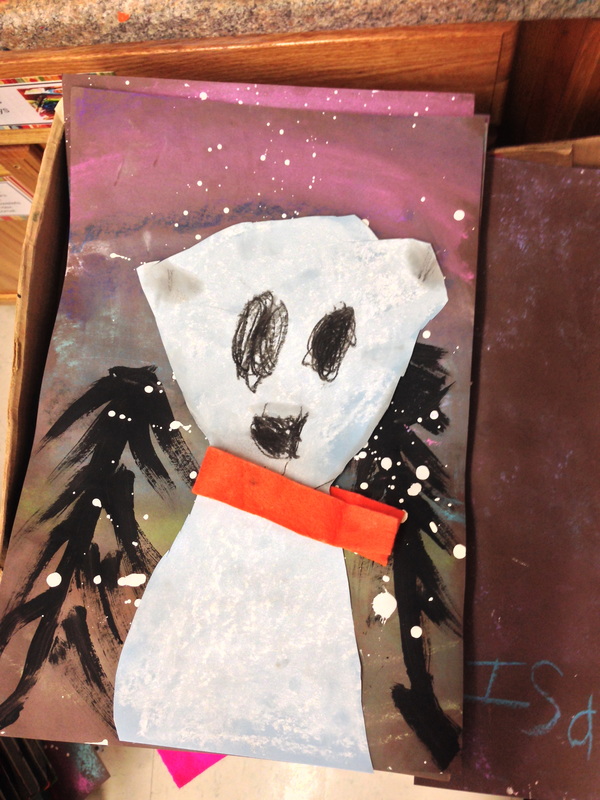
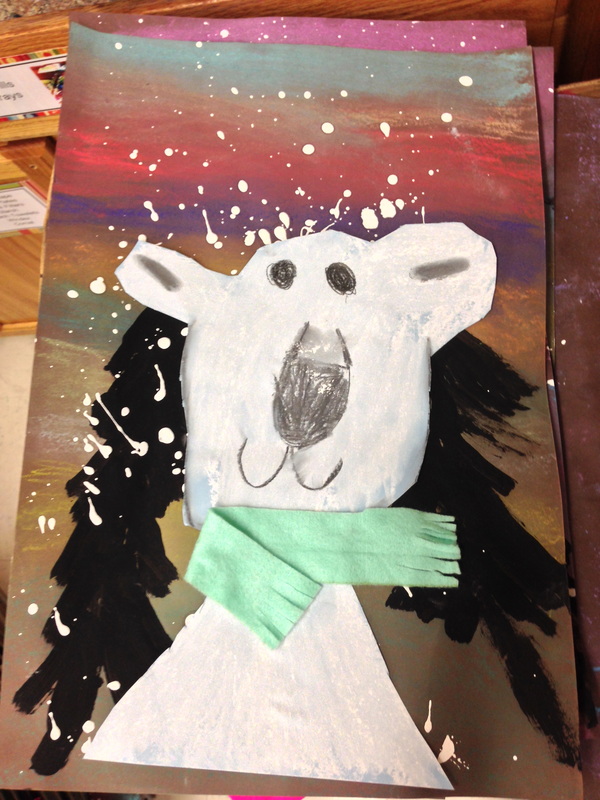
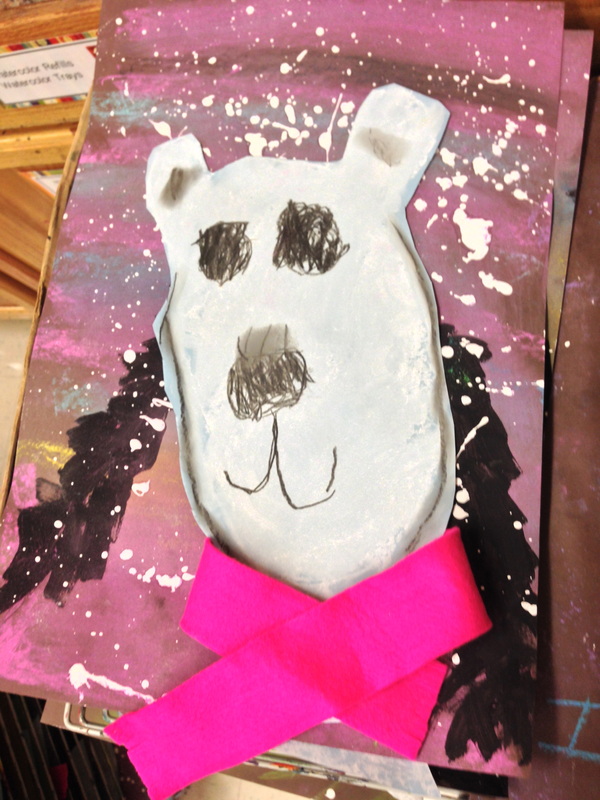
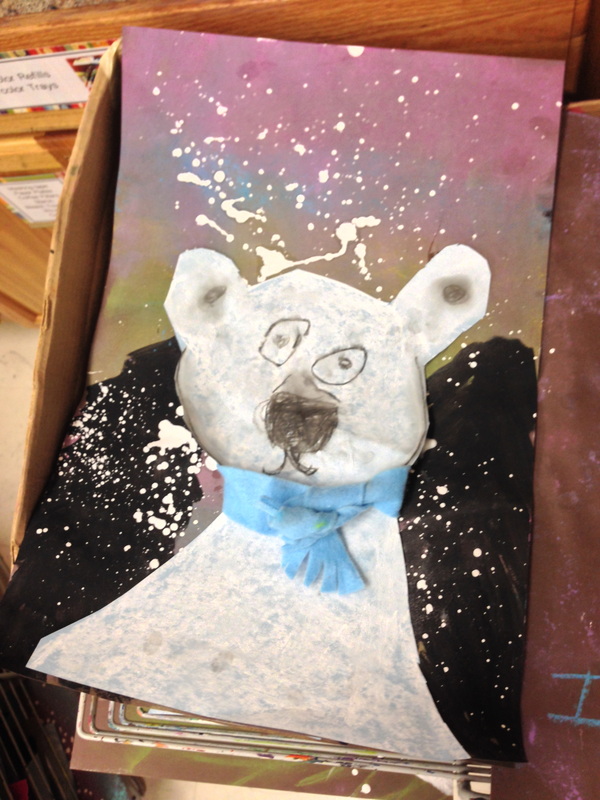
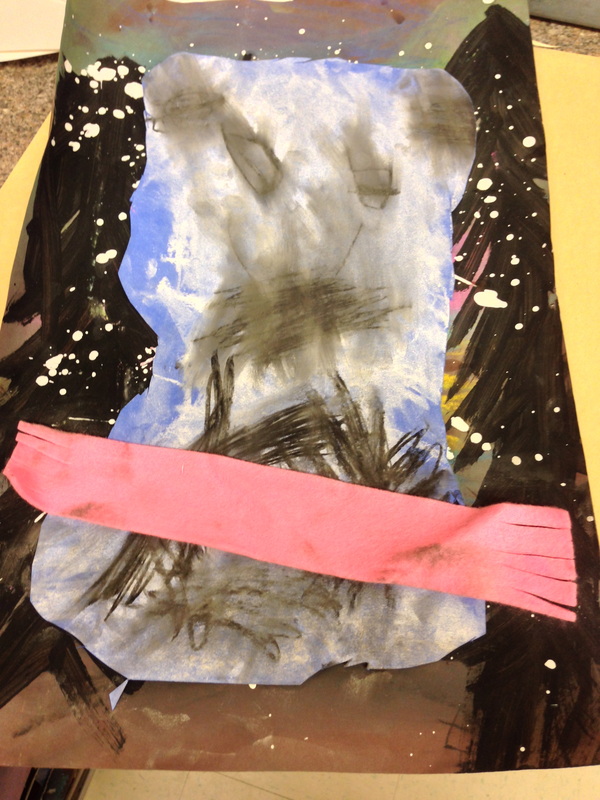
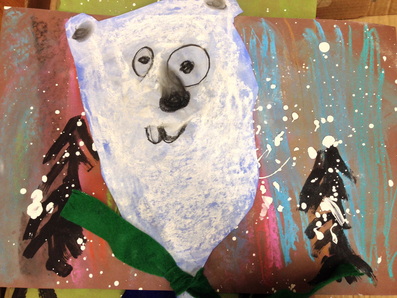 Polar Bear This is a two-week project. The first week, students create a 'Northern Lights' sky background using chalk and paint. The second week, introduce polar bears with a book and then draw them step-by-step with the students. Supplies for week 1 12X18 dark brown paper (black or dark blue might be good too) Chalk pastels (in Northern Lights colors) Tissues for blending Black paint in jars for every table White ‘snow’ paint….I watered it down for splattering and had it a special art center Week 1: 1. Start the lesson by showing them this video: http://www.planet-science.com/categories/under-11s/our-world/2012/01/have-you-seen-the-northern-lights.aspx Some kids have heard of the Northern Lights because of the movie: The Polar Express. Give a brief explanation about what causes the sky like this. I had to explain that we would not be able to see this in the sky where we live because we don’t live near the North Pole. The students loved this 'North Pole' video...it is very appropriate for this time of year! 2. I pointed out a couple of photos in the art room of the Northern Lights and then got right to work on the demonstration. 3. Northern Lights Sky Picture: a. Use the side of the chalk to quickly fill up the whole paper with color. b. Use a tissue to blend the color. c. Use black paint to paint some Fir trees. Paint a long stick for the trunk, and then pull the branches downward, starting at the top. I showed them how to “NOT” do it, spreading out the limbs with a lot of space between each one. d. I demonstrated how to bring the paper to a special art painting center to do the splatters. I had the stick one stiff finger out and pretend to hold a brush to practice before they do it later. e. After adding the snow, put the paper in the drying wrack and wash down table with a wet paper towel. f. For free time, students may look at books or do the free time activity. Week 2 Supplies: Blue paper (I cut mine to 10X16) Baby blue worked better than the darker blue White chalk Black chalk Scissors Glue Felt cut into strips 1. Read Eric Carle Polar Bear book….or use any book. 2. Demo how to draw the bear with white chalk. Use a fingers to blend the white chalk. Use black to make the ears and chin. Add dark black for the nose and eyes. Don’t blend the eyes and nose! The bears turned out better when I demonstrated 3 ways of making the mouth: with teeth, smiling, and with the 'cat' sort of mouth. 3. Cut out the bear, be careful not to cut out off the head (and ears), we want the neck attached. 4. Wash hands. I passed out a wet paper towel to each student to wipe off fingers. 5. As soon as hands are clean, students can pick out a piece of felt for a scarf. Demonstrate how to cut fringe on the ends. Wrap around the neck. Some kids can tie, but some of my felt wasn't long enough that. Glue bear down towards the bottom of the background from last week. 6. Put bear in the drying wrack. For free time, students may look at books or do the free time activity. I had a little 3-d bear for them to make...using a tracer, they could cut out the bear on a folded piece of paper towards the fold at the top, and after cutting it out, it would stand up. They had to have hands and table really clean since it was a white polar bear. If you follow me on Instagram, you might've seen this sneak peek of my drying wrack. Follow me @ nelliemaeii If you teach K and 1st, then you know that sometimes you need a 'what not to do' example. This was the worst case scenario. OVER-blended the face, got the scarf dirty, etc. Thanks to MaryMaking for all of the inspiration for this very successful project, I am obsessed with some of her polar bears..I've got them on my desk top and I looked at them a LOT to help me prep for this project. I am currently doing it with 1st and 2nd grade also this year. Also to my mentor for suggesting the felt scarves. I ordered a BUNCH of felt and wasn't sure what to do with the strips...this was the perfect solution.
|
 Welcome! Welcome!
Mrs. MitchellArt teacher from Missouri. Archives
March 2021
Categories
All
|

 RSS Feed
