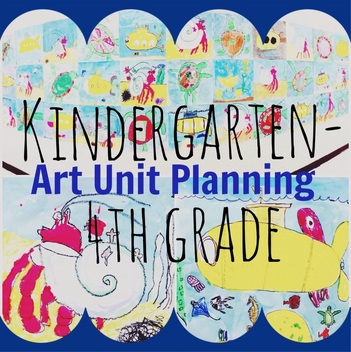
A few years ago, I thought about leaving this as a sub plan, but never got around to prepping the lesson. This year, I had to miss a few days and it was perfect!
Step 1: Introduce yourself to the class. Read the following poem and discuss YOUR expectations, by having students list how they should behave in art when Mrs. Mitchell IS here.
Take a ride with me,
On the art submarine.
It will dive down deep, under the sea
I wonder what we will see on the art submarine!?
You must be wondering about Mrs. Mitchell,
I can only tell you that she must be ill
But today is the day
that we will play
With the idea of an art submarine
Just close your eyes, I'm sure you can imagine
A place where anything can happen
The wonderous site that is
A submarine swimming swift
In a rainbow of colors
Full of your friends and others
"You am just a sub," they say,
"Only Mrs. Mitchell can show us the way!"
But class have no fear
the challenge is clear,
Today we must design
(by coloring and drawing with lines)
The most amazing art submarine
that Mrs. Mitchell has ever seen.
Step 2
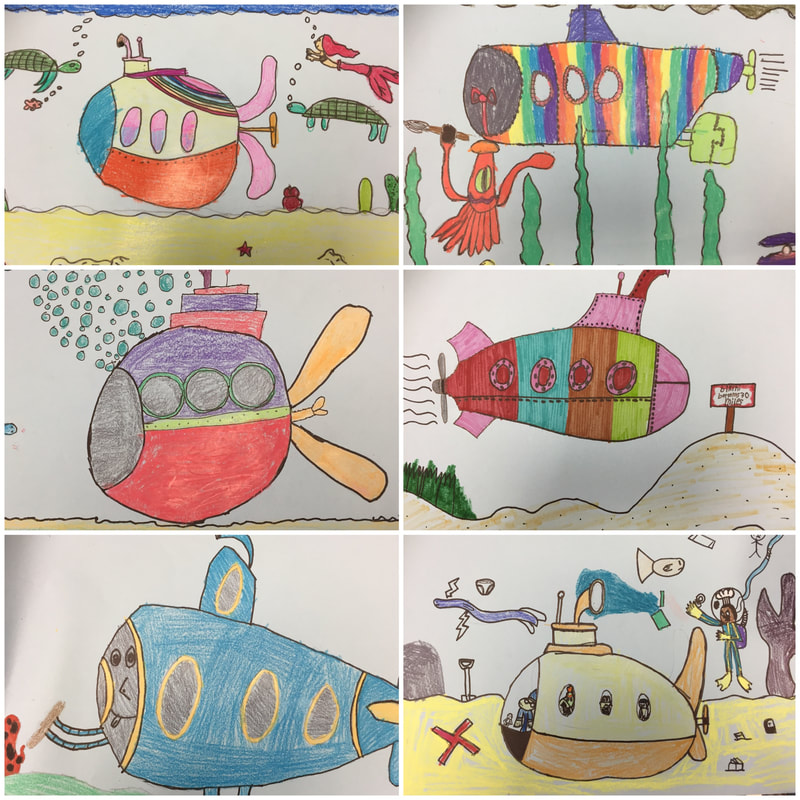
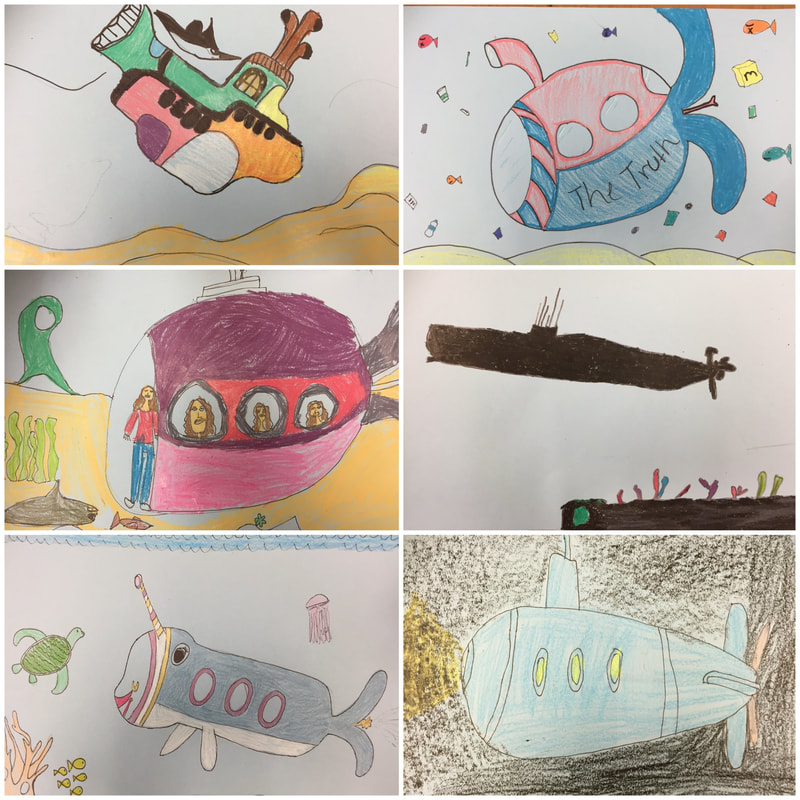
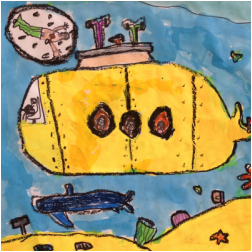
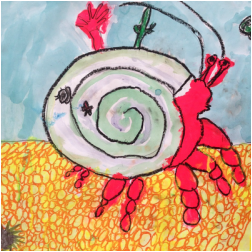
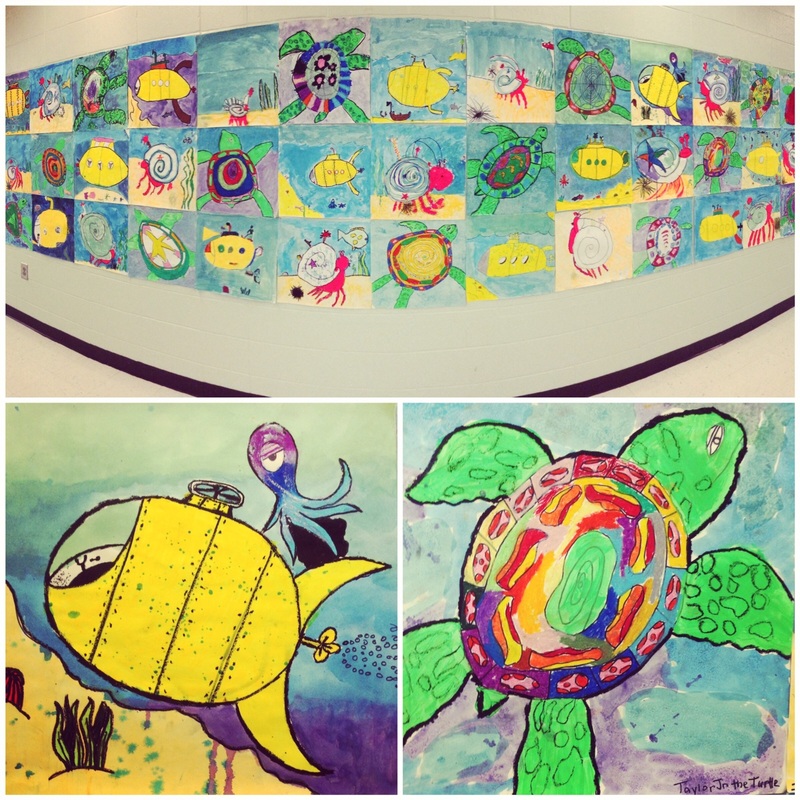
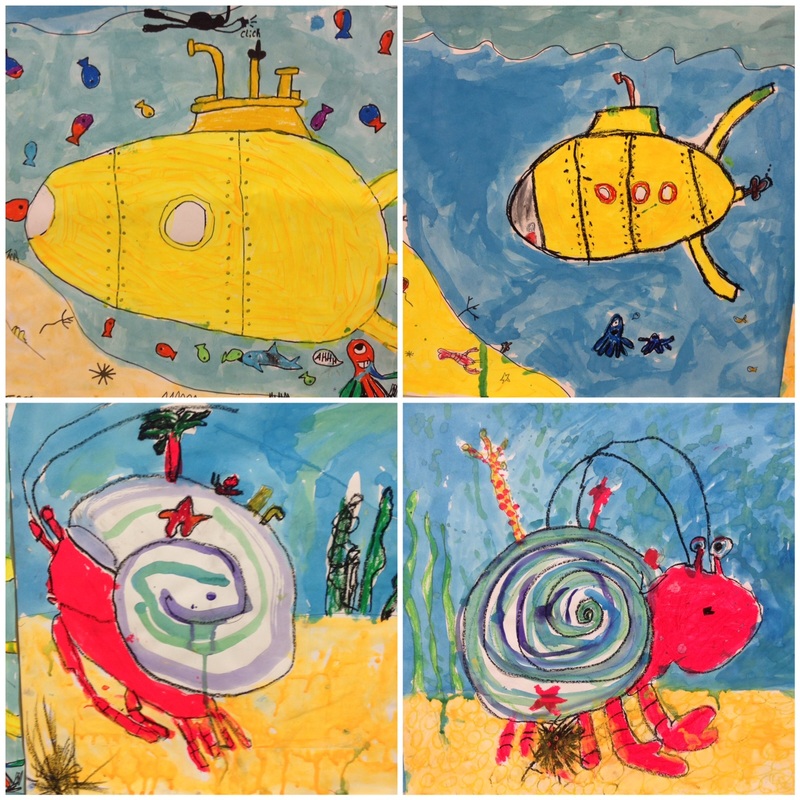
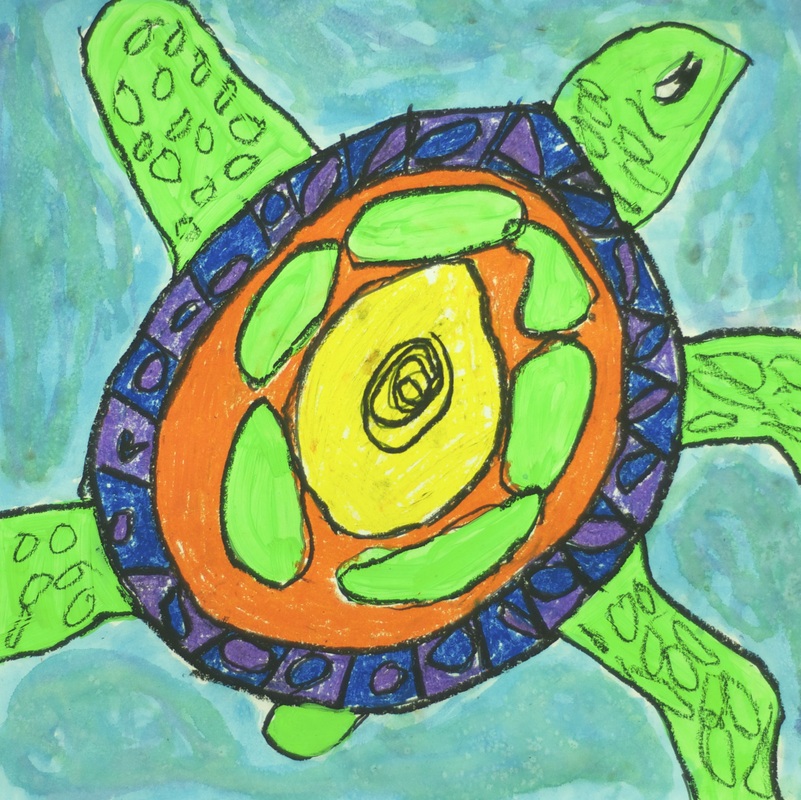
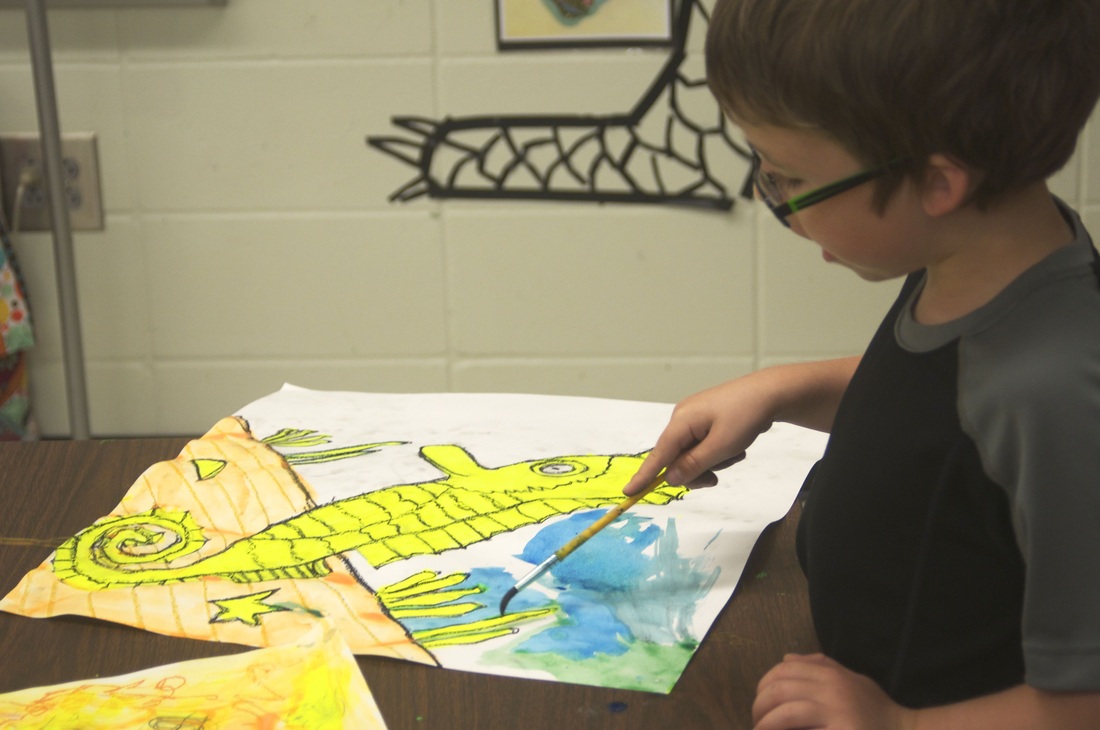
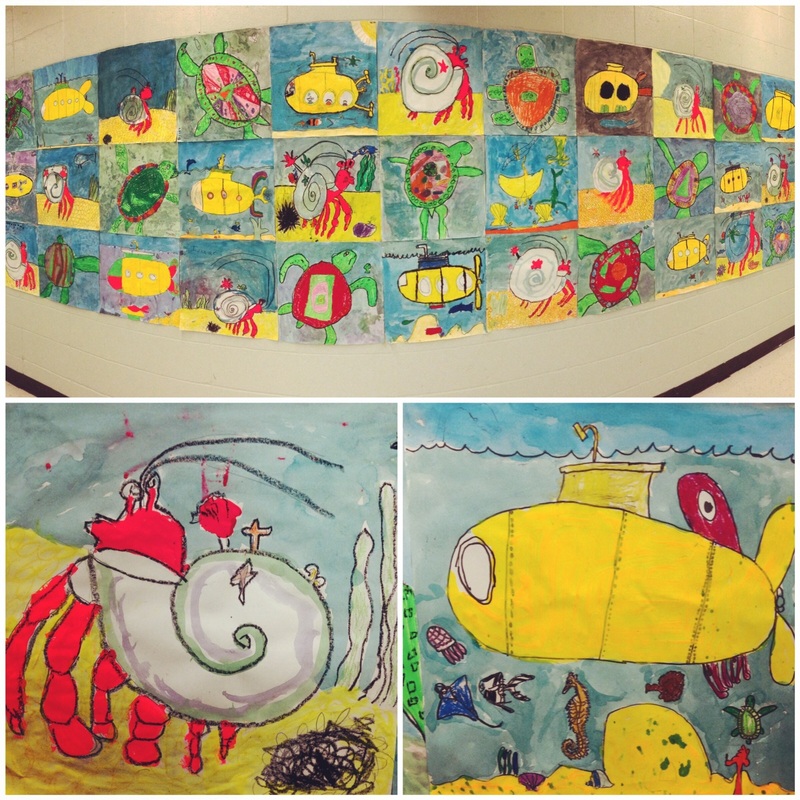
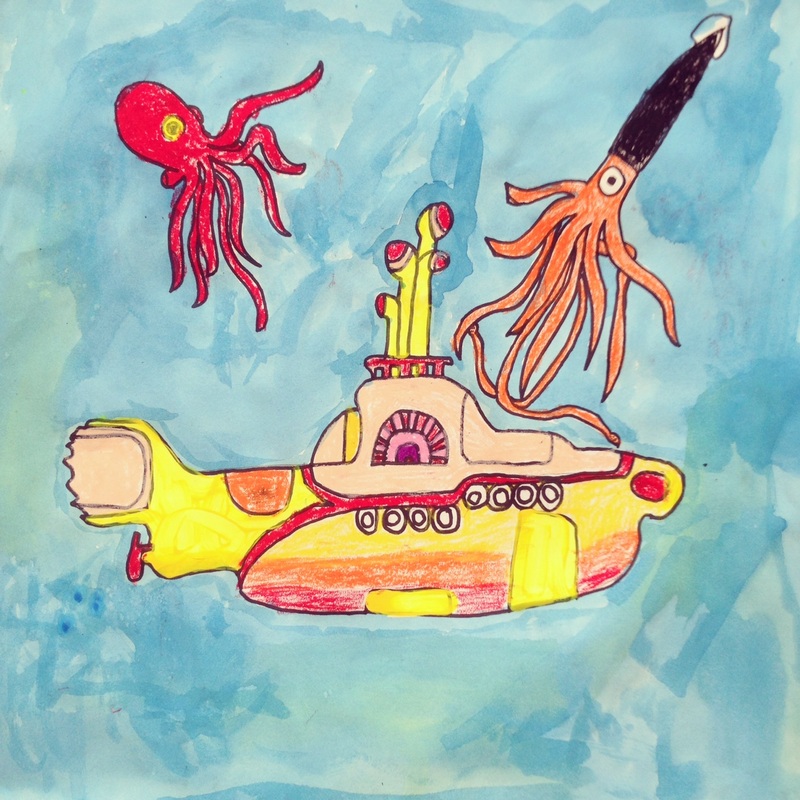
Ask students: If you were on an ART submarine, diving down under the sea, what might you see down there? (Ex: famous paintings, art supplies, a museum, ocean animals, ocean animals dressed as artists, buried treasure and sculptures, shipwrecks, Mrs. Mitchell scuba diving?) Draw in pencil first, then trace in sharpie.
Step 3
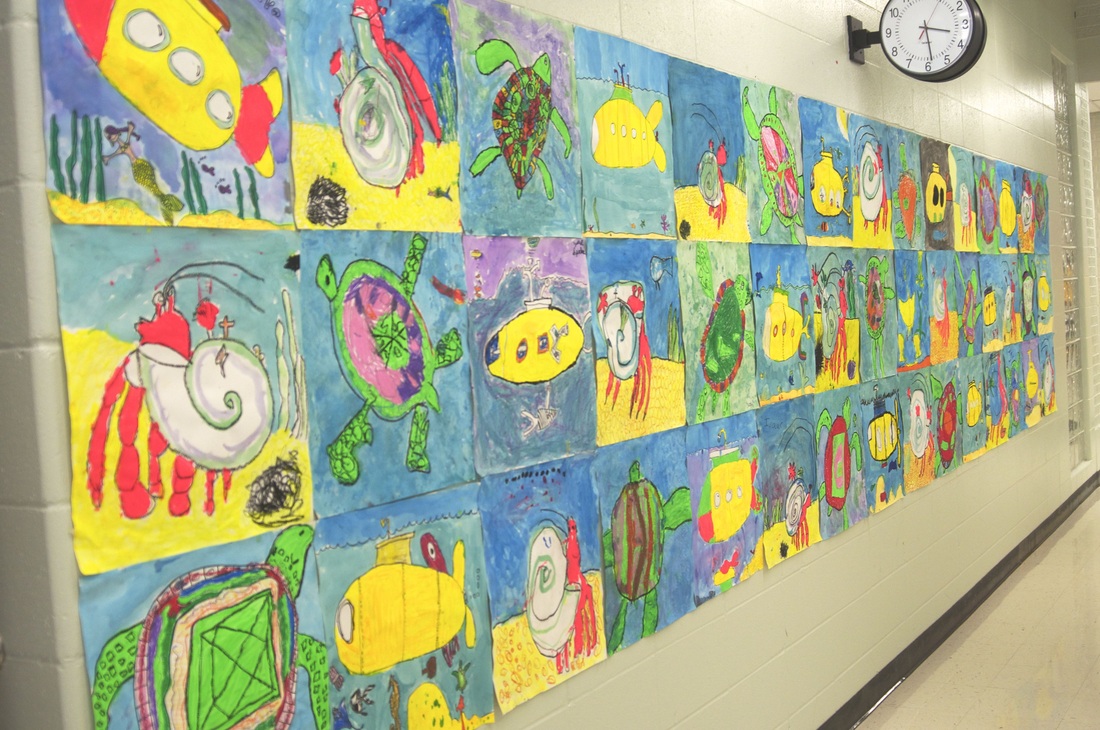
Use the handout of submarine images to have students draw an art submarine on 12X18 paper.Students should also draw what they might encounter if it really is an ART submarine.
Students should draw their submarine with pencils, trace over it with sharpies, and then color it with crayons. (or their choice of markers, colored pencils or construction paper crayons).
Supplies:
12X18 Baby Blue construction paper
Pencils +erasers
Sharpies
Construction paper crayons (or I let mine choose to use regular crayons, markers or colored pencils)
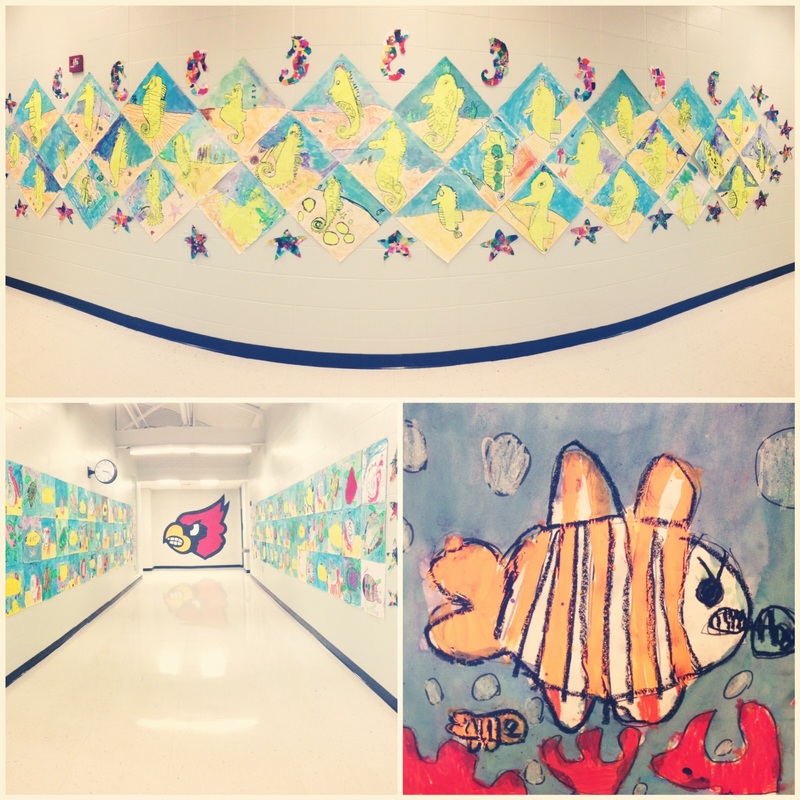
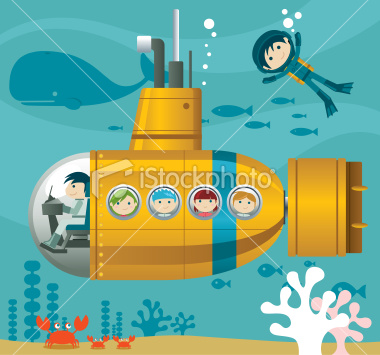
For visuals, I googled 'submarine clip art' and zoomed way out and took a screenshot of a whole bunch and then made enough copies for each table to keep 4. I left a few books about sea creatures to use as a reference, but most kids were creative enough to come up with all sorts of cute things!
Step 1: Introduce yourself to the class. Read the following poem and discuss YOUR expectations, by having students list how they should behave in art when Mrs. Mitchell IS here.
Take a ride with me,
On the art submarine.
It will dive down deep, under the sea
I wonder what we will see on the art submarine!?
You must be wondering about Mrs. Mitchell,
I can only tell you that she must be ill
But today is the day
that we will play
With the idea of an art submarine
Just close your eyes, I'm sure you can imagine
A place where anything can happen
The wonderous site that is
A submarine swimming swift
In a rainbow of colors
Full of your friends and others
"You am just a sub," they say,
"Only Mrs. Mitchell can show us the way!"
But class have no fear
the challenge is clear,
Today we must design
(by coloring and drawing with lines)
The most amazing art submarine
that Mrs. Mitchell has ever seen.
Step 2
Ask students: If you were on an ART submarine, diving down under the sea, what might you see down there? (Ex: famous paintings, art supplies, a museum, ocean animals, ocean animals dressed as artists, buried treasure and sculptures, shipwrecks, Mrs. Mitchell scuba diving?) Draw in pencil first, then trace in sharpie.
Step 3
Use the handout of submarine images to have students draw an art submarine on 12X18 paper.Students should also draw what they might encounter if it really is an ART submarine.
Students should draw their submarine with pencils, trace over it with sharpies, and then color it with crayons. (or their choice of markers, colored pencils or construction paper crayons).
Supplies:
12X18 Baby Blue construction paper
Pencils +erasers
Sharpies
Construction paper crayons (or I let mine choose to use regular crayons, markers or colored pencils)
For visuals, I googled 'submarine clip art' and zoomed way out and took a screenshot of a whole bunch and then made enough copies for each table to keep 4. I left a few books about sea creatures to use as a reference, but most kids were creative enough to come up with all sorts of cute things!
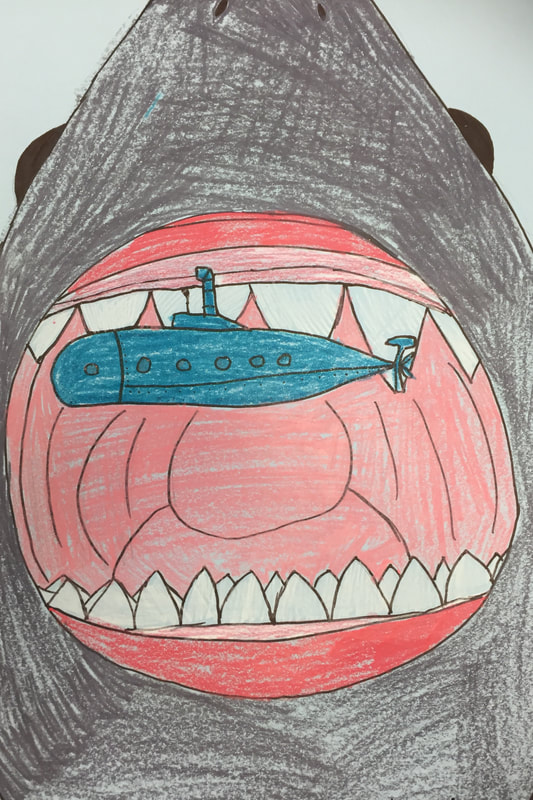
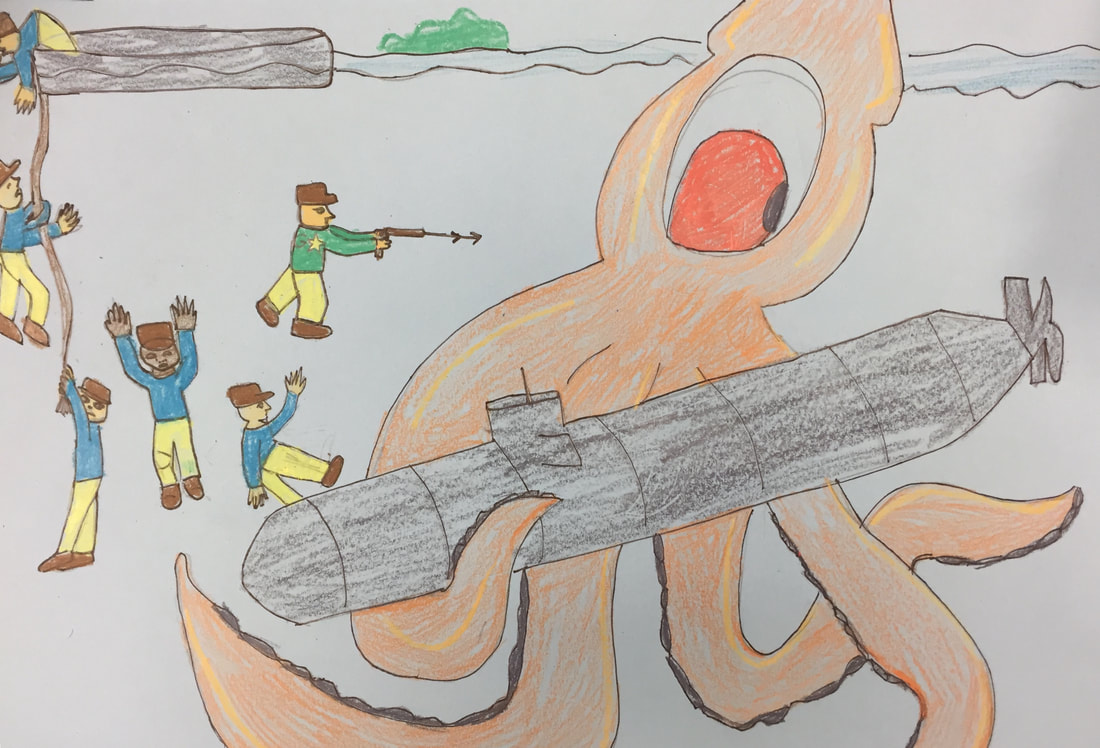
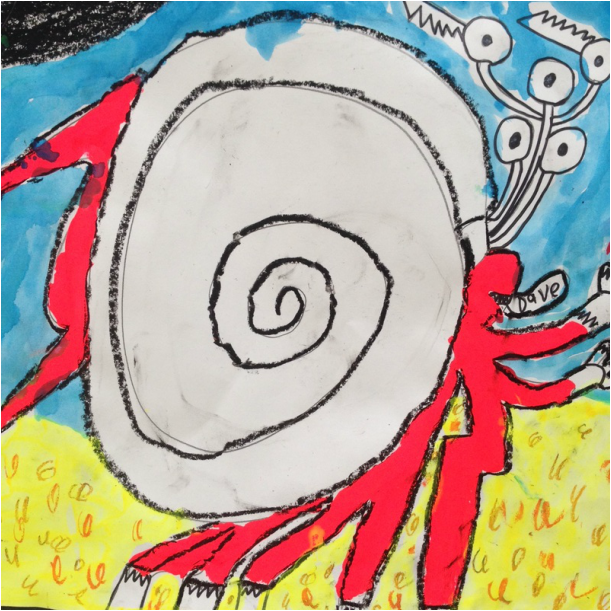
When I saw this I died laughing, it is just so cool and unexpected!
A little 5th grade boy made this one, reminds me of Thomas the Train.
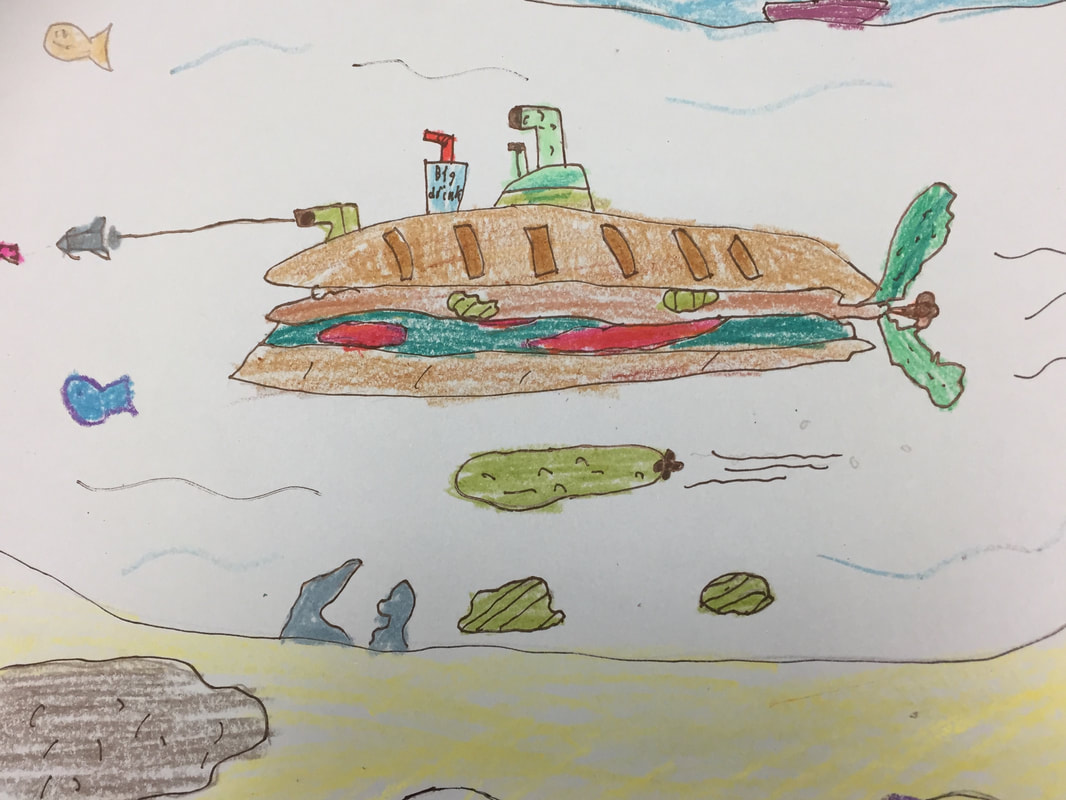
A SUBMARINE SUBMARINE Sandwich!! I love and this kid has a great personality. I love the pickle torpedo!
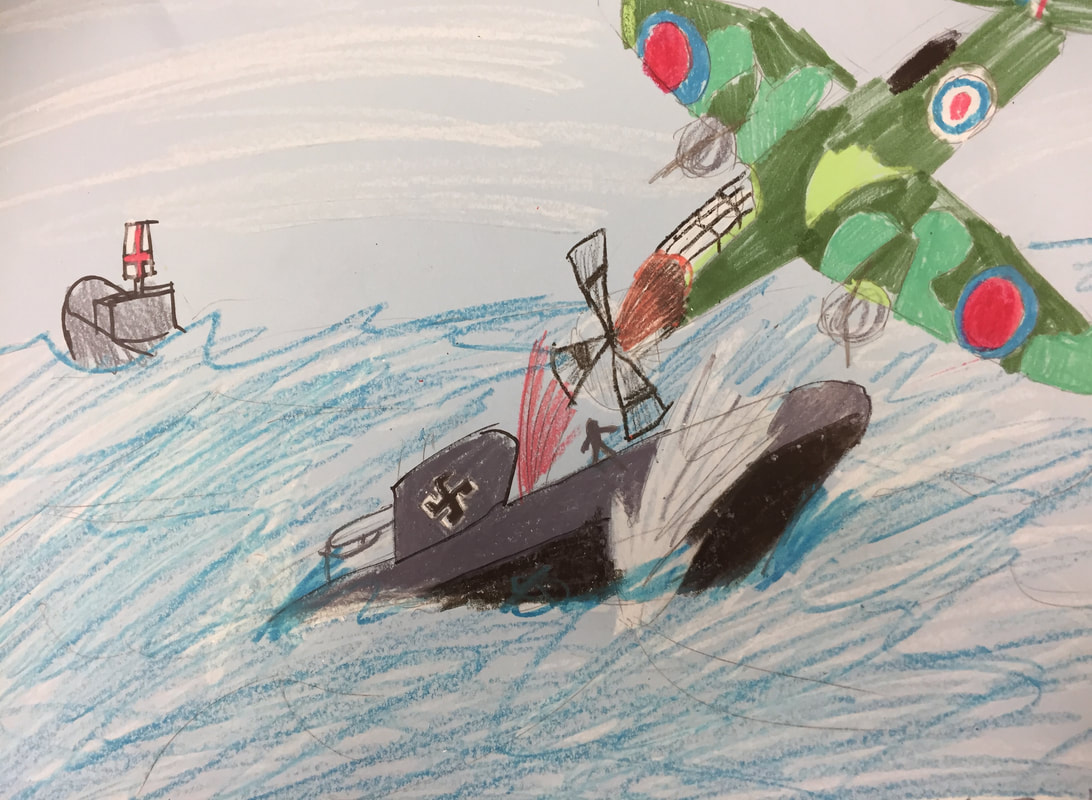
This kid is obsessed with WWII and the sub let him look up an image on the ipad....
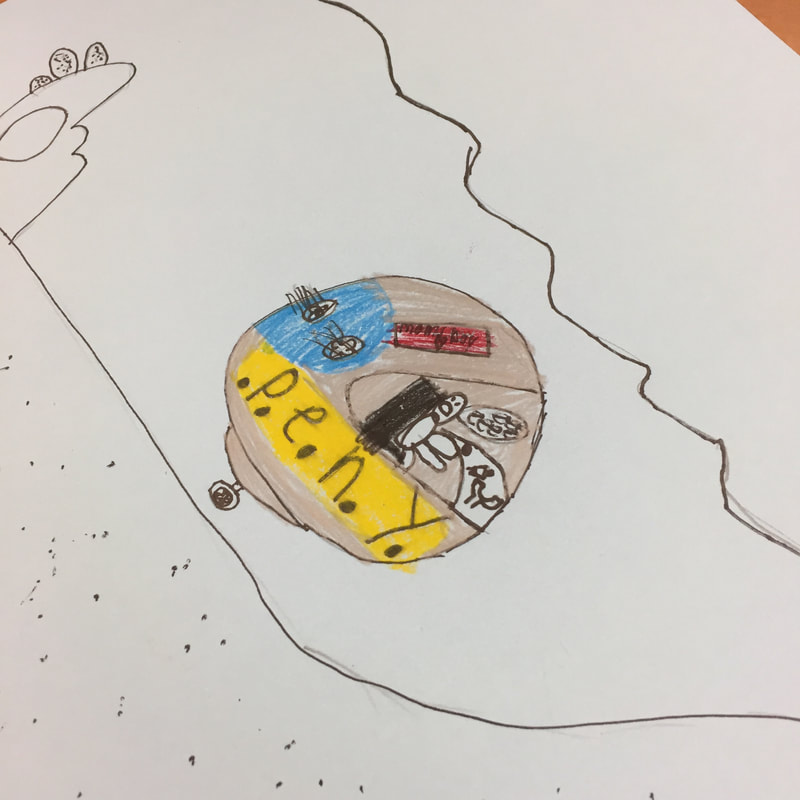
Not Penny's Boat! (LOST t.v. show reference that my student probably would not have gotten)


 RSS Feed
