|
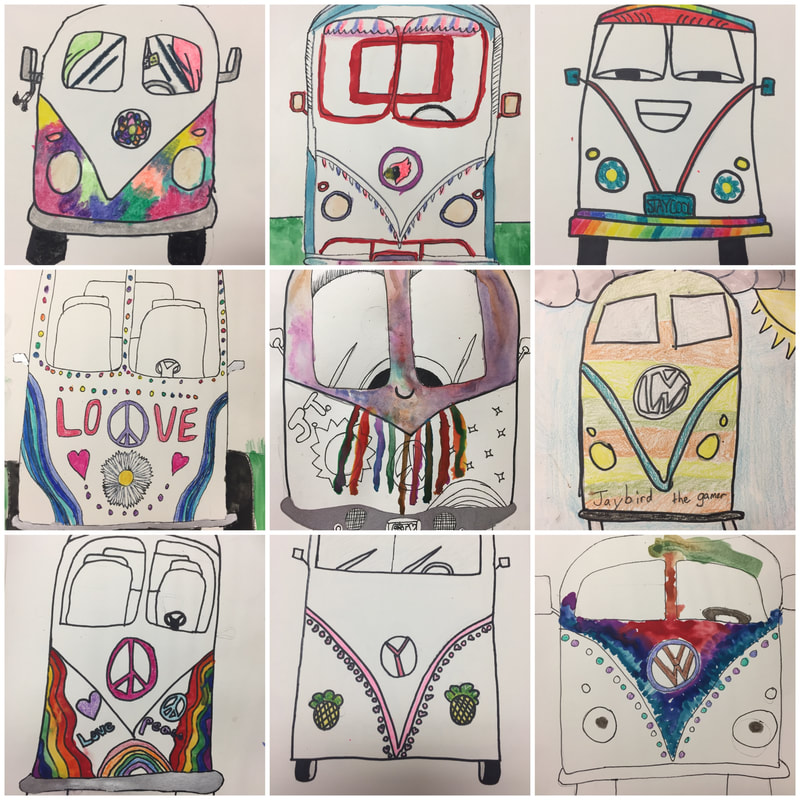
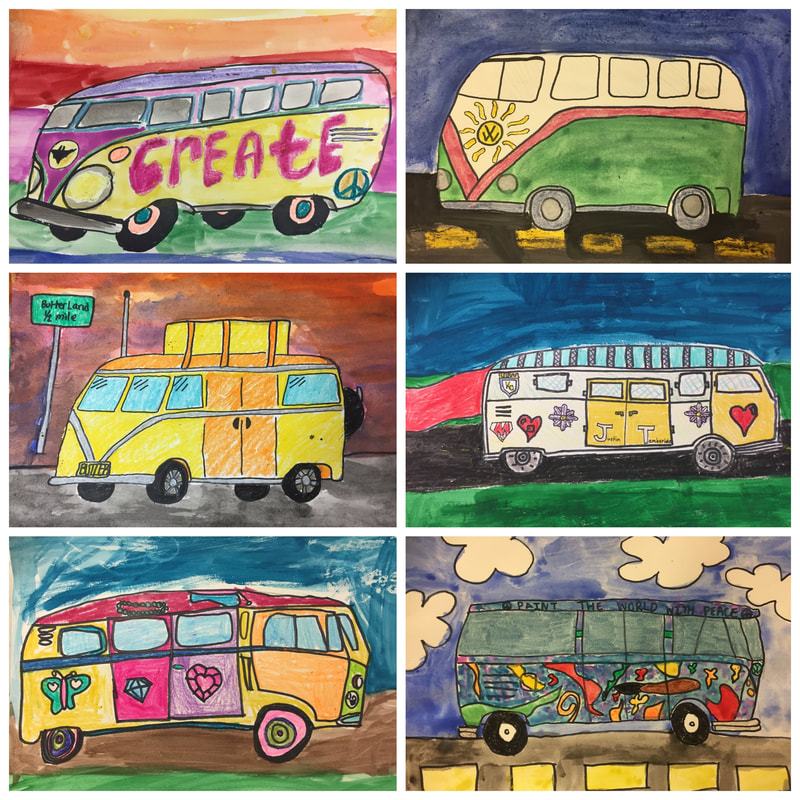
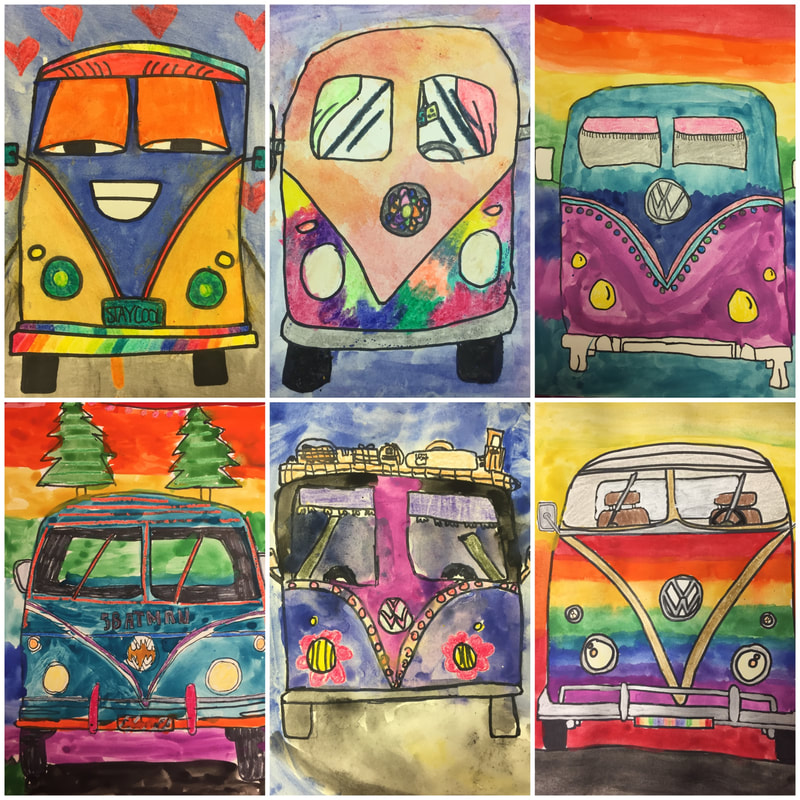
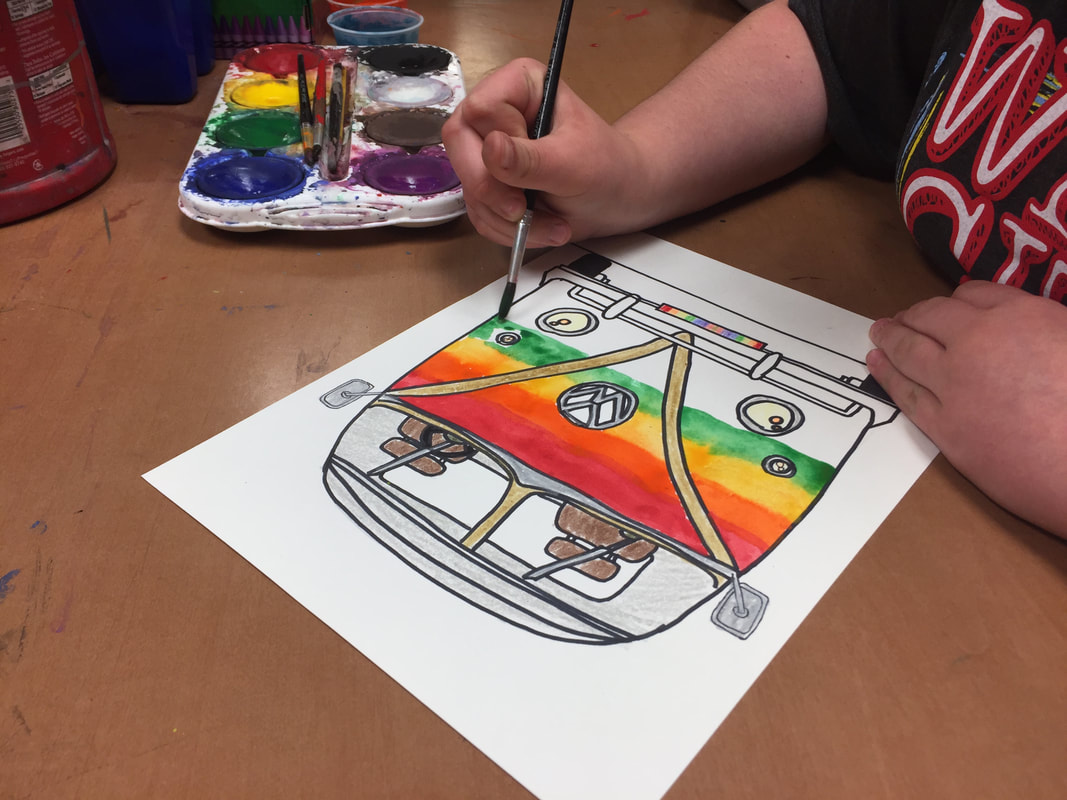
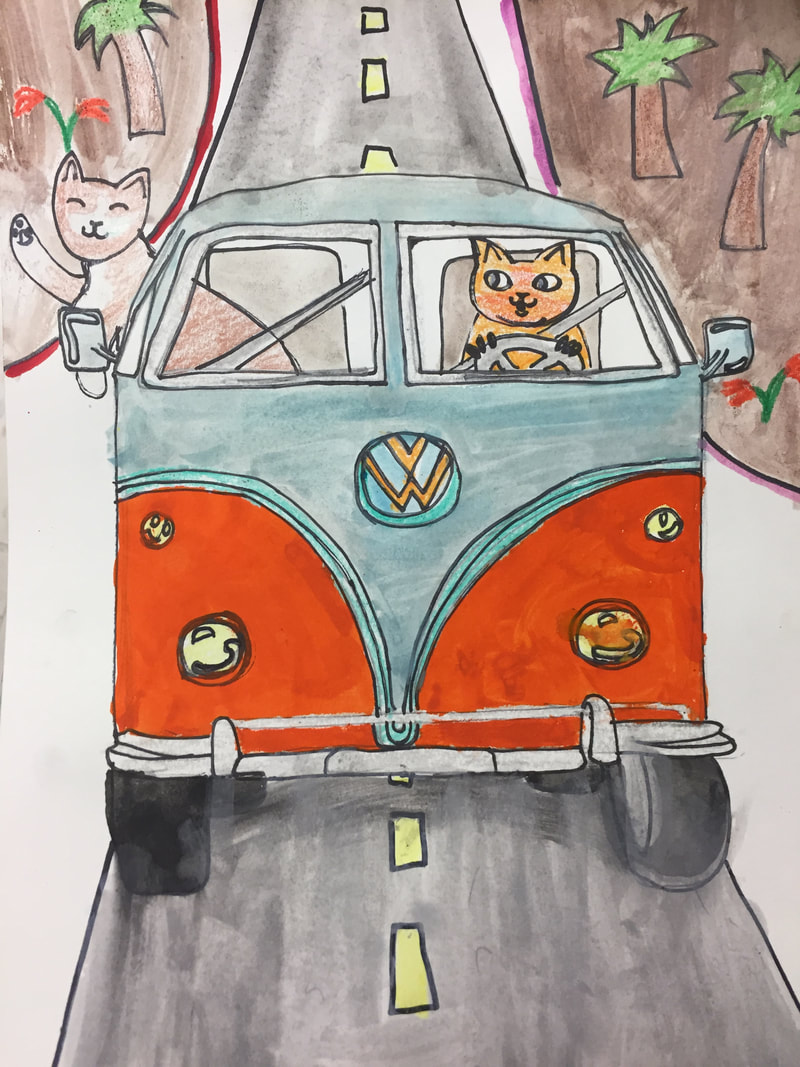
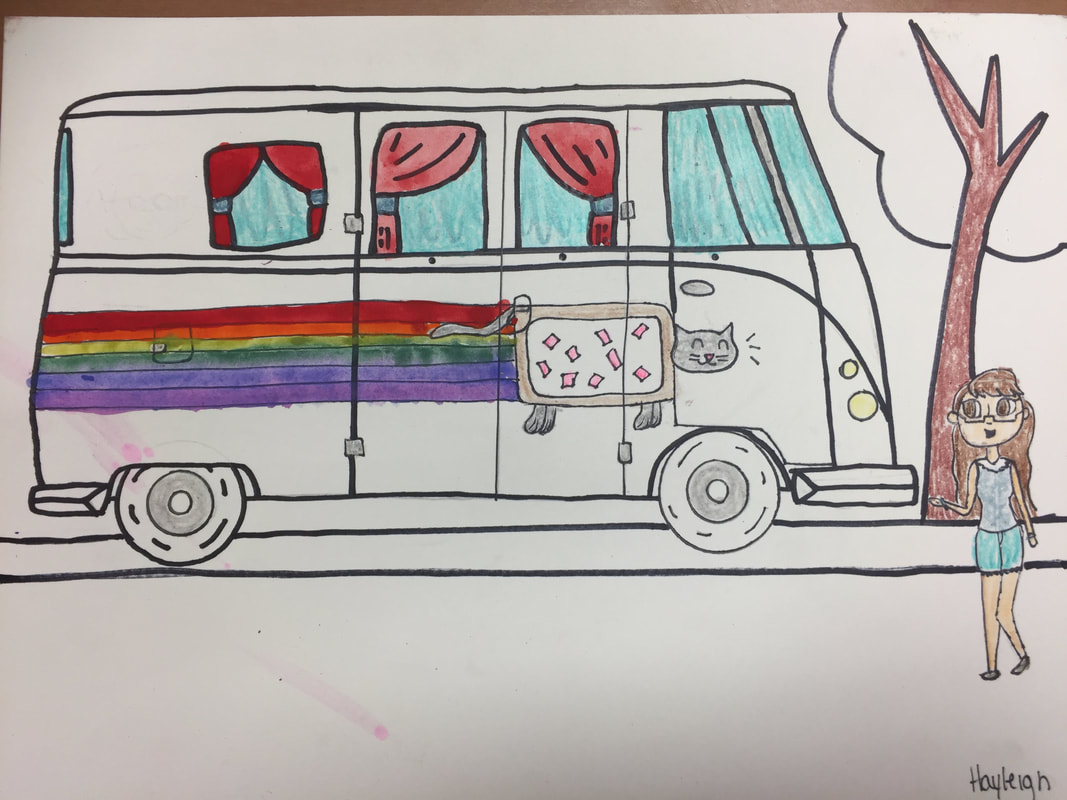
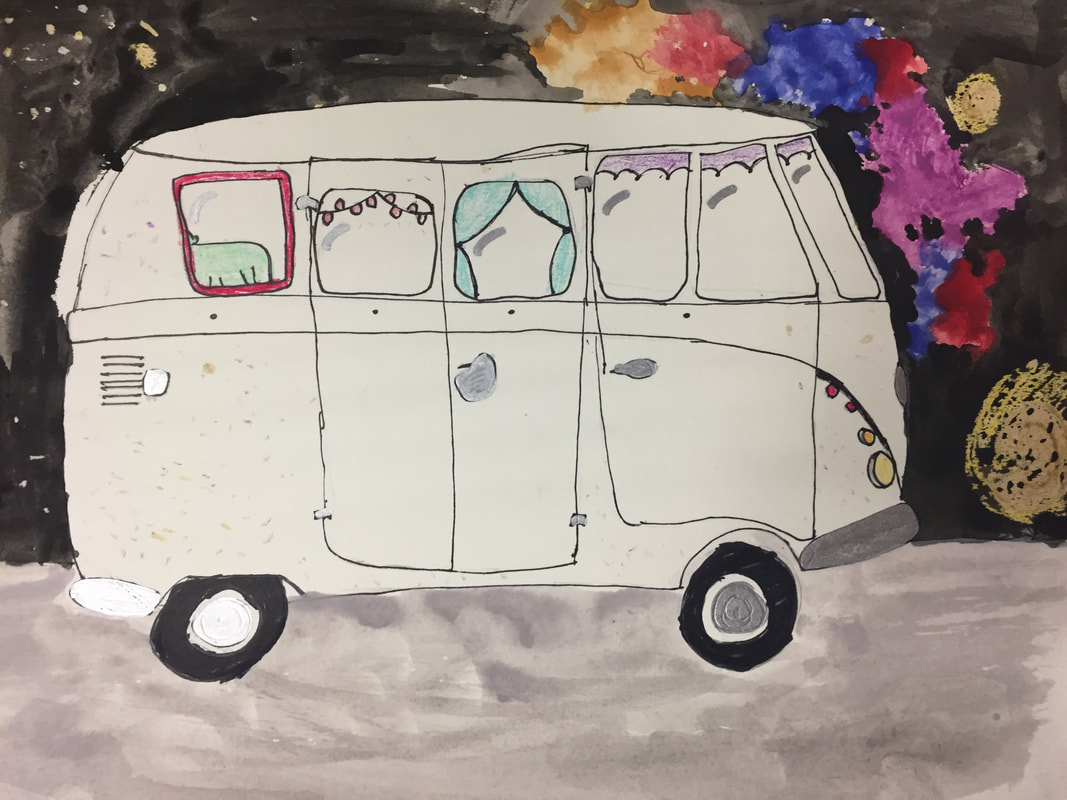
I guess while I'm on the subject of favorite sub plans, I will share my 'hippie' van. I am rarely gone, but this year I had a few extra absences at the end of the year so I whipped up a few extra 'sub' plans. (Submarine Sandwich, The Art Sub) I saw this idea on insta or pinterest and wanted something that the kids could draw with a sub and then complete the painting part with me. Nothing too fancy, just draw, trace in sharpie, erase old pencil lines, color small details (pressing hard with wax crayon) and paint with watercolor or tempera cakes. I made a packet for each student to look at, with views of the 'hippie van' in side, frontal or 3/4ths view. They could draw whichever view they wanted. Here is what the substitute was supposed to read: Dear students, Mrs. Mitchell and her husband have purchased a Volkswagon Van. The van is an old ‘hippie’ van that has a lot of potential. It is needs to be fixed up as it was made in 1969. When it was new, it had new white leather interior. Now, the seats, steering wheel and tires all need to be replaced. The van used to be turquoise and white, but somebody painted it all white so now it is like a blank canvas. Mrs. Mitchell needs your help! She wants a spiffy new paint job that matches her personality. Mrs. Mitchell and her husband are planning to remodel the inside of the van so that it is like a little camper, with a bed, table and little bench seat. Their plan is to take the van on an epic road trip down the Route 66. Please help design the coolest, most colorful van ever!
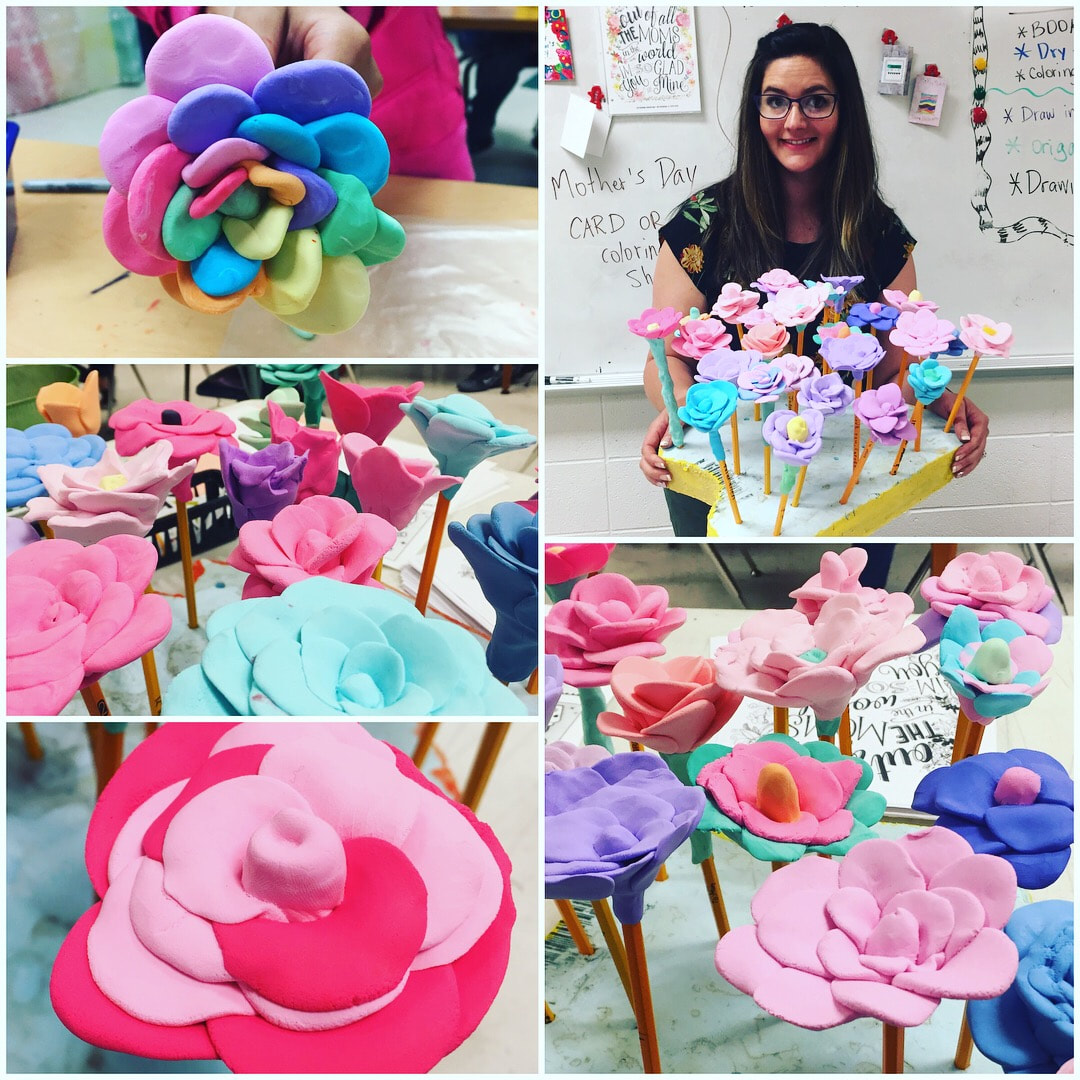
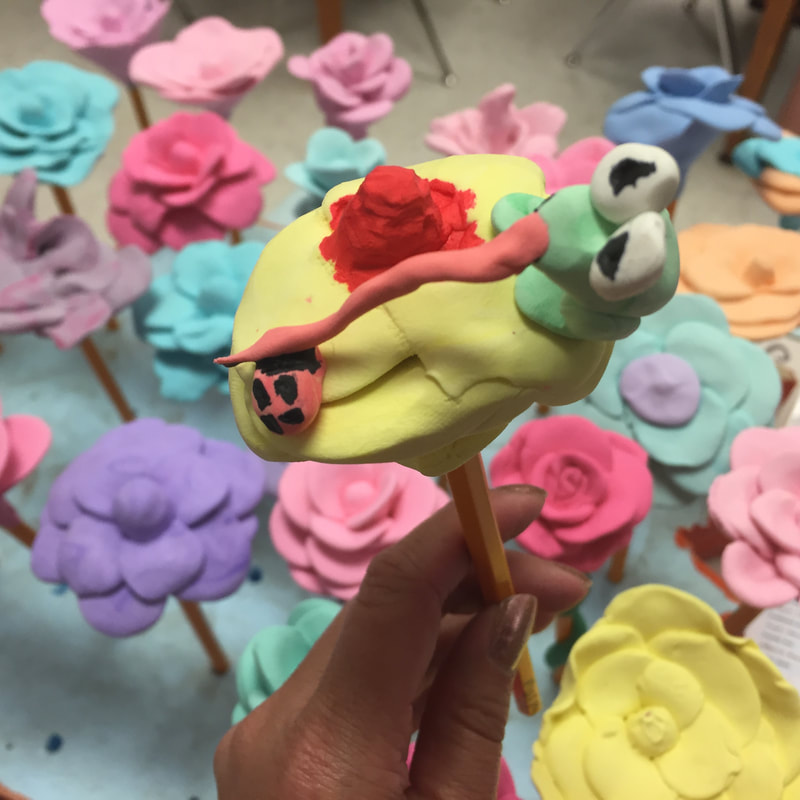
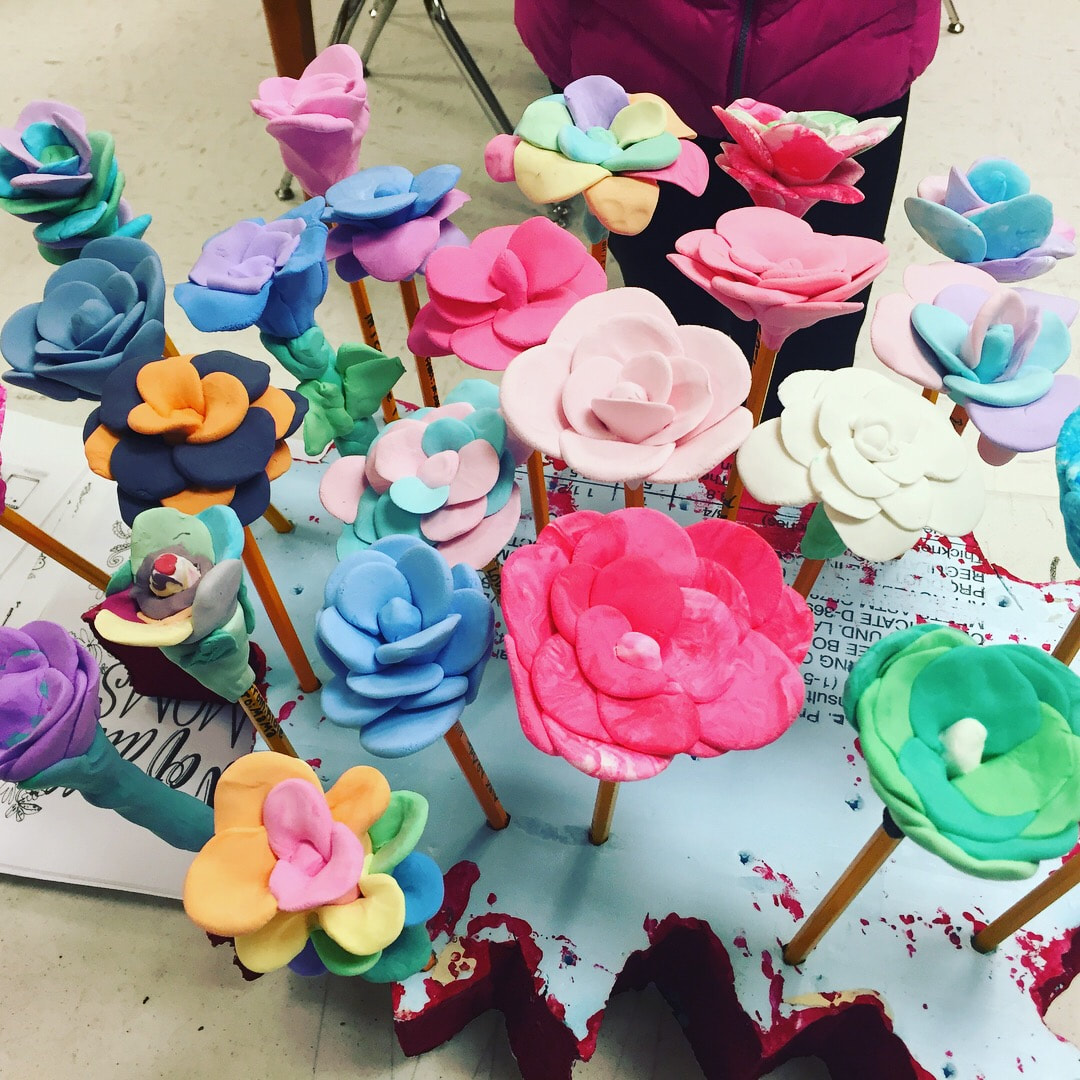
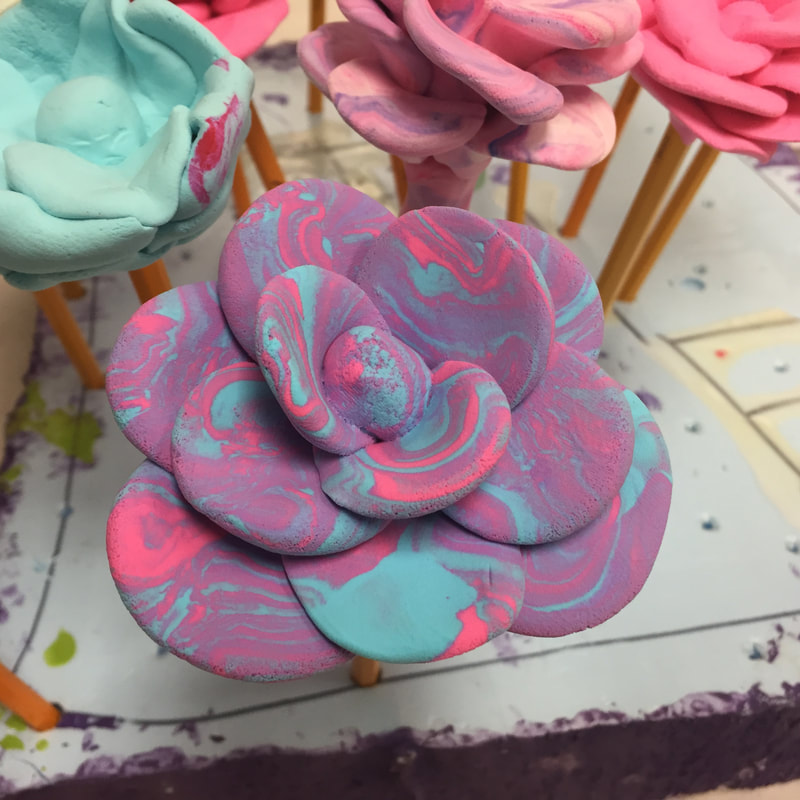
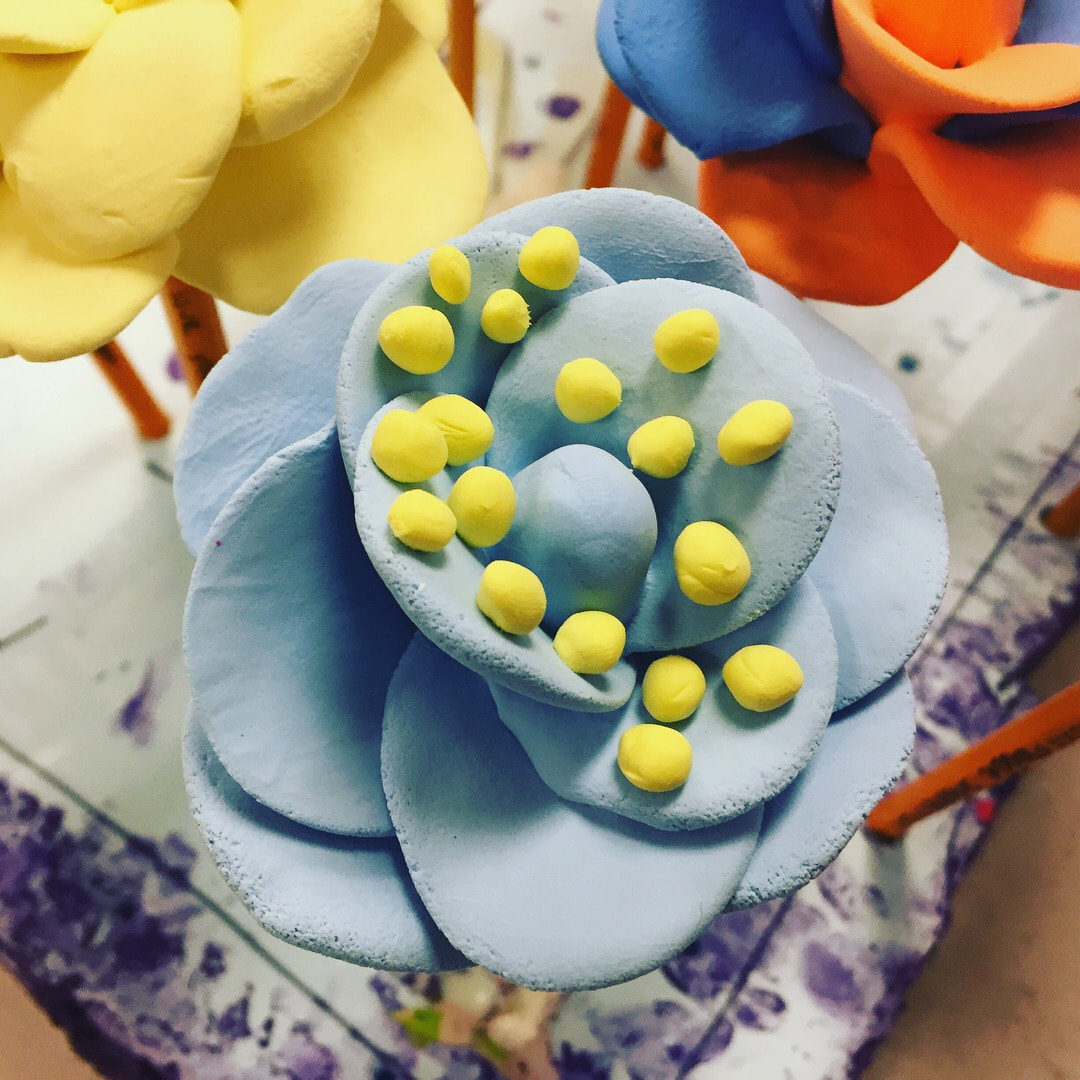
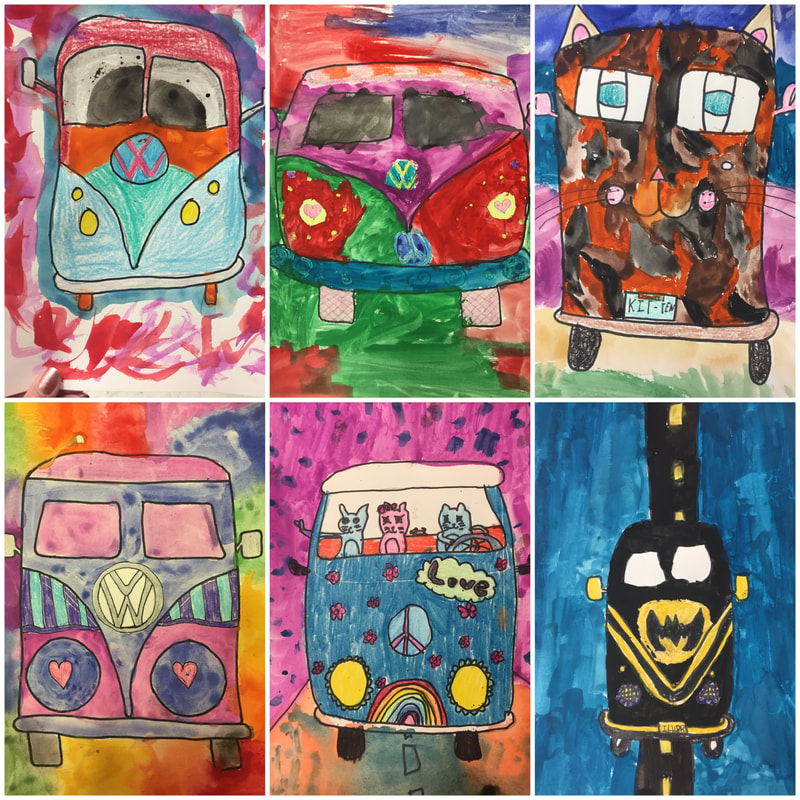 The lesson was so successful with the sub's results, that I ended up doing it with every class. It was fun to see how creative the students were! Sometimes I think they are better before they add paint..... Initially, I was leery of calling it a 'hippie' van, but our school alternates cowboy and 'hippie' day for halloween every year so I figured it was okay. A friend donated TONS of No. 2 pencils to me this year so I thought it would be fun for my students to make a pencil topper. Most of the boys were okay with it after I encouraged them to make it as a 'Mother's Day' gift if they didn't want to keep it. In order to send them home a day or two before Mother's Day, the Model Magic roses needed to stand for a few hours, so I pressed them into pieces of foam that I used as decor in my art room. At the end of the day, I asked students to return them to me (or first thing in the morning).
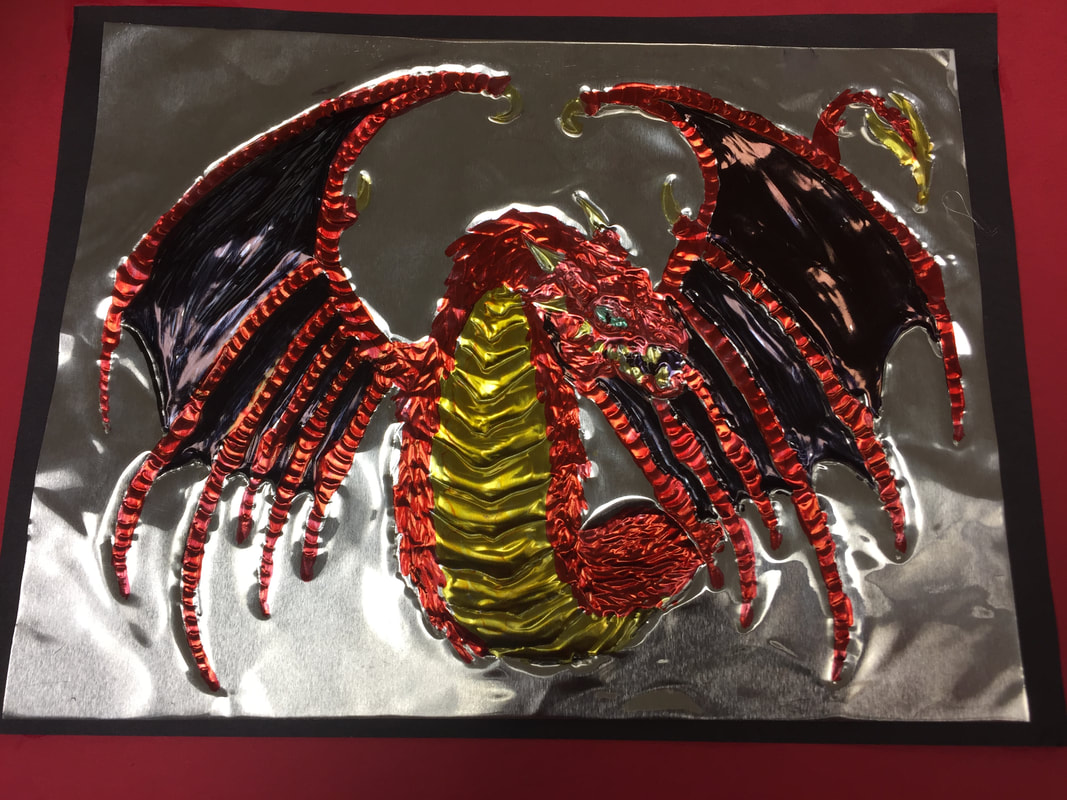
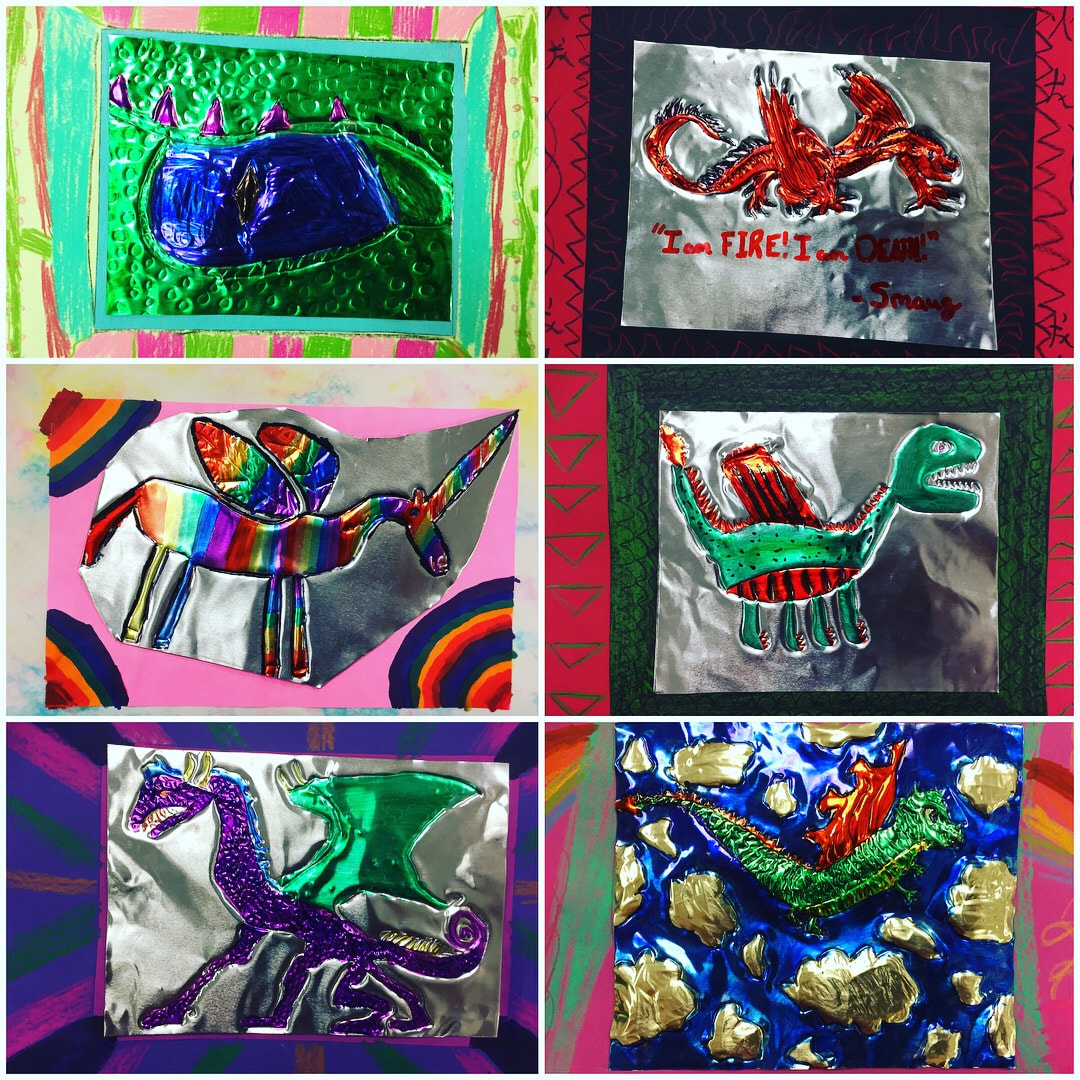
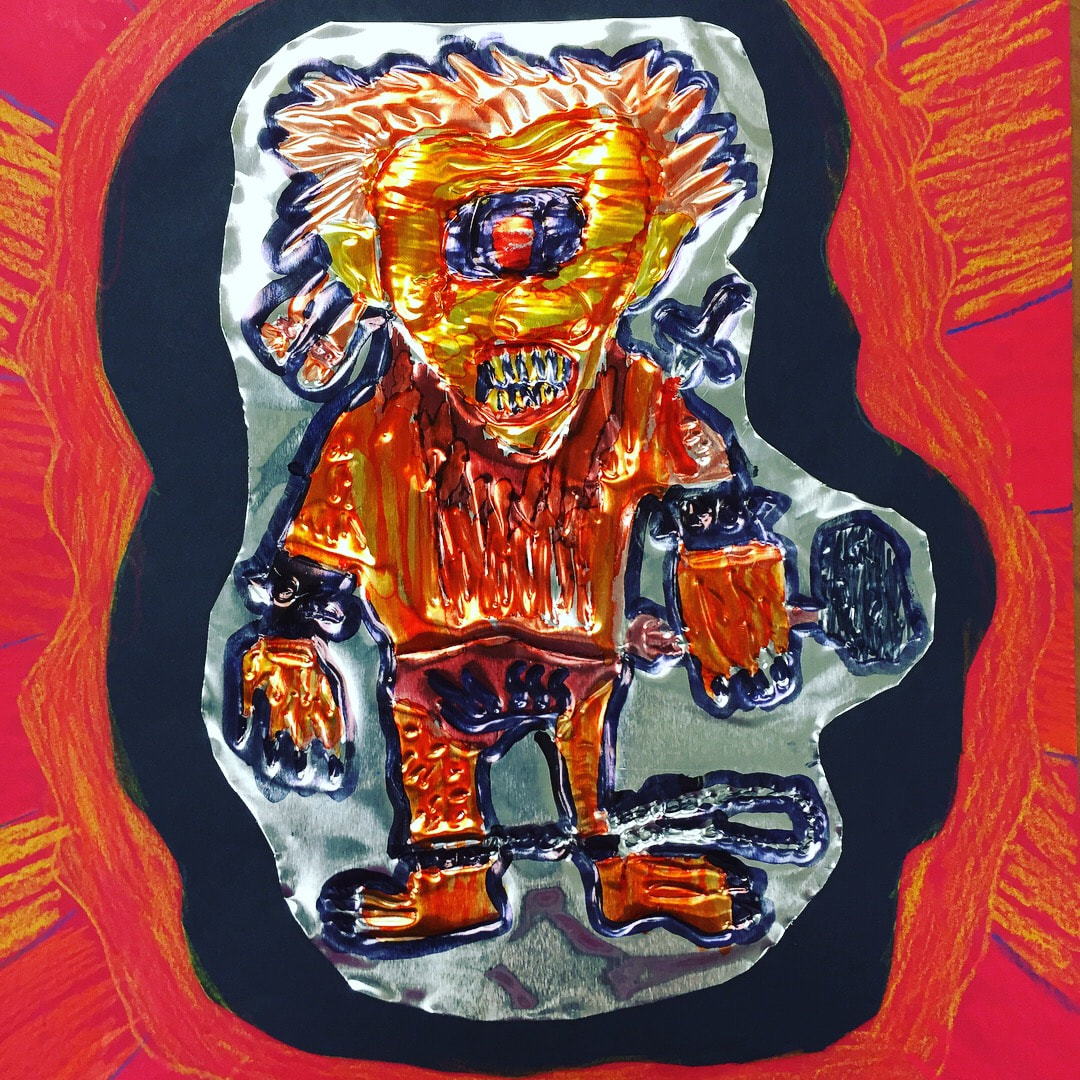
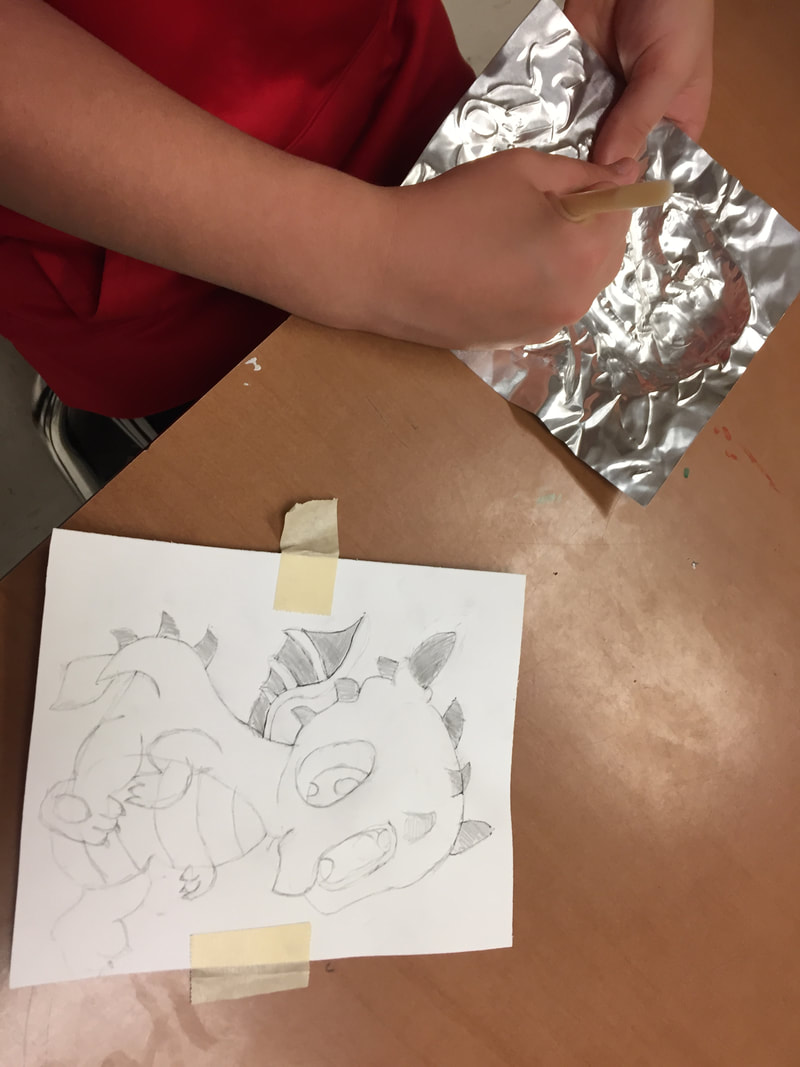
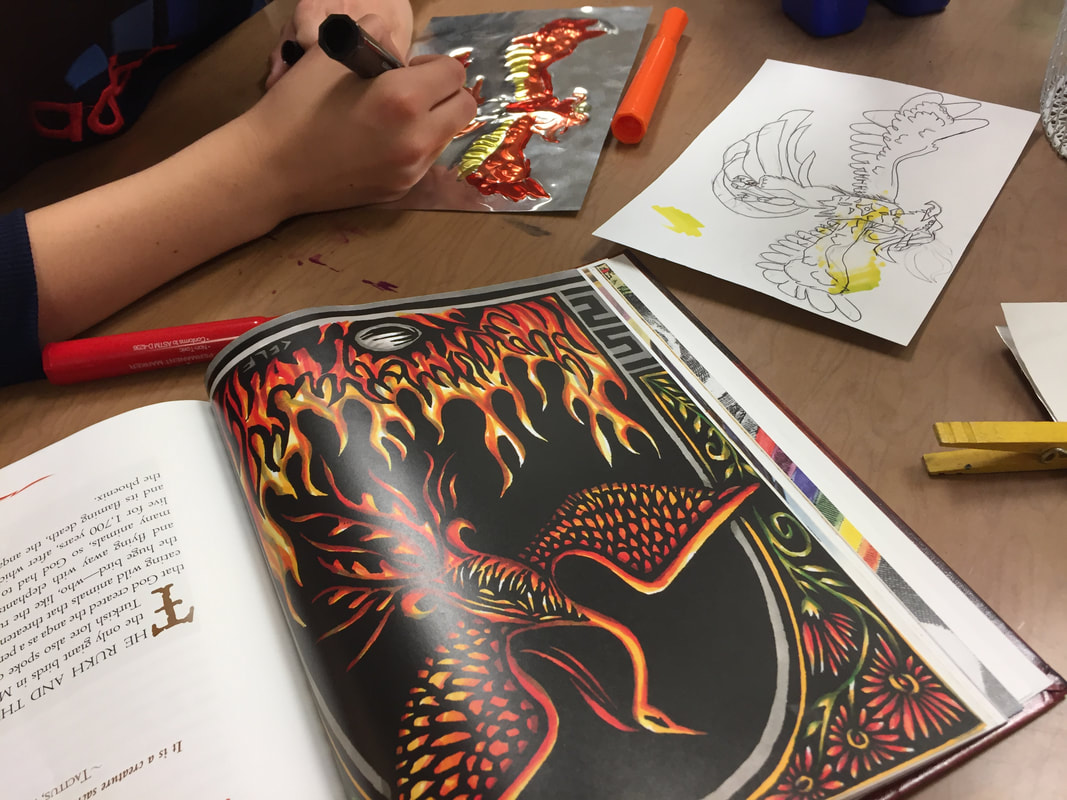
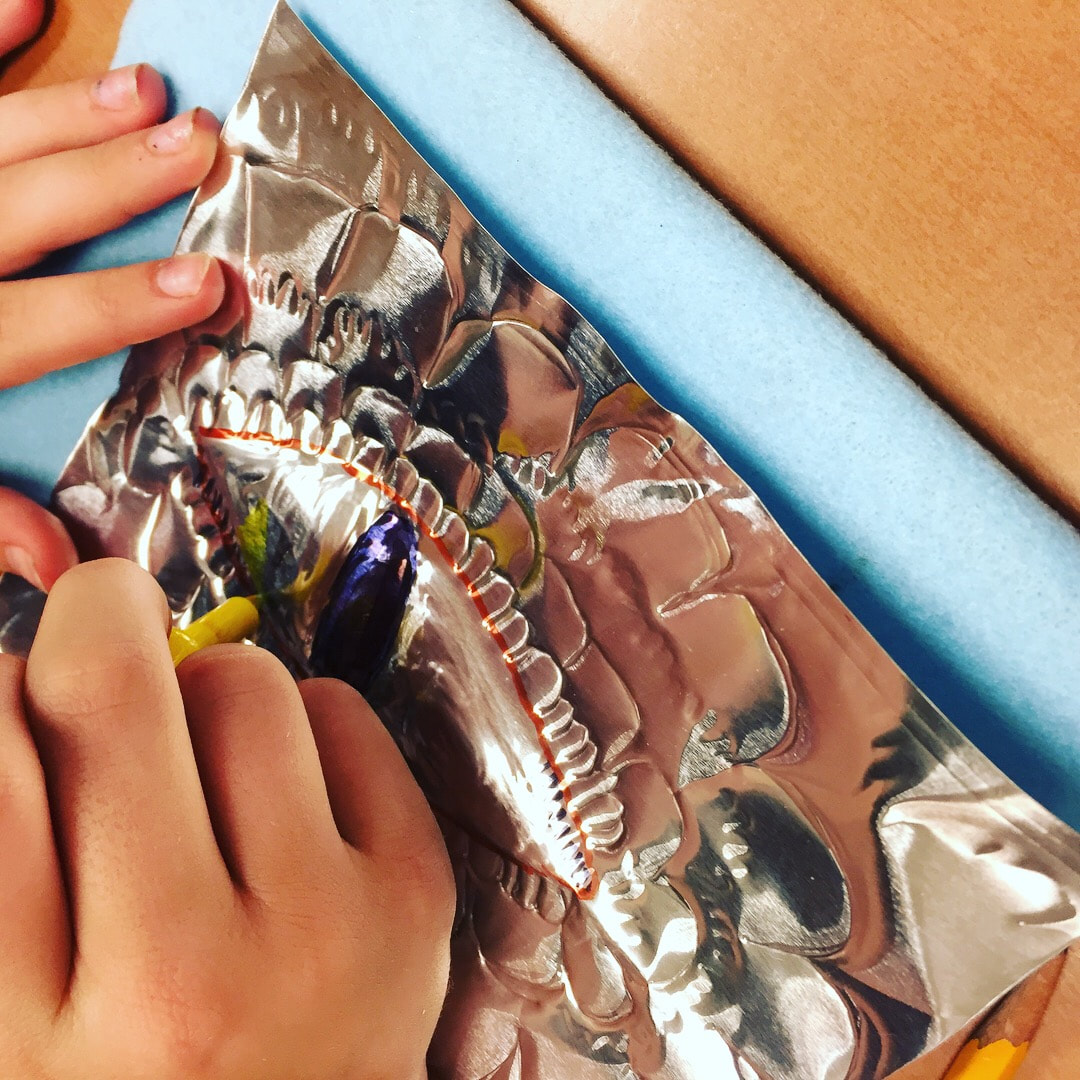
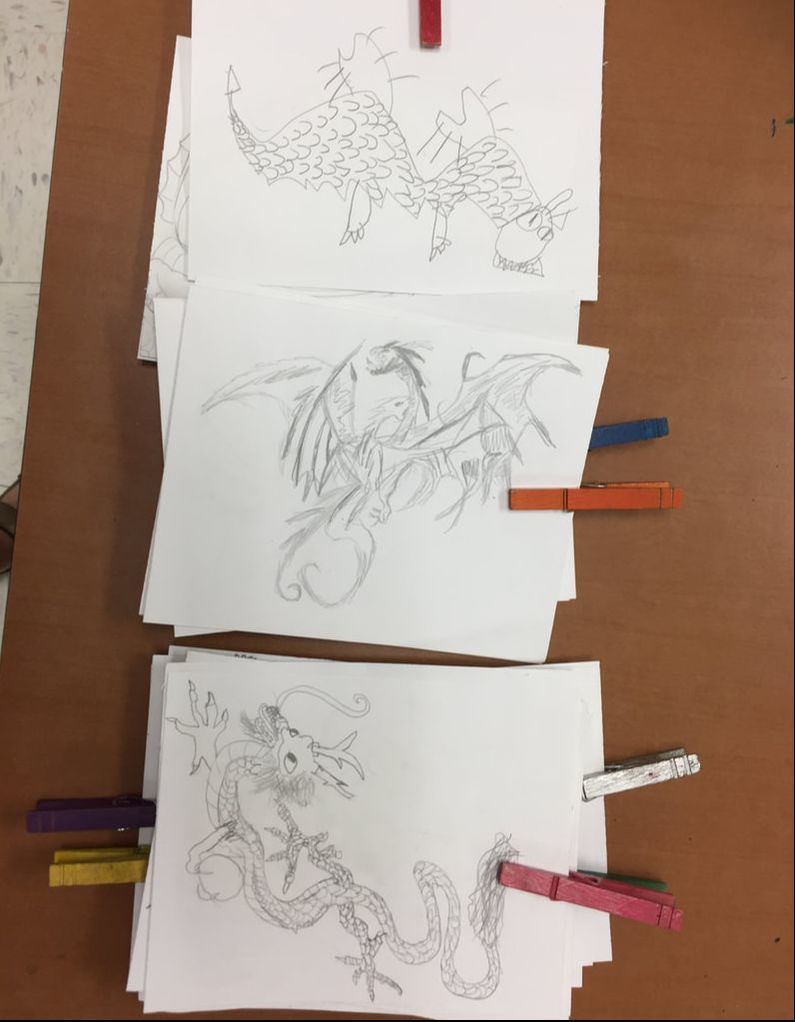
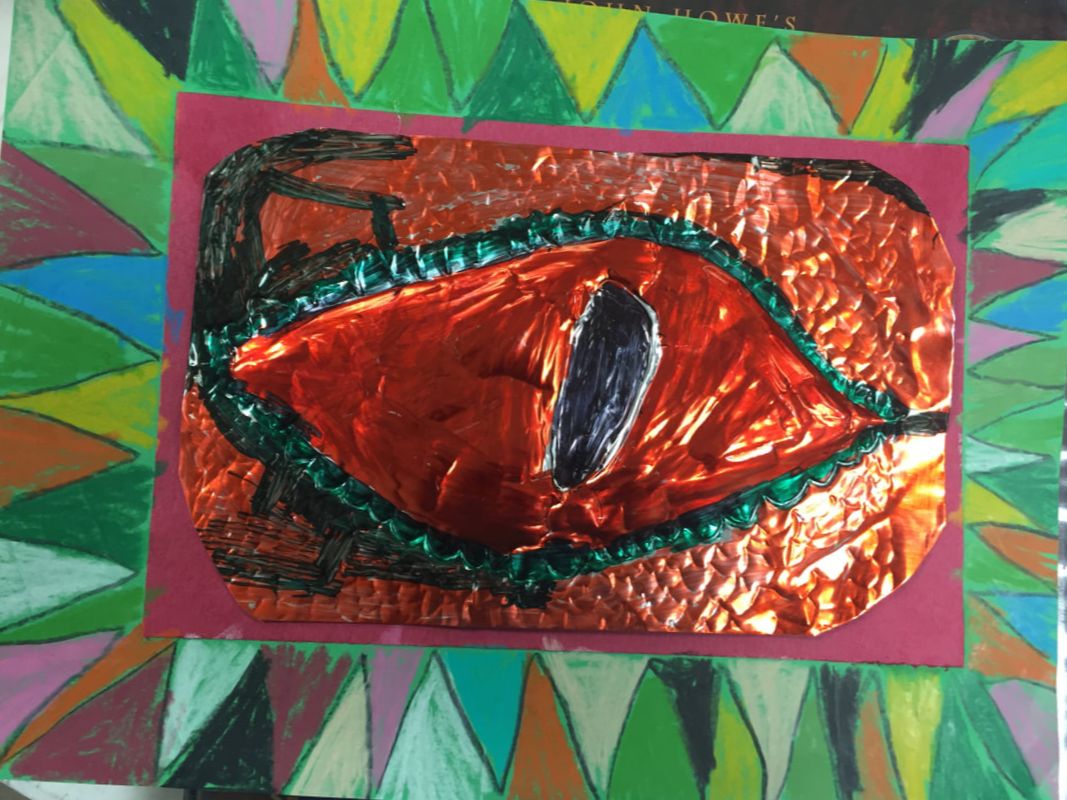
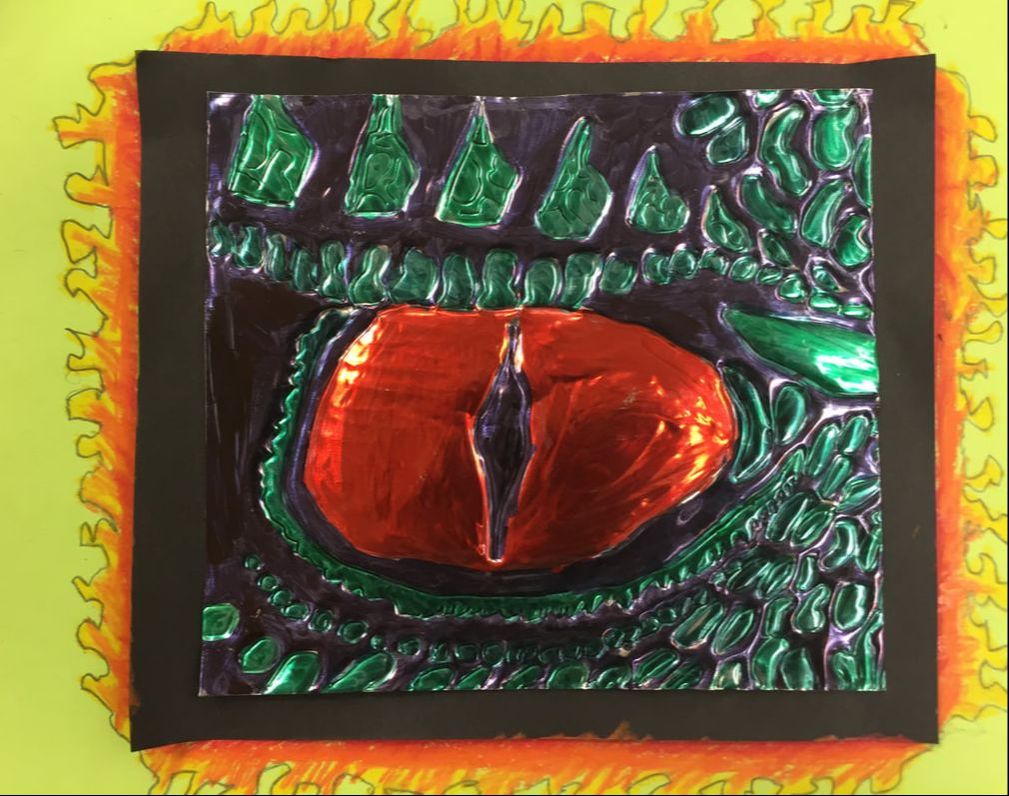
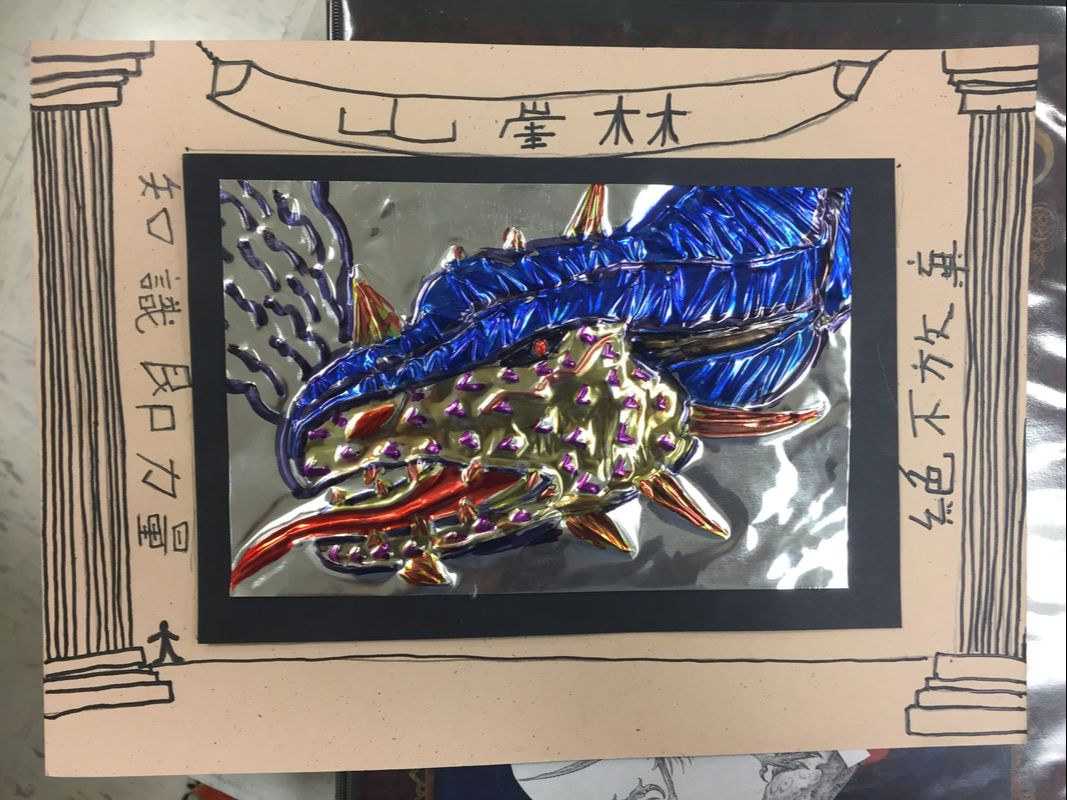
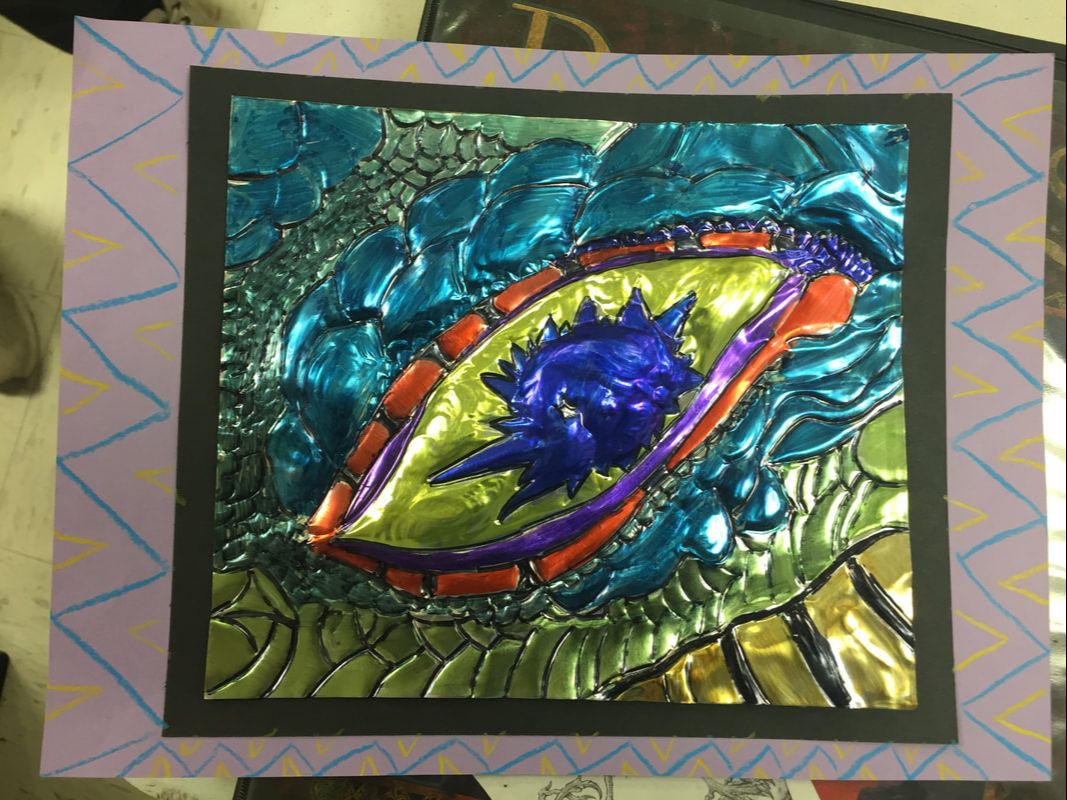
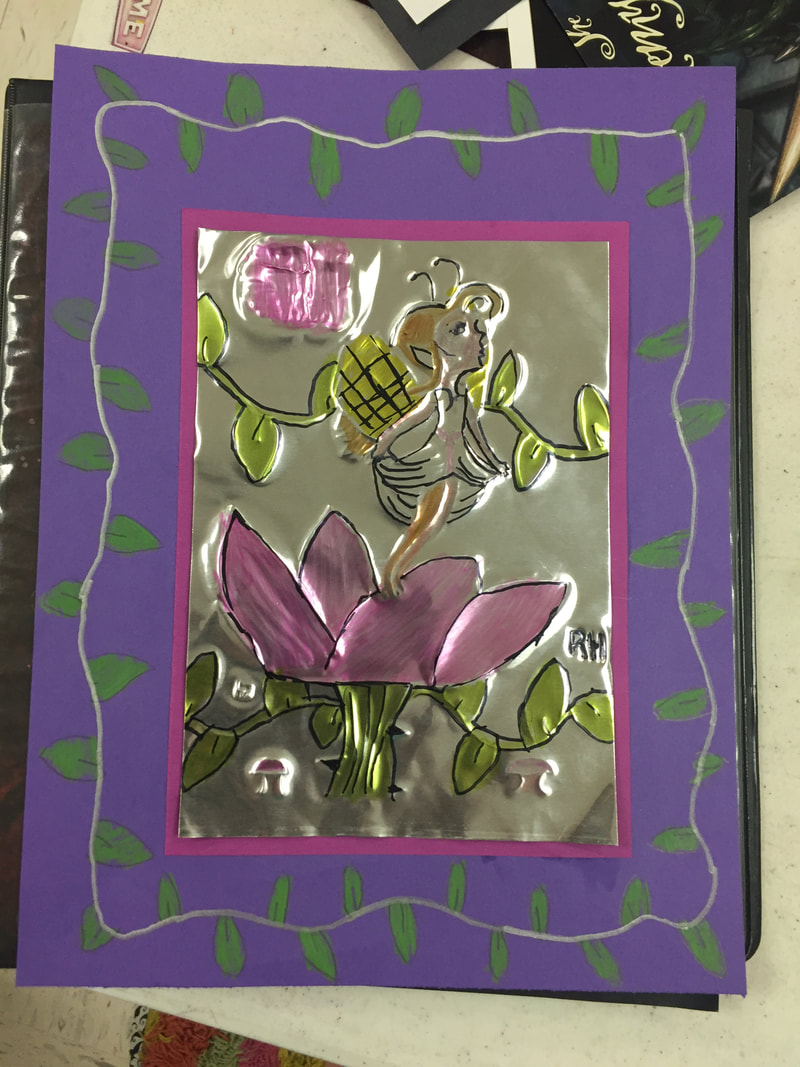
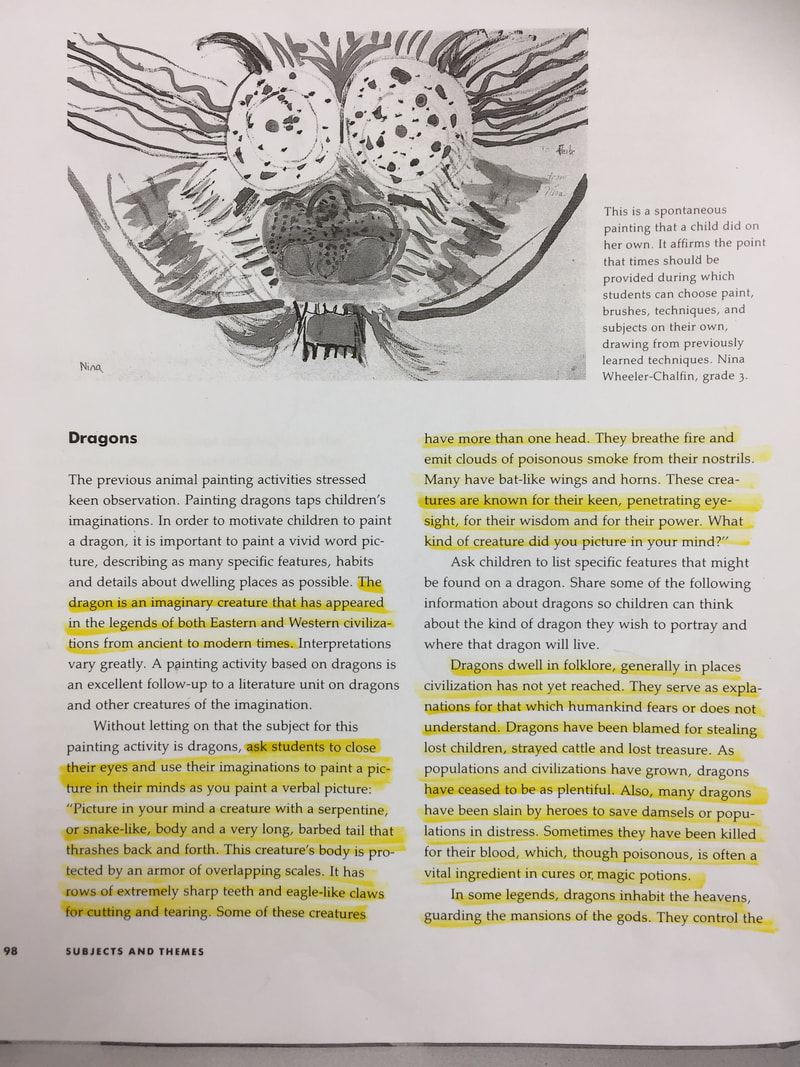
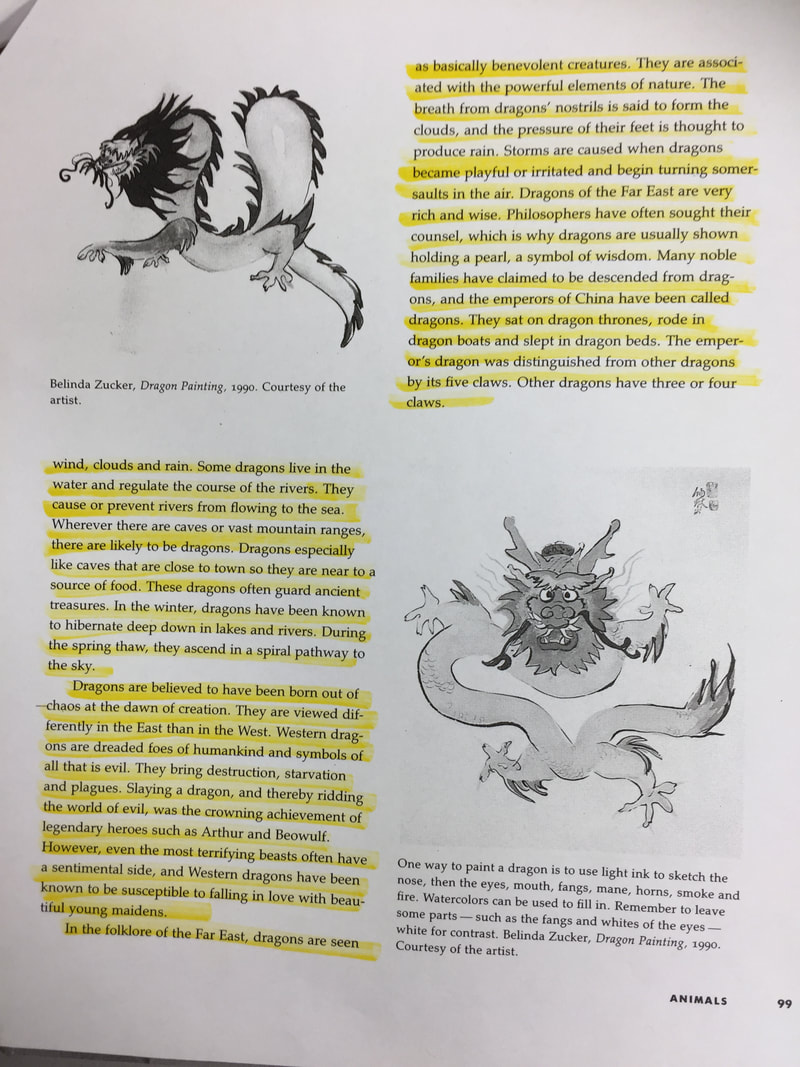
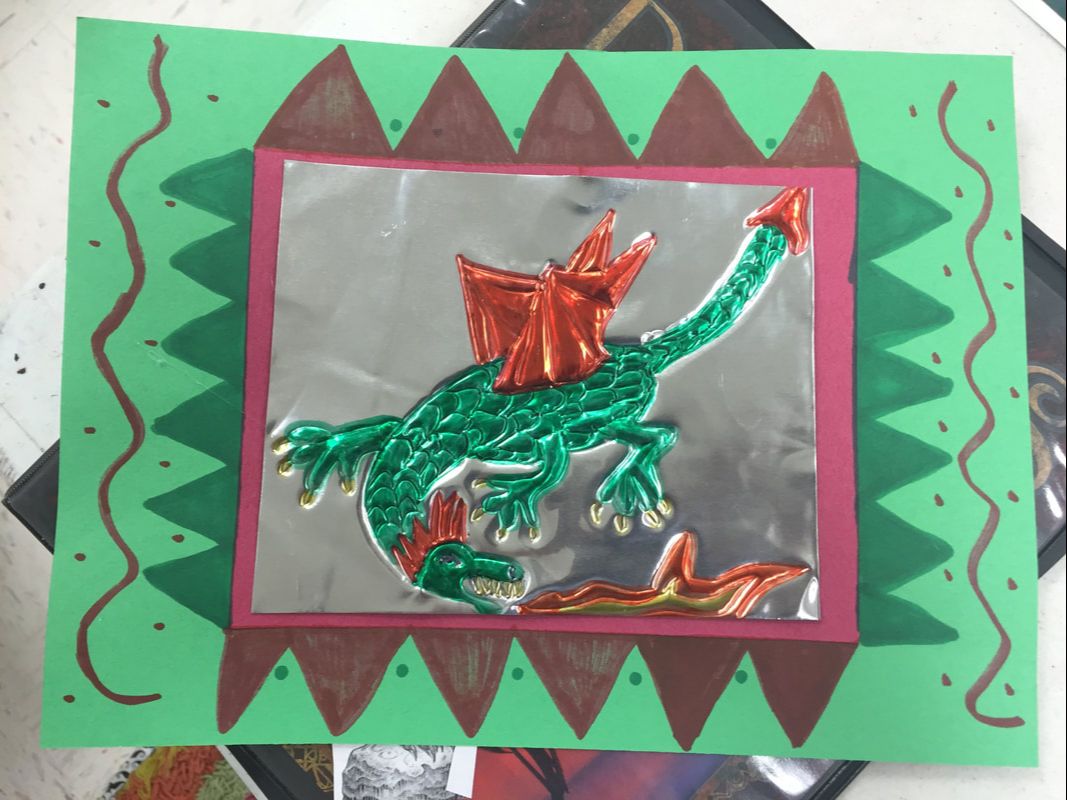
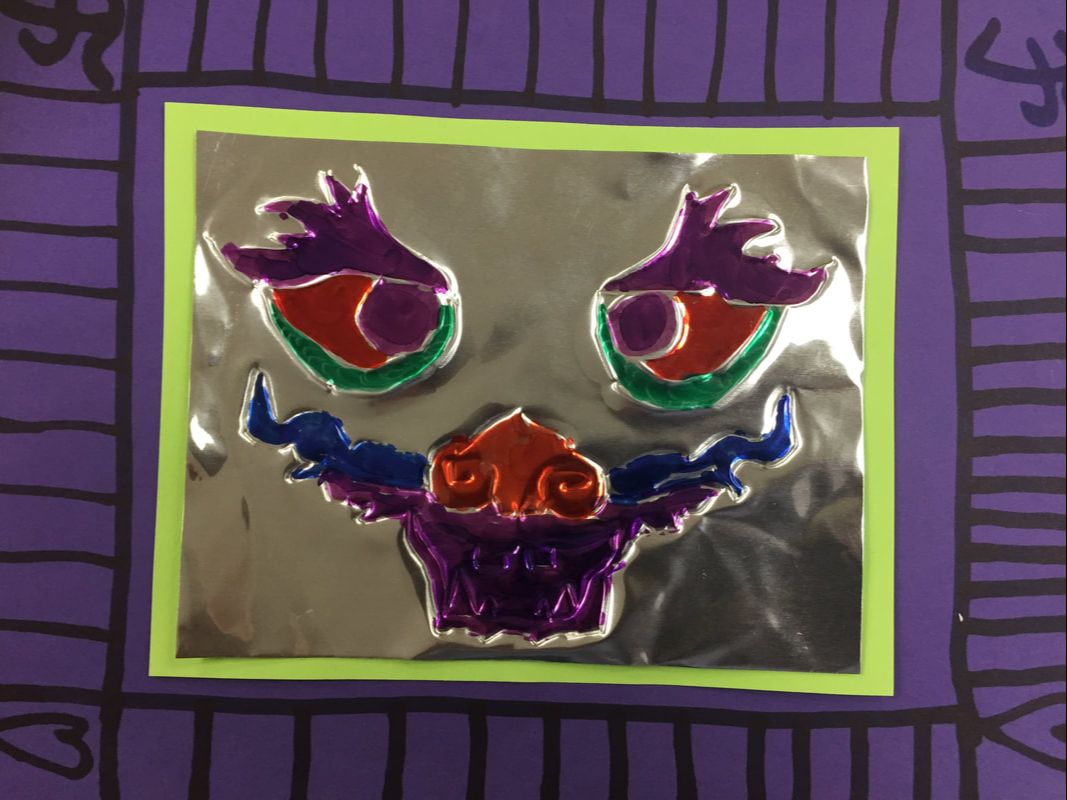
Each student received an individual mini package of white Model Magic and a No. 2 pencil. They used Mr. Sketch markers to color the model magic. I made a video with the instructions. You can watch it here! Just before Christmas, I pulled out the aluminum and showed my 5th and 6th graders how to do some metal tooling. It was highly engaging for most of them and not super messy. The perfect solution for a project in December. I had a hunch that it would be perfect for end-of-the-year 'testing' time too and it was! This time around, instead of just doing insects....I had my students select a favorite mythological creature. They had to draw it as big as they could on a rather small piece of paper. To introduce the lesson, I read a long passage about Eastern Vs. Wester Dragons, so that students would have an idea of the difference between the two. I had a big folder full of dragon images, thanks to an art teacher who passed them down to me....they are all from old calendar pages. We also used books from the library as references. Allowing them to choose mermaid, unicorns, cyclopses, phoenixes, and other mythical creatures made lots of students happy. This is a favorite book in my collection. Supplies 6x9 paper (ish) dry erase boards and markers pencils ink pens (to transfer to aluminum) thick sheets of aluminum (I buy from school specialty) felt plastic metal tool (i tried to find a link to this but I can't figure out what to search for) Permanent markers for coloring metal To explain how to actually transfer the drawing to the metal, I made a video and put it on Youtube. You can watch it here. I let students decide if they wanted to shadow cut, leave all of the metal either silver or color a background, or they could cut out their 'creature' if it wasn't too big. Then they had to make a frame, so the metal would not get all bent up. They had to choose a smaller piece for the mat, and then a larger piece which they had to draw designs on. They could draw the designs with crayon, marker or colored pencils. Some students had trouble drawing the dragon's body, so I suggested that they just draw the eye. Those were really successful! 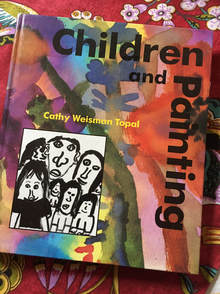 The passage that I read to each class about dragons came from this book called Children and Painting by Cathy Weisman Topal. |
 Welcome! Welcome!
Mrs. MitchellArt teacher from Missouri. Archives
March 2021
Categories
All
|

 RSS Feed
