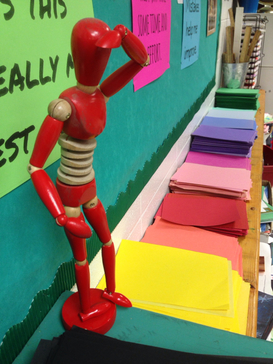
I considered showing a video, or making one to demonstrate the process, and by Friday, when my voice was almost completely gone, I wish I would have (spring colds are weird!)....but it took so long to set up the stations that I did not have time to do both, and some of my instructions changed a bit after working with some of my biggest classes. None of the videos I found online were quite right either.
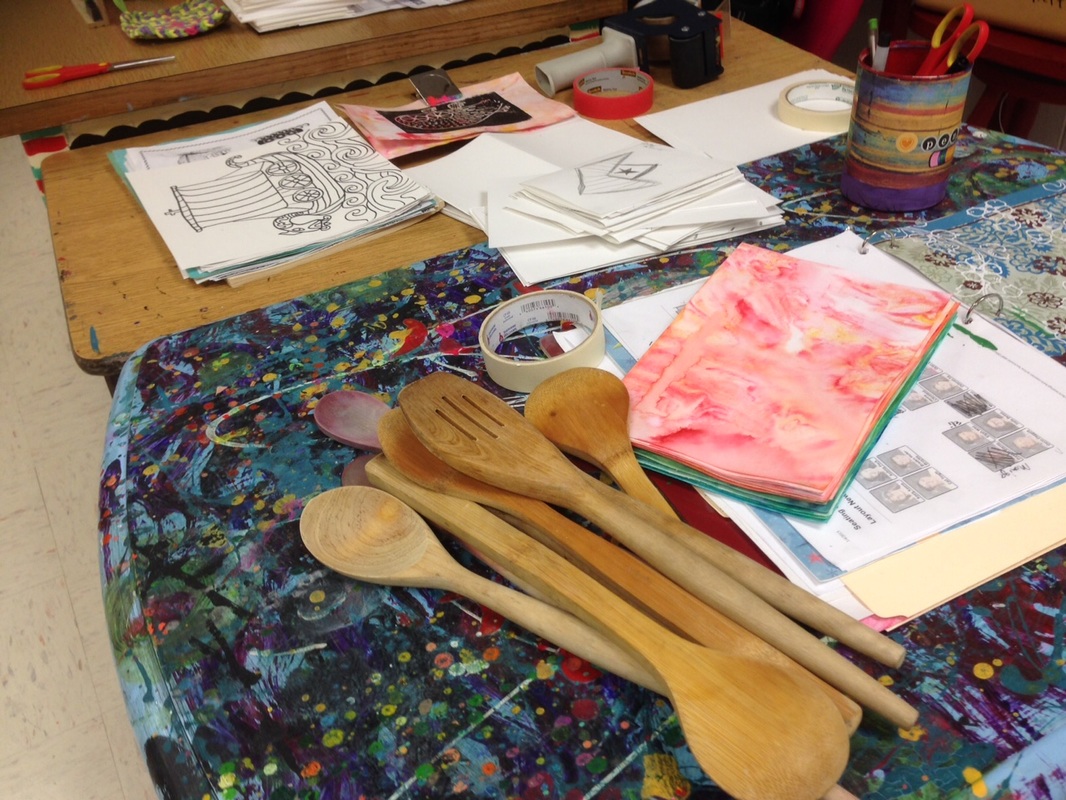
Through this process I learned what NOT to say and what to really reinforce. Also, since I had wooden spoons on the tables----some classes needed more firm reminders not to spank each other or pound on the table than others.
I came up with a couple of things that really worked for me and a couple of things that I probably won't do again. Also, this post helped me initially.
Due to field trips, interruptions and scheduling conflicts, (since it is the end of the year) it worked out that I only printed with 3 classes each day----wow! That never happens. I was able to stagger the printing so that only the morning or only the afternoon classes were printing. This worked out super well.
In some cases, I stretched the initial carving lesson an extra day, and had students pre-select their paper for printing and write their names on the back the day before we actually printed---and then I clipped their papers together by table so that I could distribute them very quickly the next day. This worked great---gave the students an extra day to finish carving their designs. Some were a little rushed, especially since I did not have time to stretch every class---but since it is the end of the year, we had to push through.
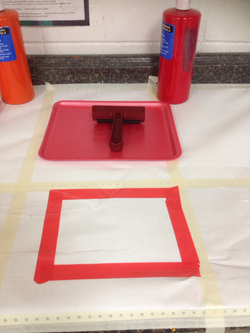
I used tempera paint for this process--not as sticky as real printing ink and dried really quick---but pretty washable and cheap.
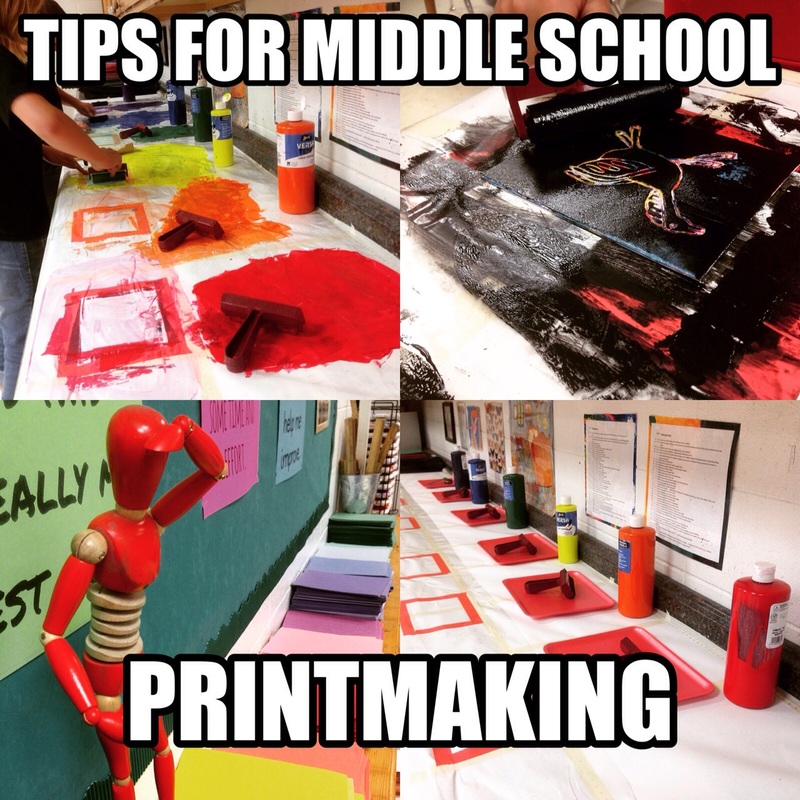
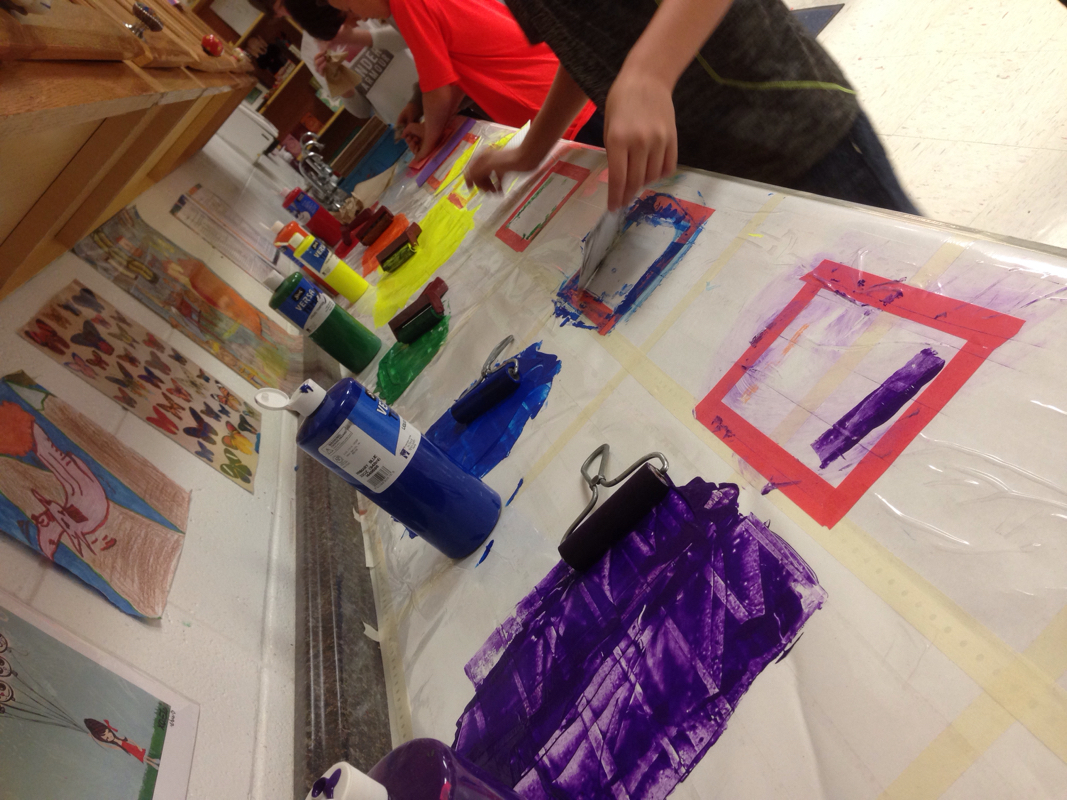
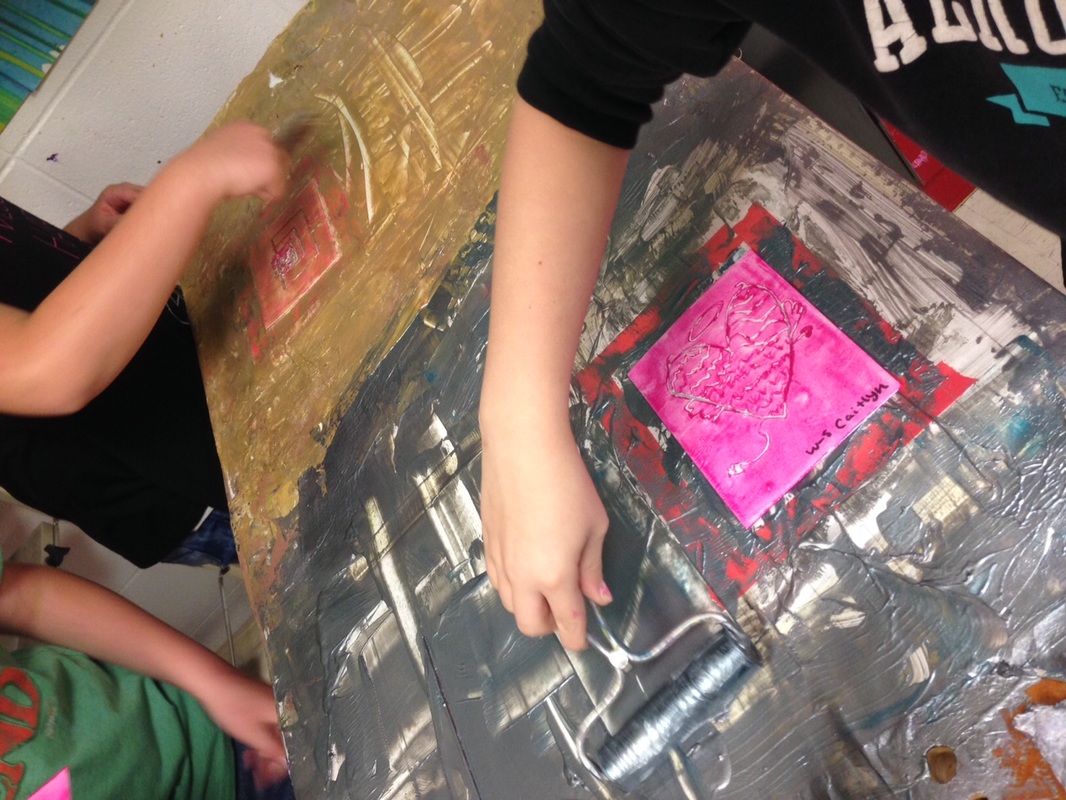
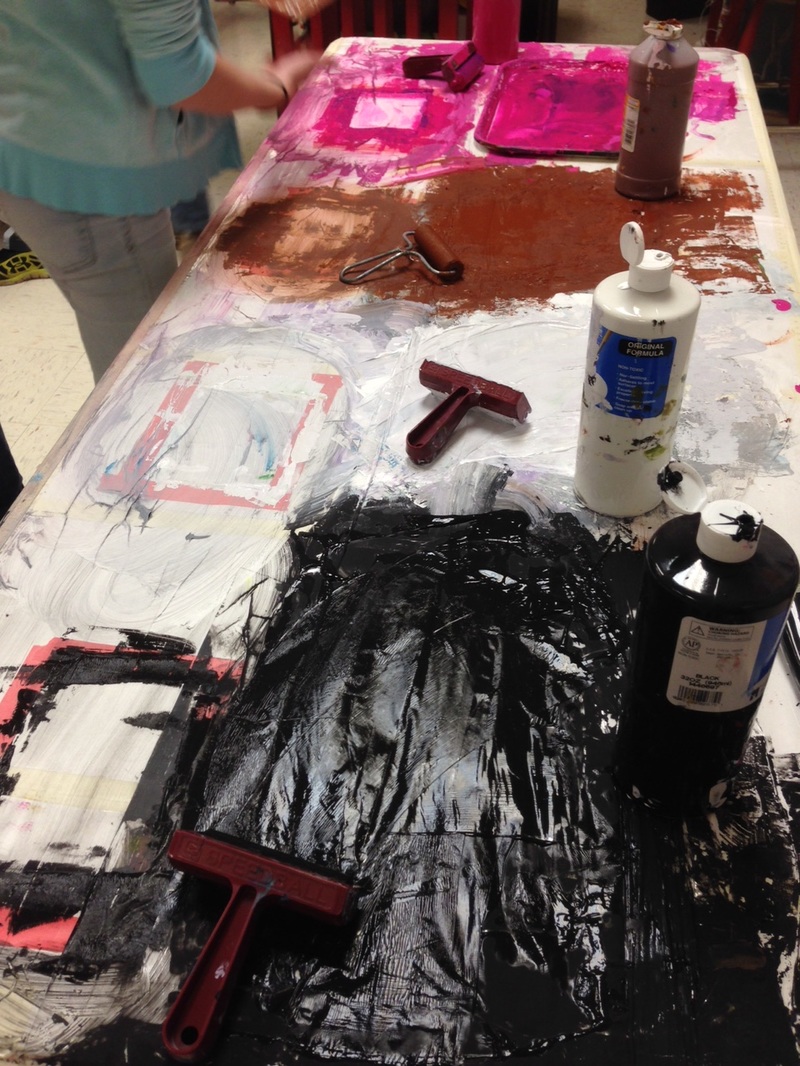
On my long counter by the sink, rolled out some old printer paper--it was the perfect size, easier than using bulletin board paper in this case. I put masking tape on each of the perforations and along the edges. Then I put a red rectangle at each 'stop'. This is where students would put their block before rolling it with ink.
Initially I thought I would use these pink meat trays--but the brayers did not roll in them, something I found out in my early morning trial run at the stations before school.
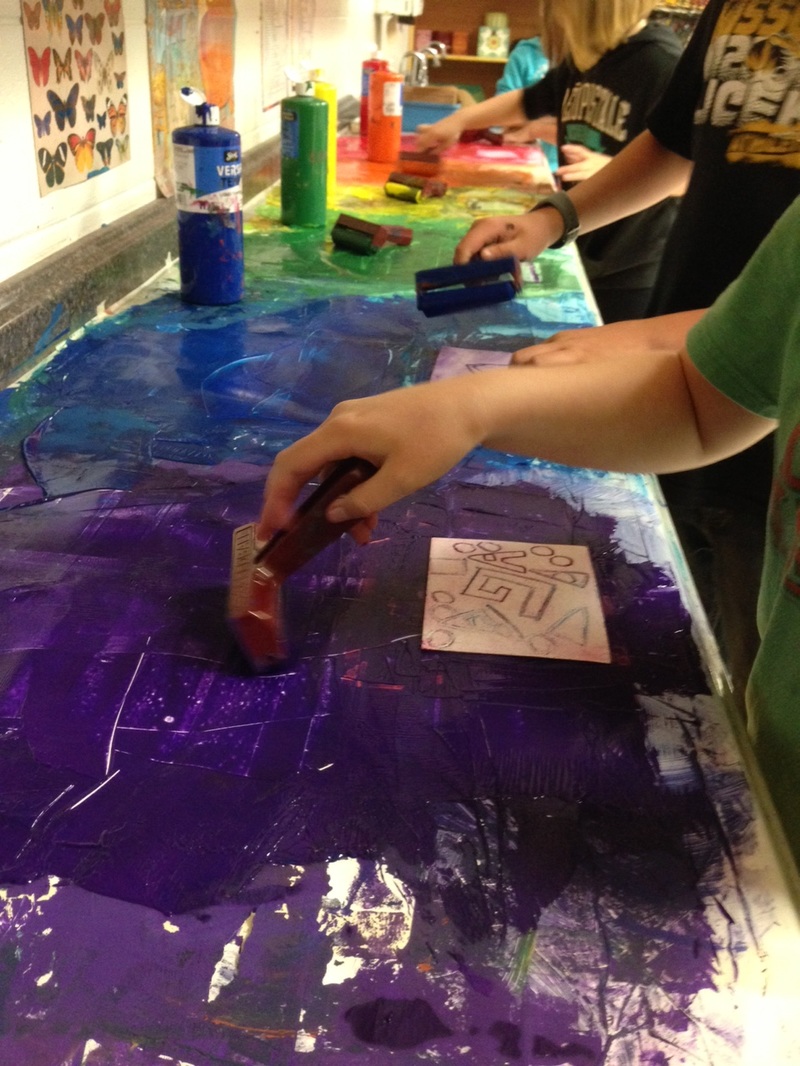
I ended up removing the meat trays---I don't have any acrylic or plexi---so I just used the table surface itself. I had enough clear packing tape to cover each of my printing stations. It worked WAY better than saran wrap--which I also tried. I literally wrapped the entire counter, an 8-foot table and my wooden work bench with clear packing tape. I probably did not need the white paper underneath, but it helped them to see what color they were using and it was easy to clean up---came right off Friday afternoon at the end of the week.
Students basically kept their papers at their normal tables, and carried their block to the stations to print it. I had them wipe their block with a dry paper towel in between colors if they wanted to, but reminded them that if the colors mixed, that tended to look cool---and could make the design even more unique---but if their drawings were too 'gunked' up with the thicker paints (like silver and gold) they would definitely want to wipe the foam off and possibly even carve out some of the lines with a pencil. (Wet foam is hard to dry off)
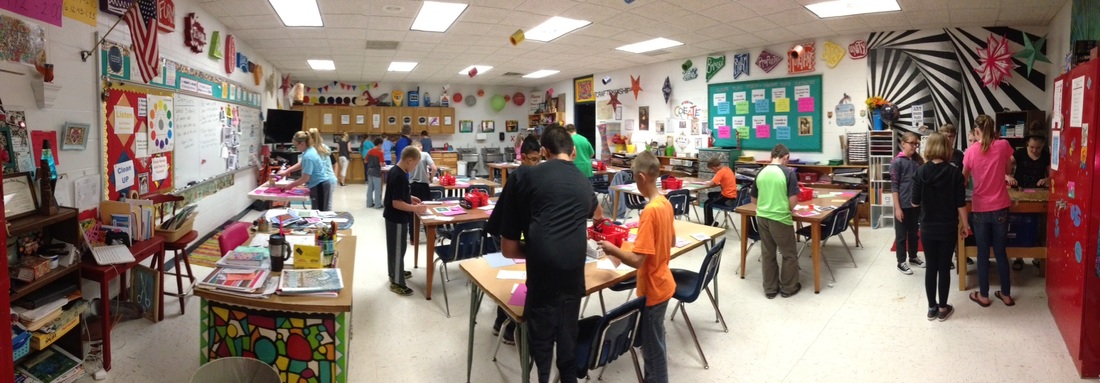
Since I have some classes of 33, I decided to set up a total of 12 colors at 12 locations around the room. This way, if half the class were rolling inking, the other half, in theory, would be at their seats printing--and at least a few in every class would get a late start because they still needed to finish carving their stamps because of absences or intricate designs which would help with the flow.
I borrowed an 8 ft white table from the custodians for one of my stations. It was nice to have that extra work space to spread the students out---most major issues were during clean up when all 30 needed to wash their hands at the same time.
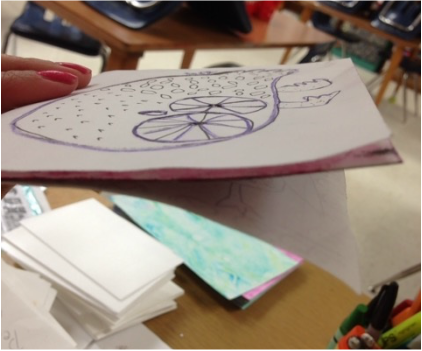
Well, I came up with a solution to: where do I put my stamp/block/thingy when I'm done printing?
I explained that in the printmaking world, usually artists use linoleum, carving rubber or even wood for the printmaking process, those are called blocks. I held up a couple to show how thick real blocks are. But since we are using a thin piece of foam---we are going to call it our cheese----almost so thin its like it was shaved off a big block, it is so thin like a Kraft Single! Everybody say: 'mmmmm, mmmmmm, good!" So we called the 'block' which was so thin and wimpy it didn't even resemble anything looking like a block----the CHEESE. Which helped them remember what to do with it.
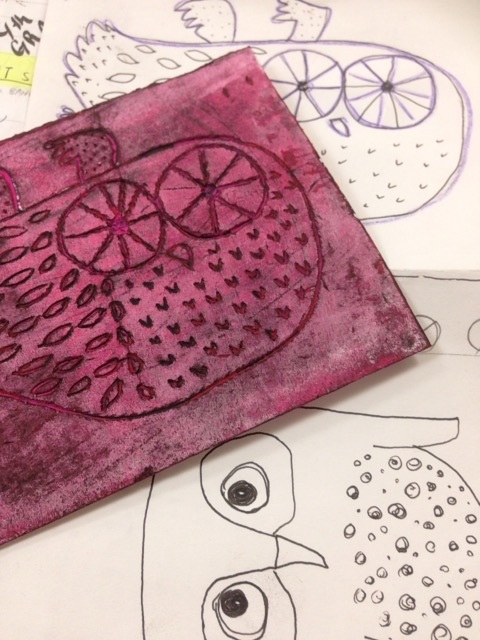
Initially, I had every student create 2 designs for their stamp. I folded a 6X9 sheet of paper in half when I handed it out, explaining that they would draw a design on each half-- one of which would fit perfectly on the stamp.
I encouraged them to use lots of textures, pattern, feathers, scales, draw big, etc. I discouraged them from flags, logos, cartoon characters, numbers, letters or words----because they print as a mirror image for this project---those things are really hard to incorporate---so just try to stay away from them.
Many kids wanted to argue that the 'Underarmour' logo would be the same backwards and forwards and that they really could draw the nike symbol in reverse---but alas---I prevailed to enforce the all or nothing policy, infuriating some and inspiring others...many just drew a softball because it was 'easy' and I gently forced them to put a pattern or something in the background in order to make it a better design. Some drew things that were too small, others could not think of anything so I pulled out some visuals----handouts of owls, celtic designs, mola pattern book, and Maori tribal art to help them develop something...anything...that would work. Some were really creative, their mythical creatures or optical illusions were amazing. Others....not so much........
After I approved one of their two designs, I handed them their foam. Otherwise known as their 'cheese'. They could either re-draw the design into the foam with a pencil. OR use the transfer method---lay the drawing on top of the foam and re-draw it by tracing over their old lines with a colored pencil. Using a colored pencil helped them keep track of what they had already done. In most cases, nearly everyone needed to go back over the foam in order to press the lines in a little deeper.
Some of them understood this---some did not. So before we printed, I checked each and everyone of the stamps before I handed them over to the student, and told them one-on-one, man-o-e-mano, face-to-face, CARVE THE LINES A LITTLE DEEPER. Some thought that meant re-tracing with the paper on top again--which ripped the drawing to shreds----so I had to be really clear---just press your pencil into the foam a little harder--but don't tear it up. If the lines are not deep enough, the block won't make a good print.
Note to self:
*Don't call the carved lines 'cracks'....I overheard one boy say, "I'm getting the paint in my buttcracks!"
I only had enough foam for each kid to get one piece so I had to be frugal---no 2nd chances. Some of my students try to sneak extra supplies if I am not paying attention, so I kept the foam on my desk to discourage wasting/stealing it.
After they carved their 'cheese' they had to make me a grilled-cheese sandwich. Huh?
Take the paper with the two sketches, folded like a card----make that the bread....slide the cheese inside...and PUT IT IN THE FRYING PAN! Where is the frying pan? The class box!
I said all of this with great enthusiasm and gusto---even with my sore throat. I had students repeat it and even though it was silly, it helped them remember.
Later, when kids asked me where to put their stamps: I just said, "Make me a grilled cheese!" and that helped jog their memory. My head did not explode when I commanded them to serve me something yummy....at least I wasn't as impatient as I would have been repeating: "THE CLASS BOX!" over and over and over and over and over.
After printing, we followed the same procedure. Printed papers went on the drying wrack, stamps and drawings went into the 'frying pan'. The stamps could've went in the drying wrack but were so small that they would've fallen through the shelves so I decided not to mess with that chaos.
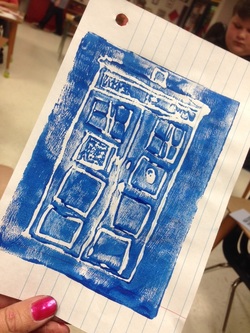
Note to self:
Don't say: 'Awesome Tardis!' to a student in front of a bunch of non-Dr. Who-loving-students. The kids who are out of the loop thought I was saying something inappropriate about the girl who carved the Tardis.
But seriously, isn't an awesome Tardis?
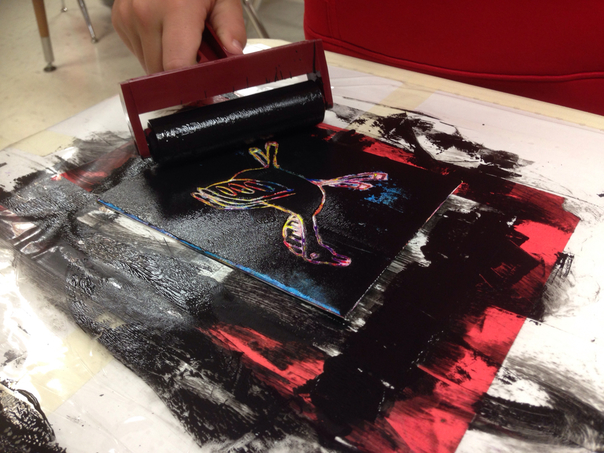
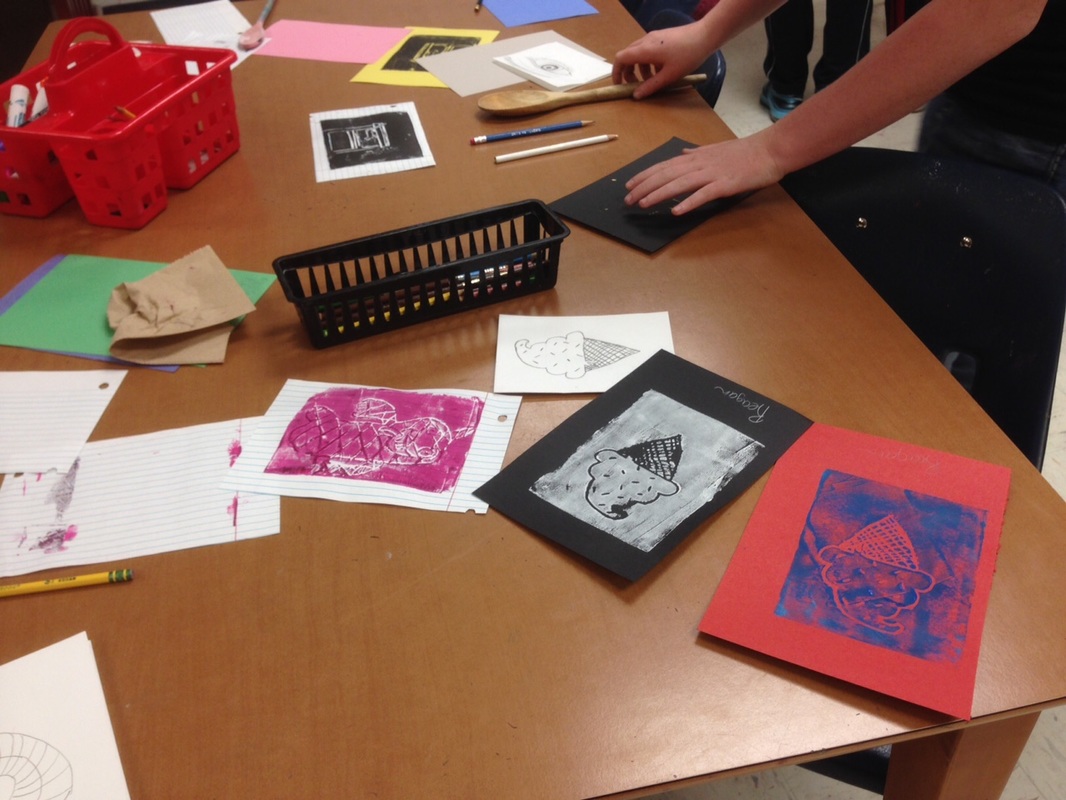
Below: Don't put white and black side-by-side unless you want more of a gray. Also, the brown looked like poop. And yes, the kids noticed.
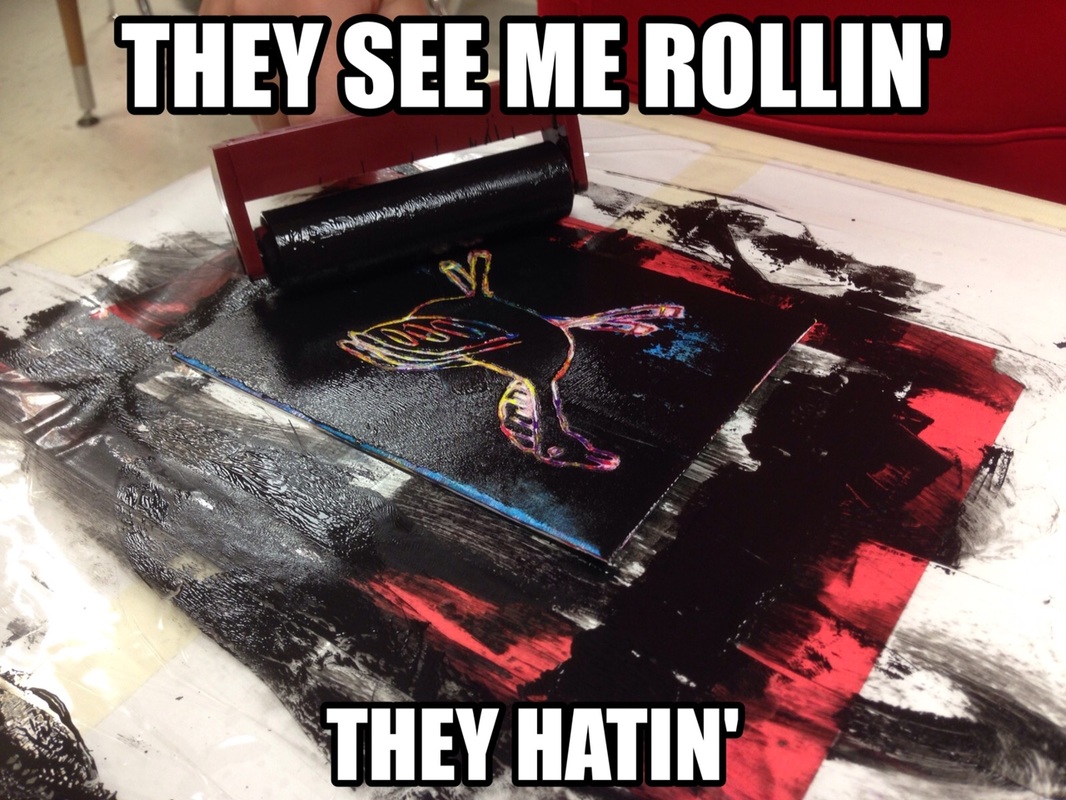
Favorite moment: During the last class, I overheard one shy boy at one of the stations, using his brayer like a steam-roller softly singing, "They see me rollin'....they hatin'....." I decided to make it a meme. Also, do not look up rollin' on Urban Dictionary.
1. Give students a little direction when carving their stamps. My suggestions were too open, and they had trouble thinking of an idea and we ended up with a lot of sports balls....Which is hard to explain to 5th and 6th graders with a straight face---Who's paper is this with all the balls? You forgot your name!?. (Ex. cultures, geometric, optical illusions would be better)
2. Set up the stations in advance, borrow a table if necessary to set up as many stations as you can fit in the room so that everyone can rotate to whichever colors they want without waiting too long.
3. Have students put names on papers before printing---best if it is the class period before---have those sorted and ready to distribute easily.
4. Remember that even though you do a demonstration with the entire class, some individual students will STILL need one-on-one help.
5. Keeping the paint jugs near the station worked well for the best classes, not so well for the worst classes who dumped out WAY too much paint just to make messes. I might've forgotten to say 'Just use a LITTLE bit of paint if it gets too dry'....or they might've just been acting like hooligans.
6. After they ink up the block (or in our case the 'cheese') I told them to put it MAYO SIDE UP on their table---and lay the paper ON top of it----the opposite of rubber stamping where you mash the stamp onto the paper....Dozens of students messed this up and put it face down, and it worked out fine, so maybe I was being a little too picky...it bothered me when they slapped it down onto the paper, but the end result was usually fine.
7. Students need to work quickly otherwise the paint dries before they press the paper to the block.
8. Students might want paint shirts, and need leave jackets, hoodies and sweaters off. I realized this AFTER I dropped a paint-covered block smack on the back of a boy's hoodie, leaving a big, black rectangular imprint. Oopsie.
Overall, this was a great project, that will probably be even better if I do it again with my 6th graders next year, since they did it in 5th grade, it would be easier to implement. Also, if I can give instructions with the full strength of my voice, that always helps.
Other posts about printing making: here and here.


 RSS Feed
