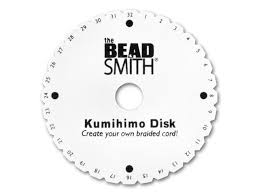
A modern kumihimo disc made of firm but flexible foam plastic with notches can also be used as a portable marudai. The discs have 32 notches that create the tension that is usually created by tama on a marudai. The discs are convenient but are not as versatile as the marudai. On a marudai, any thickness or amount of string can be used, but on a disc only 32 or fewer strand braids can be made from thin cord. Also, marudaican make many types of braids, such as flat, four sided, and hollow. There are also rectangular foam cards, especially suitable for making flat braids.
You can have them weave any type of embroidery thread, fibers or yarn. We use yarn because it is cheap.
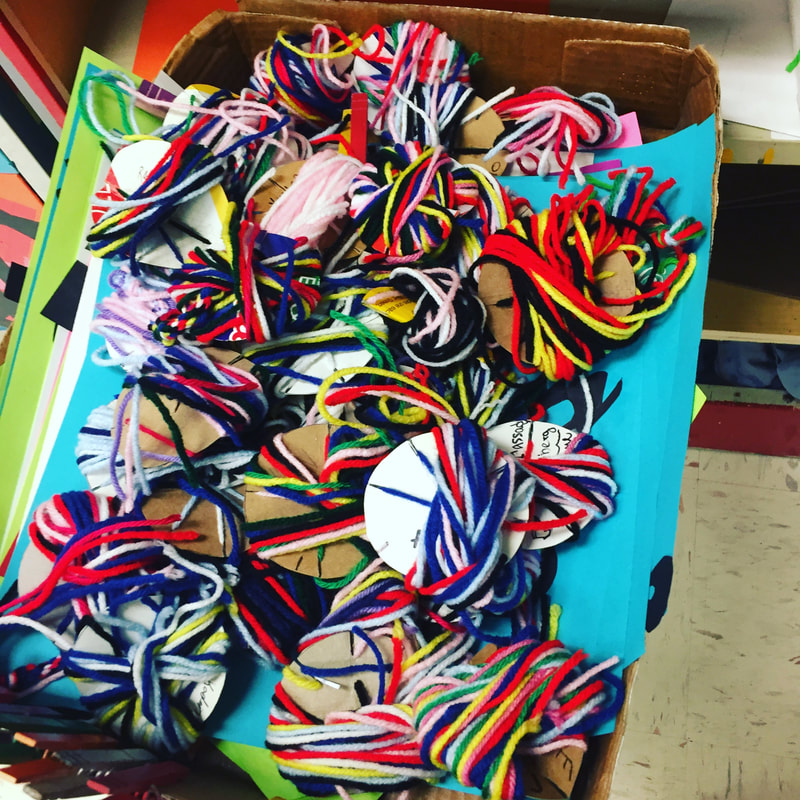
I save my kleenex, cheez-it, cereal, frozen pizza, sharpie, and brownie boxes all year for this project. I use the inside of a roll of masking tape for the circle. I pre-cut all of the disks, but you could have students cut their own...I usually don't have enough cardboard for them to waste it so I just have one ready per kid.
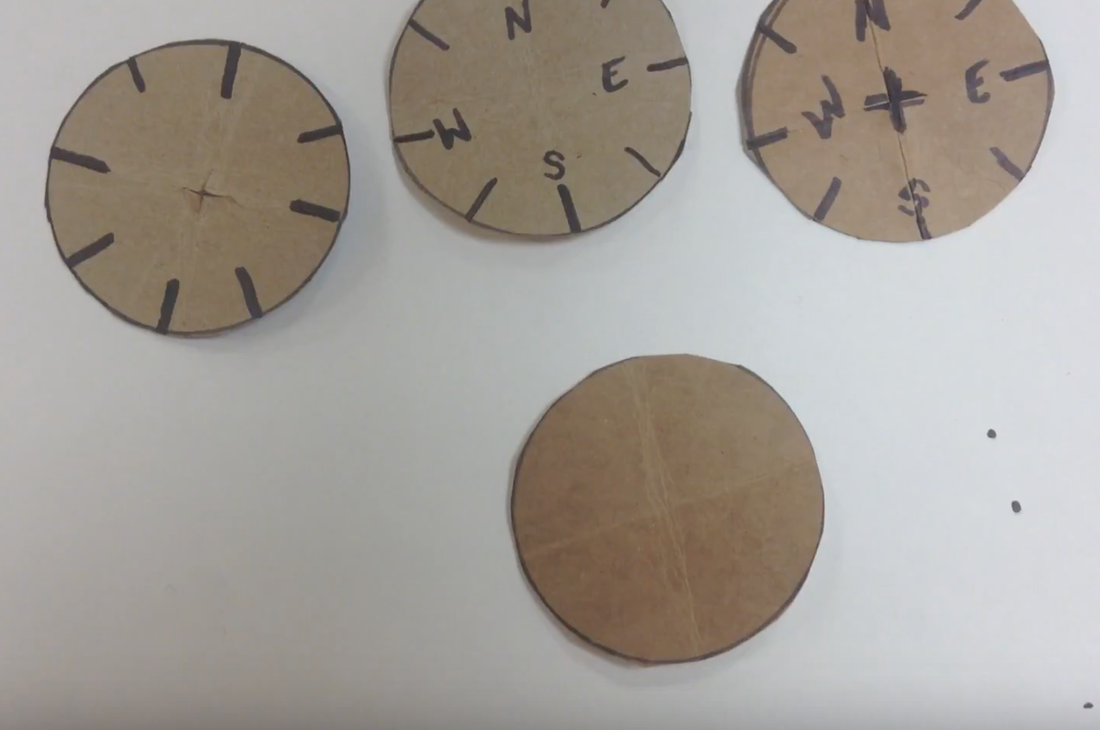
Students make the disk with 8 slits around the outside and an 'x' in the middle for the yarn to go through. They stretch 7 strings of yarn across the top and move the 3rd one away from the empty slit into the empty slit and then turn it down, always keeping the empty slit at the bottom. They can start from the right OR the left, as long as they keep going that way the whole time, don't try to go back and forth. When they first start out, they have to pull the knot close to the cardboard, and comb out the yarn below so it doesn't get tangle up while it is long at the beginning.
Yarn Distribution:
I have them get about one arm length+across their chest of yarn, but it seems like they waste a lot. I tried Cassie Stephen's yarn monster trick for distributing the yarn, but it still seems like it is hard to manage as the kids don't pull from the end of the bundle and when the bundle dwindles, it still gets all tangled up.
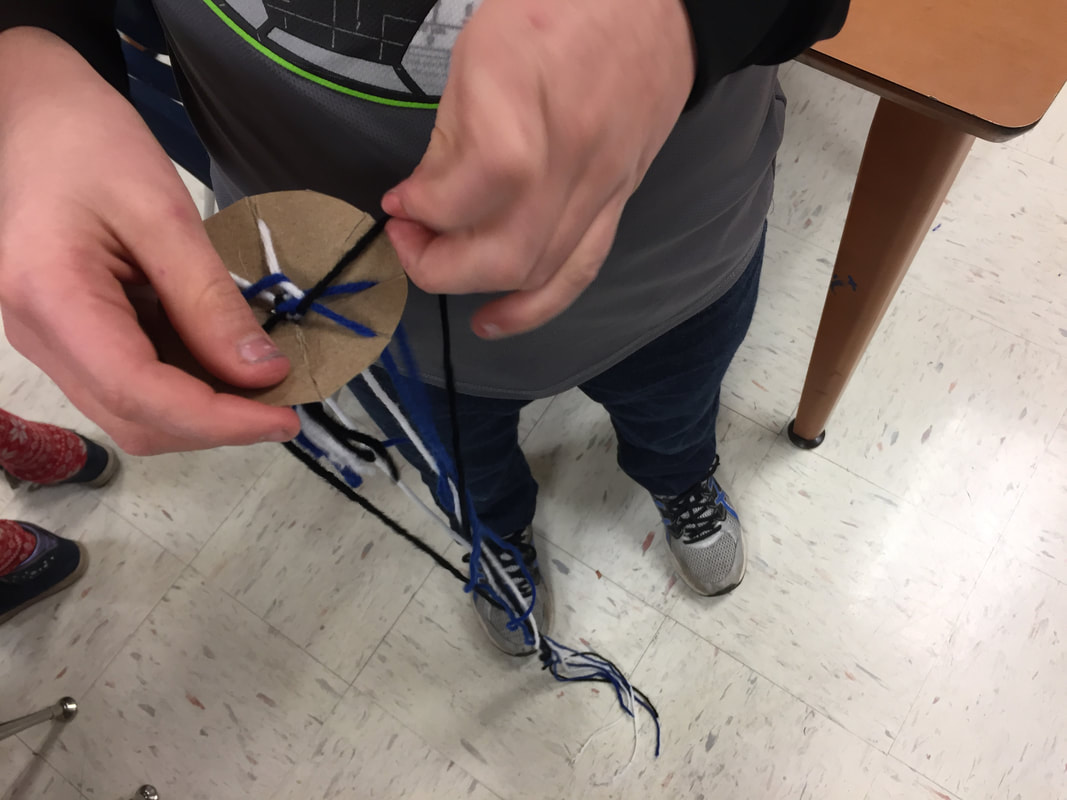
The first video that I show, explains how to make the kumihimo maruadai disk out of cardboard and start the weaving.
One of the videos is very short, it shows them how to tie their 7 strings into a 'granny' knot.
The final video I show, explains how to take the weaving off of the loom and turn it into a bracelet.
These aren't the best videos, but they work for my needs. ;-)
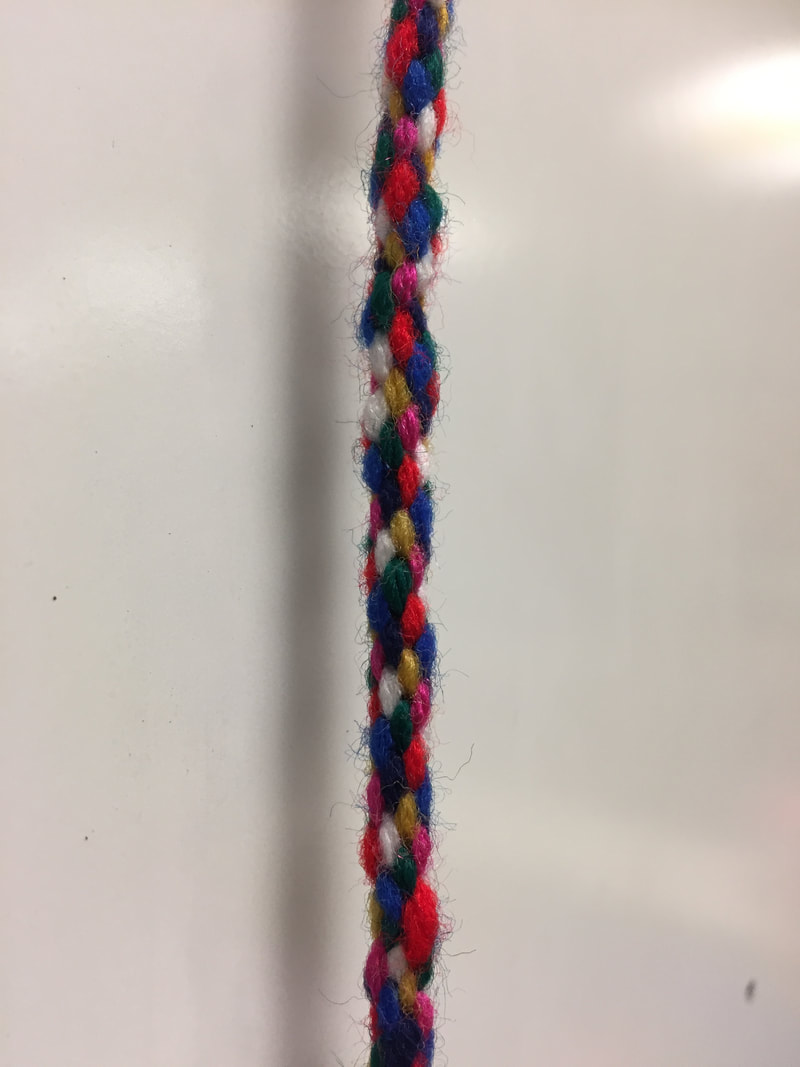
This project teaches them how to tie knots, builds their hand eye coordination, and builds up their little finger muscles. It takes a little while at first to see the bracelet grow, but once they get good at it, they can do it so much faster. It is quicker to learn than crochet or knitting, and it is functional, they can wear it as a bracelet, headband, necklace or even make it as a pet collar.
I love this project and so do my students!


 RSS Feed
