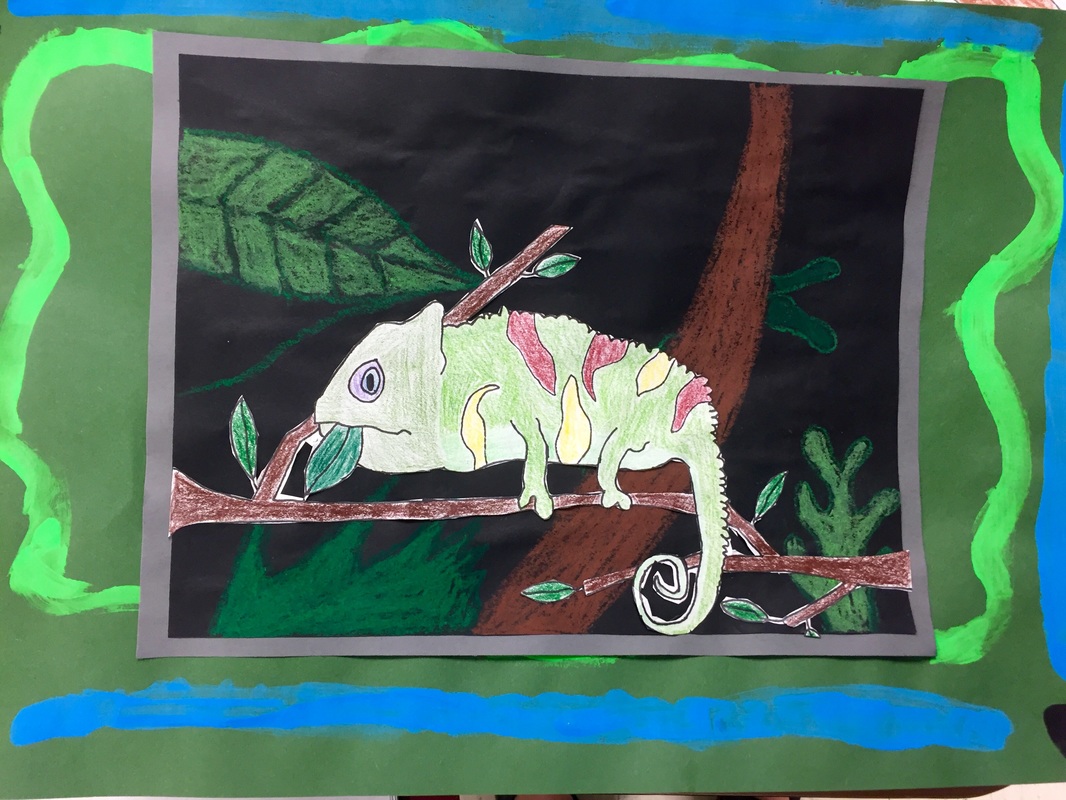
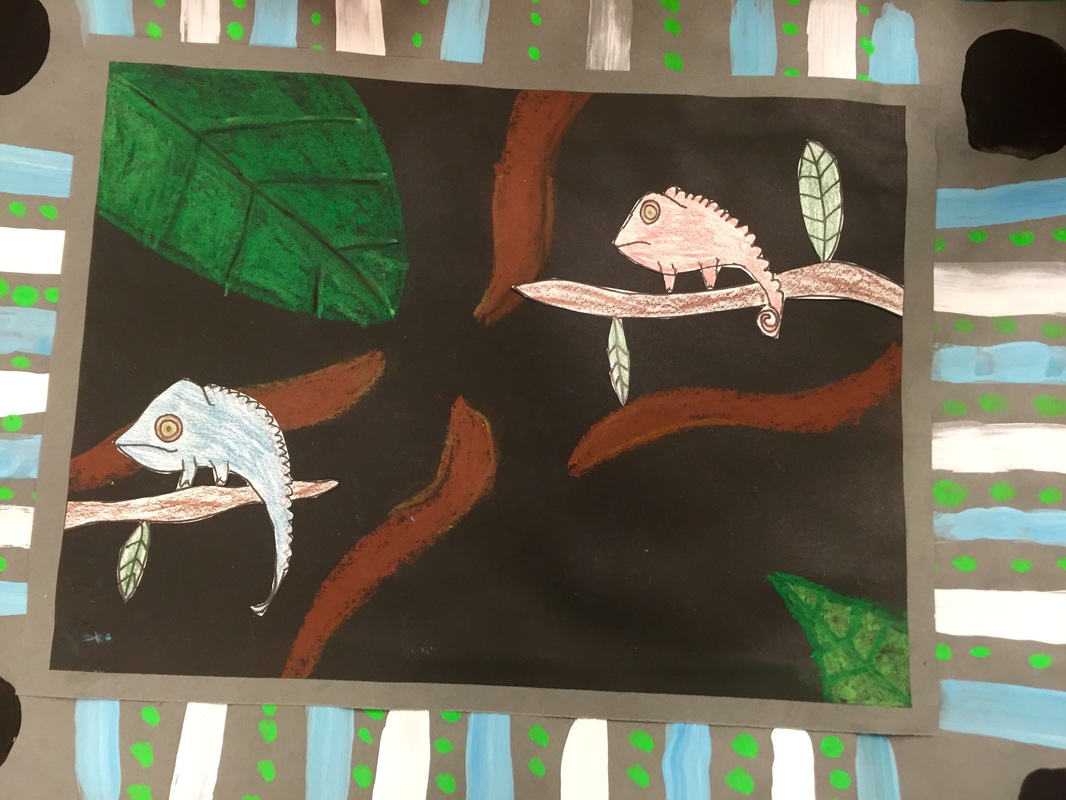
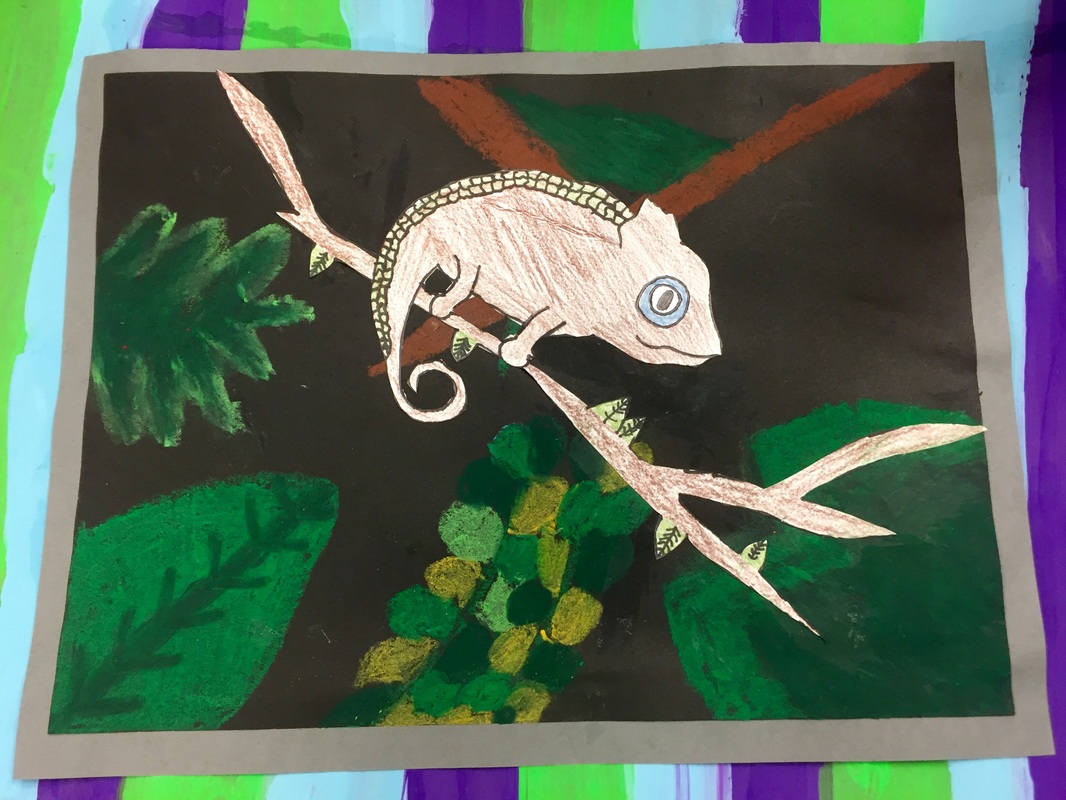
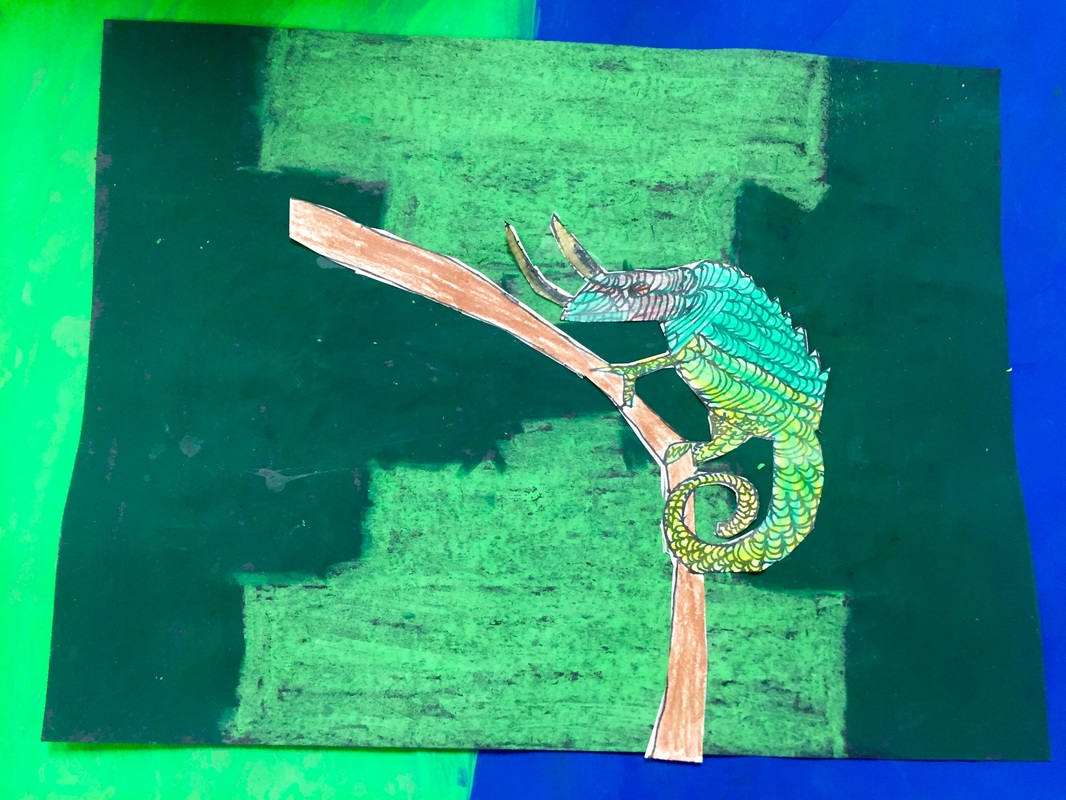
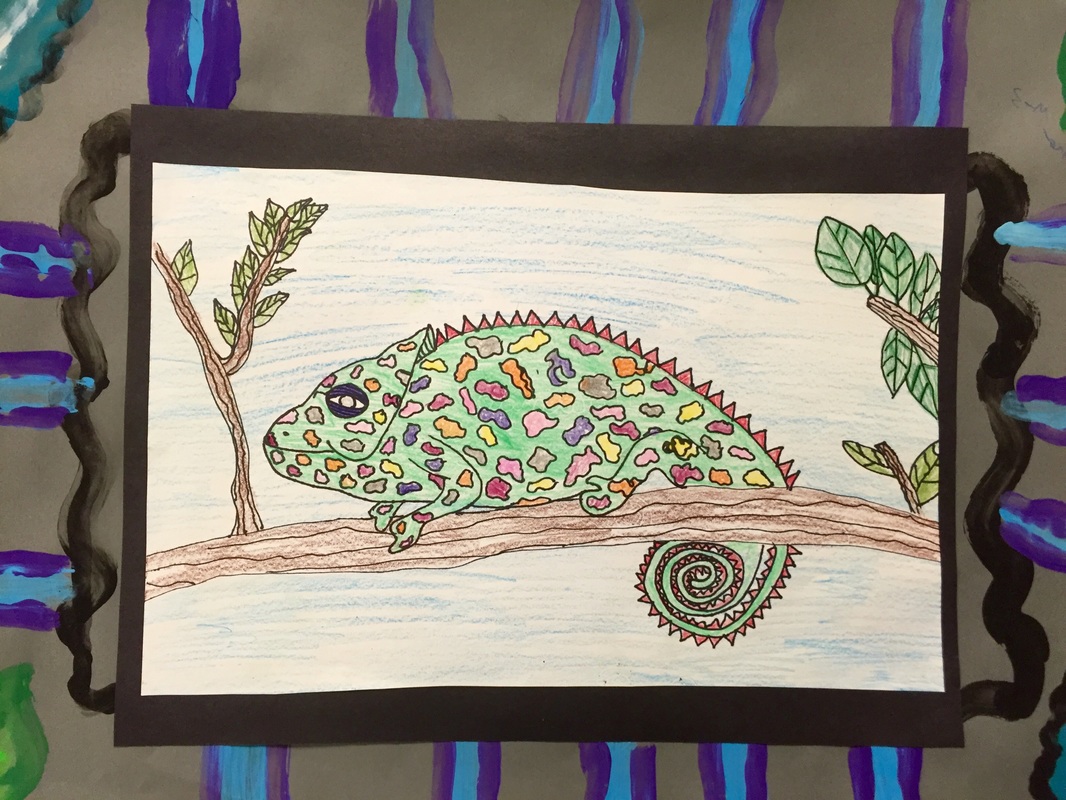
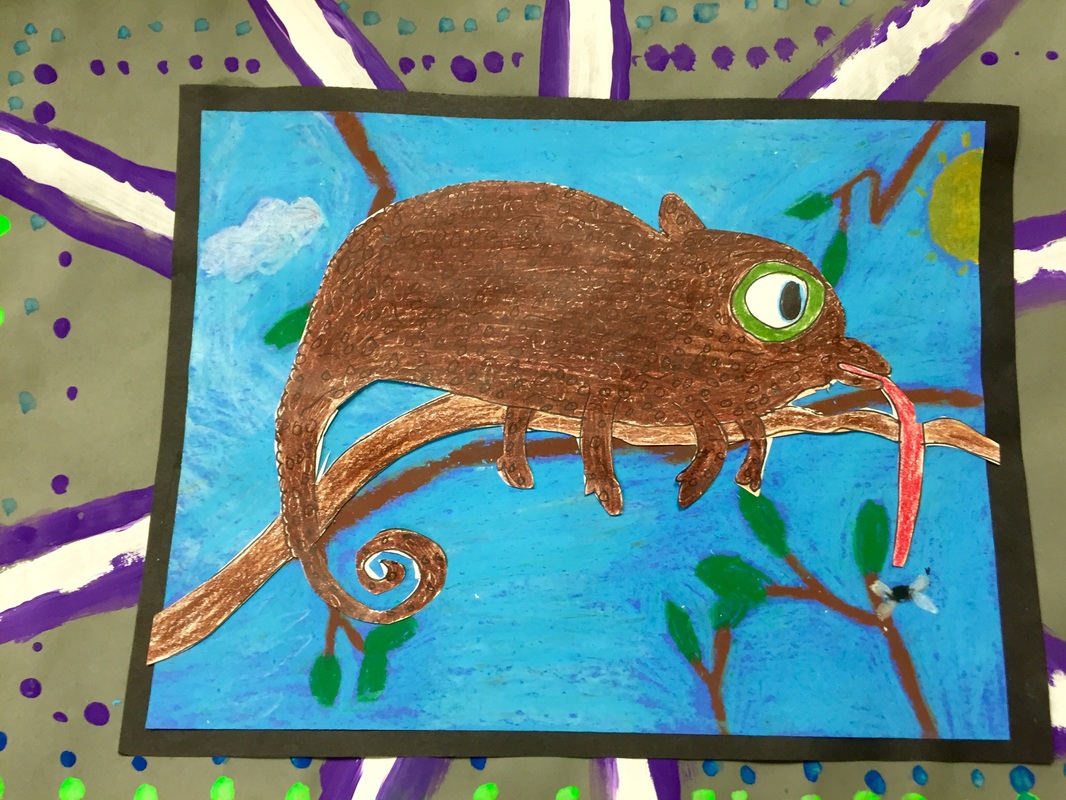
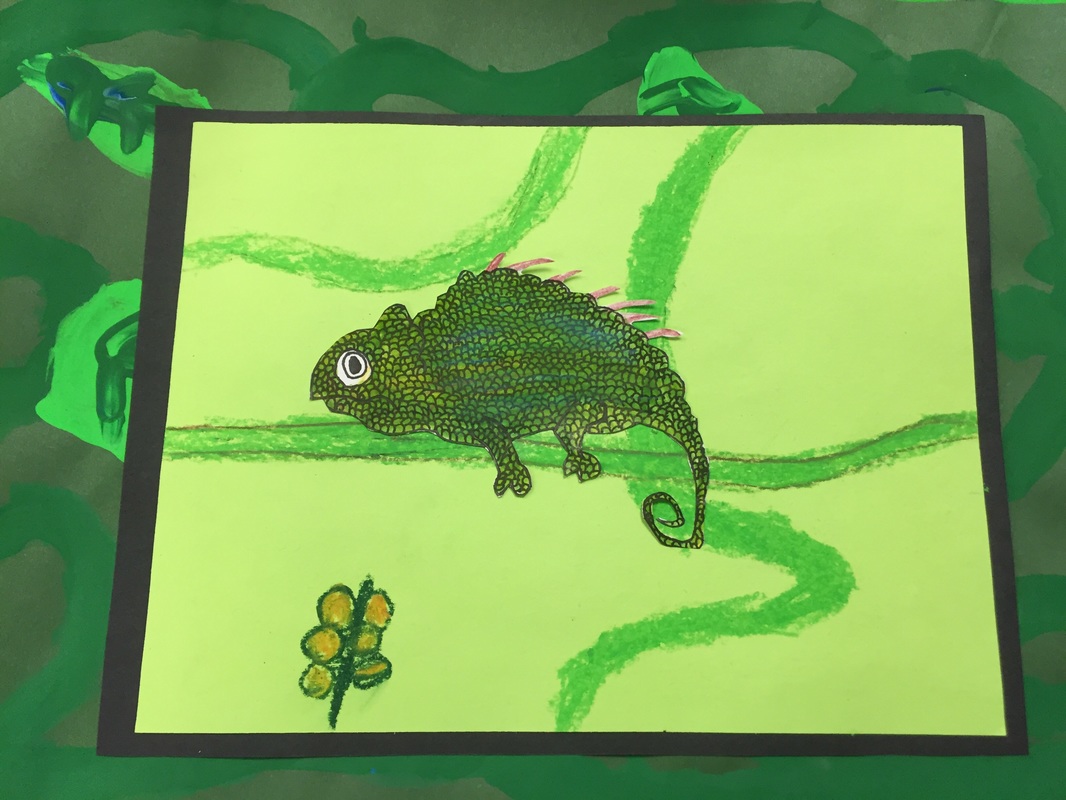
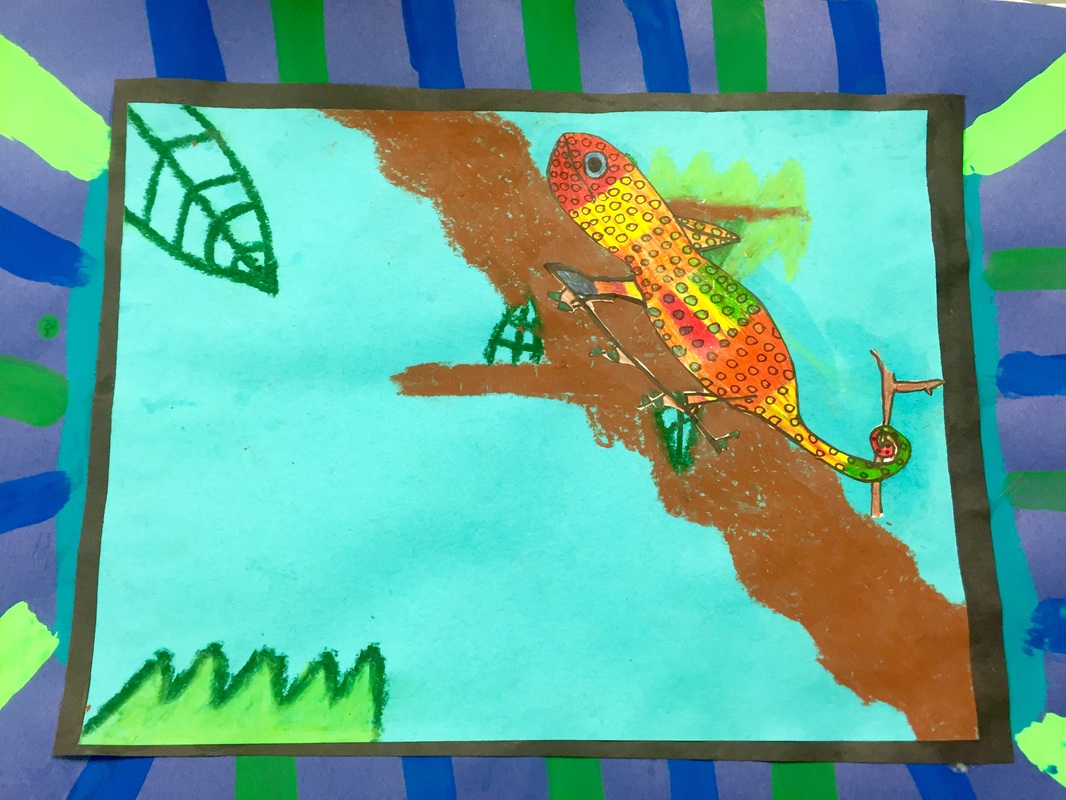
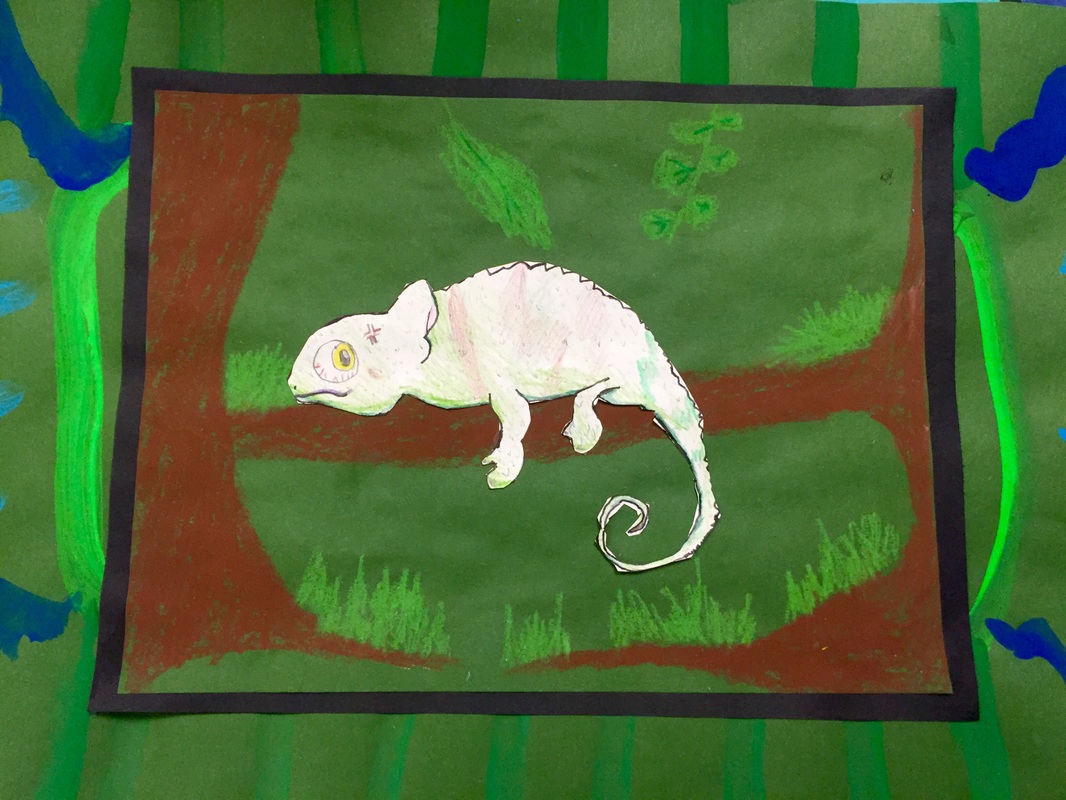
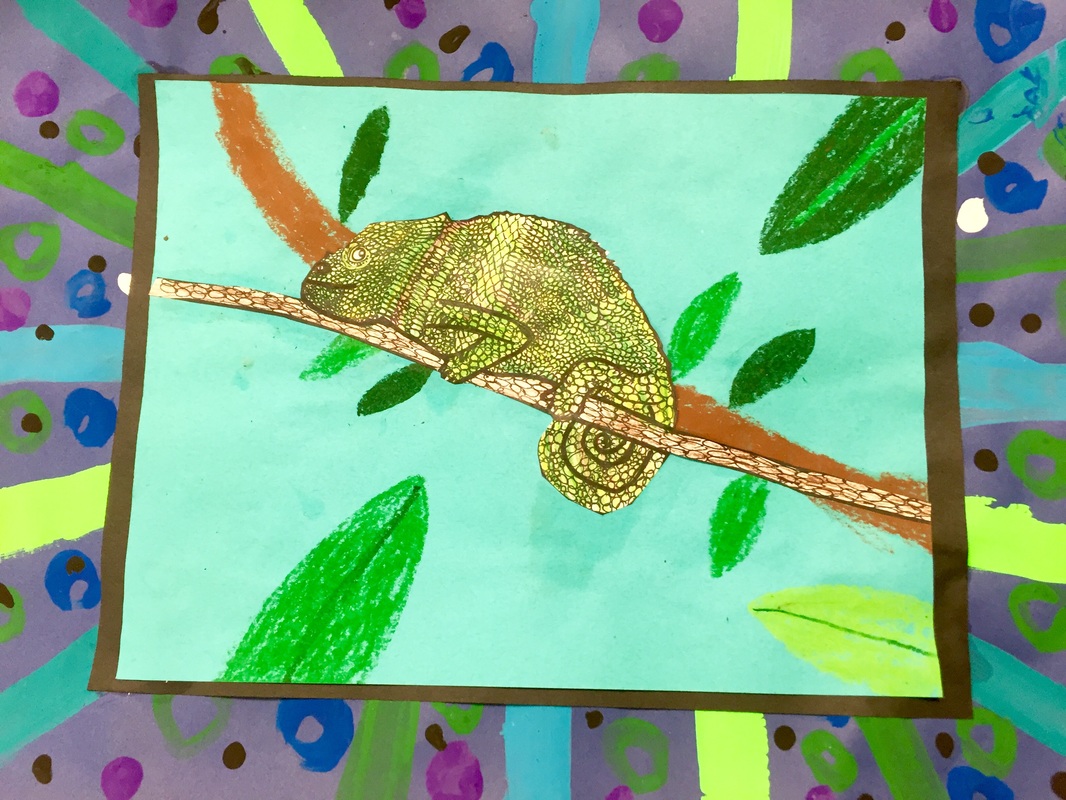
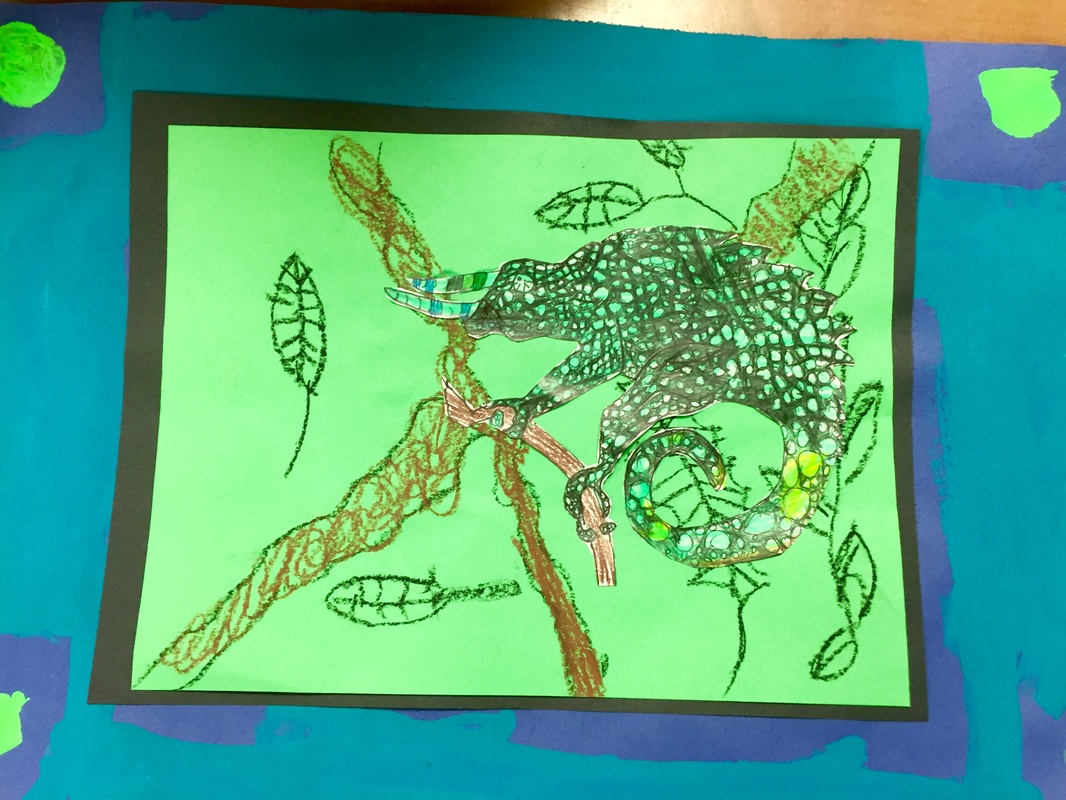
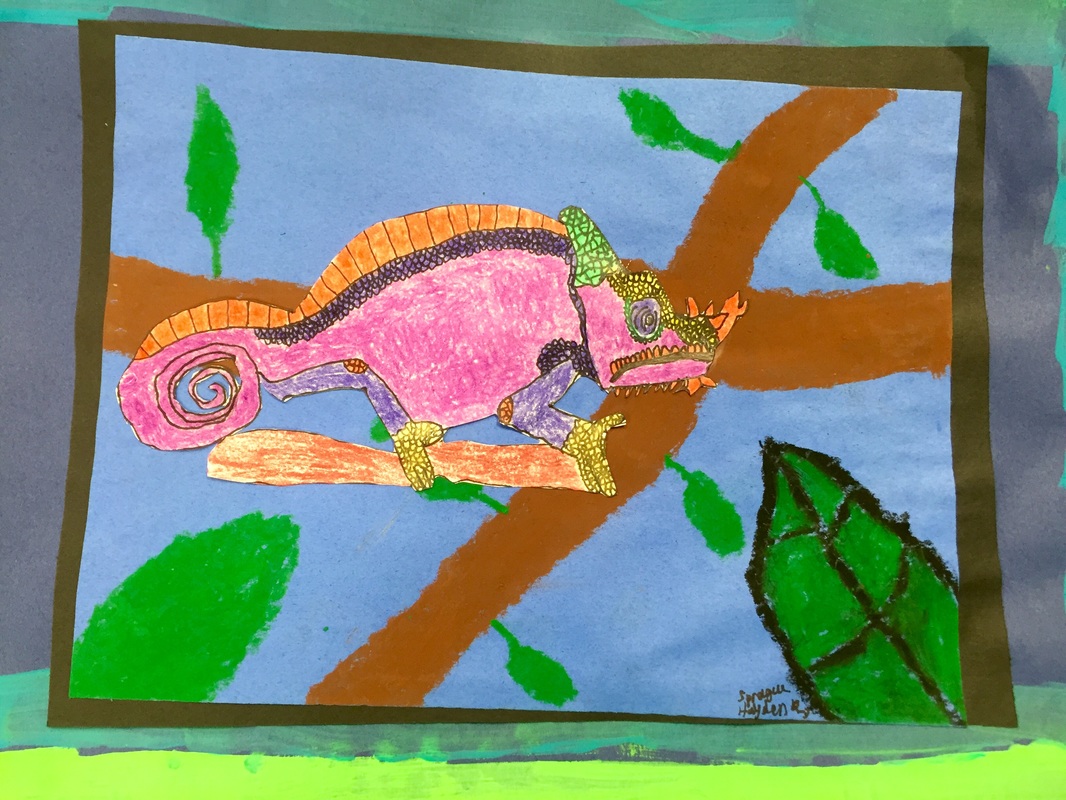
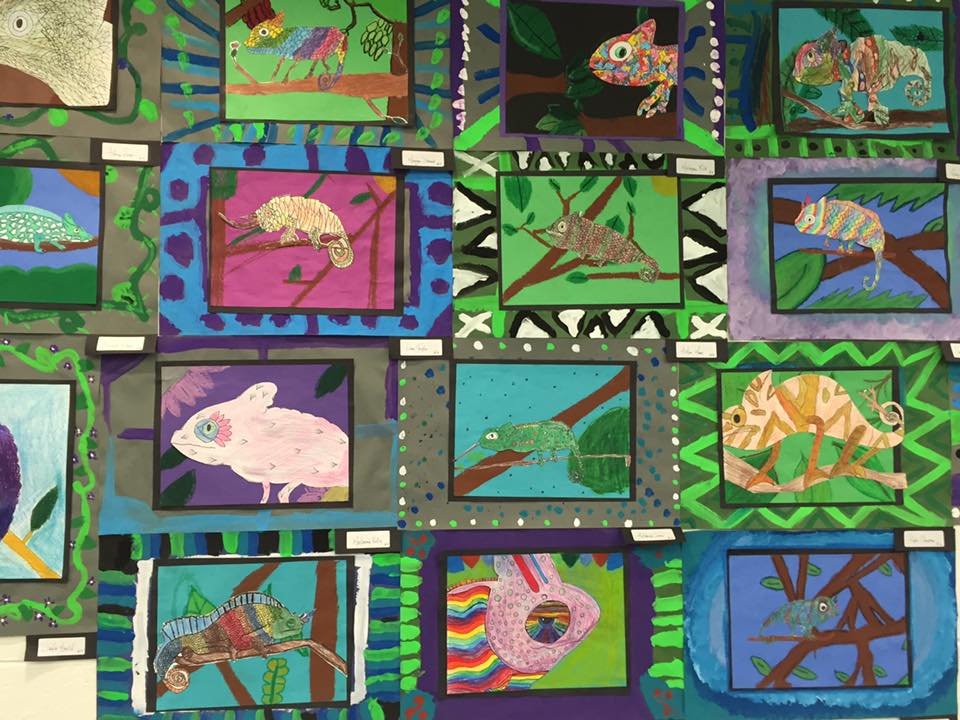
While searching for one final BIG unit to wrap up the year, I really wanted my 5th and 6th students to focus on texture and detail. The chameleon project was very successful for many of my students.
Day OnE
I had hidden a bunch of chameleons around my room years ago for a substitute and one day my students pointed them out and asked what they were for. Well, they were just for fun.
For this unit, I started by gathering books about chameleons from the library. I hung up several pictures of chameleons around the room and I created a packet of visuals with images of chameleons for students to use as reference while practicing in their sketchbooks.
We started learning about chameleons by looking at this video. Then we practiced drawing chameleons in our sketchbooks. Once we had practiced, it was time to draw the chameleon on white paper. I encouraged students to crop and enlarge the chameleon.
Day Two
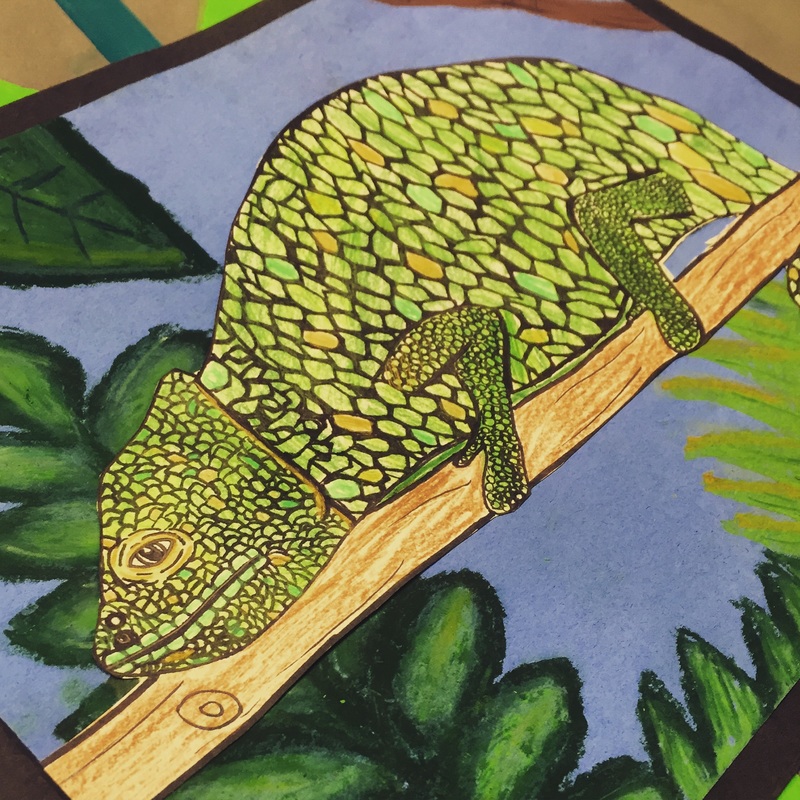
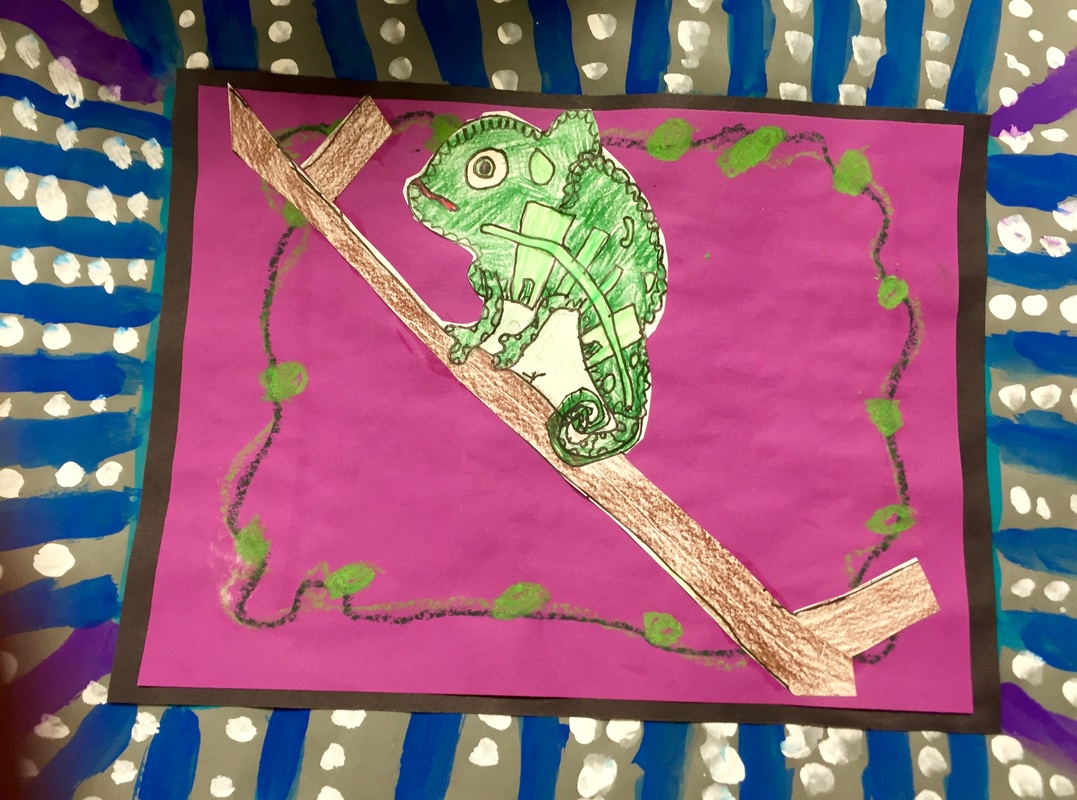
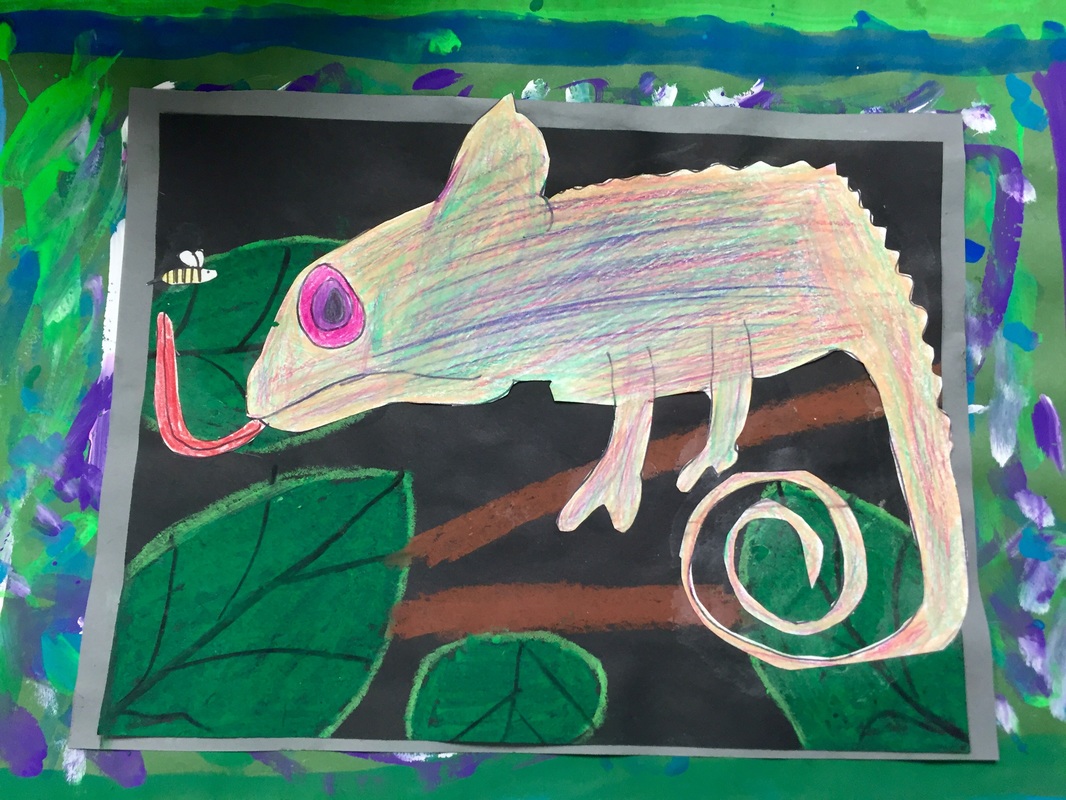
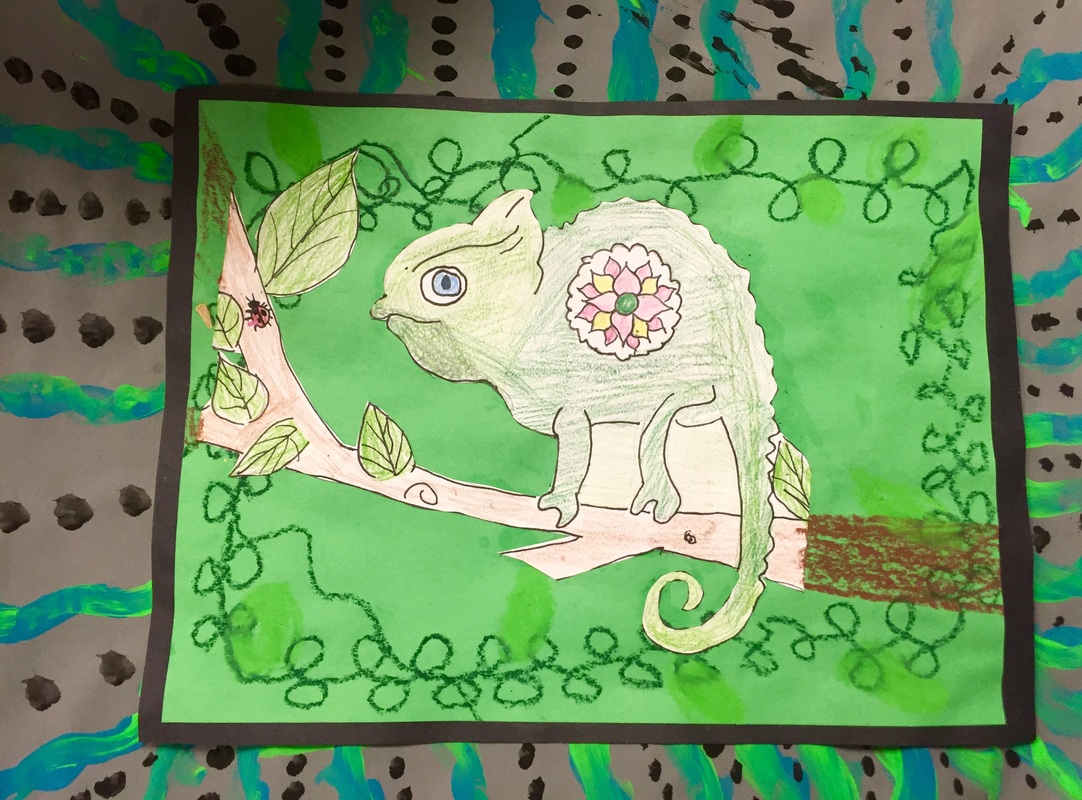
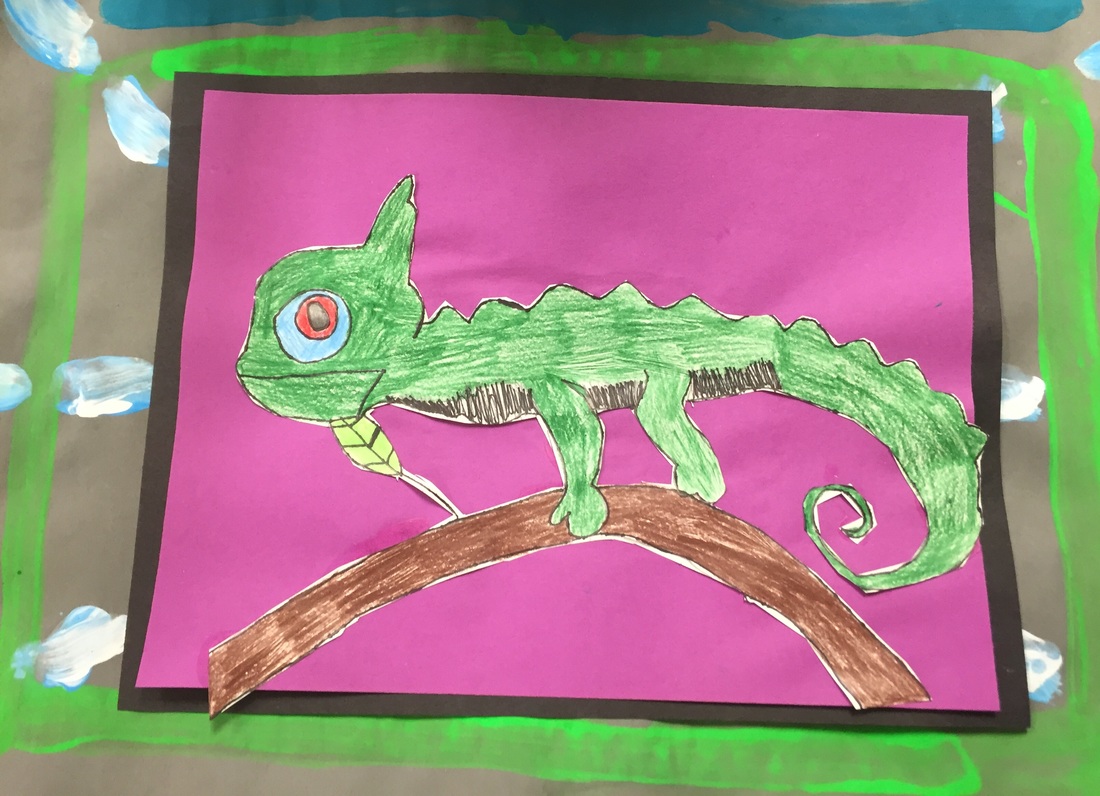
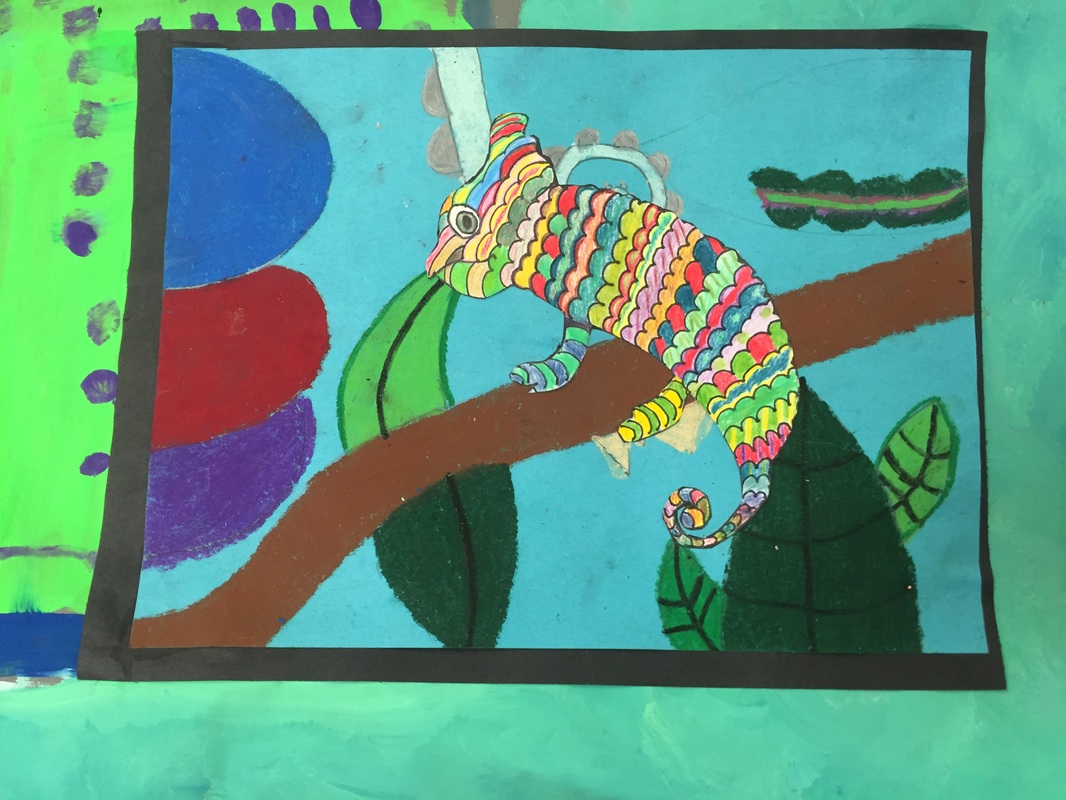
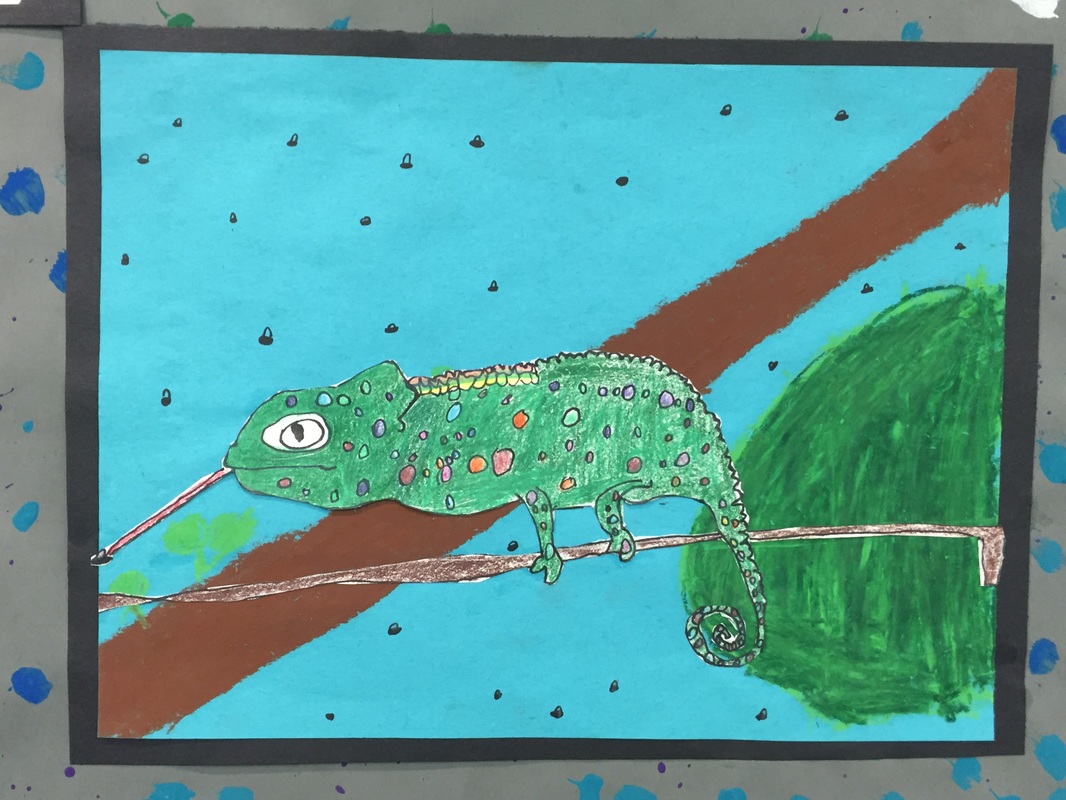
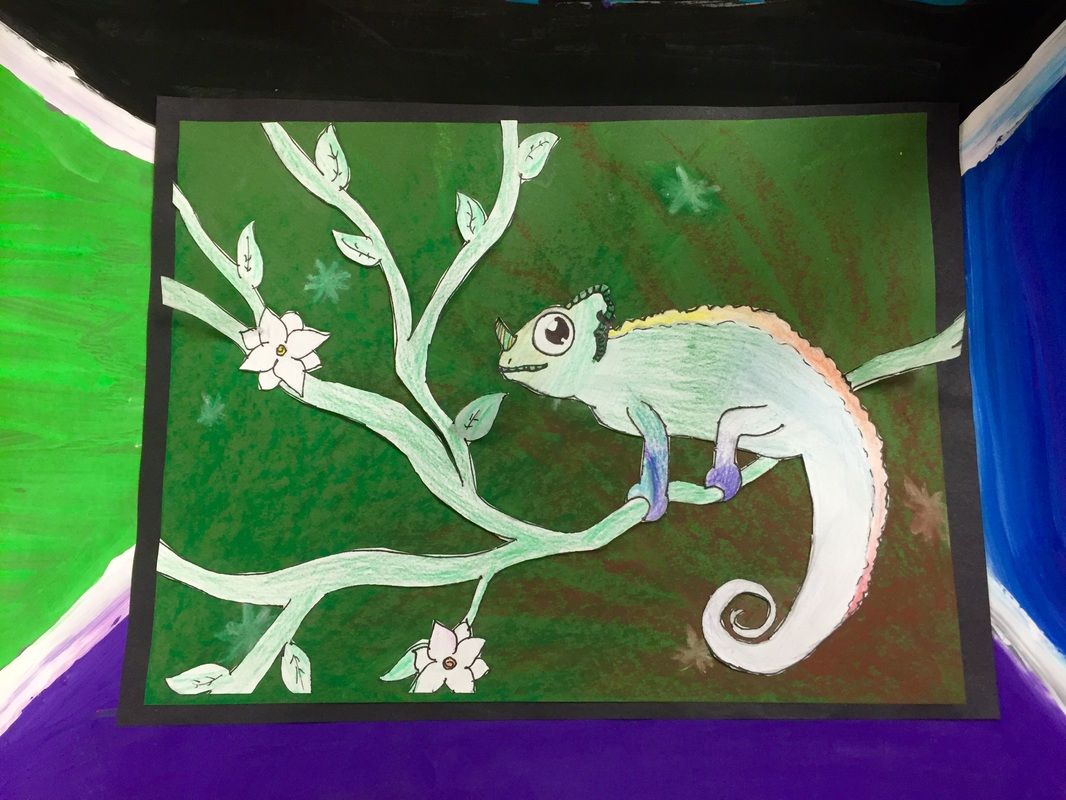
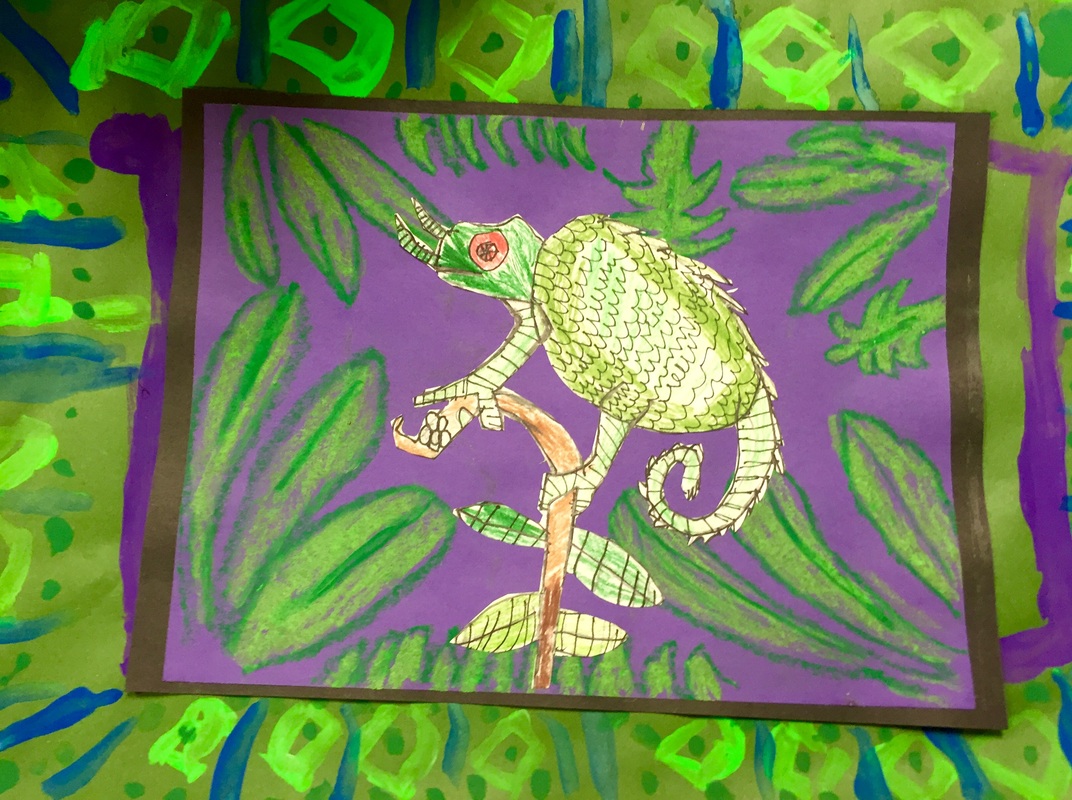
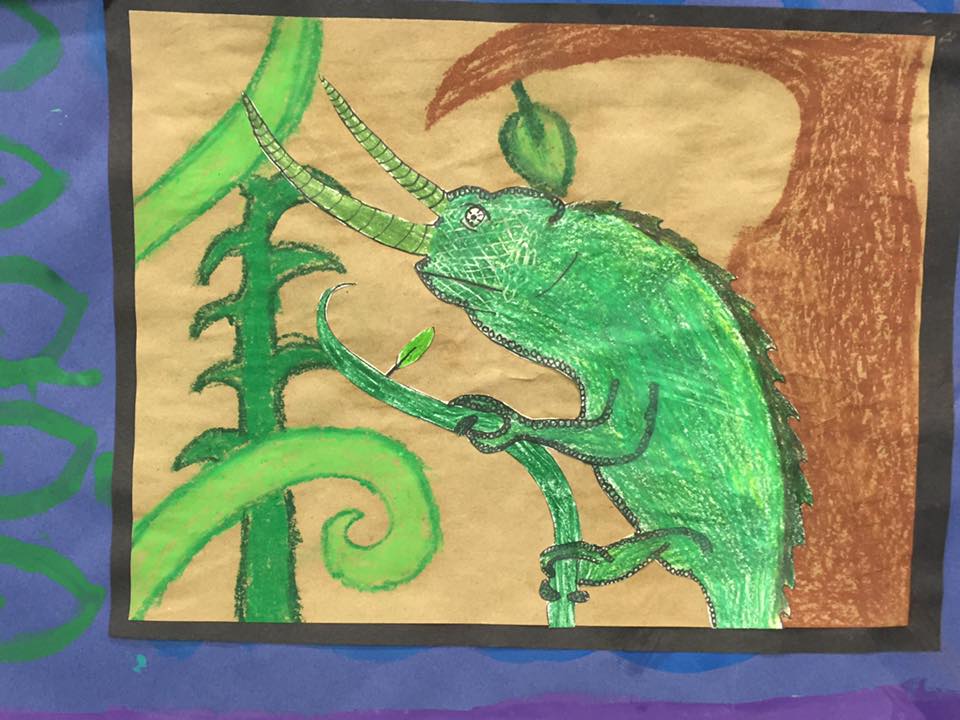
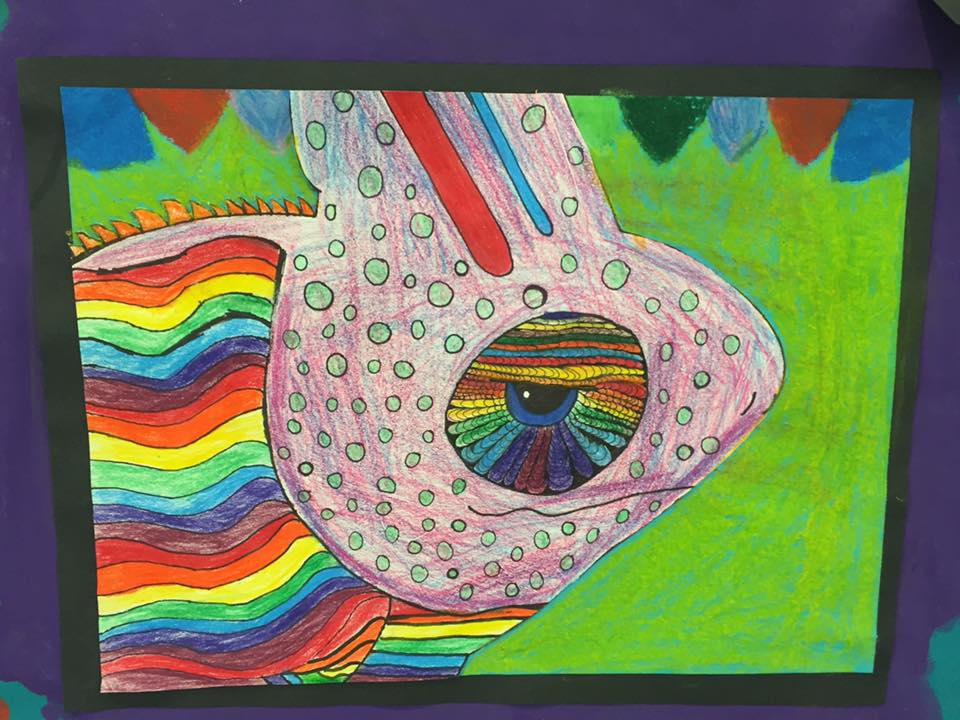
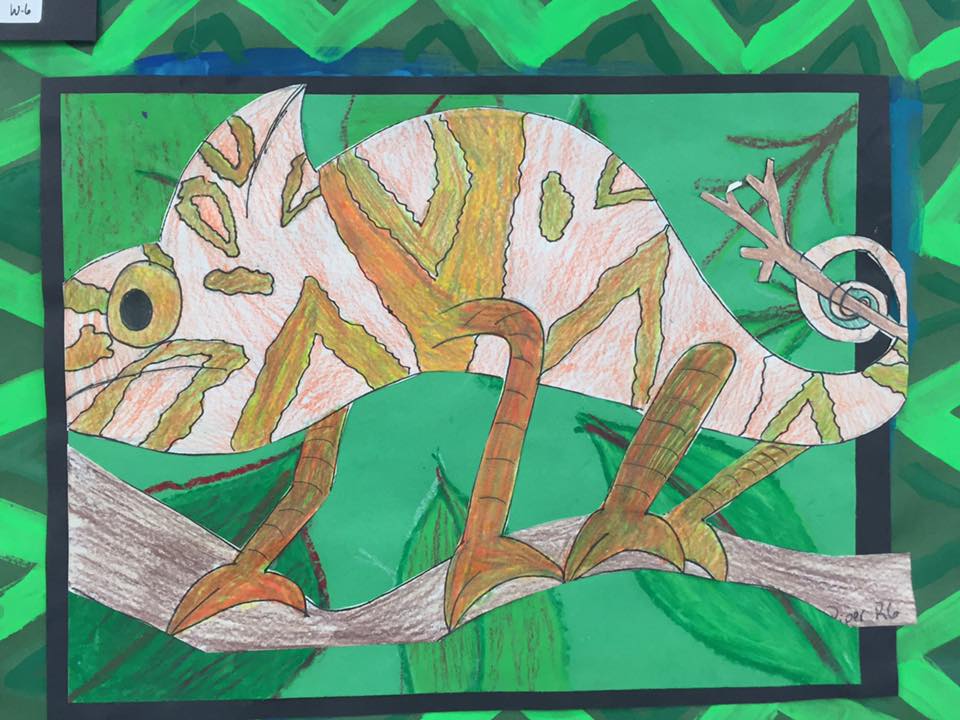
After drawing the chameleon on white paper, we used skinny sharpies to draw LOTS of texture. Chameleons are covered in scales so students had to draw the texture. Also, if their chameleon needed to be grasping on to a branch, I encouraged them to draw the branch and outline it with the skinny sharpie.
Once students had everything outlined, we used colored pencils to color the chameleons. Students could make their chameleons as realistic or wild colored as they wanted. I showed them a video of a time lapse of an iguana drawing as an example of how much time and layering it takes to color something hyper realistic with colored pencils.
While students were coloring, I pulled them over to a painting station to paint a frame for the project. Students could choose between green, blue, or gray paper. At the painting station, they could use cool colors to make a design around the edges of the paper.
Day 3
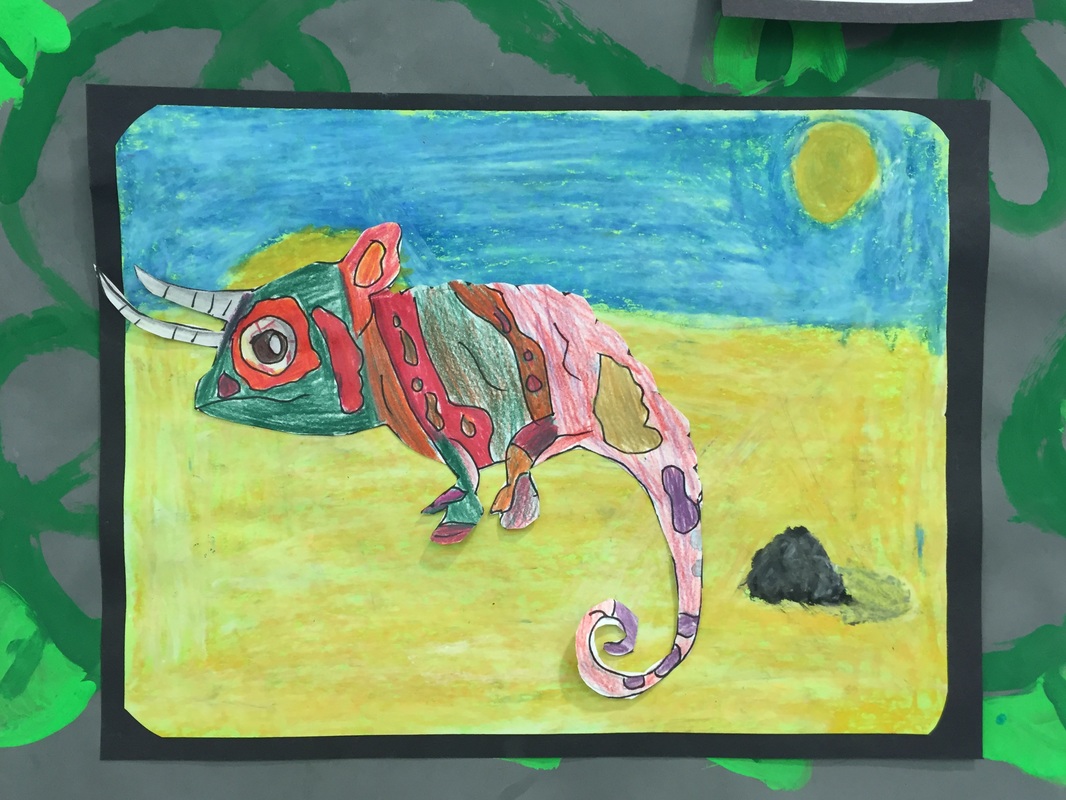
Now, before getting out the chameleons in order to finish coloring, I explained that first, we were going to use oil pastels to create a background. I explained that if we were taking a photo of a chameleon, and we were using a special lens with our camera, most likely the camera would zoom in on the texture of the chameleon's scales, which would make them really in focus, leaving the background out of focus.
Today, students chose a background color of 8X10 construction paper and used oil pastels to draw and color the background. It could be a dessert, a leafy jungle, or something else, but the important thing is that they do not draw it with pencil first, as the pencil will make it too small to color with oil pastels....they can draw it with chalk first if they are afraid they will mess up. The chalk is erasable. Which makes it nice.
If anyone did not paint the frame last time, today is the day to paint the frame.

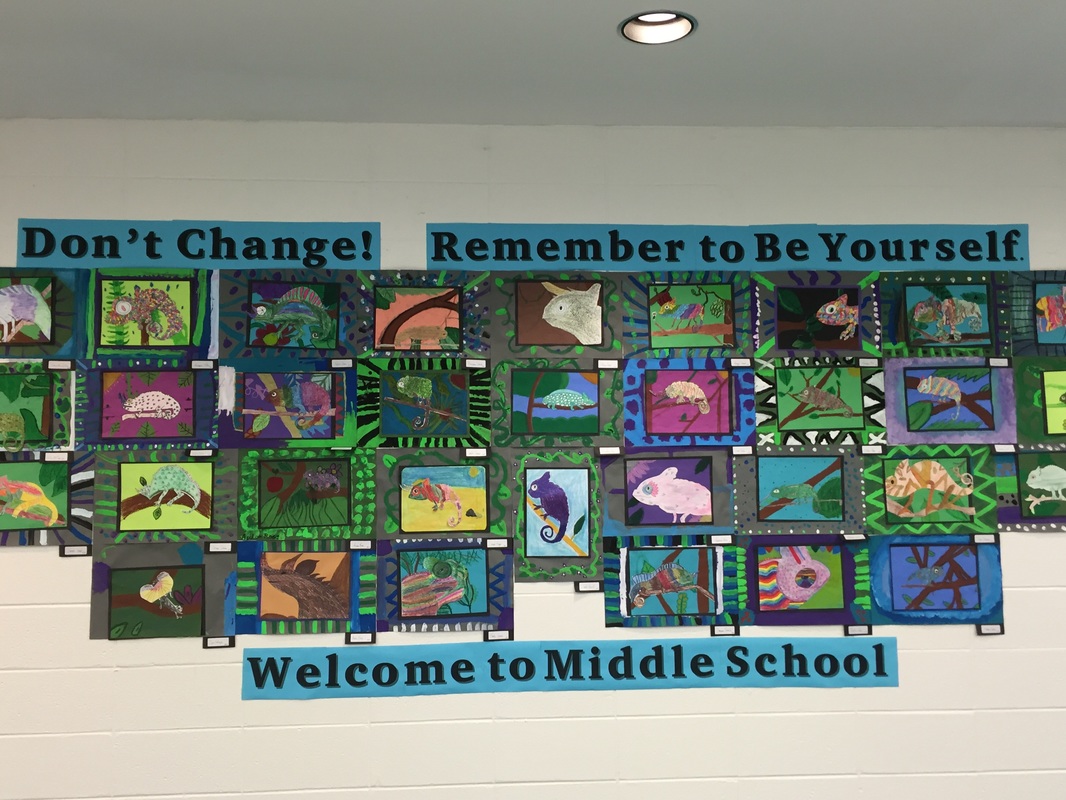
I saved the chameleons over the summer and used them to make a big back to school display in the cafeteria for open house.
Day 4
If students need to color the background with oil pastels, or paint a frame, they need to do that today. Also, if they need colored pencils to finish coloring the chameleon, they can use those to do that. Finally, if they are done with everything else, they are ready to cut out the chameleon and glue it to the background. I brought in my very small detail scrapbooking scissors for students to borrow if they needed them. Once they used a glue stick to glue the chameleon to the background, they used regular white glue to attach it to a matte, and then to the frame we painted a while back. I encouraged them to add details on top of the paint on the frame with oil pastels, but most of them did not do that.


 RSS Feed
