
But after that first weekend at home, kids realize that school is real and they have to go every day....and I always see way more crying the first Monday after the weekend.
And if their first day of art is on that Monday, I QUICKLY remember how much crying goes on in Kindergarten. This year was no exception.
There was so much crying this year. SO MUCH!
Kids cry because they miss their mommies...they cry because they wanna go home...they cry because they ran out of time to make something they really, really wanted to make...they cry because someone is mean to them....they cry because they can't cut good or their drawing is all scribbly, after they did it that way last week.

 It is exhausting and it is hard to make the lesson fun when someone is wailing and refuses to go to the safe spot, refuses to hold the little 'calm down bear' I keep in my room just in case such a situation arises...but with this trusty script, I am able to keep the plan moving and try to barrel forward with lesson regardless of Moaning Mertle Missing her Mommy.
I hope I don't sound hopelessly impatient. I promise, I'm not...but after doing this lesson over 60 times, it is hugely successful for the second week of school, even with a few criers here and there.
When students walk in to art, I remind them to find their chair from last week. If they cannot remember or they were not here, wait at the front and I will help them once I close the door.
To read the first week of art script/lesson plan, click here.
Once students are seated, I go around the room with the seating chart I wrote down last week. I say, 'I'm going to point to you and say your name...if I get it write, just smile at me, if I get it wrong, help me say it right or if you are in the wrong chair, I can help you find the right one.'
After checking the seating charts, I remind them of my name. Then I point out the color chart at the front of the room and begin writing stars. I take 30 seconds to remind them how they can earn stars by being good listeners at the beginning and by doing a good job of cleaning up at the end. Then, I have them all point with me to each of the three places in the room with the 'hands off' symbol.
I quickly demonstrate how to draw a person on the board, since I showed them last week, they should remember how we did it, but sometimes there are new students in the room who have no clue what is going on.
I explain that I will hand back their drawings with the sharpie markers. If they forgot to trace their name or they forgot to trace their eyes or they wanted to draw a few more details, take just a second to do that with the maker...if they don't need the marker, they can leave it on the table and I will hand them the crayon basket.
I demonstrate how to find a skin color, hair color and shirt color and I literally color each one of those things on the drawing that I made last week. I say, 'Don't just take a green and scribble everything in green, do your very best coloring, making this look just like you.'
In order to demonstrate this step, I drew myself in front of every class and I saved my version in the class boxes so that I could continue the demonstration this week.
I point out my finished examples hanging on the board and explain that I am going to stop coloring mine and show them how to cut it out. I point to a big red bucket and explain that I will put this on their table after they have had a few minutes to color...they can grab a pair of scissors from the bucket and use them to cut out their drawing. This is a good time to remind them about scissor safety: don't cut clothes, skin, hair, only cut your paper.
If someone has a lot of fear about cutting, I demonstrate drawing an oval around one of my sample drawings...and tell them they can cut on the oval. If someone feels confident about cutting, they can cut on the black outline, but I suggest everyone 'shadow' cuts their paper.

Each example of cutting: oval drawn around, shadow cutting, and cutting right on the line
I say, ' Now shadow cutting means you cut it out, but you leave a white outline or 'shadow' around the outside edge of your drawing....last week, a boy wasn't shadow cutting, he was cutting right on the outline and you know what he did? He cut his head right off!....now if you are cutting and you accidentally cut off something important like your head or arm...its okay, don't cry (did I mention that there is a lot of crying in kindergarten?!)....don't cry, just save your arm or head (I am saying all of this as I shadow cut out my example).....and I can fix it. All of your scraps and trash can go into the red scissor bucket on your table.
Now, mine is cut out, I'm also going to snip off this strip that has my name on it. You will grab your drawing, your name and anything you accidentally snipped off and you will bring it to the front.....'
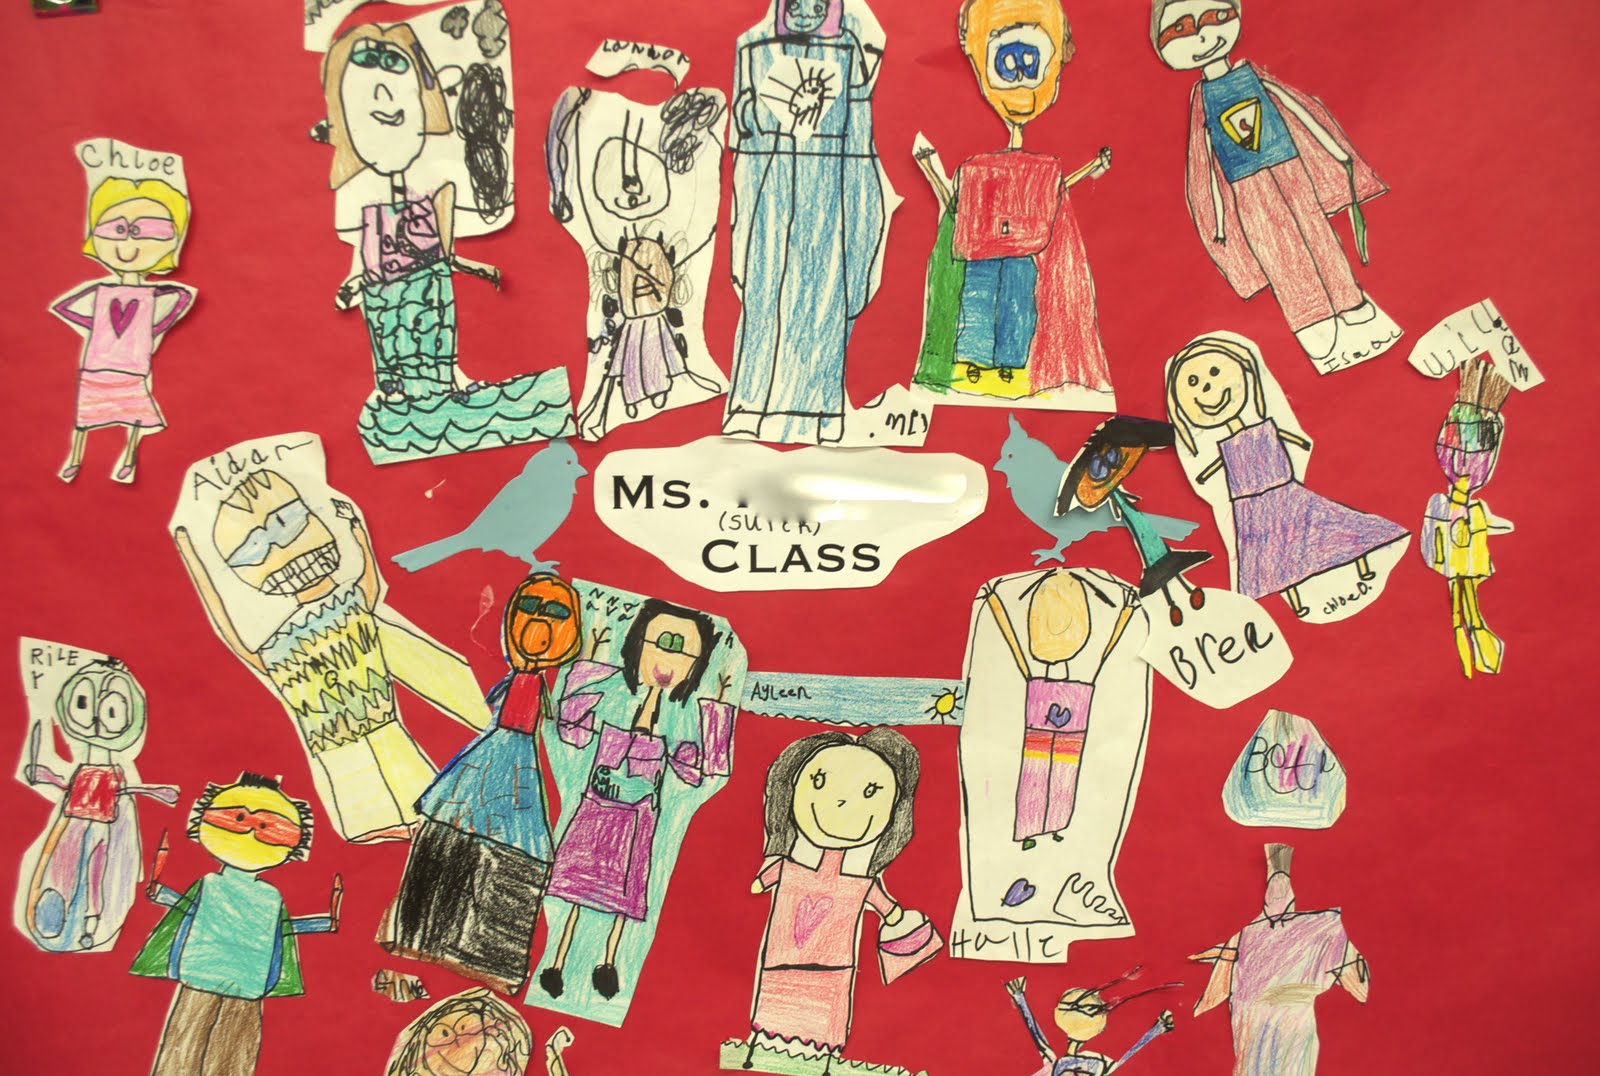
I shuffle across a big red paper taped to the board...."This says 'Mrs. Smith's Class'....when you come up to the front, I am going to ask you, "Keegan, where do you want to go? James, where do you want to go? And you will tell me, near the baby blue cardinal, near the title, or near a friend, and I will glue you on to this big red paper. This paper is a mural, say that with me, MURAL...good!

kindergarten mural
Now, when your teacher arrives at the end of art, I will surprise her with this beautiful creation and she will LOVE IT! She will say, 'OH, I LOVE IT, IT IS SOOOO BEAUTIFUL!"
first grade 'super' mural
'Now when I get done gluing you to the big red paper, you can go back to your chair," I shuffle back to the other side of the board. 'Since I am keeping the big drawing we did last week for your mural, I want to give you a chance to make something to take home today. I showed you how to draw yourself on a big paper, today you get to draw yourself on a little and small paper. In the red bucket with the scissors, there are some small pieces of paper.
Grab one and draw yourself again, the same way we did last week (I demonstrate as I talk). Head, body, details, you can use a sharpie or a pencil. Then color it, just like the big one, skin, hair clothes colors. Then cut it out. Then in the bottom of the red bucket are some craft sticks. You will be taking your mini-you and gluing it to a craft stick....this way, it becomes a PUPPET! (Lots of oohs and ahs!)
I demonstrate how to put a big dot of glue at the top of the stick, then press the puppet's legs onto the glue dot and hold, counting to 30 (or as high as they can). I do the wiggle test, if the puppet stays, it will be on there for ever, if it falls off, press it to the glue and hold a little longer.
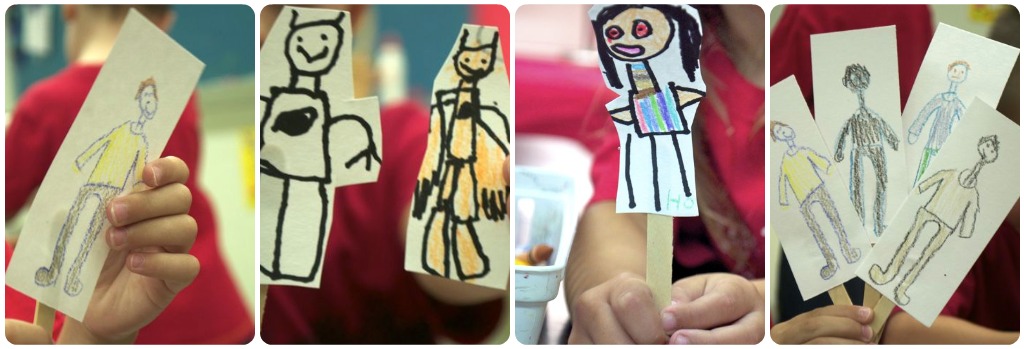
'Now, if you make your puppet like mine...(I show them a really good one I made), you may have time to make a friend. This is my student.' I put on a little puppet show for them using puppet voices: "Hi Mrs. Mitchell, what are you doing today?" "Oh, just getting ready to go make some art." "ooh, can I come, that sound fun!" "Sure, here we go!" "doo do do do do do!"
|
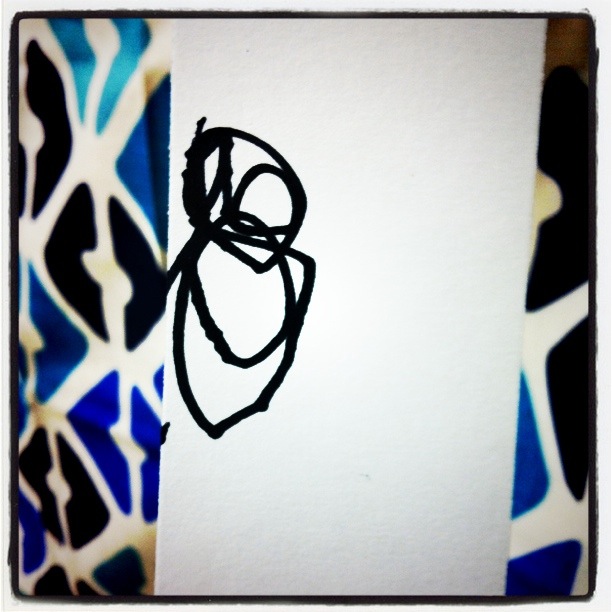
| This is Michael Jackson's ghost...You know, Michael Jackson, he died? This is his ghost. |
Then I pass out the drawings, sharpies, crayons, scissor buckets...staggering each item so that students have a chance to work with each thing in between otherwise they will just grab the scissors and start hacking it up without coloring it. I go around and help make a big oval for students that might have trouble cutting. Once students start bringing me their picture for the mural, I remind them to go make their puppet.
Then, with less than 15 minutes left, I pass out the glue. I put two glue bottles on every table so kids have to share. I have found that by restricting their time with the glue, I force them to take longer on each puppet, and they make fewer messes (there are still some messes though). Also, I wait until I have every big drawing glued to the mural before I pass out the glue, it helps me keep track of who hasn't gotten theirs on yet.
Just like the first week, I give the 'ONE MINUTE WARNING', flash off the lights and count the stars. When students line up, I have them take their puppets.
"Hold up one puppet, we are going to do a mini puppet show in line....now use your best puppet voice to repeat after me: S-M-I-L-E'. Good. Now on the count of 3, we are going to have a puppet dance party, here we go: '1.2.3.DANCE.DANCE.DANCE.'
'Now stop. On the count of 3, puppet rodeo....on the count of 3...puppet floating in space...puppet swimming...puppet karate...(I do two or three until we are out of time and the teacher is waiting in the hall.)
'Now, look at your puppet and say 'shhhhh, puppet be quiet in the hall'.....now tuck your puppet in somewhere safe...remember, no puppet shows in the hall, we just had a fun one! When you get to the room, put your puppets somewhere safe, like your cubby, backpack or folder, where ever your teacher tells you and then when you get home, you can put on a puppet show for your mom, dad grandma, cat, dog, baby brother or sister.'
At that time, I quietly open the door, reminding students to show me their smiles...and I hand the teacher their mural where she oohs and ahhhhs......
In between each class, I take all of the trash from the buckets, refill them with more sticks, and puppet papers and I organize the glue, sharpies, and crayon baskets so that they are easy to distribute for the next class. I quickly grab the next 'mural' paper and hang my example for the next class on the board. I determine if anyone was absent in the next class and make sure I am ready to find them a chair, since it will be their first time in art, and I make sure I have an extra paper ready for them. I quickly glance over the seating chart and try to memorize at least a few names so I can call on them during class.
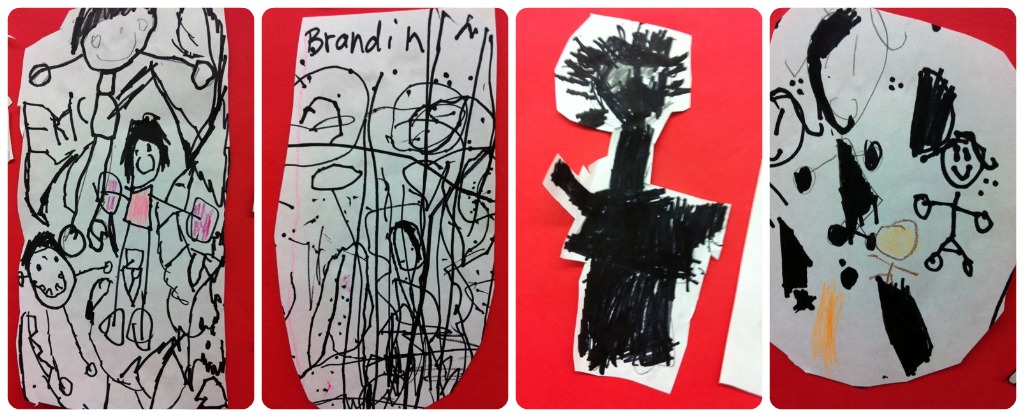
For kindergarten, I get a wide variety of finished outcomes...even though I do a directed drawing the first week. This project teaches me much about my students and where they are developmentally.
I do basically the same lesson for first grade, but first grade classes are 10 minutes longer so I set up my art easel, shut off one row of lights and use it as a puppet stage. The kids love going up to the front to put on a mini show for the class.

Also, I have the 1st graders draw themselves as super heroes for the mural, with magic pens and paintbrushes, capes and masks....it is a fun change for me since I do the lesson so repetitively!
Supplies needed for this lesson: 6X12 drawing paper (from week before), sharpies, crayons, scissors, glue, craft sticks, small white paper for puppets You can see week 1 here!
You can see my 'script' for the 1st week of art here.

 RSS Feed
