I really like it when my students work BIG. I have had them work big in collaborative paintings before, and during summer school, but this is the first project that I have facilitated with 18X24 paper, with 340 students at the same time.
It was a challenge.
The kids seemed to enjoy the project and the paintings look amazing in the halls, but it was a LOT of behind the scenes work.
When I ordered paper this year, I only ordered 18X24. I usually order 12X18 white paper, but the only 12X18 paper I ordered was construction paper. Literally all of my drawing paper has been 18X24, which has meant a lot of cutting it down to size for each and every activity.
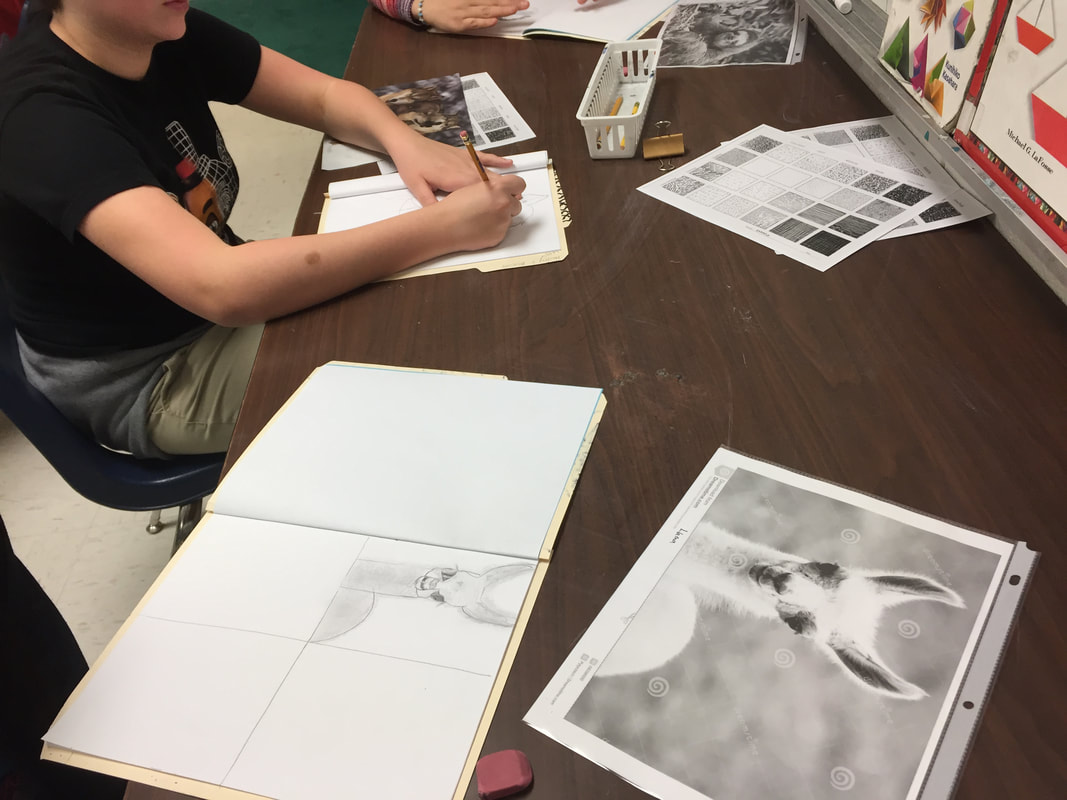
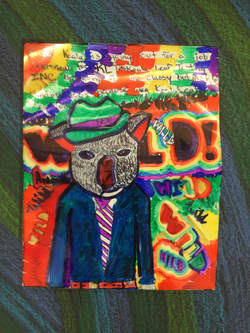
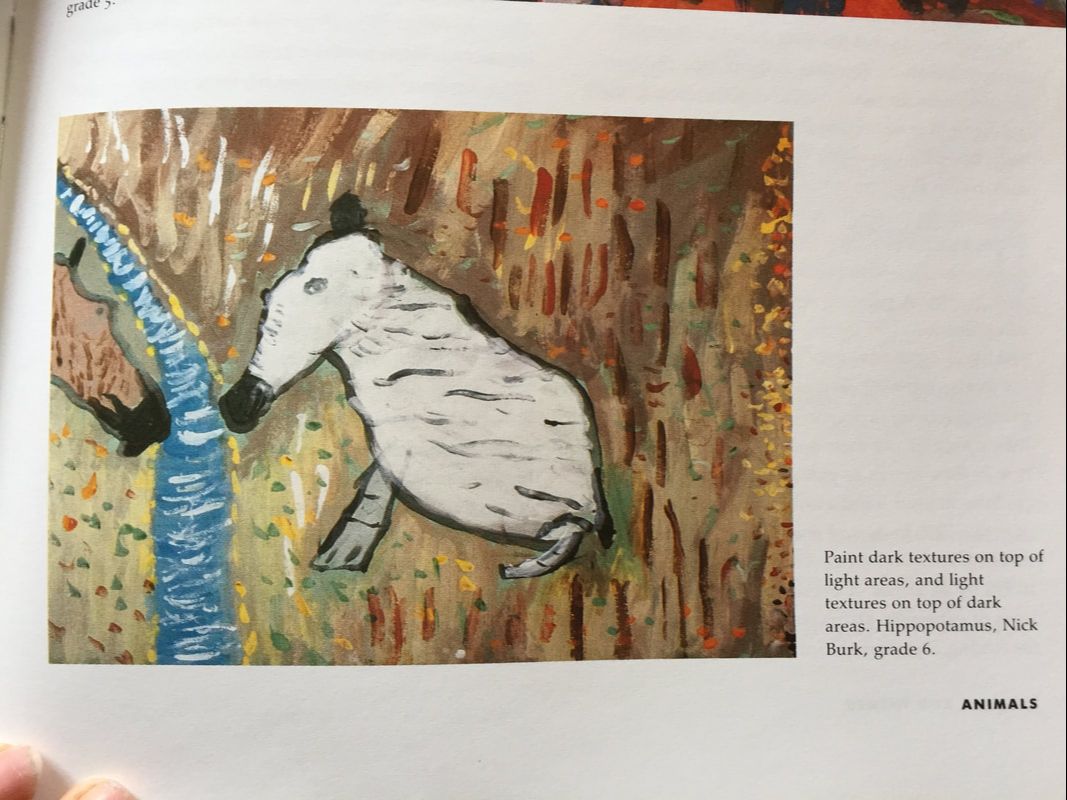
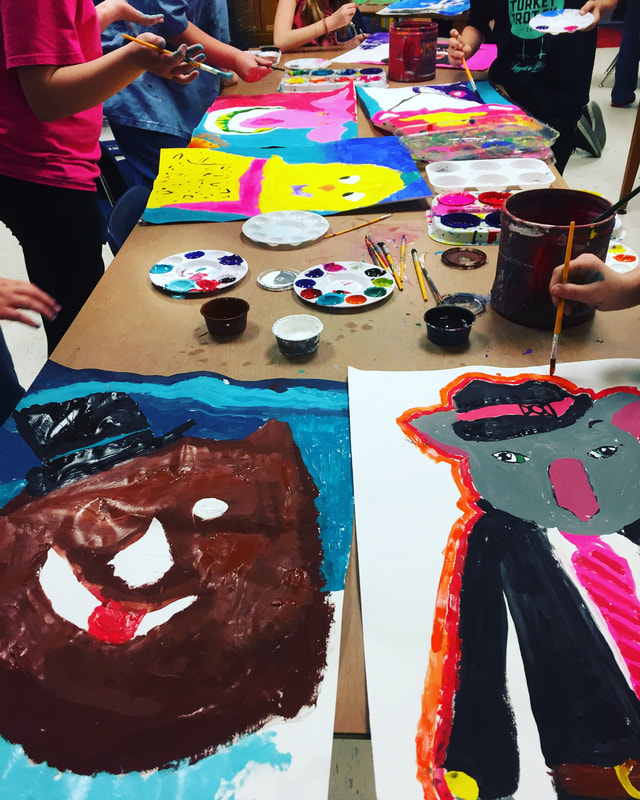
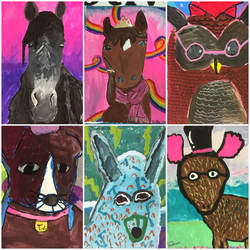
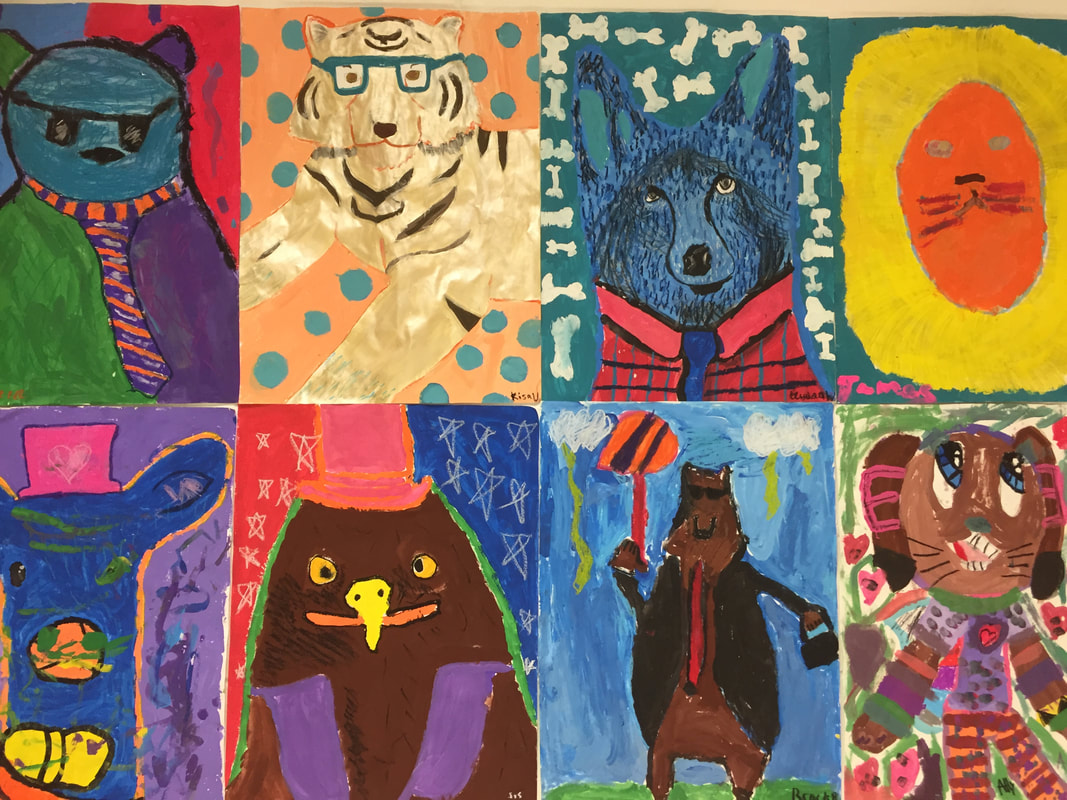
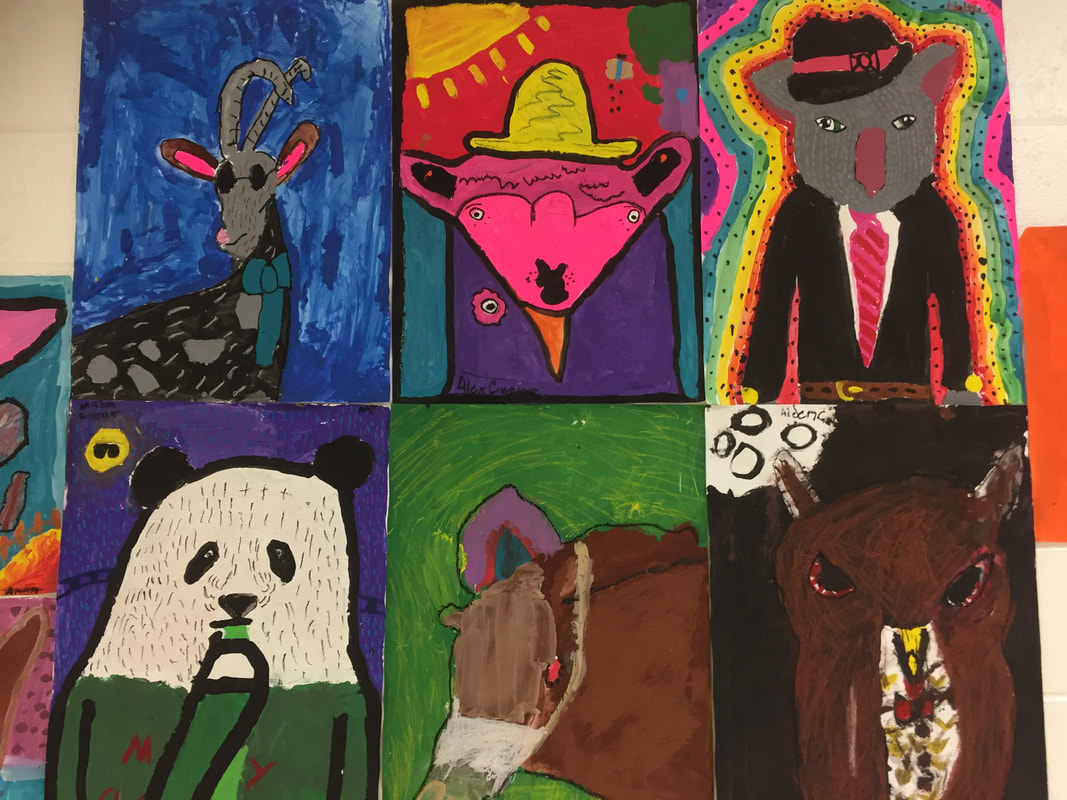
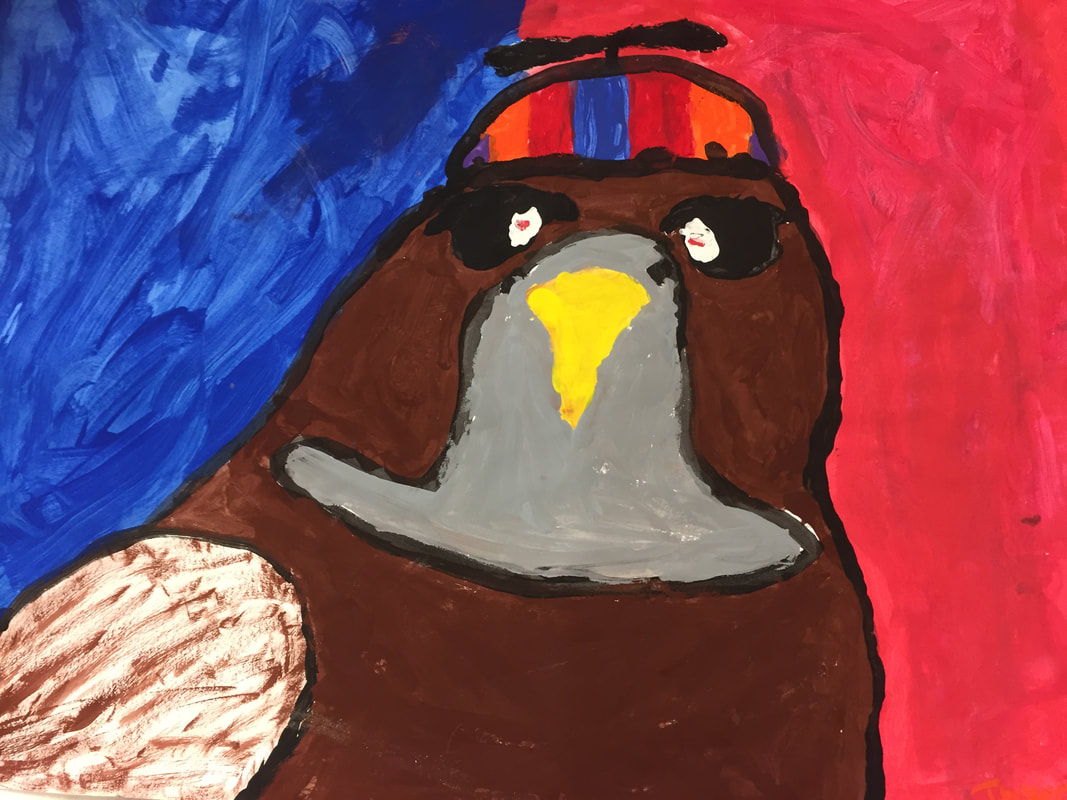
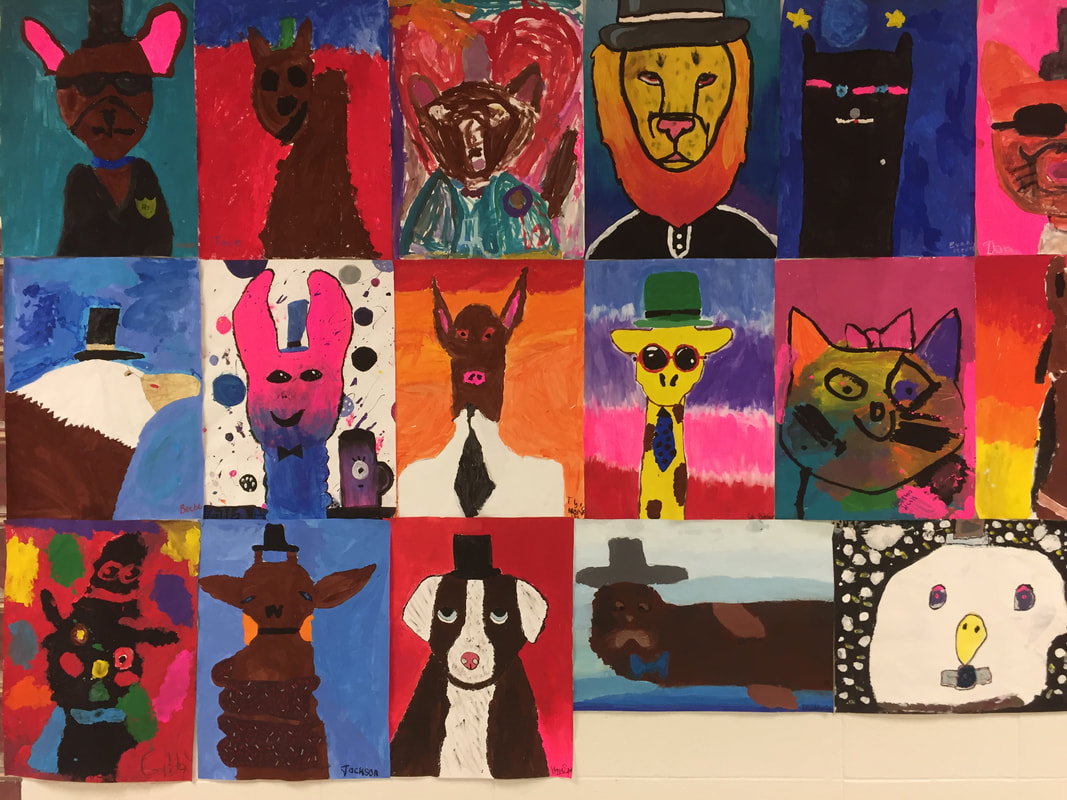
For this project, I decided to have my 5th and 6th graders work BIG. First, we studied an animal. I told them to pick an animal with either feathers or fur as we would be focusing on the texture. We talked about personification, how they could put a hat on it or give it some human personality.
Students drew a couple of small thumbnail sketches, and then a final bigger 8.5X11 drawing in their sketchbooks. We looked at images from books and I also printed a bunch of black and white pictures of animals to use as references too. Students had to practice hatching, cross hatching, stippling and 'scribbling' to draw different textures in their sketchbooks. I printed a sheet from here as a reference.
This part of the project was inspired by the illustrator Indi Maverick AND blogger/instagram Art Room Britt and here. .
It was a challenge.
The kids seemed to enjoy the project and the paintings look amazing in the halls, but it was a LOT of behind the scenes work.
When I ordered paper this year, I only ordered 18X24. I usually order 12X18 white paper, but the only 12X18 paper I ordered was construction paper. Literally all of my drawing paper has been 18X24, which has meant a lot of cutting it down to size for each and every activity.
For this project, I decided to have my 5th and 6th graders work BIG. First, we studied an animal. I told them to pick an animal with either feathers or fur as we would be focusing on the texture. We talked about personification, how they could put a hat on it or give it some human personality.
Students drew a couple of small thumbnail sketches, and then a final bigger 8.5X11 drawing in their sketchbooks. We looked at images from books and I also printed a bunch of black and white pictures of animals to use as references too. Students had to practice hatching, cross hatching, stippling and 'scribbling' to draw different textures in their sketchbooks. I printed a sheet from here as a reference.
This part of the project was inspired by the illustrator Indi Maverick AND blogger/instagram Art Room Britt and here. .


We transferred the 8.5X11 sketch to a transparency by tracing it with a sharpie. Students colored with permanent markers on the back of the transparency and added the texture on the front with sharpie, creating a reverse glass project.
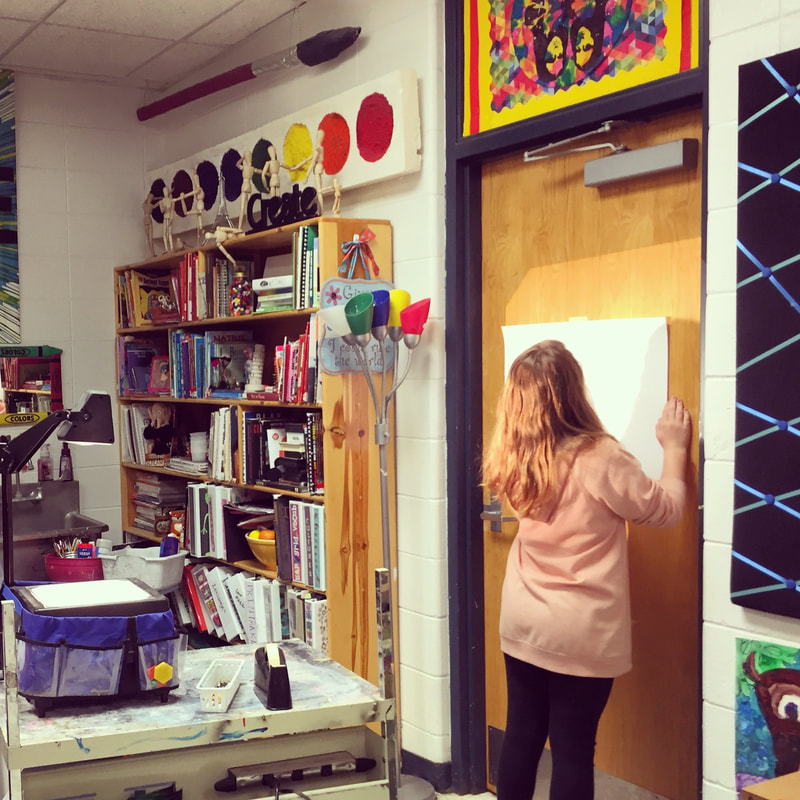
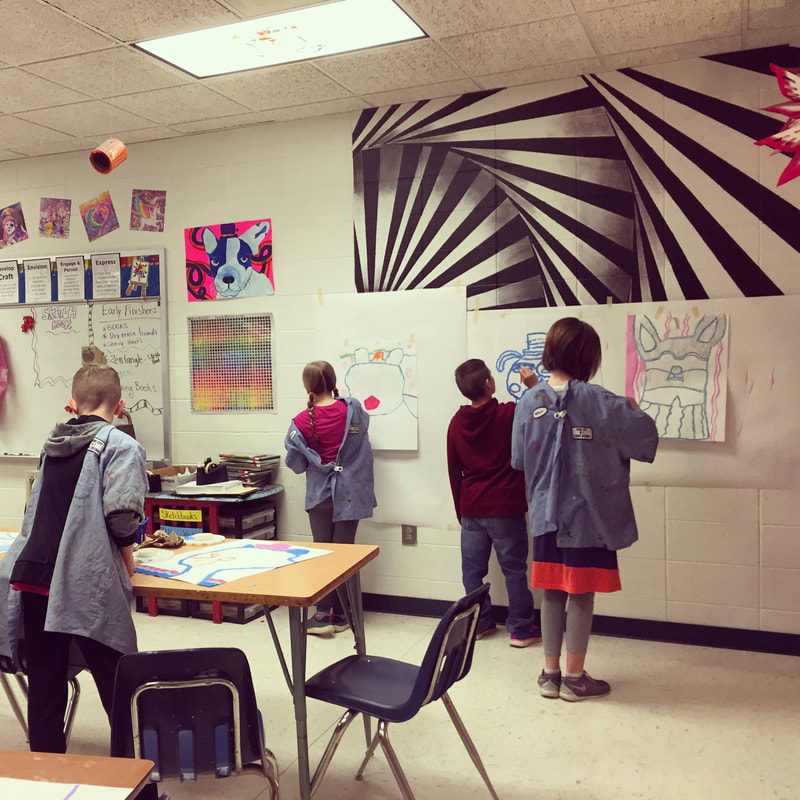
Before attaching the transparency to the frame, students went to one of 3 overhead projectors in the room. They taped their 18X24 paper to the wall and transferred their smaller drawings to the big paper. I told them that they did not have to transfer all of the texture.
Before attaching the transparency to the frame, students went to one of 3 overhead projectors in the room. They taped their 18X24 paper to the wall and transferred their smaller drawings to the big paper. I told them that they did not have to transfer all of the texture.
While finishing the transparency part (it took a few days for everyone to get to the projectors in every class), we looked at some contemporary painters. I ordered the Animal box on amazon and had each artist at a table. Students did a gallery walk stopping behind their 'favorite' collection. They did a 'small fires' activity to discuss their chosen artist. I had the info sheet for each artist printed for them to look at as a reference.

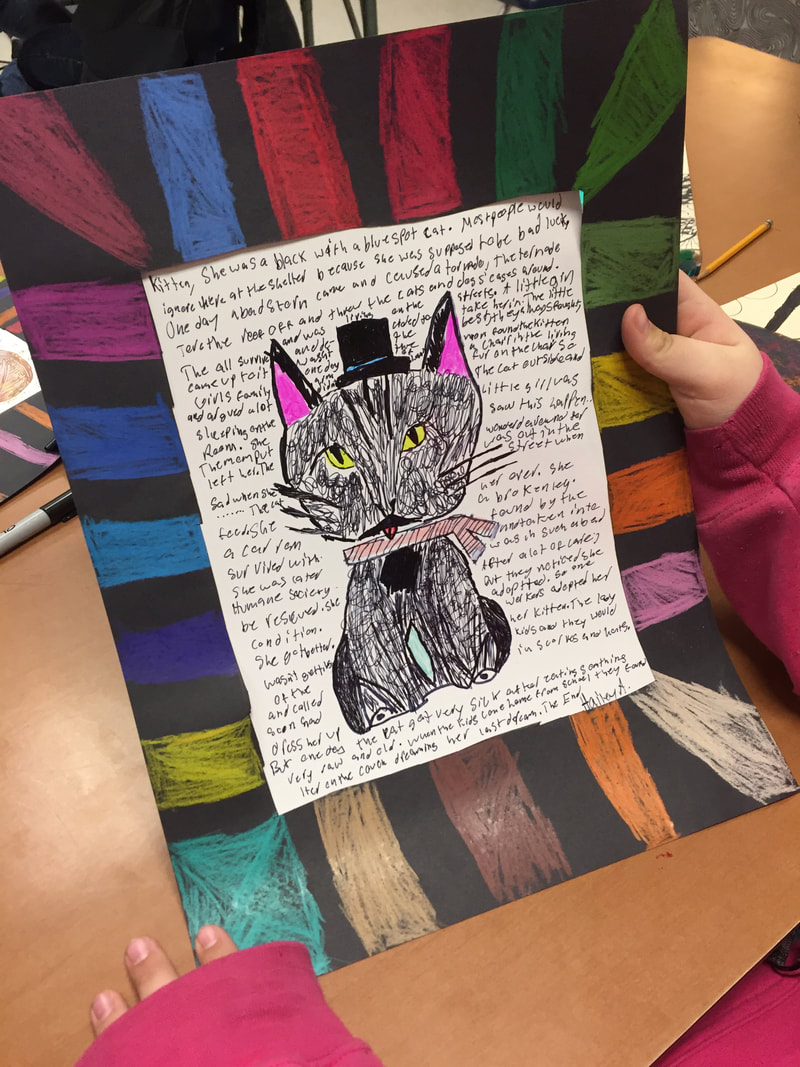
The frames were made with black 12X16 paper, colored with crayola color sticks. I taught them how to cut the middle out of a piece of paper. About half of the classes added writing or a story. The writing could be added as a background or it could hang down below the artwork. These aren't as stunning in the cafeteria as the big paintings, but we were doing a building-wide writing event in March so they fit the bill.
All classes would've added writing, but we were working on clay, working around snow days and a few interruptions so something had to get nixed.
All classes would've added writing, but we were working on clay, working around snow days and a few interruptions so something had to get nixed.
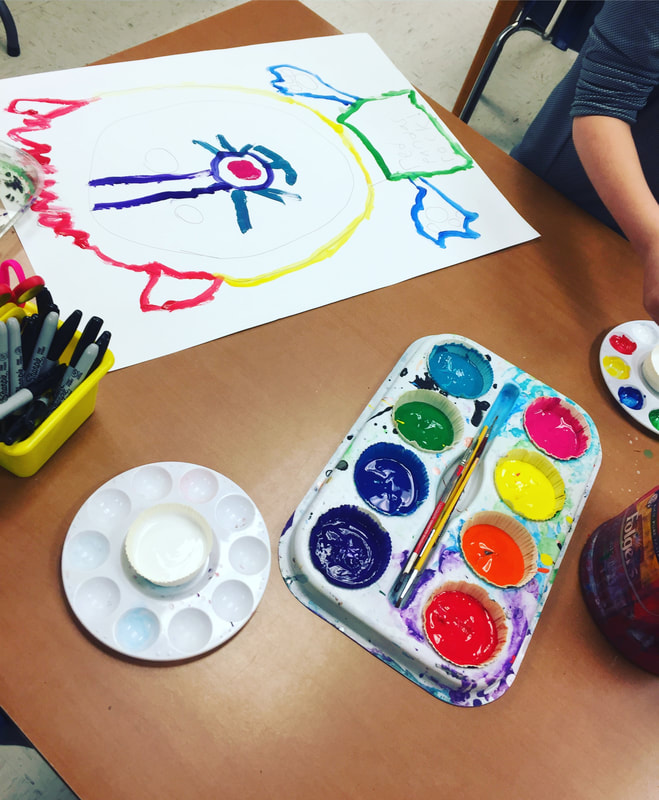
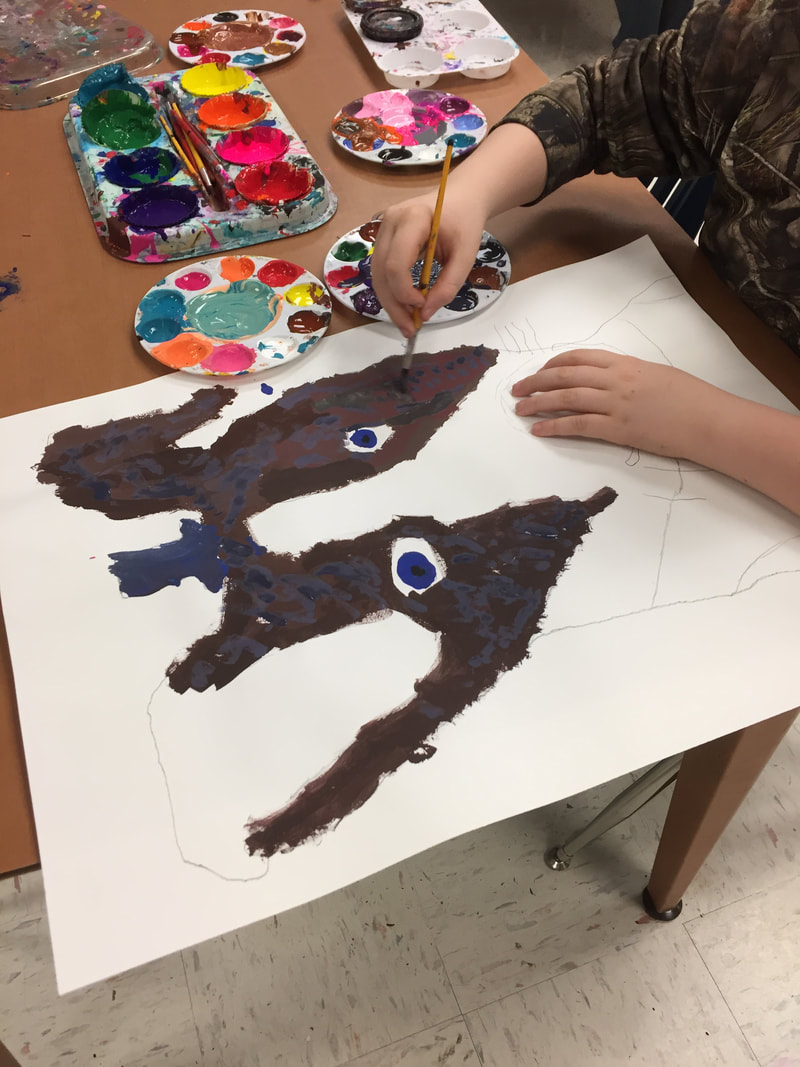
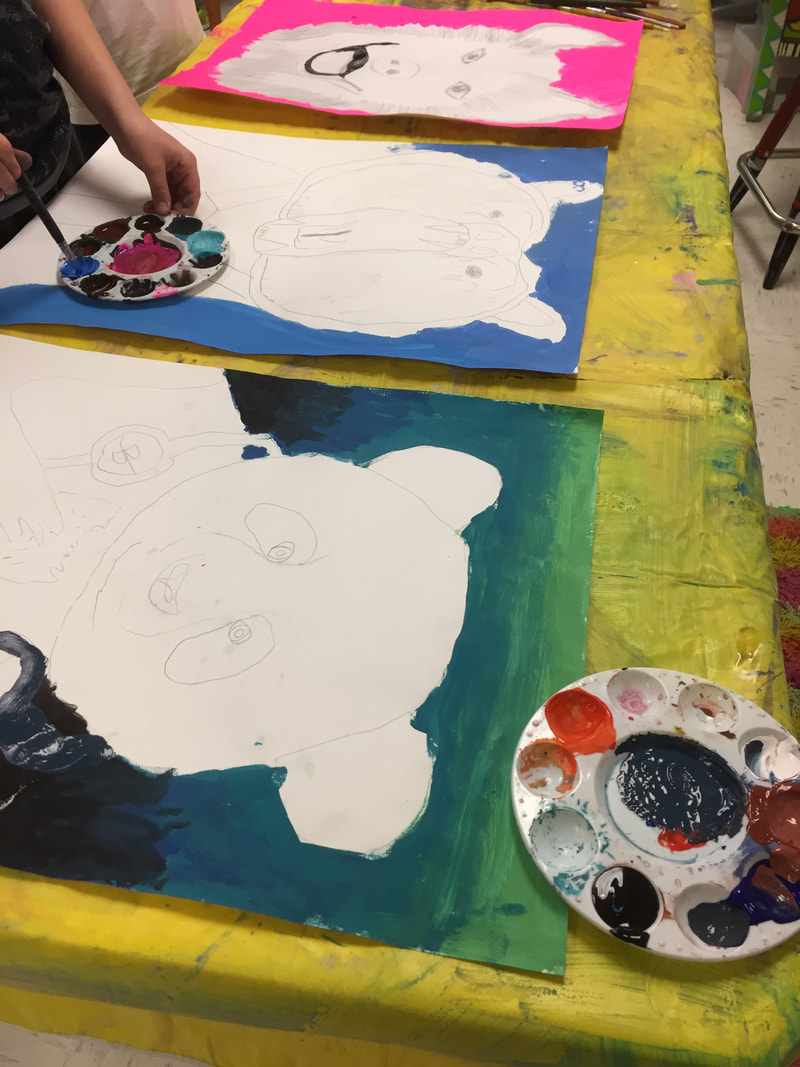
We finally started painting around the same time we were glazing a clay animal project. It worked well because on the first day of painting, only about half of the classes were painting at a time. This made a big difference in drying wrack space! The VERY first day of painting, I told them that they had to start with the background (not just outlines like the one below) as the paintings will flutter out of the drying wrack if the do not have enough paint on them. We learned that the hard way. They HAVE to have a large area painted in order to weigh down the artwork when it is in the drying wrack.
I set up the paint with the main colors in cupcake liners in pallets. This worked well the first week. By the 5th week, the cupcake liners were a mess and it was hard to pour paint into the small pallets for mixing without getting totally covered in paint. But each table had a big pallet and 4 small pallets. Also, I added another pallet with black, white and brown. Finally, the last day of painting, I had silver, gold and copper for adding details.
I had 4 small painting pallets on each table for mixing, but I did not let them wash those out after each class because we just did not have time at the end. My art classes are 47 minutes with 2 minutes in between. It would've taken 10 minutes or more to wash all of the pallets between classes so I just told them to leave the paint for the next kid and I soaked the pallets at night. I also did not have them wash their own brushes. We barely had time to wash hands and put papers in the drying rack.
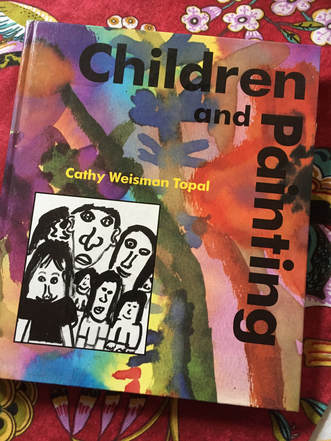
Before setting up the paint, I read through this book 'Children and Painting' by Cathy Weisman Topal.
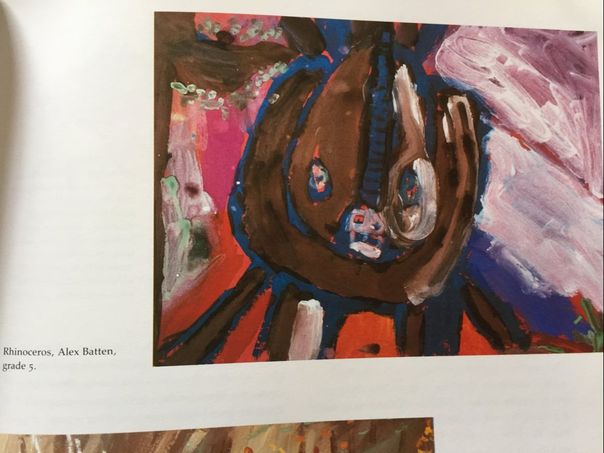
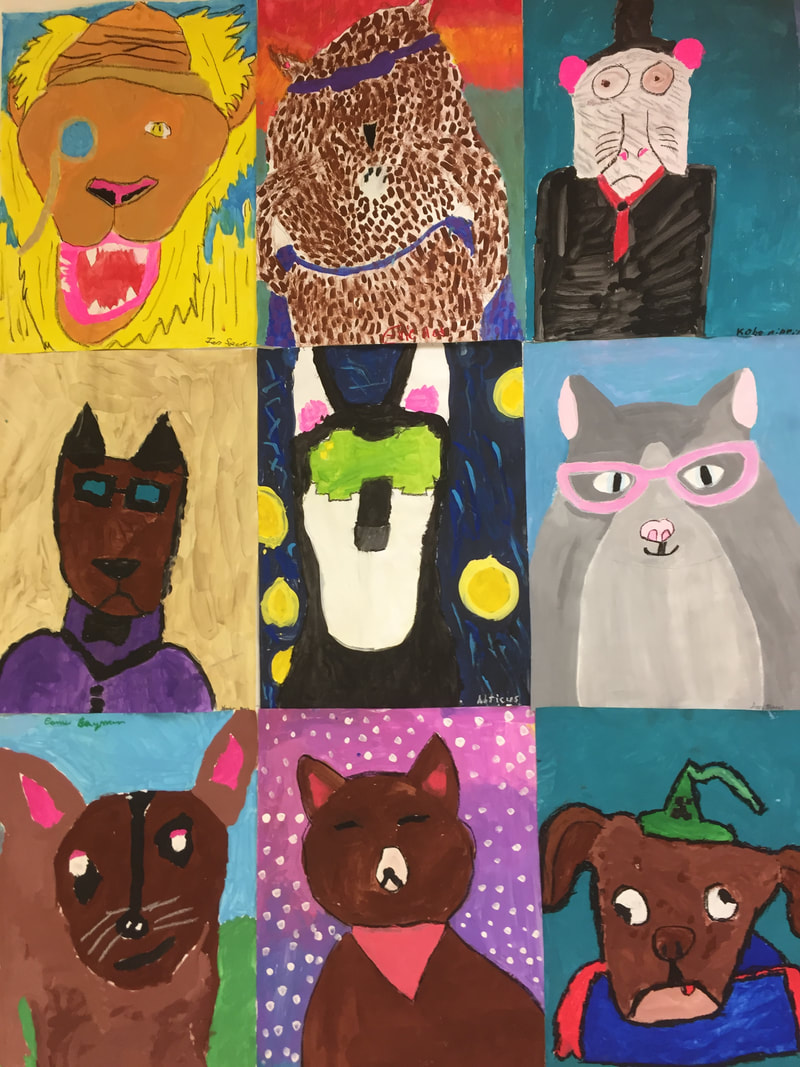
The book was published in 1992, but based on the results I got from my 5th and 6th graders, children's painting results haven't changed that much.
Many of my student's paintings would've fit right in amongst the pages of this book.
The book was published in 1992, but based on the results I got from my 5th and 6th graders, children's painting results haven't changed that much.
Many of my student's paintings would've fit right in amongst the pages of this book.
e
I did end up having a couple of days where all 170 students needed to paint on the same day.
Those were long, messy, tiring days with VERY full drying wracks. Since the 18X24 paper was too big for the drying wrack, the papers tended to limply sag down on top of each other.
I tried to put the wettest part of the paper towards the back of the shelf, and I put a copy paper lid under each side of the drying wrack to help hold up the papers. This helped a ton. Still, some papers stuck together and some papers fell out.
Frustratingly, I had to wait at the drying wrack during clean up to put EVERY SINGLE PAPER in there (while everyone else rushed around wiping down tables, spilling paint, etc.) It made for a very long day.
Day 1
Write name on back ( some did not have names!)
Paint background. You can mix colors in the paint pallets (quick overview on color mixing).
Intro to using brushes: do not splatter paint, do not tap brushes on water tubs. You can refill water tubs at the sink, only get about half full. Do not leave brushes in the water between classes.
Day 2
Finish the background. Start painting animal's fur. Save whiskers and other details for LAST.
Day 3
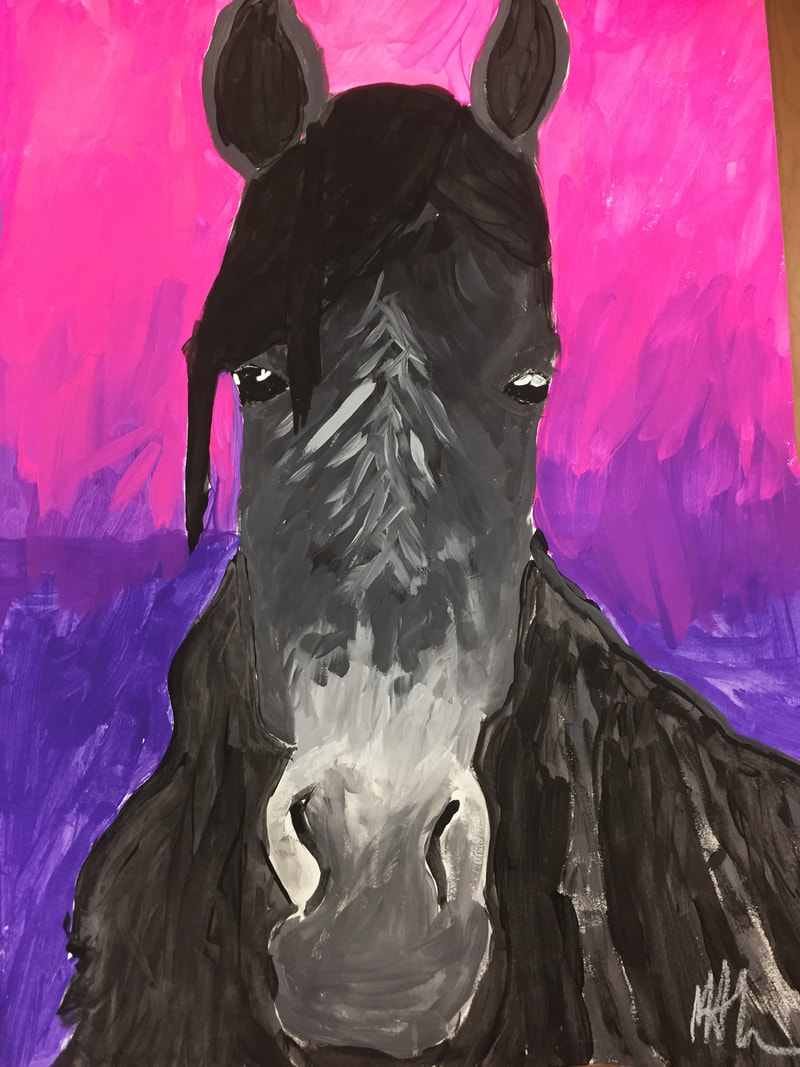
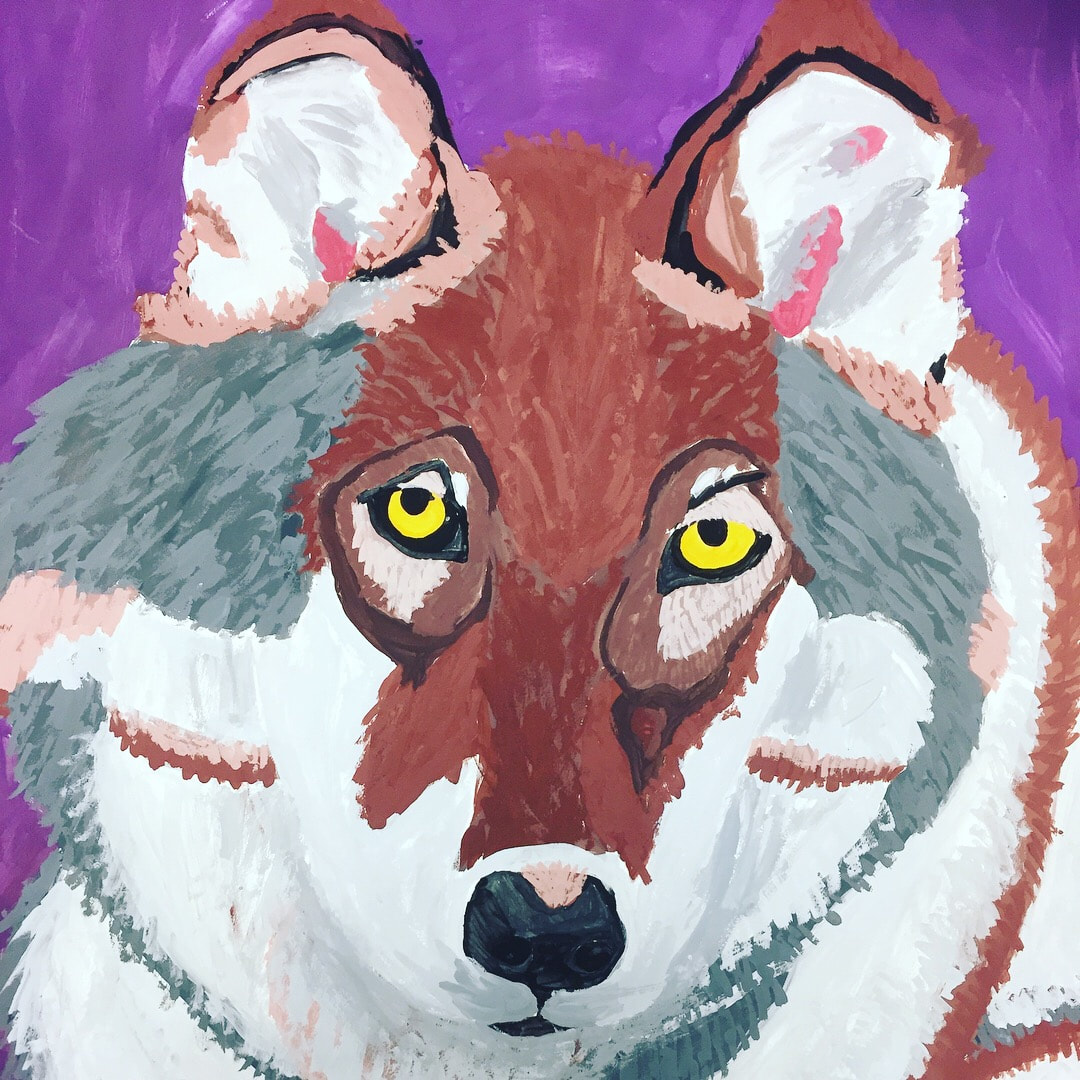
Finish animal's fur, start painting details like eyes. Show example of animal eye up close. Explain how to add texture for the fur.
Day 4
Finalize painting (finalize outlines), add final details (silver, gold and copper paint available). Have a friend hold it up and you stand back and look at spots that need to be touched up. Does the nose look right? Are there smudges that need to be touched up? Sign your name on the front.
Write name on back ( some did not have names!)
Paint background. You can mix colors in the paint pallets (quick overview on color mixing).
Intro to using brushes: do not splatter paint, do not tap brushes on water tubs. You can refill water tubs at the sink, only get about half full. Do not leave brushes in the water between classes.
Day 2
Finish the background. Start painting animal's fur. Save whiskers and other details for LAST.
Day 3
Finish animal's fur, start painting details like eyes. Show example of animal eye up close. Explain how to add texture for the fur.
Day 4
Finalize painting (finalize outlines), add final details (silver, gold and copper paint available). Have a friend hold it up and you stand back and look at spots that need to be touched up. Does the nose look right? Are there smudges that need to be touched up? Sign your name on the front.
Two things I learned:
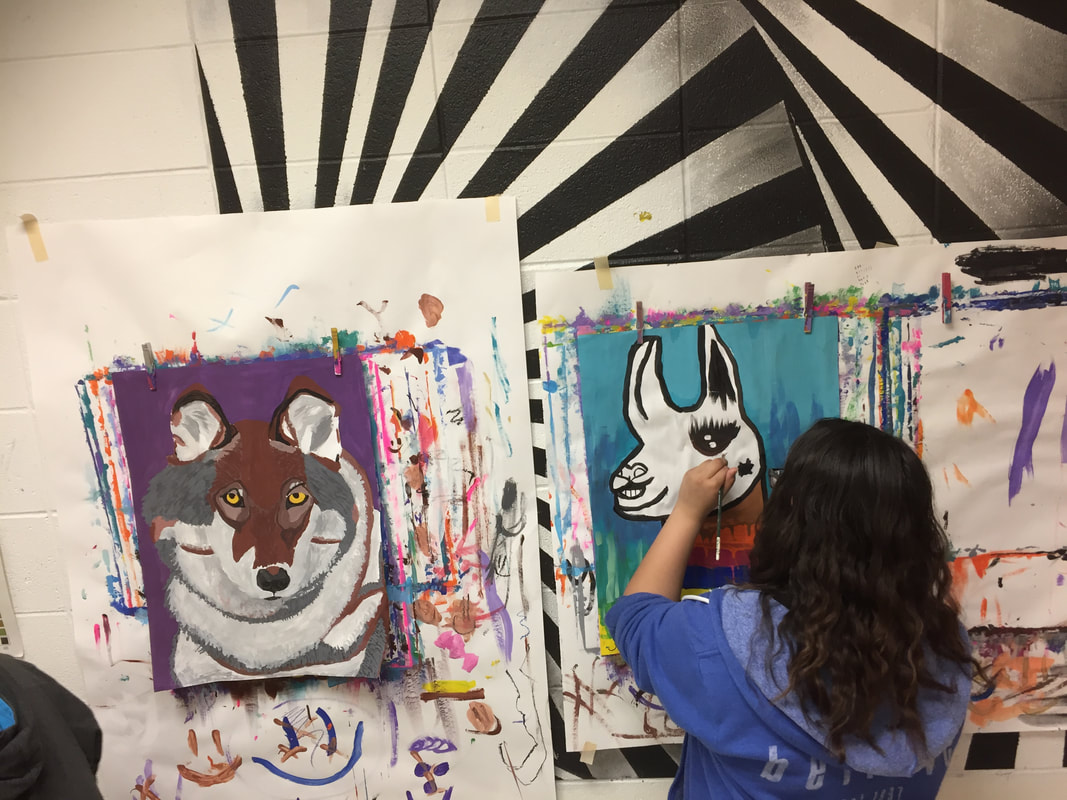
1. only about three 18X24 paintings could fit at each table. I set up a folding table and put some clothes pins on the wall so that kids could hang their paintings up like bob ross. This worked because they had individual pallets.
2. School-grade brushes SUCK. I ended up bringing in about 40 brushes from home and I am so glad that I did. The school brushes just did not do a good job!
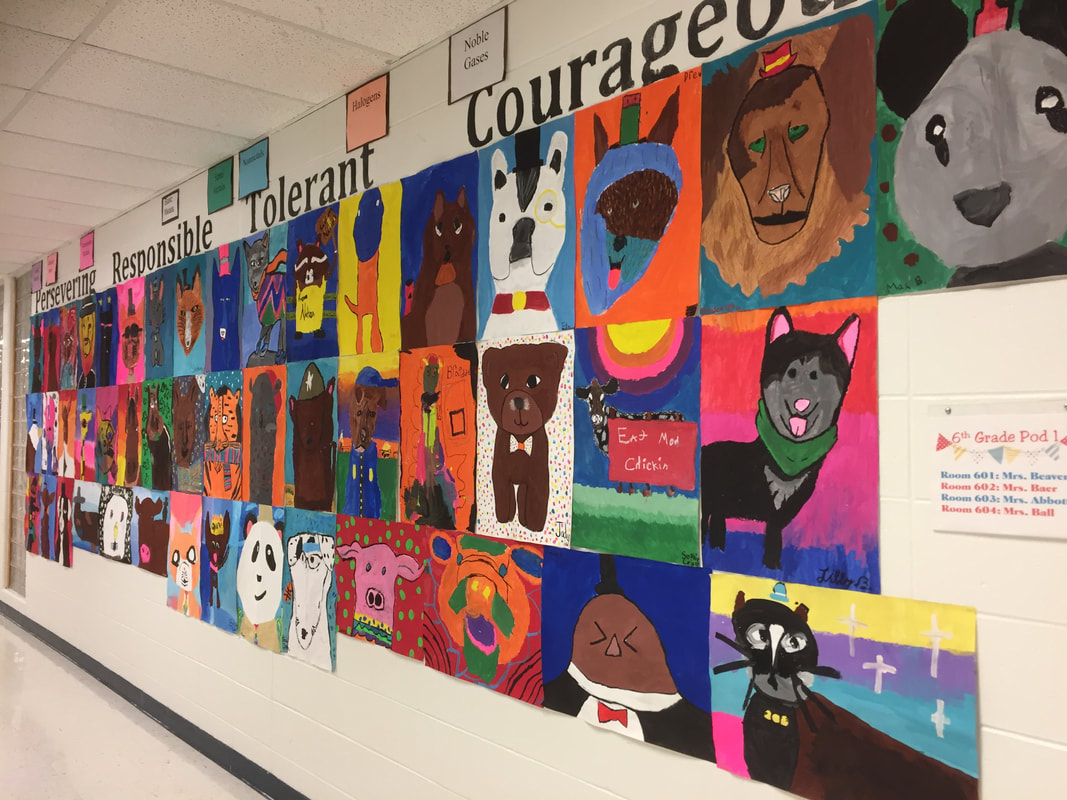
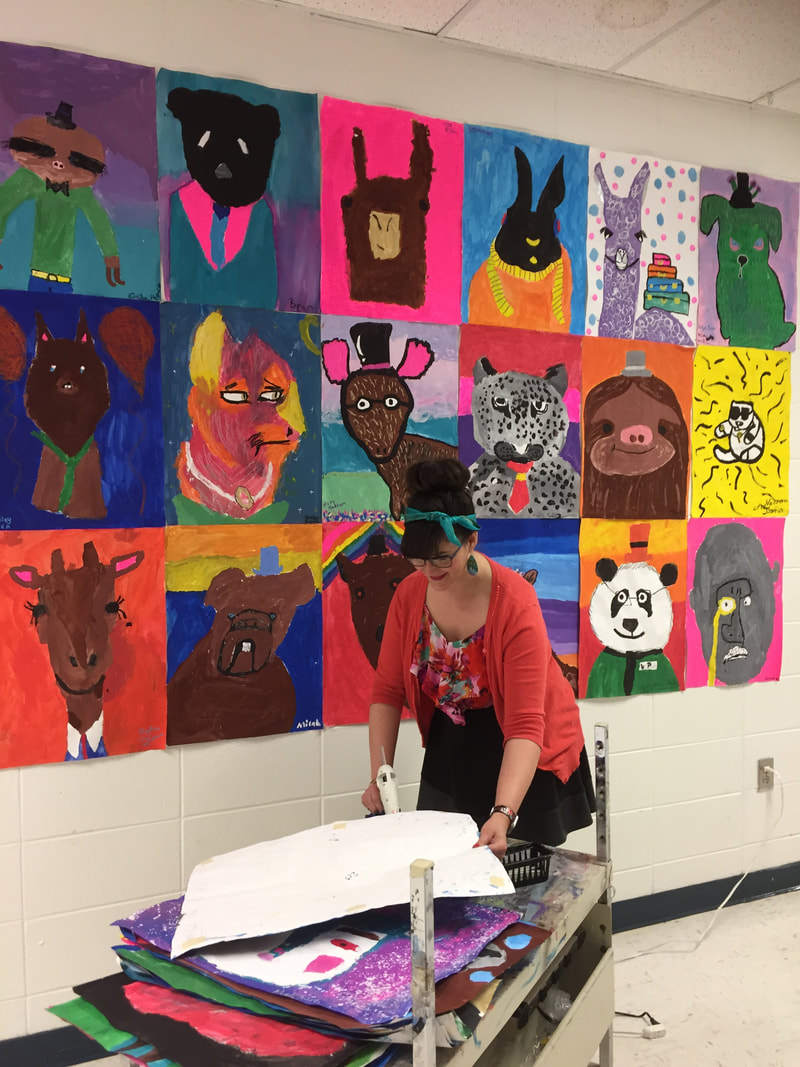
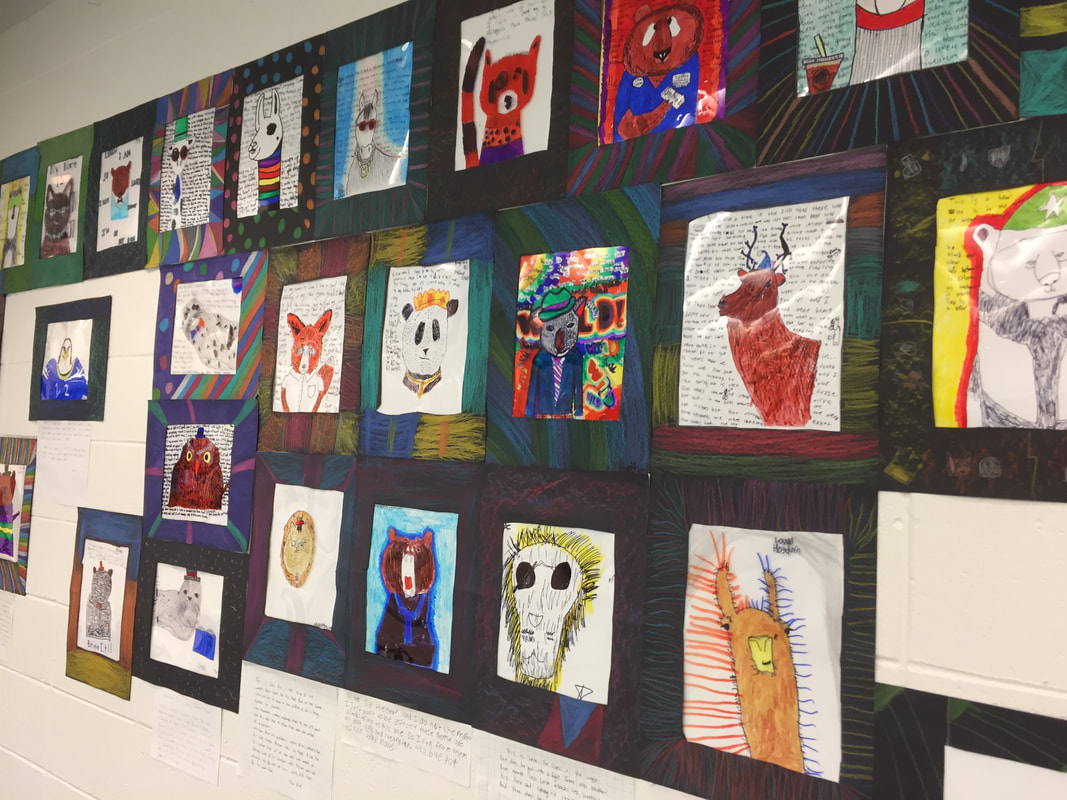
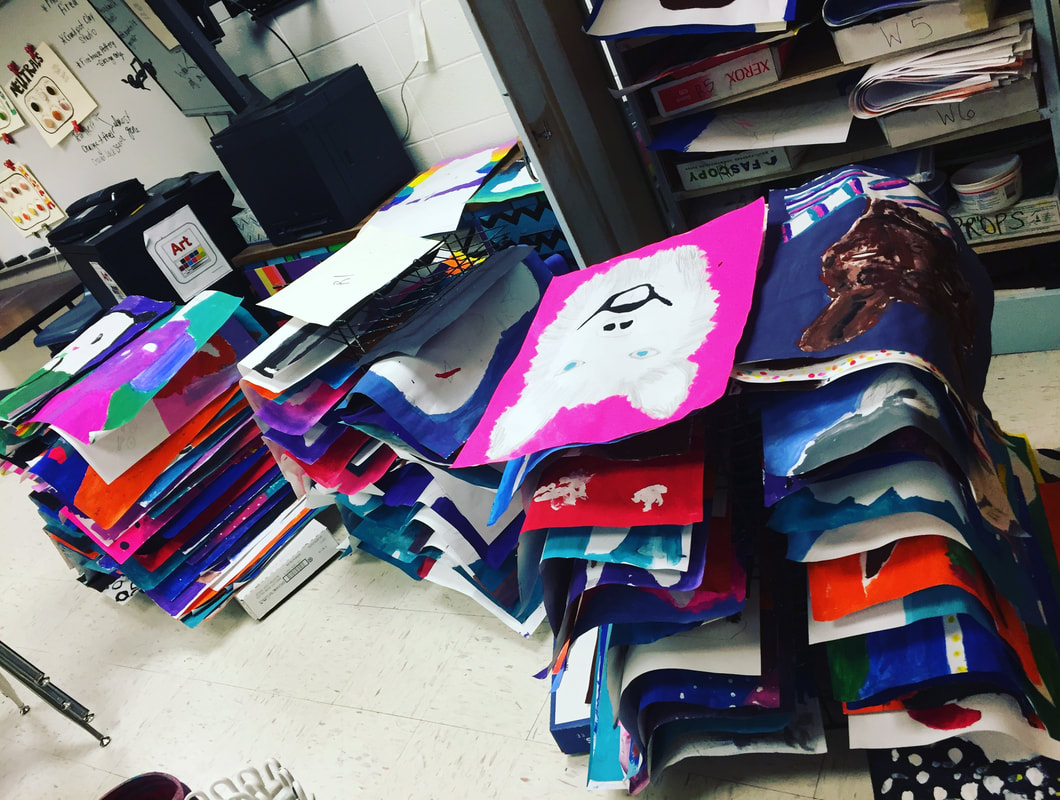
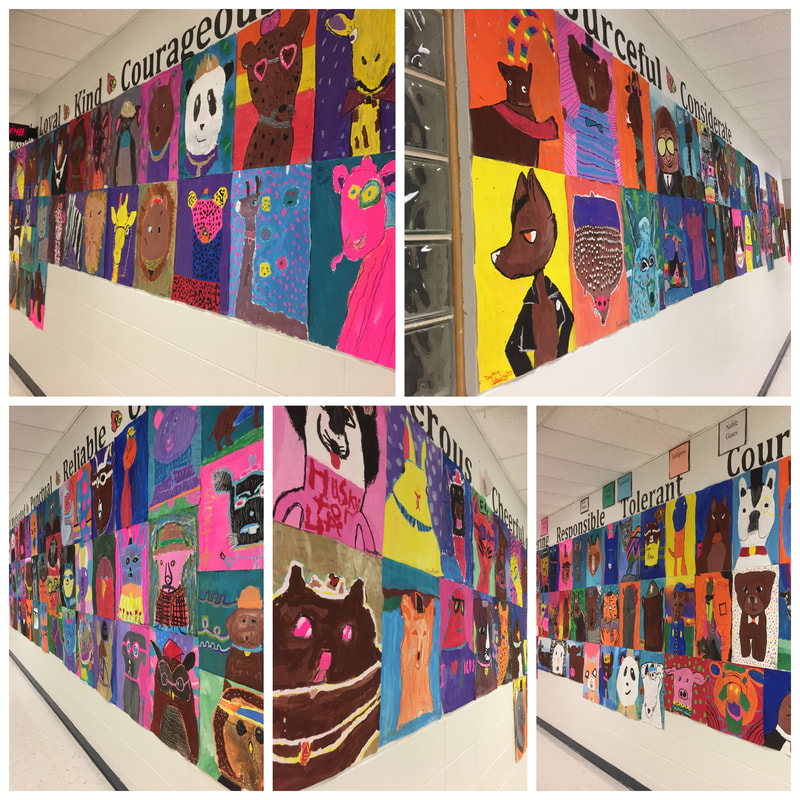
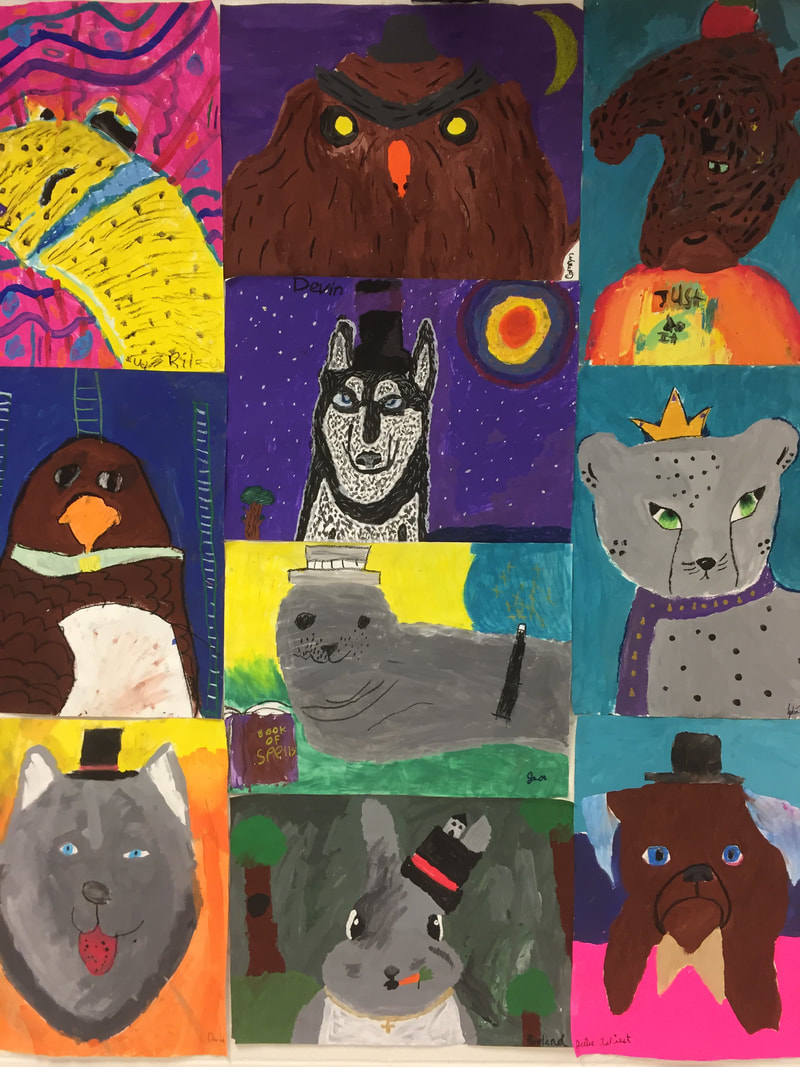
I decided to hang up all 340 paintings. I love to fill the halls with artwork at the end of the year! Also, I think it is slightly easier to hang big pictures than it is to hang a bunch of small stuff. The displays don't get as wonky as it is easier to keep stuff straight. I included this photo for scale....I don't think you can tell how big these are without a bit of scale for reference!
Oh, I forgot to mention! I also spent one little art day telling my students about my favorite artist when I was a kid, was Lisa Frank. I told them lots of facts about how she got started as an artist right out of high school. I found a calendar at the Dollar Tree and hung each image above my white board as a reference. I told them that Lisa Frank is famous for bright colors and LOTS of details! I encouraged them to add more details and tons of color too.
I also spent another day telling them some art history about the impressionists, all they way to the pop artists and showed them examples of lots of animal paintings through art history on my bulletin board.
On the last day or two of painting, I encouraged them to get their original sketch or photo back out and look at it again to see if it looks right! Sometimes it is easy to forget details along the way. This helped some of them realize that they had done the nose completely wrong!
I think since we had worked on these for so long, it was hard to get them to add details like texture. Some students came to my room every afternoon during Cardinal Time to work on their paintings because they needed extra time.
Needless to say, this was a very long, big project that I am proud to share.
My coworkers love all of the color in the halls. One of them even made a video of the paintings.
My coworkers love all of the color in the halls. One of them even made a video of the paintings.

 RSS Feed
